How to Draw an Asteroid: Easy 10-Step Space Art Guide
Ready to explore the solar system? This tutorial is perfect for young space enthusiasts ages 5 and up. You will only need a pencil, an eraser, and some paper to bring this rocky space traveler to life while practicing your organic shapes and shading techniques.
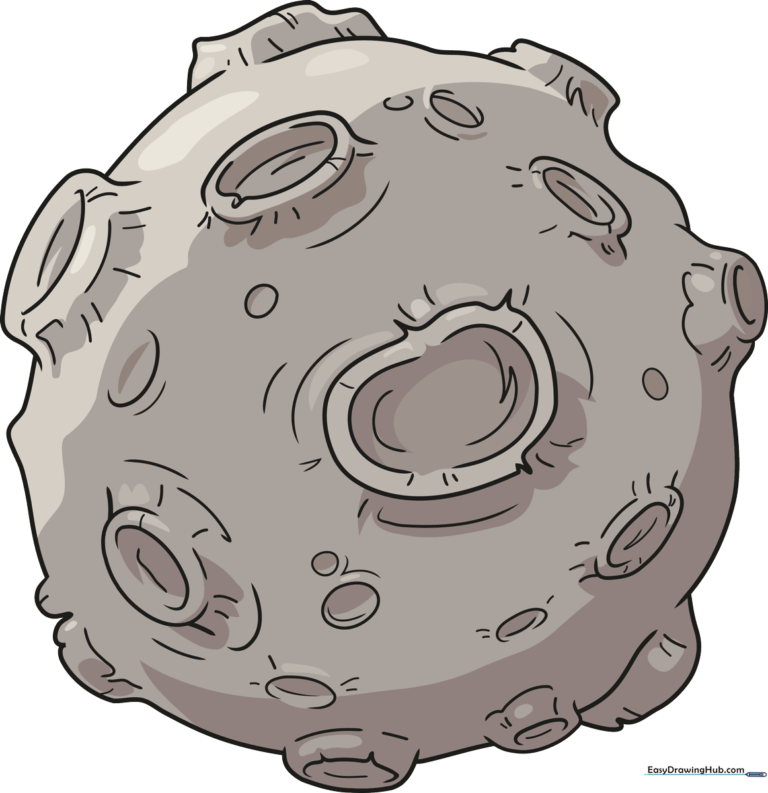
🎯 Final Result
Step-by-Step Instructions
Step 1: Sketching the First Craters
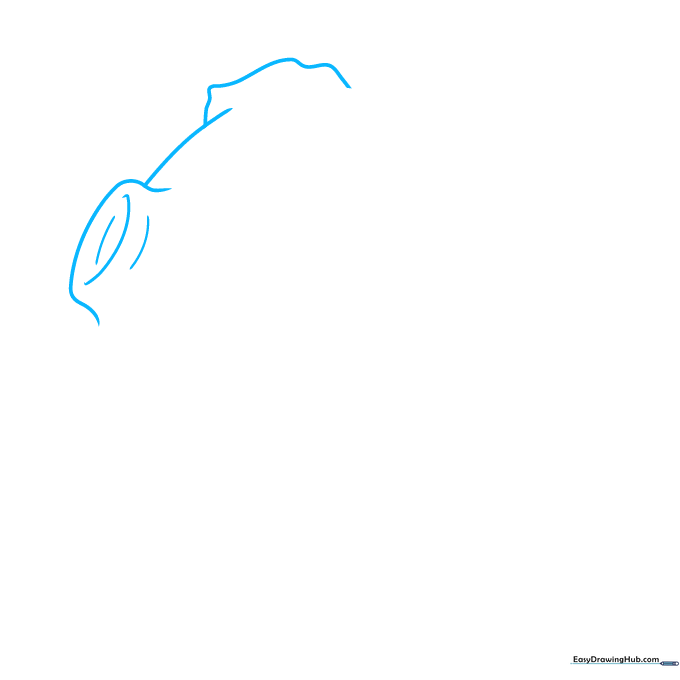
Begin by drawing a series of overlapping curved lines to create the top surface of your asteroid. Tip: Keep your pencil pressure light so you can easily adjust the shape if you want to make the craters deeper later.
Step 2: Adding Depth to the Rim
Add a 'C' shaped indentation for a second crater. Tip: Imagine the asteroid is a lumpy potato—the more varied your curves, the more 'space-like' the texture becomes.
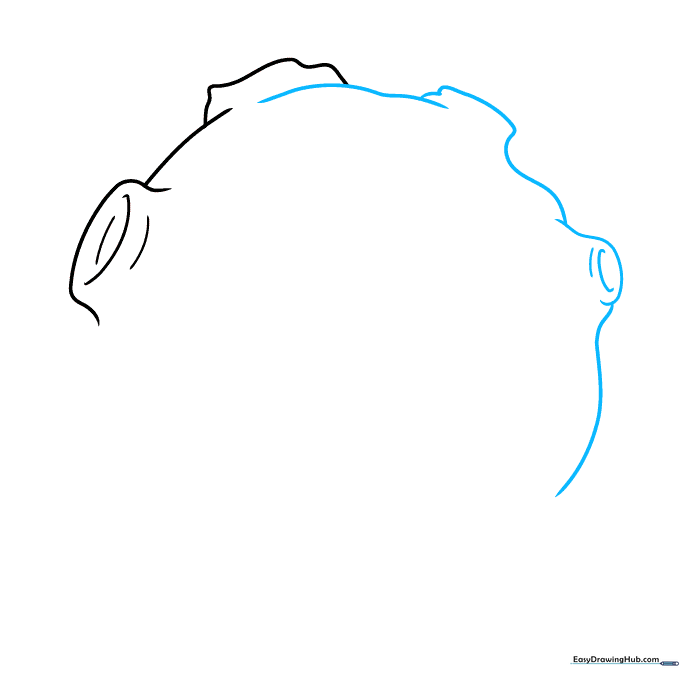
Step 3: Building the Main Body
Continue adding overlapping curved lines to define the round, irregular shape of the asteroid. Tip: Use short, quick strokes to help the asteroid look rugged rather than perfectly round.
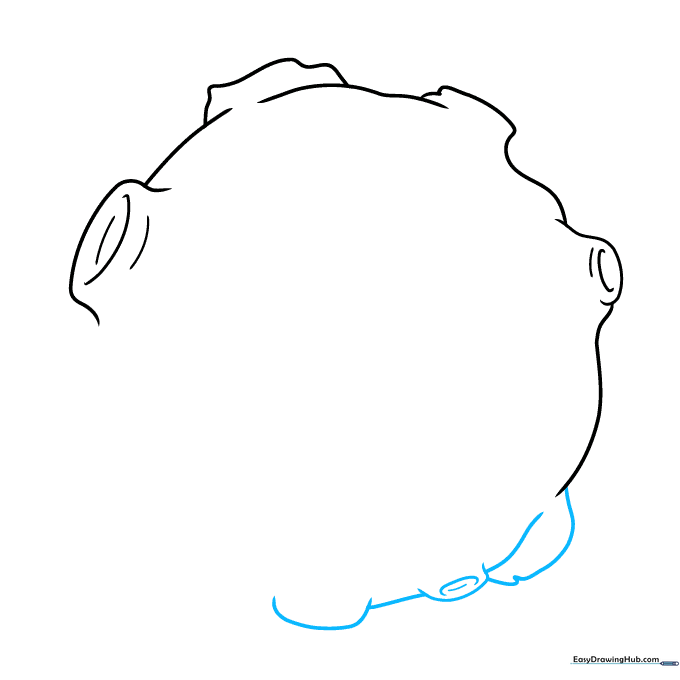
Step 4: Defining the Central Crater
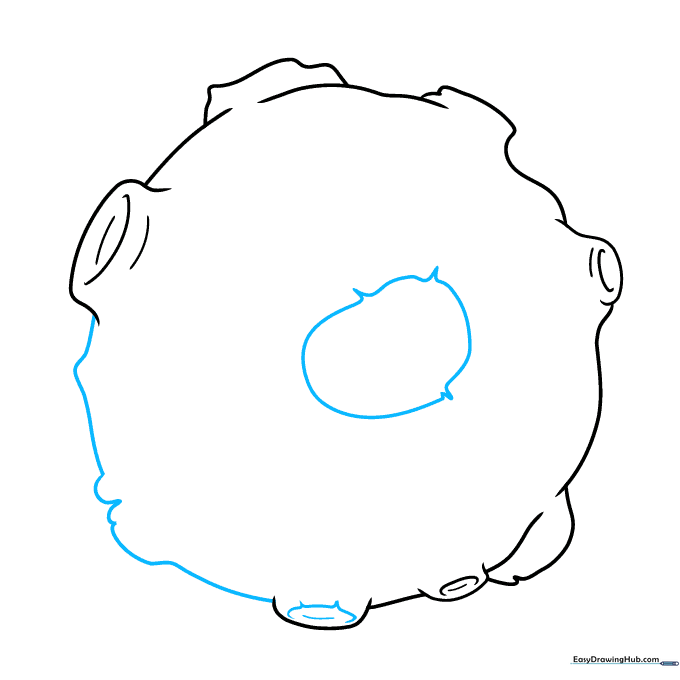
Draw a large, central crater opening. Tip: Make the edges slightly jagged where the lines meet to show the impact of space debris.
Step 5: Adding Interior Texture
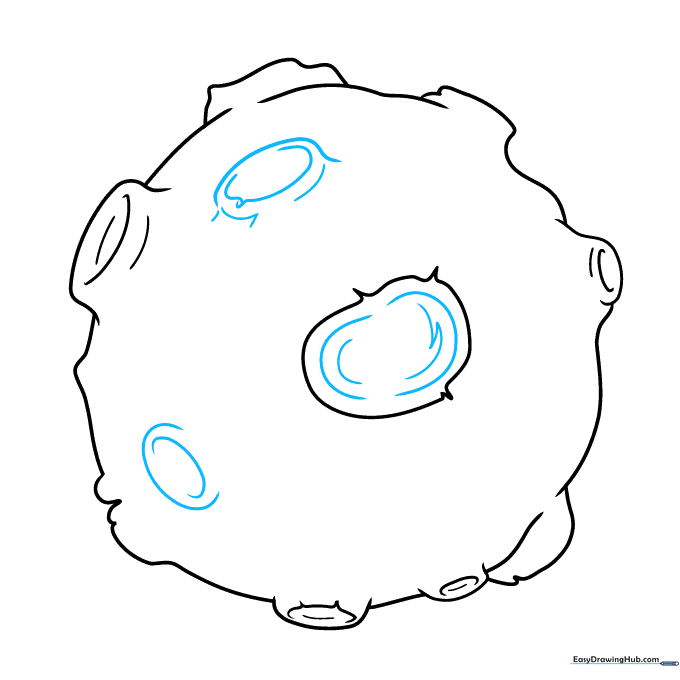
Add small, jagged lines inside the craters to show depth. Tip: Think of these as shadows inside the hole; darker, tighter lines make the crater look deeper.
Step 6: Detailing the Slopes
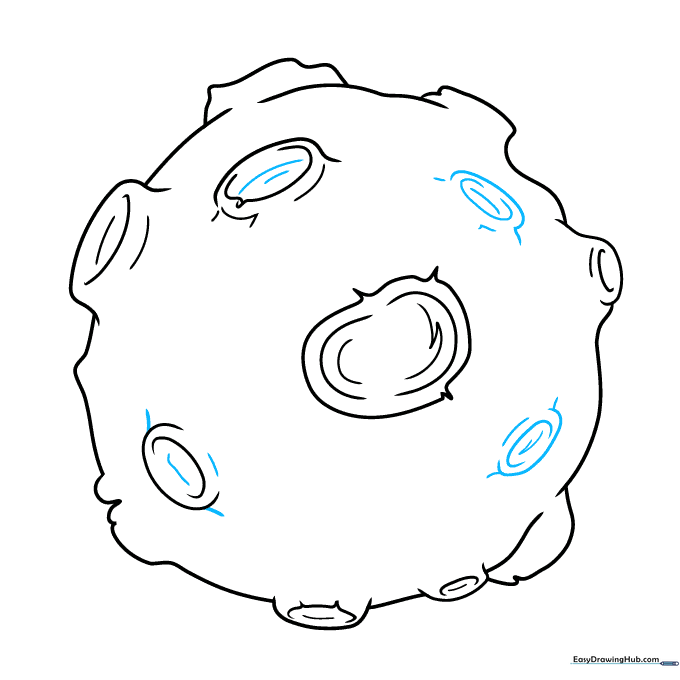
Add more curved lines to contour the slopes of the craters. Tip: Follow the curve of the crater rim to make it look like a bowl shape.
Step 7: Adding Surface Landmarks
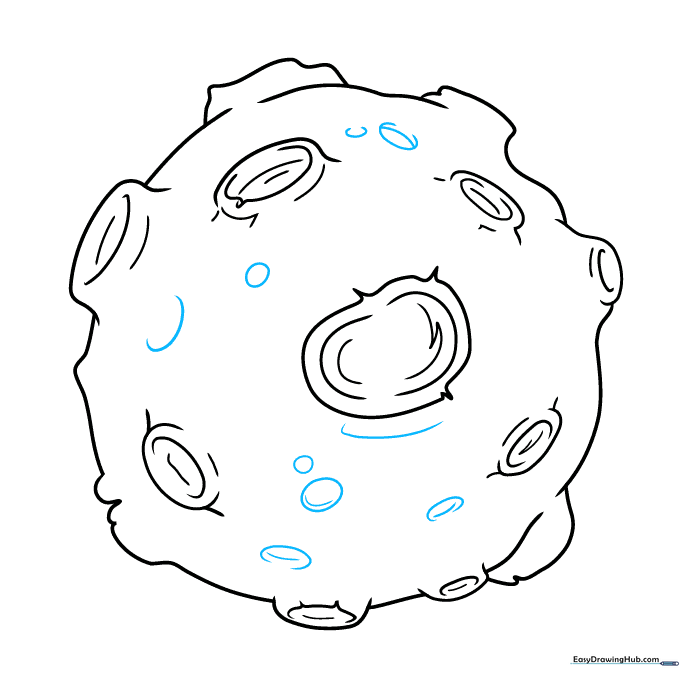
Sketch tiny ovals or small 'C' shapes across the surface to represent smaller rocks or minor impacts. Tip: Keep these small and scattered to avoid cluttering the drawing.
Step 8: Texturing the Craters
Add vertical lines to the sides of the largest craters to show texture. Tip: These lines should follow the curve of the crater wall to emphasize its roundness.
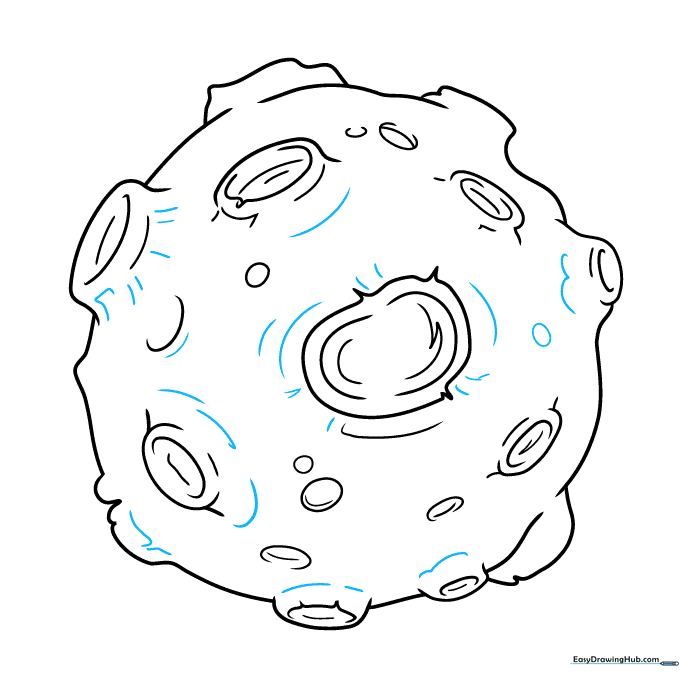
Step 9: Finalizing the Texture

Add short, sharp lines around the edges of the craters to complete the rocky look. Tip: Vary the length of your lines to make the surface look naturally weathered.
Step 10: Coloring Your Asteroid
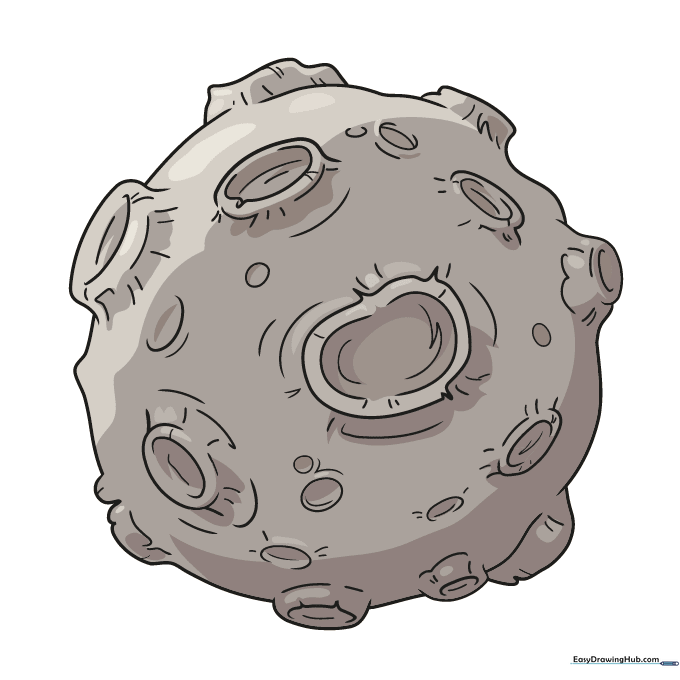
Time to color! Use shades of gray, brown, or charcoal to give your asteroid a metallic or rocky appearance. Tip: Use a darker color on one side of the craters to create a shadow effect, making your drawing pop off the page!
More Tutorials


