How to Draw an Archaeologist: Easy 10-Step Guide
Ready to dig into history? This tutorial is perfect for young explorers aged 7+ who want to draw their own adventurer. Grab a pencil, an eraser, and some paper to bring this fossil-hunting scene to life while practicing your character proportions.
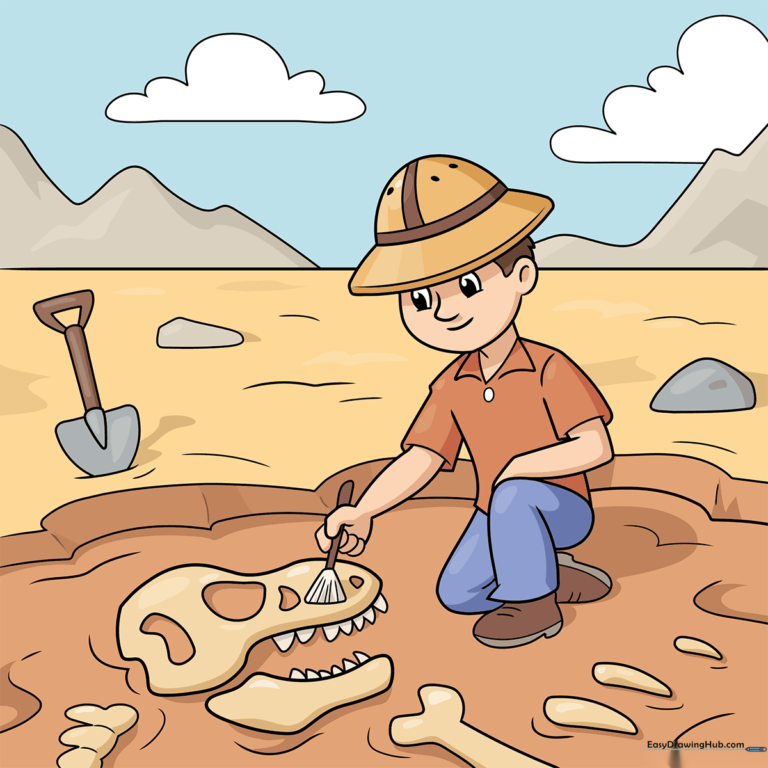
🎯 Final Result
Step-by-Step Instructions
Step 1: Sketching the Explorer's Hat and Face

Start by drawing the wide brim of the safari hat, then add the crown on top. Below the brim, sketch the face shape, ears, and hair. Tip: Keep your pencil lines light and loose—it makes erasing mistakes much easier later on!
Step 2: Adding the Neck and Shoulders
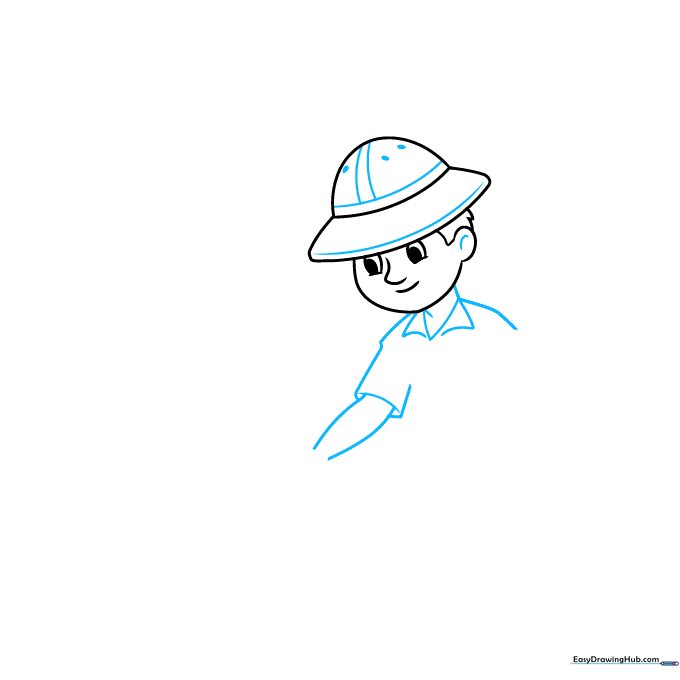
Detail the hat with a band, then draw the neck and the triangular collars of the shirt. Sketch the shoulder and the arm reaching out. Tip: Use smooth, flowing curves for the clothing to make the fabric look natural.
Step 3: Drawing the Excavation Brush
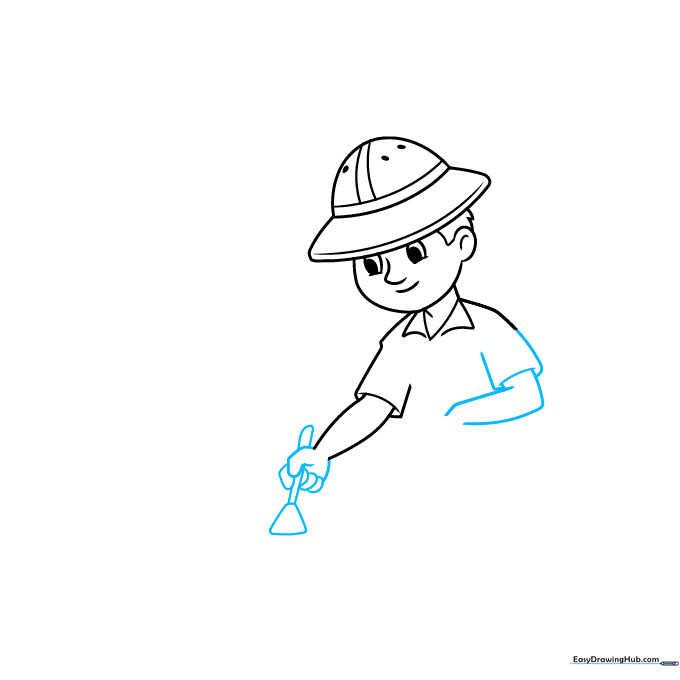
Draw the arm and hand holding a brush. Add a small triangle with rounded corners at the end for the bristles. Tip: Focus on the grip—ensure the hand looks like it's actually holding the tool handle.
Step 4: Sketching the Crouching Pose
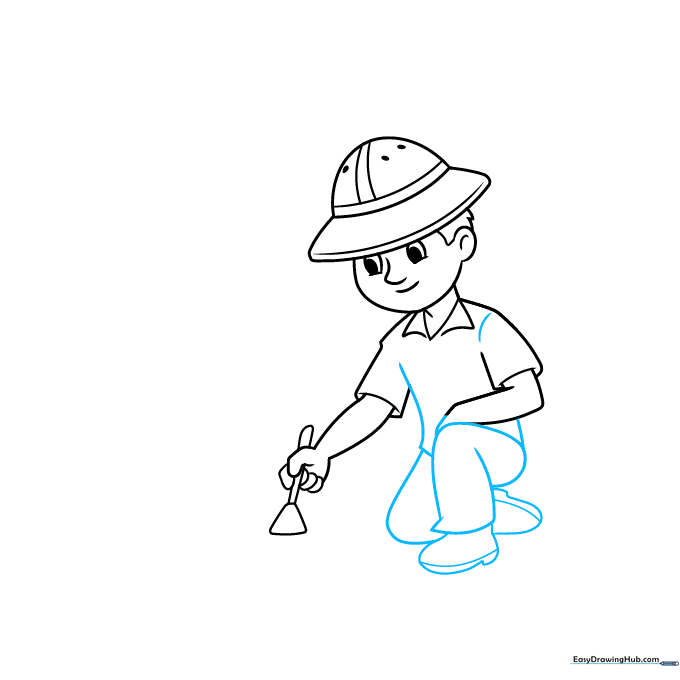
Complete the shirt and draw the legs in a crouching position, finishing with the boots. Tip: Crouching poses can be tricky; keep the knees bent at sharp angles to show the character is leaning down to work.
Step 5: Starting the T. Rex Skull
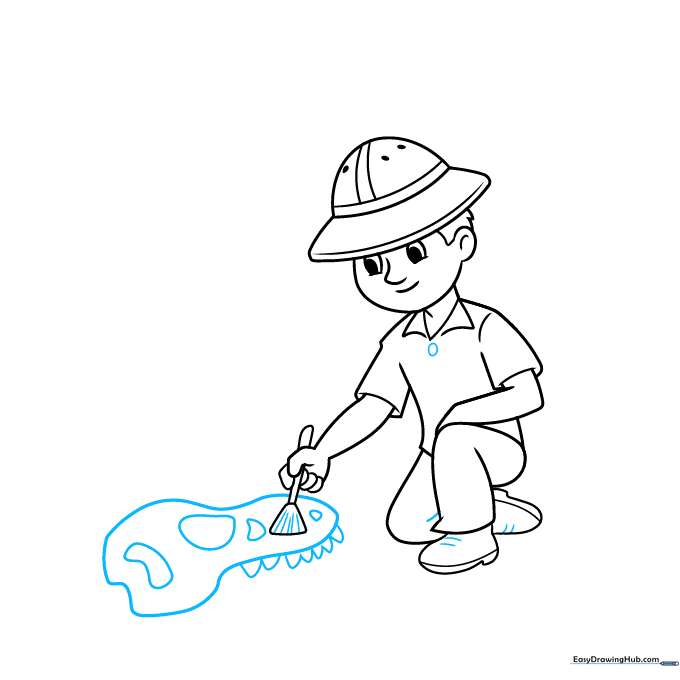
Add details like buttons to the shirt and laces to the boots. Now, start the T. rex skull by drawing a large, irregular shape with jagged teeth. Tip: Don't worry about making the skull perfect—dinosaur fossils are naturally bumpy and uneven!
Step 6: Adding Fossil Details
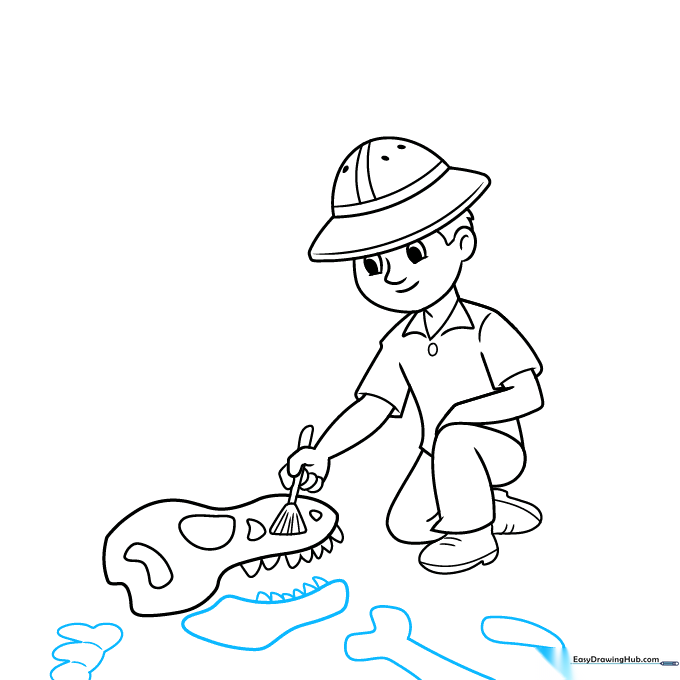
Outline the jawbone, spine, and rib bones of the dinosaur. Use short, quick strokes to add texture to the vertebrae. Tip: Vary the length of your lines to give the bones a weathered, ancient look.
Step 7: Creating the Dig Site

Add more rib bones to the pile. Draw the sides of the excavation pit and a horizon line to ground your character in the scene. Tip: Use a ruler for the horizon line if you want it to look extra crisp.
Step 8: Adding Tools and Background Rocks

Draw some rocks in the background and add a shovel leaning nearby. Tip: To make the shovel look realistic, ensure the handle is straight and the blade has a sharp, pointed edge.
Step 9: Final Landscape Details
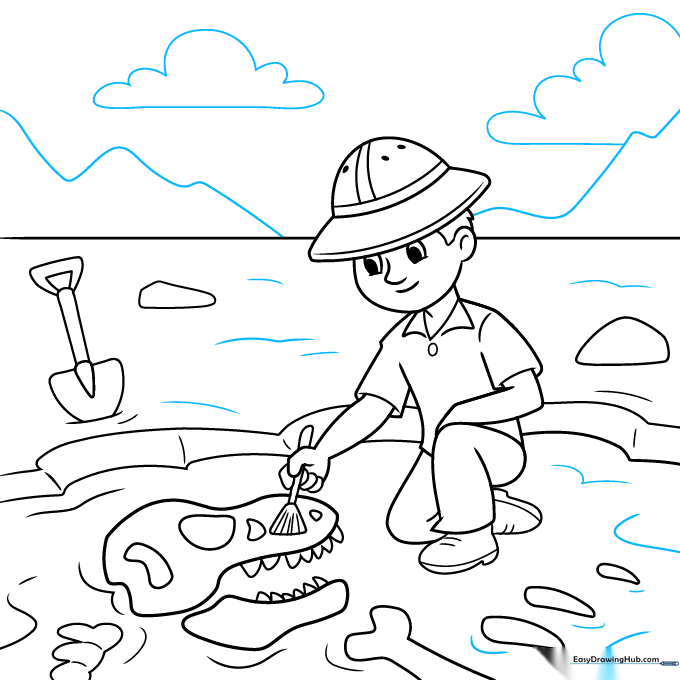
Add texture to the ground with small dots and lines. Draw some fluffy clouds and distant mountains to complete your scene. Tip: Use lighter pressure for the mountains to make them look further away.
Step 10: Bringing It to Life with Color
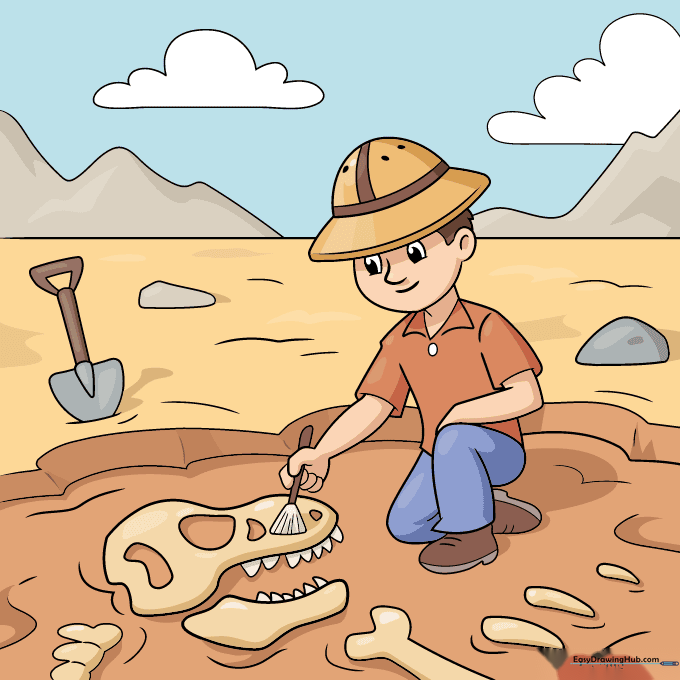
Time to color! Use earthy tones like tan, brown, and grey for the safari gear and the rocky ground. Tip: Use a darker brown for the shadows under the rocks to give your drawing more depth.
More Tutorials


