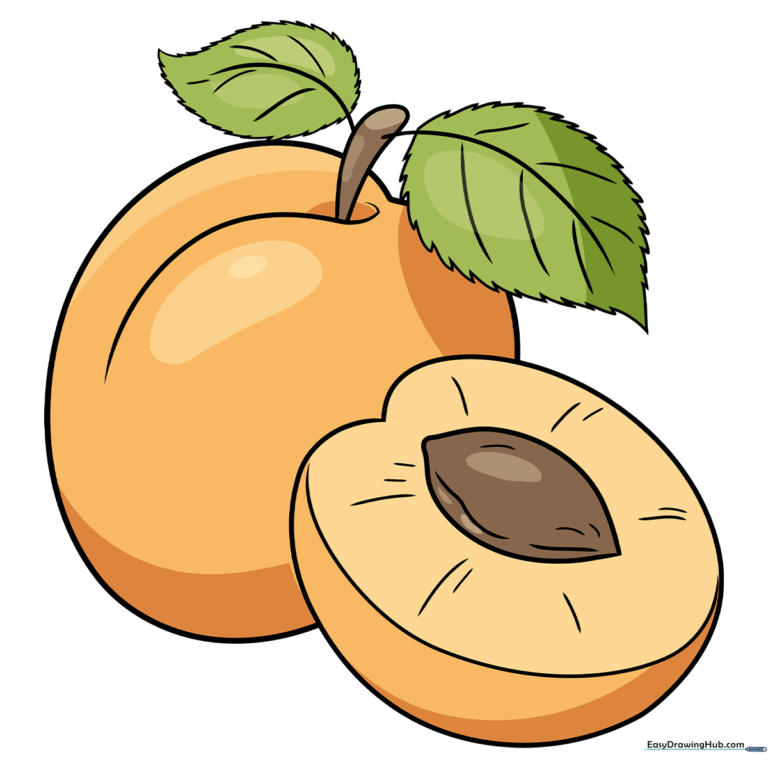
How to Draw an Apricot: Easy 10-Step Guide for Kids
Ready to bring a piece of sunshine to your sketchbook? This tutorial is perfect for young artists ages 5 and up, requiring only a pencil, eraser, and paper. Follow these steps to master fruit shapes and leaf textures while building your confidence as an illustrator.
🎯 Final Result
Step-by-Step Instructions
Step 1: Sketching the Main Fruit Shape
Start by drawing a heart shape with a soft, rounded bottom. Add a curved line on one side to separate the fruit's skin from the inner flesh. Teacher's Tip: Keep your pencil lines very light so you can easily adjust the shape if it looks a bit lopsided.
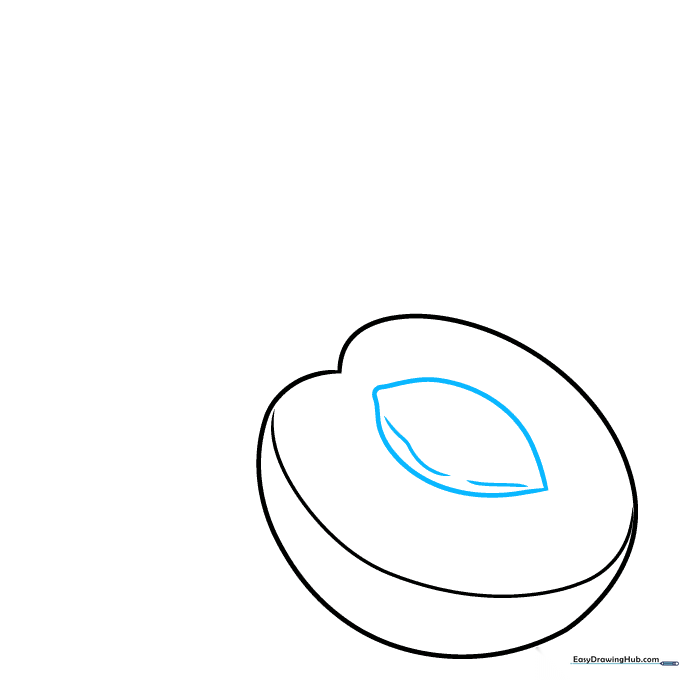
Step 2: Adding the Pit
Draw the apricot pit inside the flesh area using two curved lines that meet at points. Add small, curved lines inside for texture. Teacher's Tip: Think of the pit as a small almond shape—don't worry if it's not perfect, nature is rarely symmetrical!
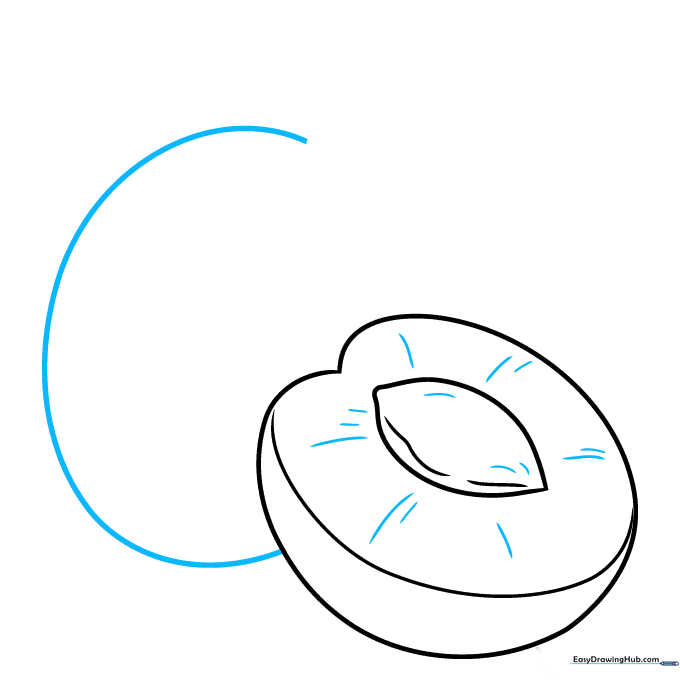
Step 3: Detailing the Flesh
Add short, curved lines to the flesh and pit to give them depth. Then, draw a long, sweeping curved line to start the outline of a second apricot next to the first. Teacher's Tip: Use short, quick strokes to make the texture look more organic.
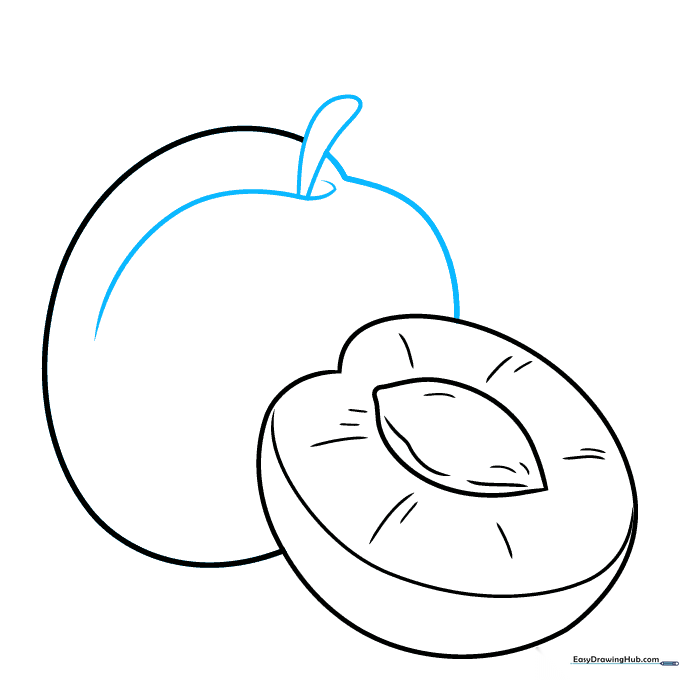
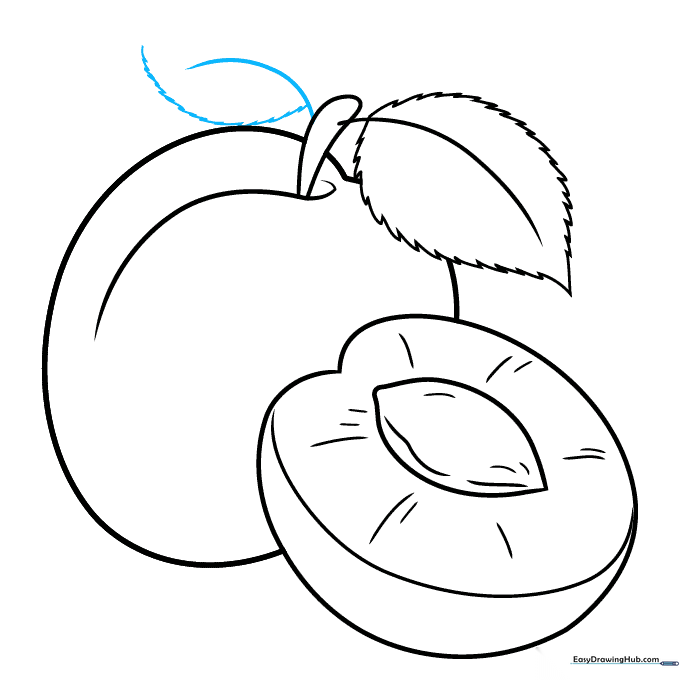
Step 4: Drawing the Stem

Draw a curved line across the top of the second fruit. Extend a line upward and loop it back to form the stem. Teacher's Tip: Imagine the stem is like a tiny, sturdy bridge connecting the fruit to the branch.
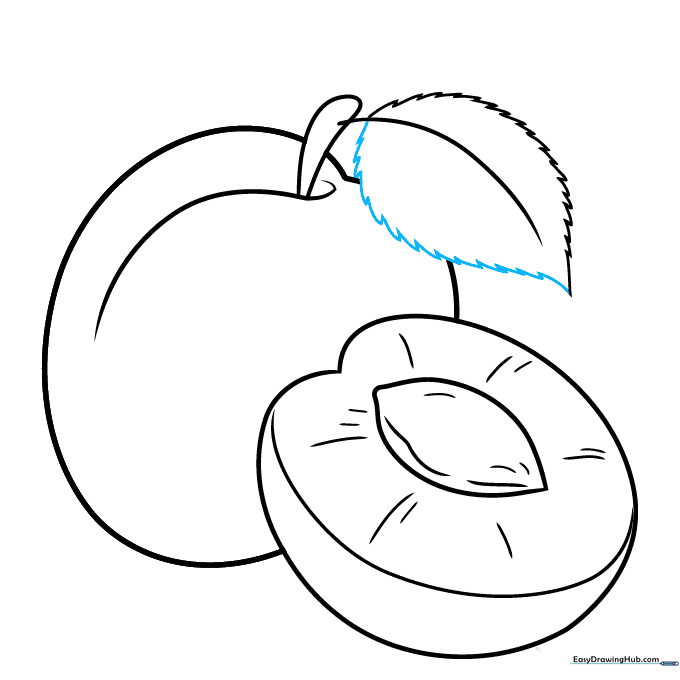
Step 5: Starting the First Leaf

Extend a long, curved line from the stem to create the central vein of a leaf. Use a zigzag line to draw the serrated edge of the leaf. Teacher's Tip: Serrated edges are just tiny triangles—don't make them too uniform!
Step 6: Completing the Leaf
Finish the other side of the leaf with a matching zigzag line. Erase any overlapping guide lines. Teacher's Tip: Take your time with the eraser to keep your drawing clean and professional.
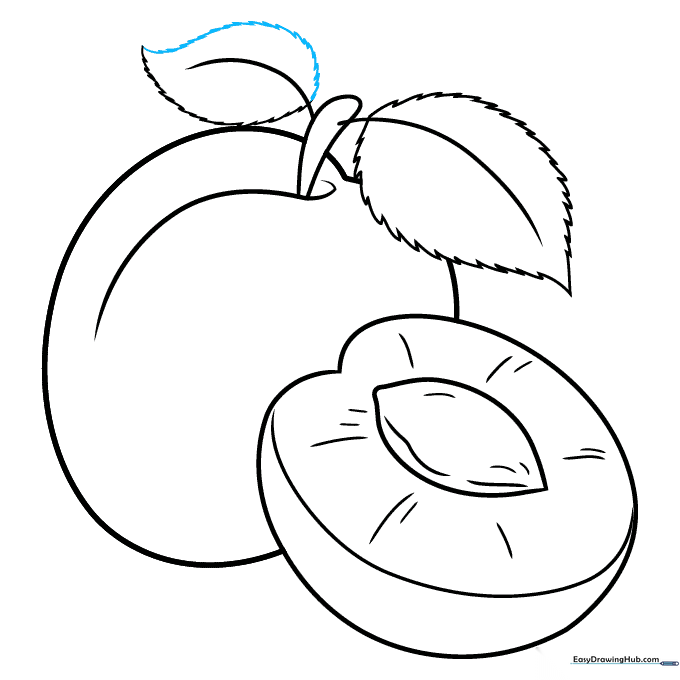
Step 7: Adding the Second Leaf
Repeat the process on the opposite side of the stem to add a second leaf. Start with the central vein, then add the zigzag edge. Teacher's Tip: Vary the angle of this leaf slightly to make the drawing look more natural.
Step 8: Finishing the Second Leaf
Close the second leaf shape with a final zigzag line. Teacher's Tip: Ensure the leaf looks connected to the stem so it doesn't appear to be floating.
Step 9: Adding Leaf Veins
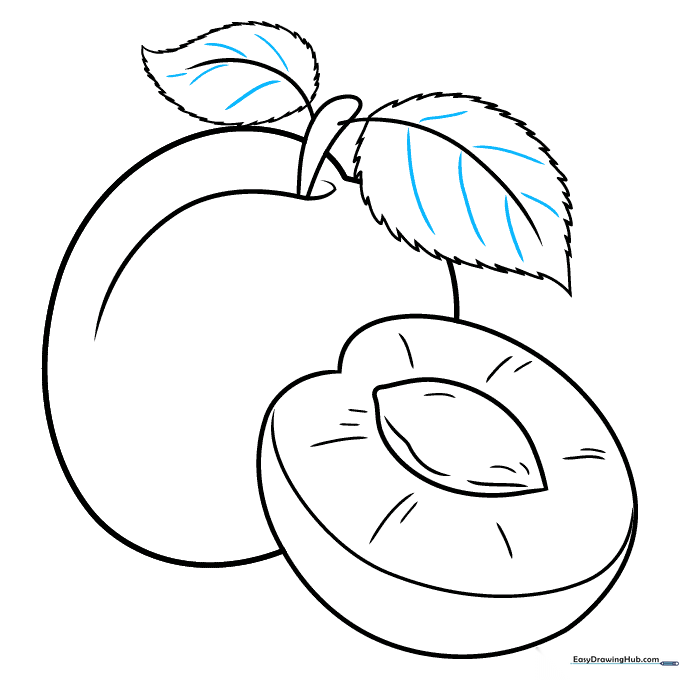
Add detail to your leaves by drawing small, curved lines branching out from the central veins toward the edges. Teacher's Tip: Keep these lines light—they are just subtle details that add realism.
Step 10: Bringing it to Life with Color
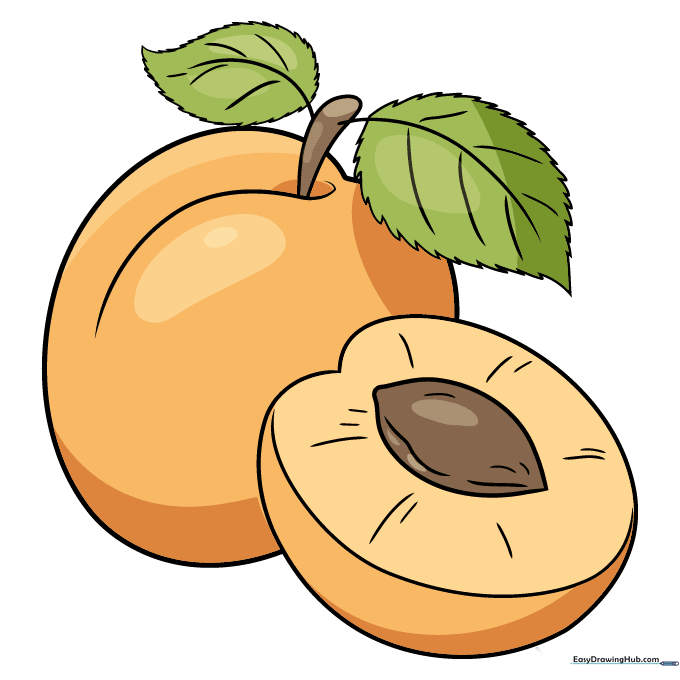
Time to color! Use warm yellows and oranges for the fruit, and a vibrant green for the leaves. Teacher's Tip: Use a darker orange to add a little shadow on the bottom of the fruit to make it look 3D.
More Tutorials


