How to Draw an Apple Pie: Easy 9-Step Guide for Kids
Bring a slice of comfort to your sketchbook! This tutorial is perfect for young artists ages 5 and up. You will need a pencil, an eraser, and your favorite coloring markers to create a warm, steaming apple pie. Follow these steps to master basic shapes and contouring techniques.
🎯 Final Result

Step-by-Step Instructions
Step 1: Sketching the Pie Slice

Draw two long, slightly curved lines that meet at a sharp point to create the top edge of your pie slice. Teacher's Tip: Keep your wrist loose to make these curves look natural and organic.
Step 2: Forming the Crust

Add the crust by drawing overlapping curved lines along the edges. Teacher's Tip: Think of these as little 'bumps'—don't worry about making them perfect, as pie crust is naturally uneven!
Step 3: Extending the Side

Continue the crust down the side of the slice using more overlapping curves. Teacher's Tip: This gives your drawing depth, making the slice look like it has thickness.
Step 4: Defining the Base
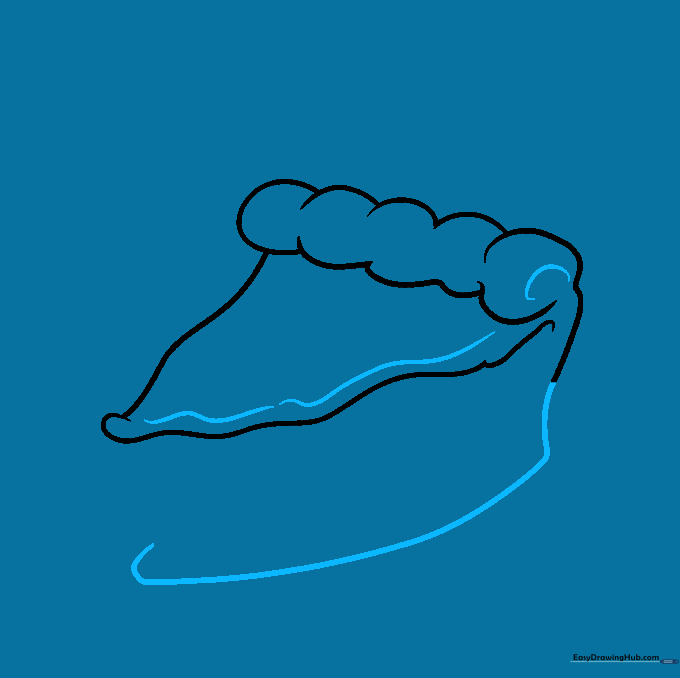
Draw a long curved line for the bottom and back of the slice, doubling it back slightly at the end. Add a few extra contours to the top to show the crust's texture.
Step 5: Adding Apple Chunks
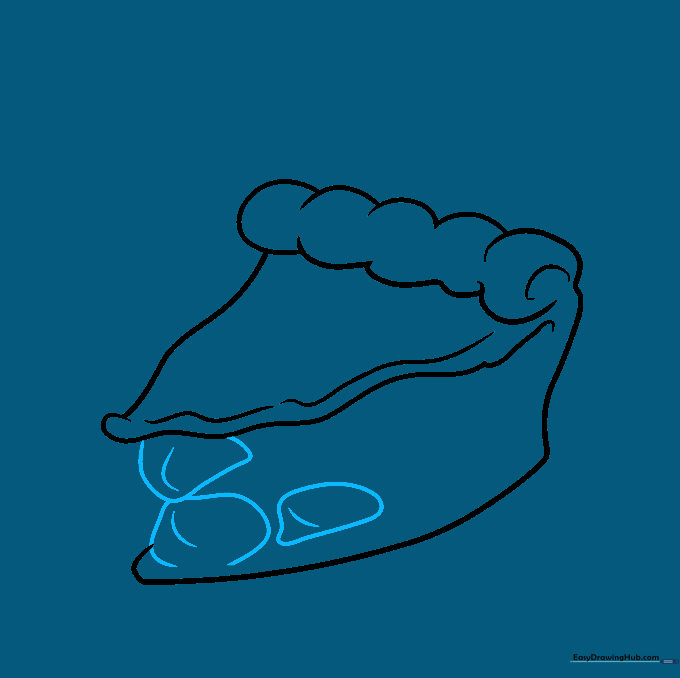
Draw irregular shapes inside the pie to represent apple chunks. Add a small curved line inside each to give them volume. Teacher's Tip: Vary the sizes of the chunks to make the pie look realistic.
Step 6: Filling the Slice
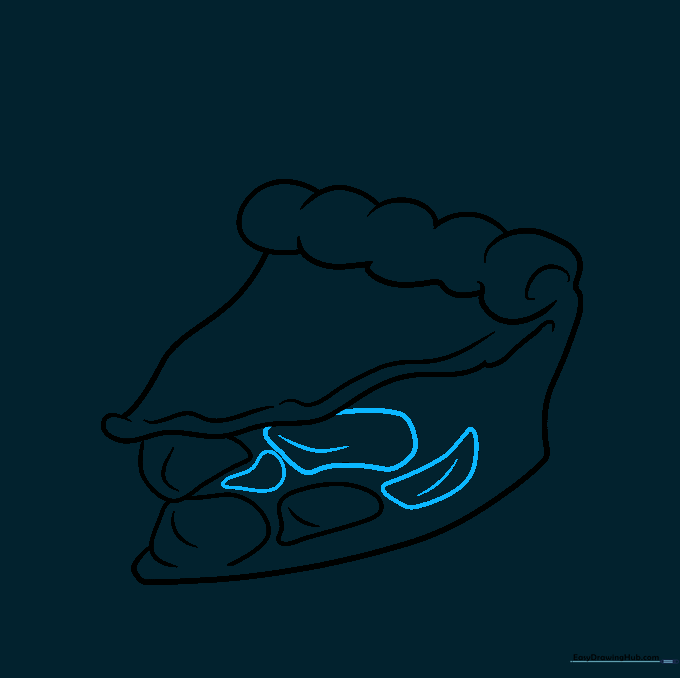
Add more apple chunks to fill the space. Teacher's Tip: Don't worry about symmetry; fruit is naturally irregular, so messy shapes actually look better here!
Step 7: Refining the Crust
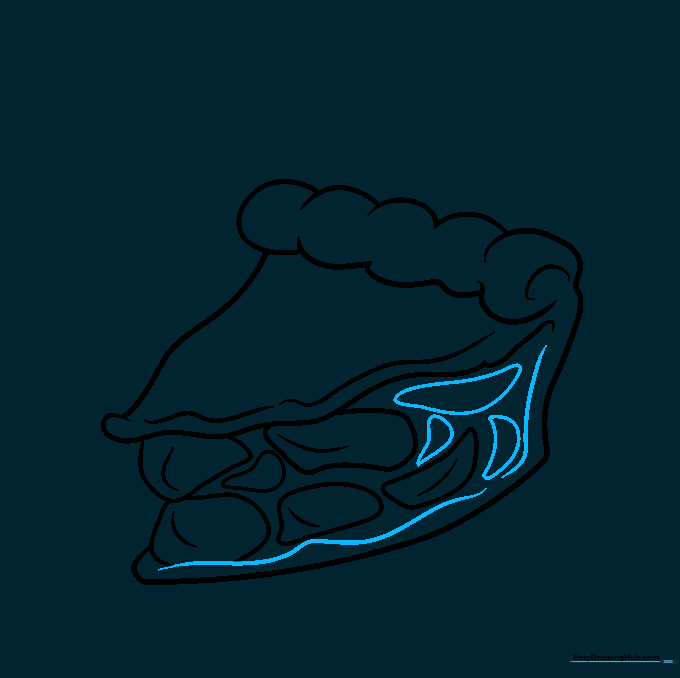
Use wavy lines to finish the bottom crust and add a few more apple pieces near the edge. This makes the pie look like it's overflowing with goodness.
Step 8: Adding Steam Vents

Draw a small, double-pointed shape on top of the pie with a line down the middle—this is the steam vent. Add a few 'fallen' apple pieces below the slice for extra detail.
Step 9: The Final Touches

Draw an oval around the bottom to create a plate. Add a few wavy lines above the pie to represent rising steam. Teacher's Tip: Use light, wispy lines for the steam to make it look airy.
Step 10: Color Your Creation

Time to color! Use warm yellows and browns for the crust and vibrant reds or greens for the apples. Make your pie look as tasty as possible!
More Tutorials


