How to Draw an Apatosaurus: Easy 10-Step Guide for Kids
Bring the prehistoric world to life with this fun, step-by-step Apatosaurus drawing guide. Designed for young artists ages 5 and up, this activity requires only a pencil, paper, and an eraser to build confidence and fine motor control. Follow along to create your own gentle giant from scratch.
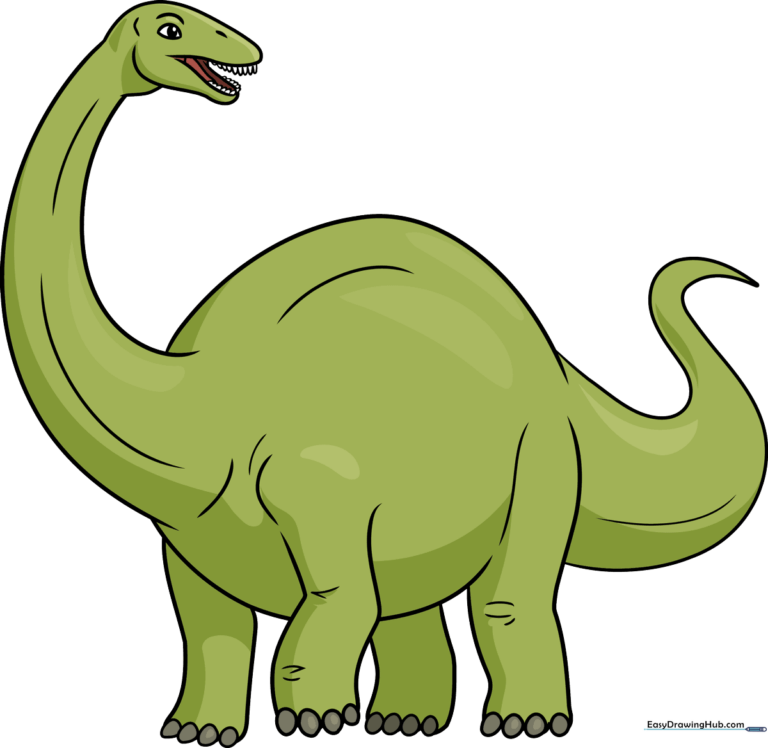
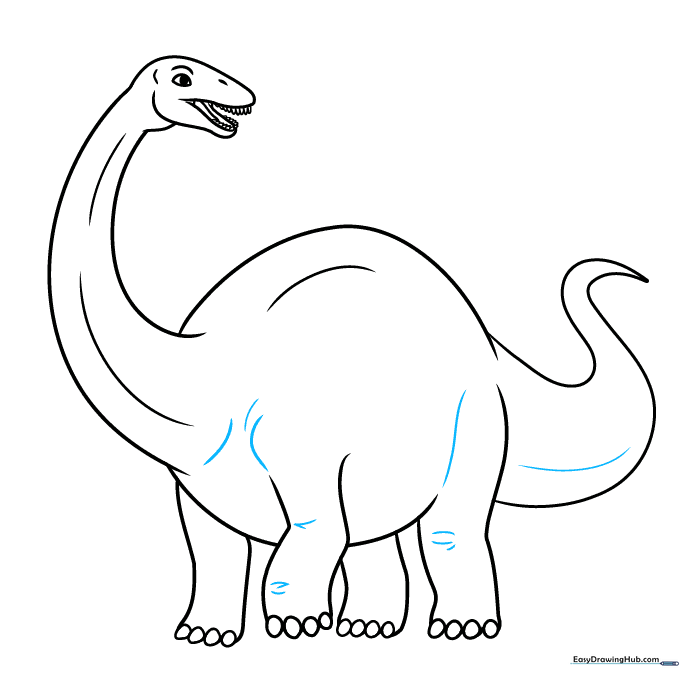
🎯 Final Result
Step-by-Step Instructions
Step 1: Sketching the Head
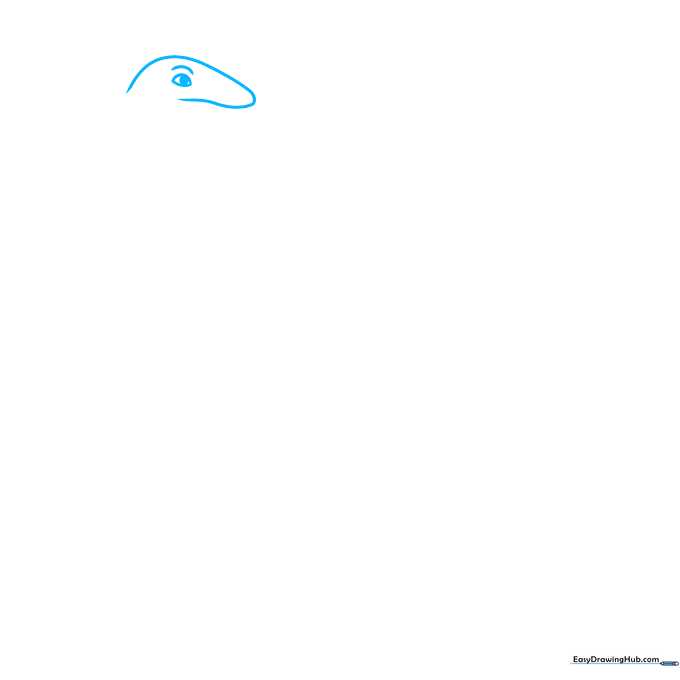
Begin by drawing the Apatosaurus head using a long, curved line that loops back on itself. Add a teardrop-shaped eye with a solid pupil and a small curved line above for the brow. Teacher's Tip: Keep your pencil lines light so you can easily erase any overlapping marks later.
Step 2: Defining the Jaw

Use a curved line to form the lower jaw, doubling it back to create the mouth's shape. Add a horizontal line inside for the mouth opening and a row of small triangles for teeth. Teacher's Tip: Make the teeth small and uniform to give your dinosaur a friendly, cartoonish look.
Step 3: Starting the Long Neck
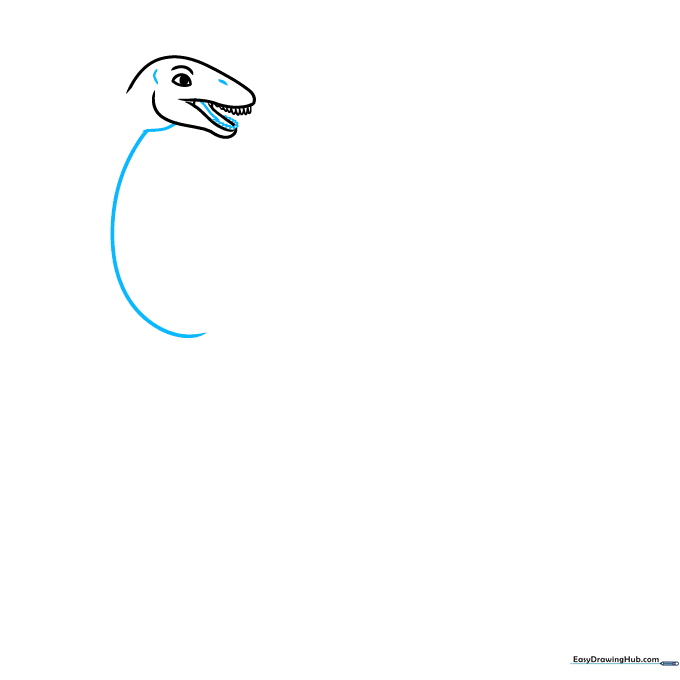
Add a second line inside the mouth to define the lower teeth. Use short, soft lines to contour the back of the head, then extend a long, sweeping line downward to begin the neck. Teacher's Tip: Apatosaurus necks are famously long—don't be afraid to make this line nice and curvy!
Step 4: The Front Leg
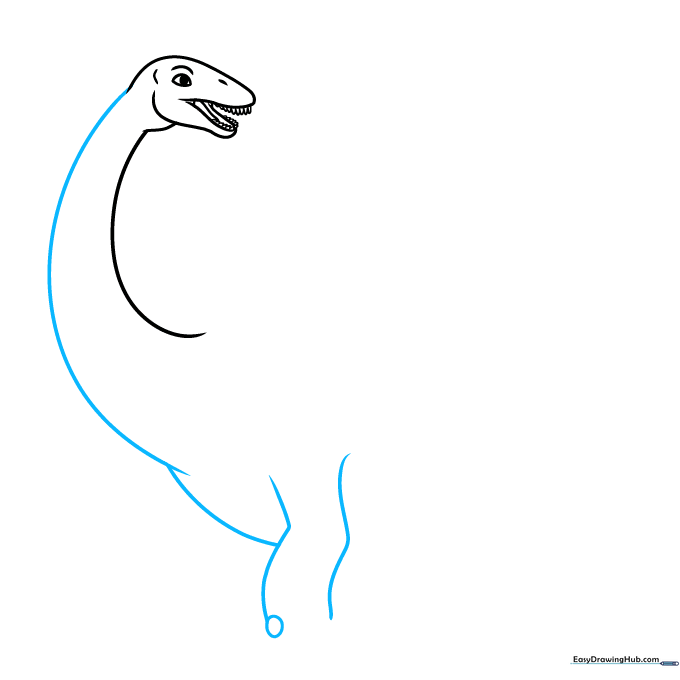
Draw a long curve from the back of the head to form the neck's silhouette. Create the front leg using two parallel lines, adding a small oval at the bottom for the toe. Connect the leg to the neck with a smooth curve. Teacher's Tip: Keep the leg lines slightly bent to show the dinosaur is standing naturally.
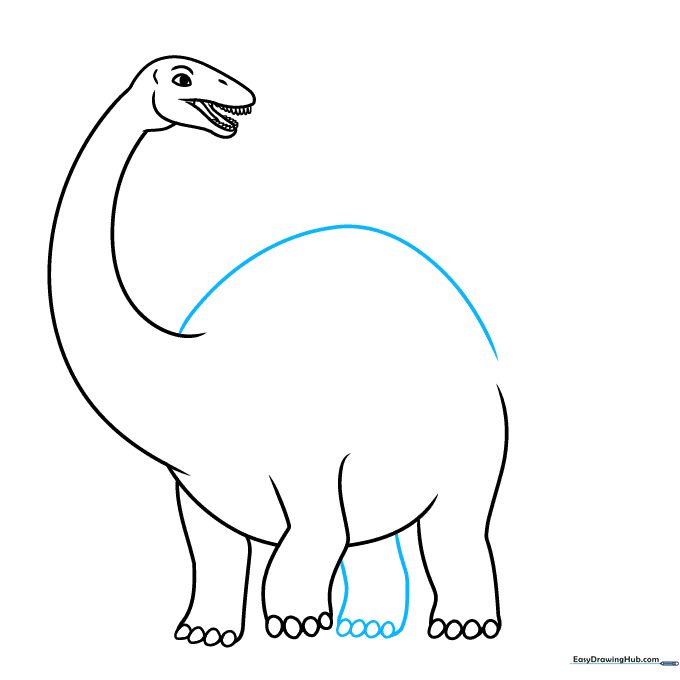
Step 5: Adding the Belly and Rear Leg
Add three more oval toes to the front foot. Extend a curved line from the back of the leg to form the belly, then draw the outline of the rear leg below. Teacher's Tip: Think of the belly as a gentle, rounded arch connecting the front and back of the dinosaur.
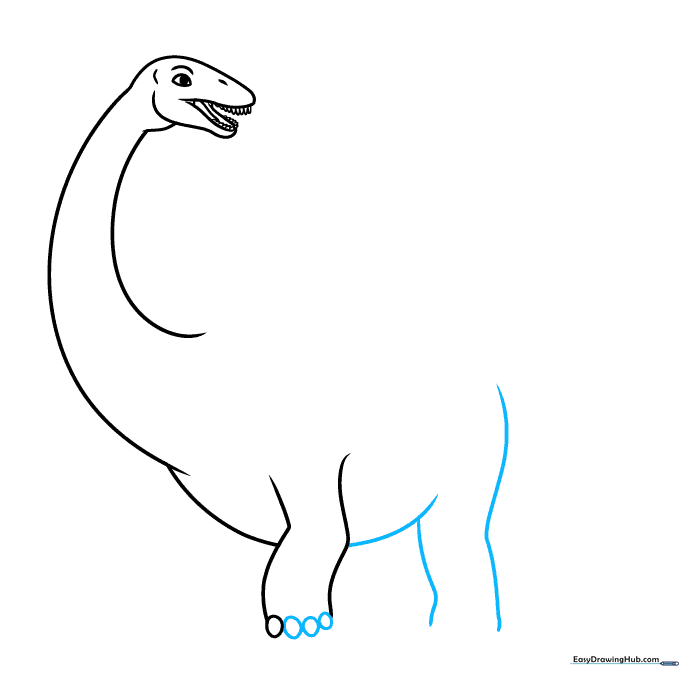
Step 6: The Second Foreleg
Extend two curved lines from the chest area and connect them with four small ovals to create the second foreleg. Add toes to the rear leg as well. Teacher's Tip: Drawing the legs slightly offset helps create a sense of depth and perspective.
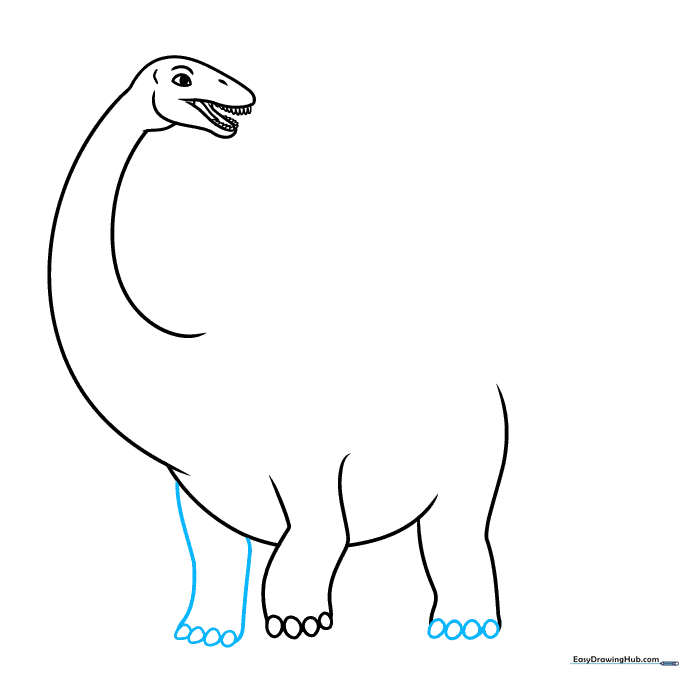
Step 7: Completing the Legs and Back
Draw the final rear leg using two curved lines and four ovals for the toes. Extend a long, smooth line from the base of the neck to form the dinosaur's back. Teacher's Tip: Use a continuous, fluid motion for the back line to make the dinosaur look strong and graceful.
Step 8: Adding the Tail
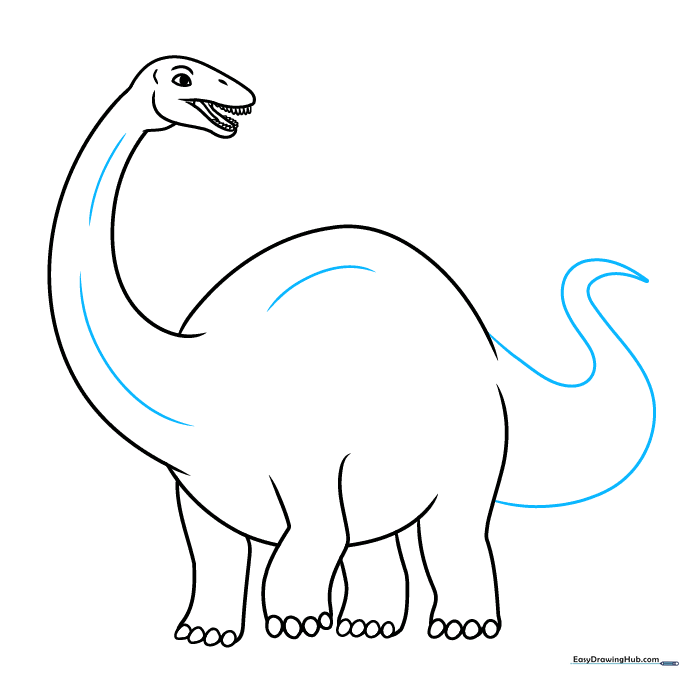
Extend long, curved lines from the back and the rear leg, meeting at a sharp point to create the tail. Add a few contour lines along the neck and back for texture. Teacher's Tip: A long, tapering tail balances the long neck perfectly!
Step 9: Refining the Details
Use additional curved lines to add detail to the knees, the base of the neck, and the tail. These small marks add realism to your drawing. Teacher's Tip: Keep these lines subtle—they are just meant to suggest muscle and movement.
Step 10: Bringing it to Life with Color

Your outline is complete! Now, bring your Apatosaurus to life with color. While greens and browns are traditional, dinosaurs are your canvas—try bright blues or spotted patterns for a unique look. Teacher's Tip: Use light pressure with your colored pencils to blend shades together for a more professional finish.
More Tutorials


