How to Draw an Anime School Girl: Easy 10-Step Guide
Ready to bring your own anime character to life? This tutorial is perfect for young artists ages 8+ looking to master classic manga proportions. You will only need a pencil, an eraser, and a piece of paper to build your character from the face down to her sailor-style uniform.
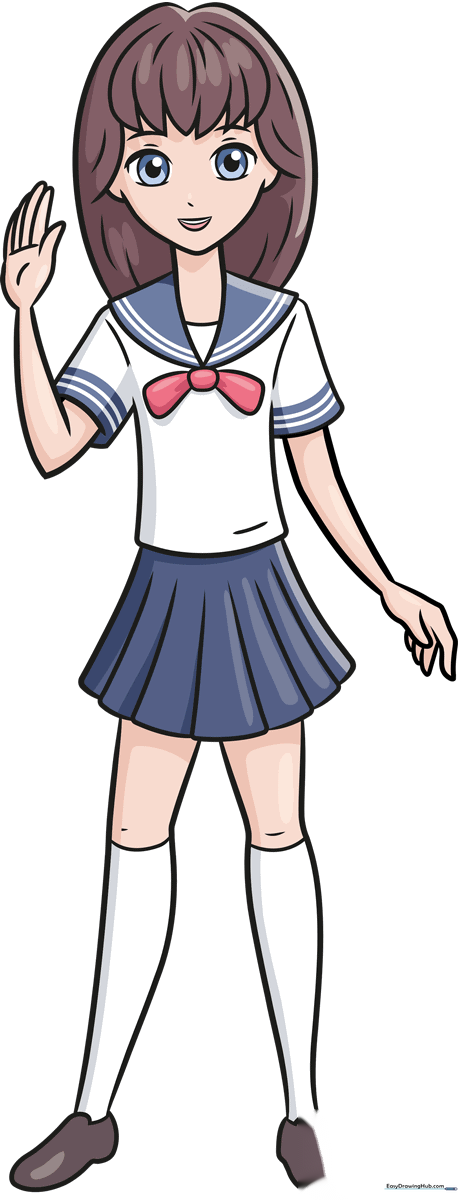
🎯 Final Result
Step-by-Step Instructions
Step 1: Sketching the Expressive Anime Eyes

Start by drawing three circles of decreasing size for the eyes. Shade the space between the two smallest to create the pupil. Add a thick, curved line above for the lash and a thinner one below for the classic anime look. Teacher's Tip: Keep the eyes symmetrical to give your character a balanced, friendly expression.
Step 2: Framing the Face with Hair

Draw the hair by creating curved lines that meet at sharp, downward-facing points above the forehead. Extend these lines down the sides of the face to frame it. Tip: Draw the hair strands in 'clumps' rather than individual hairs to get that authentic anime aesthetic.
Step 3: Defining the Neck and Collar
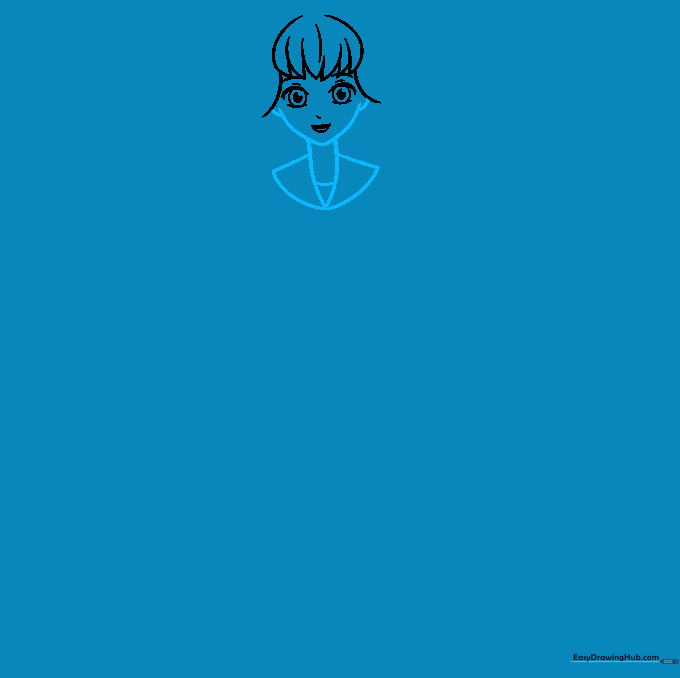
Outline the ears and a pointed chin using smooth curves. Extend two lines downward for the neck. Below the neck, sketch an inverted triangle and two curved triangles on the sides to form the sailor-style collar. Tip: Ensure the neck isn't too wide; a slender neck is a hallmark of anime character design.
Step 4: Adding Hair Texture and Necktie
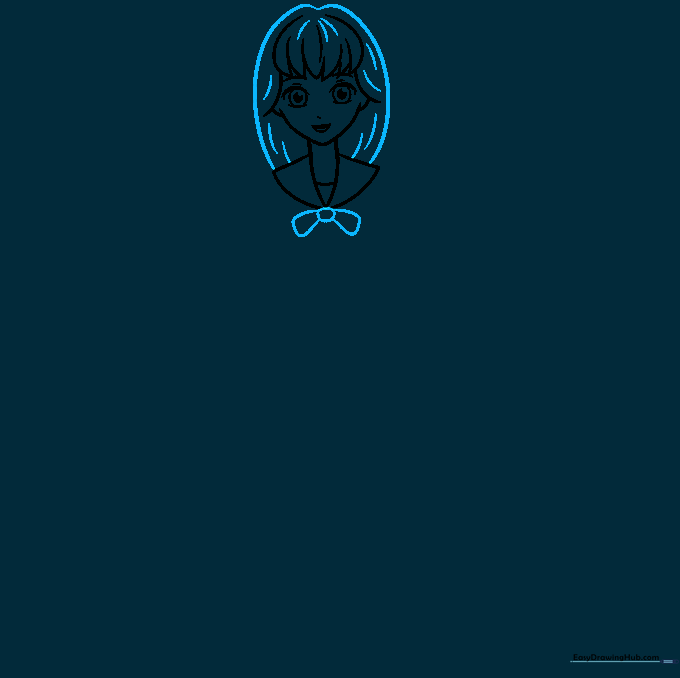
Add volume to the hair with curved lines and texture it with small, flicking strokes. Draw a small circle below the collar, then extend lines from it to create a necktie or bow. Tip: Use quick, confident strokes for the hair to make it look flowy and natural.
Step 5: Sketching the First Arm
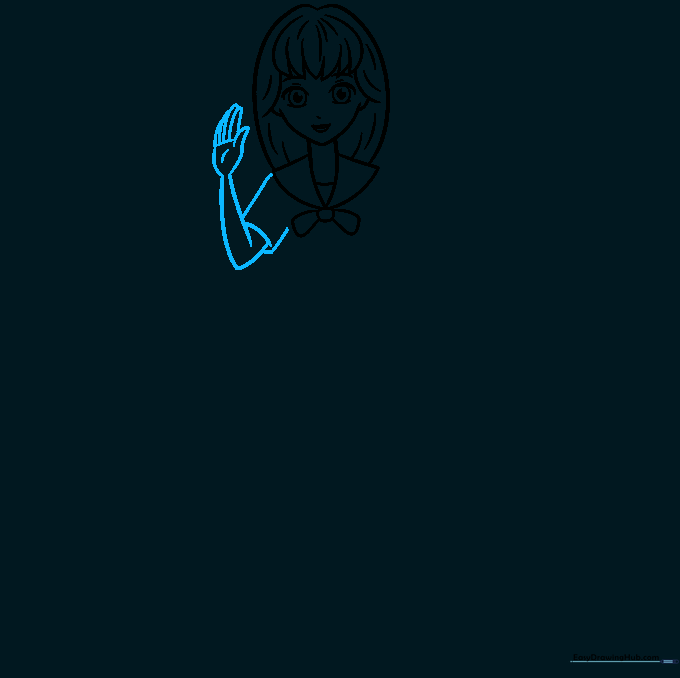
Use curved lines to outline the sleeve and arm. For the hand, use 'U' shaped lines to suggest overlapping fingers. Tip: Keep the fingers slightly rounded at the tips to maintain the soft, cartoonish style.
Step 6: Sketching the Second Arm
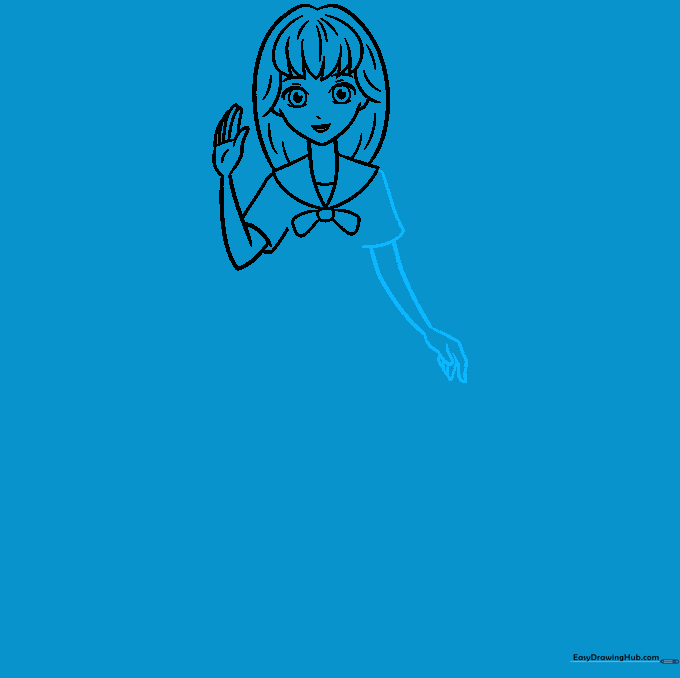
Repeat the process for the other arm, mirroring the sleeve and hand position. Tip: If you find hands difficult, remember that in anime, you don't need to draw every knuckle—simple, clean curves are much more effective.
Step 7: Drawing the Torso and Pleated Skirt
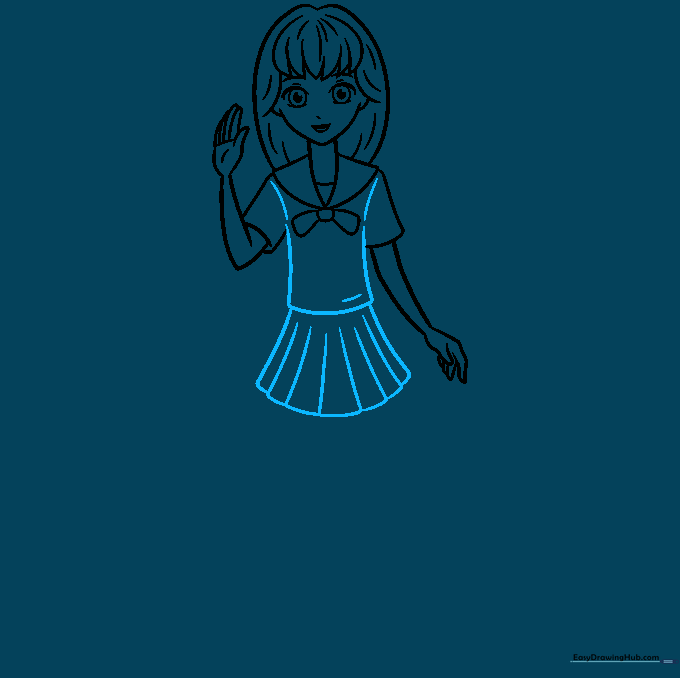
Connect the sides of the torso and add a hemline. Below the waist, draw multiple vertical curved lines to form the pleats of the skirt. Tip: Vary the width of the pleats slightly to make the fabric look like it has natural movement.
Step 8: Adding the First Leg
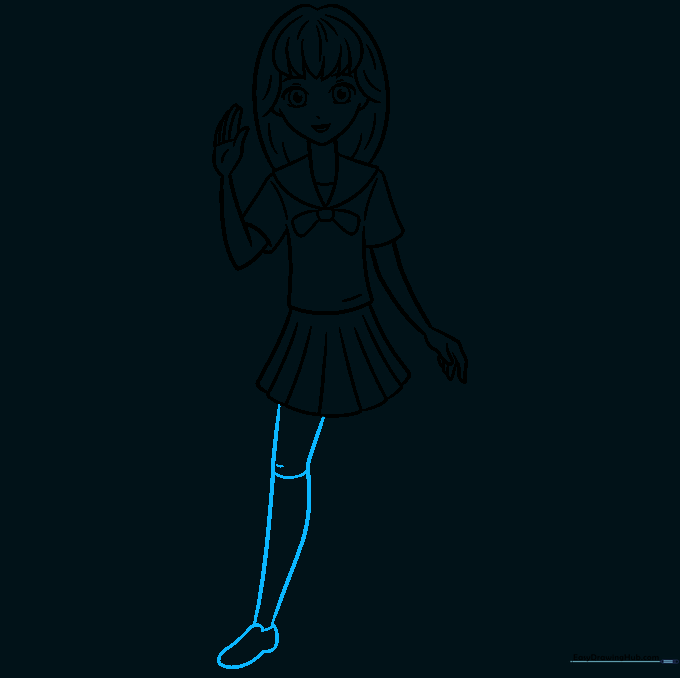
Draw the leg using two long, slightly curved lines, noting the bend at the knee. Add a band near the knee for the sock and sketch the shoe at the bottom. Tip: A slight curve at the knee makes the character look like she is standing naturally rather than stiffly.
Step 9: Completing the Second Leg
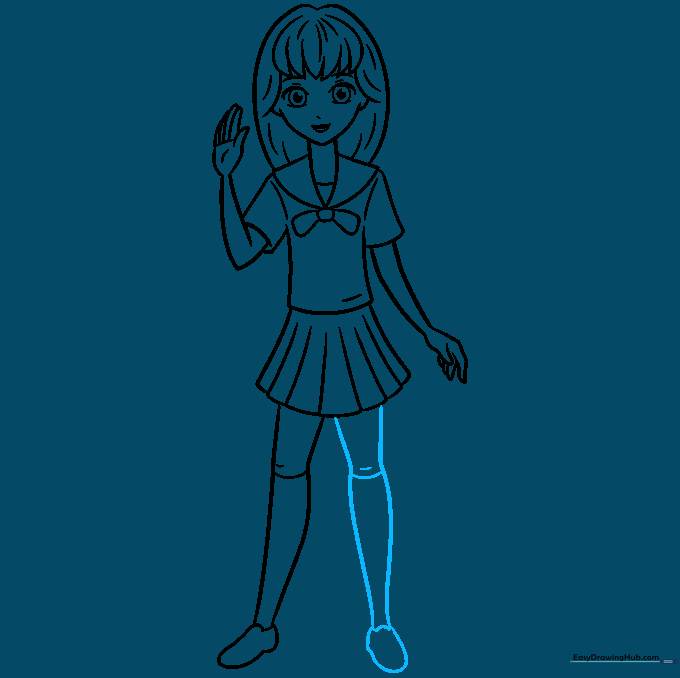
Outline the second leg to match the first, ensuring the sock band and shoe align. Tip: Check your proportions—make sure the legs are roughly the same length so your character looks balanced.
Step 10: Adding Color
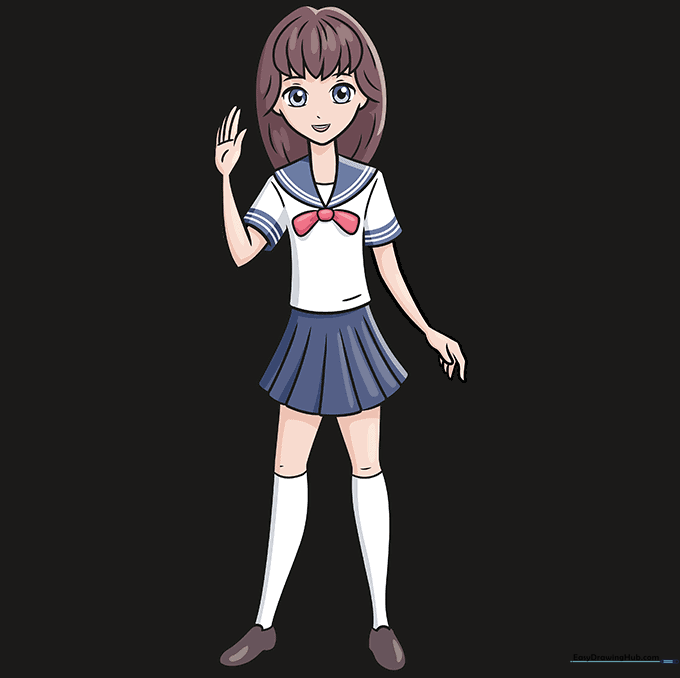
Bring your drawing to life with color! Use navy blue for the sailor suit and a bright red for the tie. Tip: Use light, even pressure with your colored pencils to avoid streaks, or try layering colors for a more professional finish.
More Tutorials


