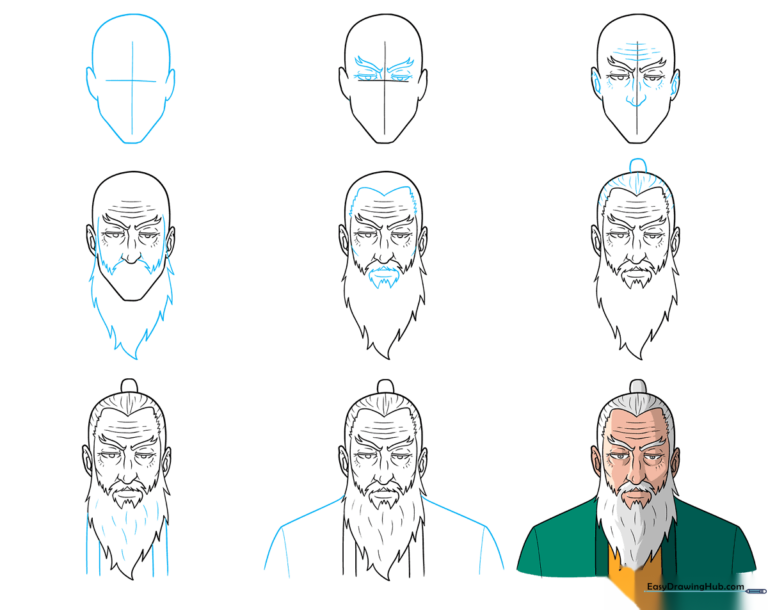
How to Draw an Anime Old Man: Easy 9-Step Guide
Ready to bring a wise character to life? This tutorial is perfect for artists ages 8+ looking to master expressive facial features and textures. Grab your pencil and paper to follow along as we build this character from simple shapes to a detailed anime portrait.
🎯 Final Result
Step-by-Step Instructions
Step 1: Establishing the Head Shape
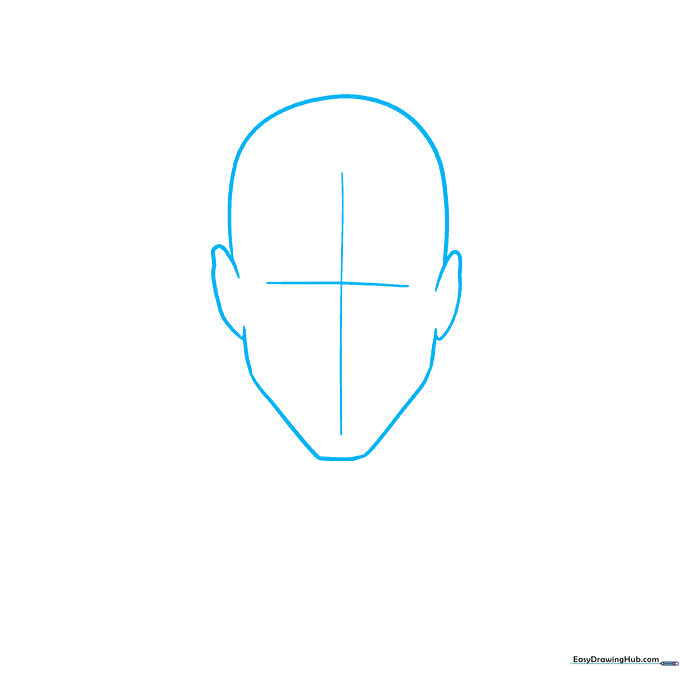
Lightly sketch the head using curved lines for the chin and ears. Add a light horizontal and vertical cross-grid to help align the features. Teacher's Tip: Keep your pencil pressure very light here; these guidelines are just a map and will be erased later!
Step 2: Drawing Expressive Eyes
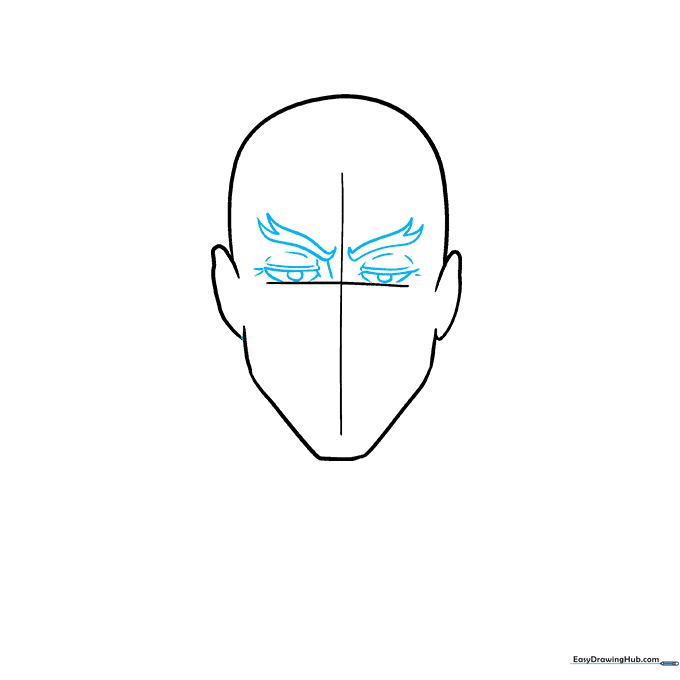
Place the eyes along the horizontal grid line. Use curved lines for the lids to show age, and add jagged, furrowed eyebrows to give him a serious, concentrated look. Teacher's Tip: The 'furrow' between the brows is key to capturing that wise, elderly expression.
Step 3: Adding Facial Details
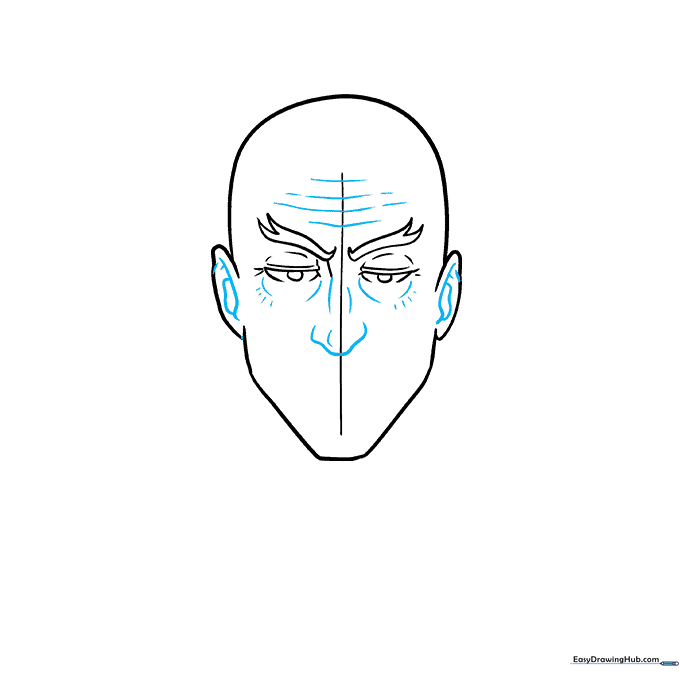
Erase your horizontal grid line. Use the vertical line to center the nose, then add small circles or 'bags' under the eyes to show age. Teacher's Tip: Use soft, light strokes for the under-eye bags so they look like natural skin folds rather than harsh lines.
Step 4: Sketching the Beard
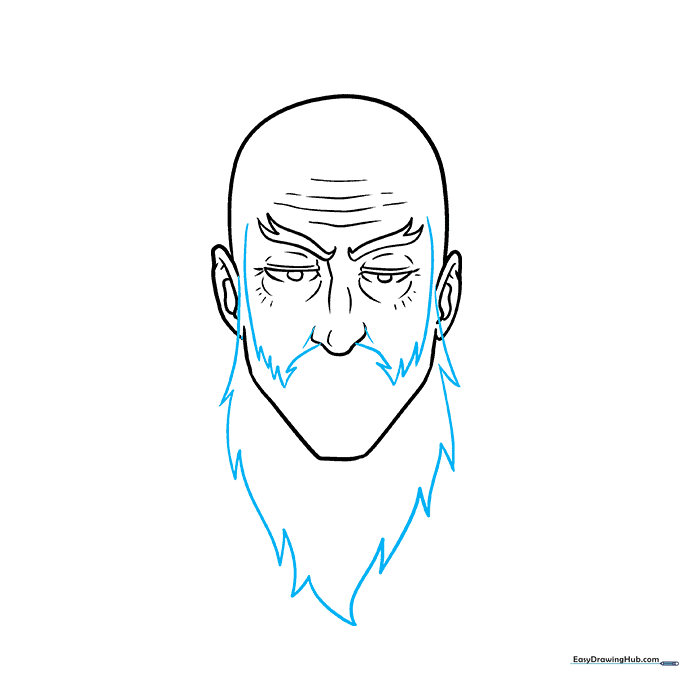
Clear away the remaining grid lines. Start the beard using jagged, uneven lines of varying lengths to mimic coarse hair. Teacher's Tip: Varying the length of your strokes makes the beard look more realistic and less like a solid block.
Step 5: Defining Hair and Lips
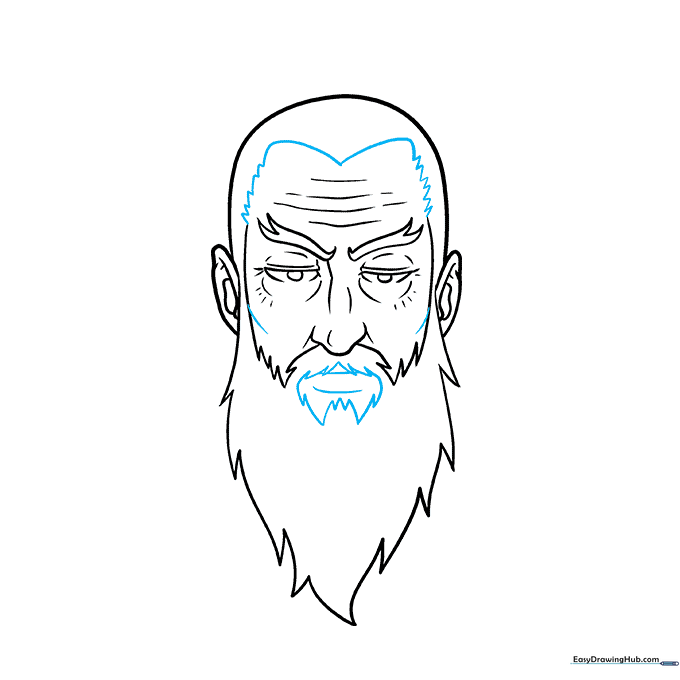
Add short, quick strokes along the forehead for the hairline. Leave a small gap in the beard around the mouth area, and draw the lips with simple, curved lines. Teacher's Tip: Don't over-draw the lips; a simple curve is enough to suggest a mouth hidden by a mustache.
Step 6: The Samurai Bun
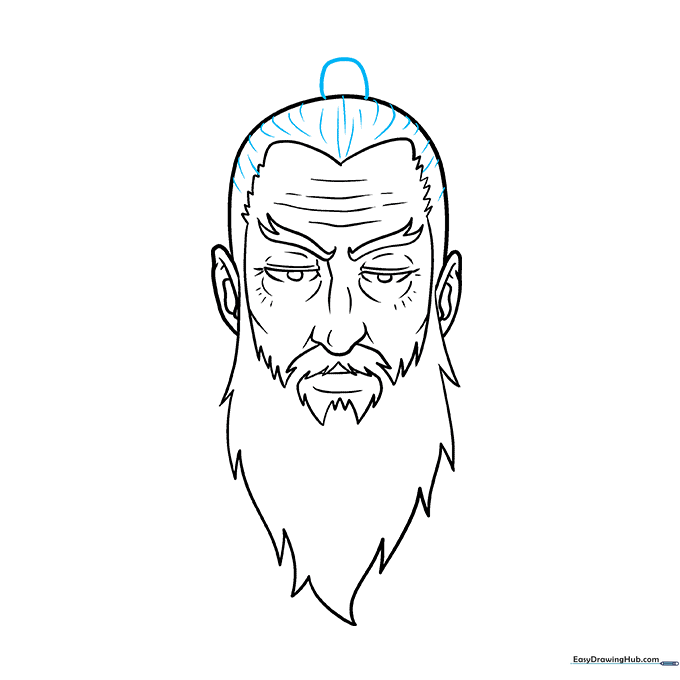
Draw a partial circle on top of the head for the bun. Add short, directional lines from the forehead toward the bun to show the hair's flow. Teacher's Tip: Think of the hair like a fan—all lines should point toward the center of the bun.
Step 7: Adding Texture and Clothing
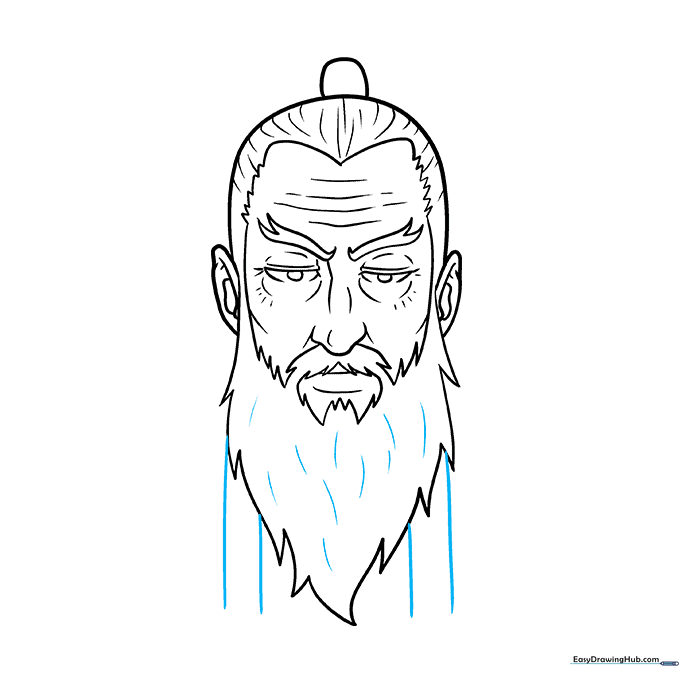
Add small, curved lines throughout the beard to give it volume. Extend two lines downward from the chin to start the collar of the robe. Teacher's Tip: Use 'C' shaped curves for the beard texture to make it look soft and full.
Step 8: Drawing the Robes
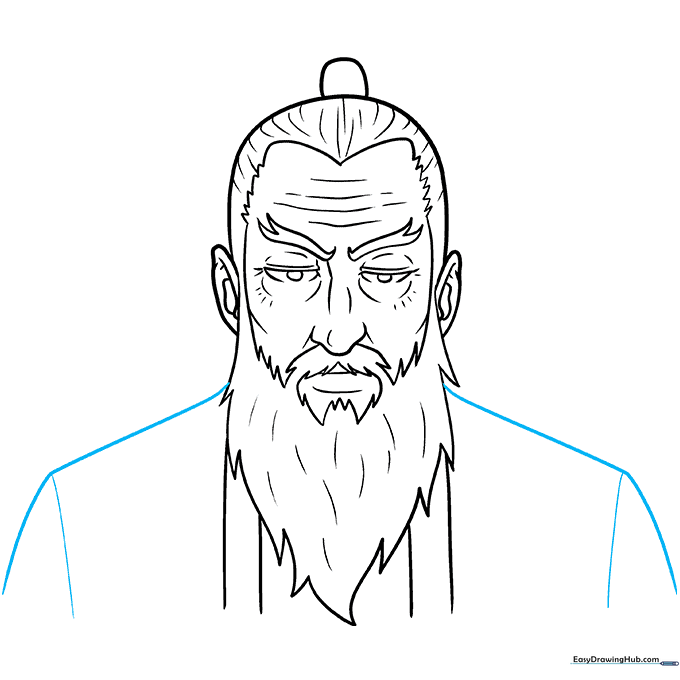
Use smooth, sweeping curved lines to draw the shoulders and wide sleeves of the robe. Teacher's Tip: Keep these lines fluid to contrast with the jagged, textured lines of the beard.
Step 9: Adding Color
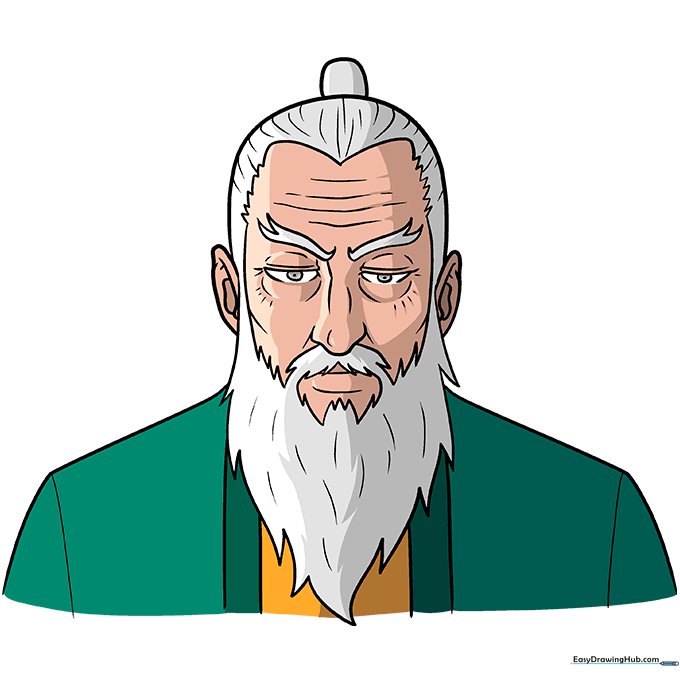
Bring your character to life with color! Use muted tones for the robes and soft grays or whites for the hair and beard. Teacher's Tip: Use a darker shade of your base color to add shadows under the chin and in the folds of the sleeves for a professional finish.
More Tutorials


