How to Draw a Chibi Girl: Easy Step-by-Step Anime Guide
Ready to create your own adorable chibi character? This tutorial is perfect for artists ages 7+ looking to master the 'chibi' style—characterized by big eyes and a small, cute body. Grab your pencil, eraser, and paper, and let’s bring this expressive character to life together.
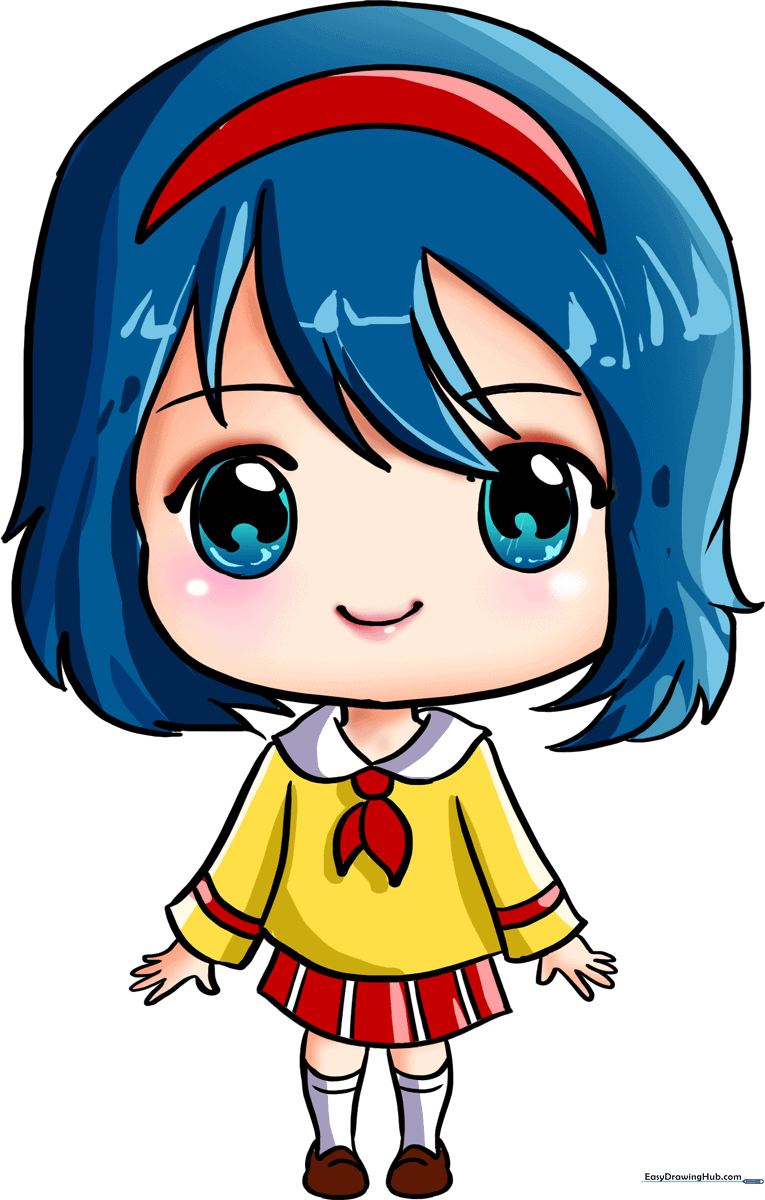
🎯 Final Result
Step-by-Step Instructions
Step 1: Sketching the Head Shape

Draw a large, rounded shape for the head with a slight bulge for the forehead and cheeks. Teacher's Tip: Keep your pencil pressure light; this is just the foundation, and we'll be adding hair over it soon!
Step 2: Adding the Hairstyle
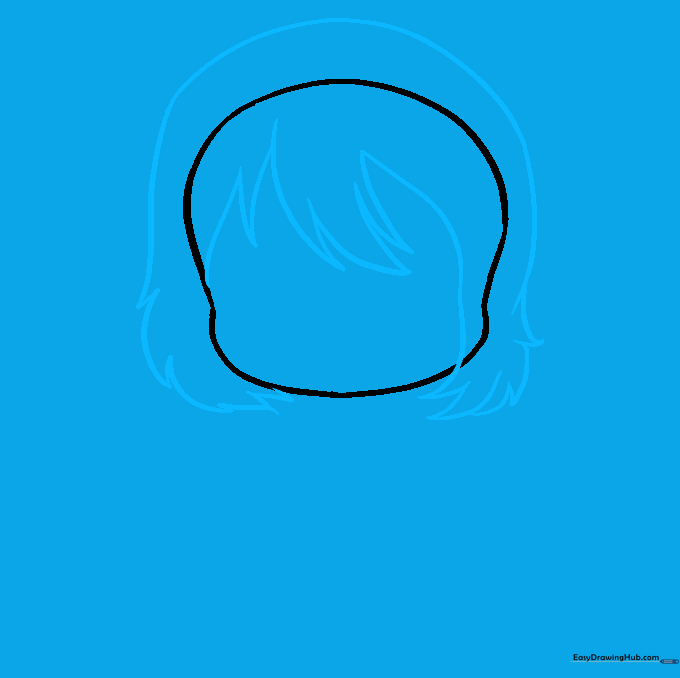
Draw a curved line above the head, then add jagged, pointed locks of hair that frame the face. Tip: Anime hair is all about 'clumps'—don't worry about drawing every single strand, just focus on the overall shape of the bangs.
Step 3: Cleaning the Lines

Carefully erase the original head outline that is now hidden inside the hair. Tip: Use a clean eraser and brush away the crumbs so your drawing stays crisp and smudge-free.
Step 4: Drawing the Headband
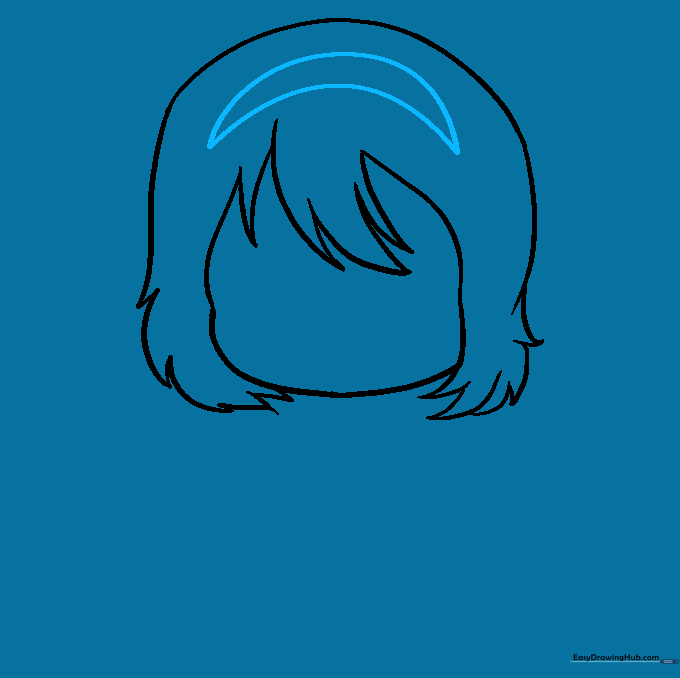
Add a headband by drawing two curved lines across the top of the hair, meeting at pointed ends. Tip: Imagine the headband is wrapping around a sphere; follow the curve of the head to make it look realistic.
Step 5: Neck and Scarf

Draw two short lines for the neck, then add the scarf collar using two triangle shapes that meet at a small circle knot. Tip: Keep the scarf shapes symmetrical to help the character look balanced.
Step 6: Shirt and Sleeves
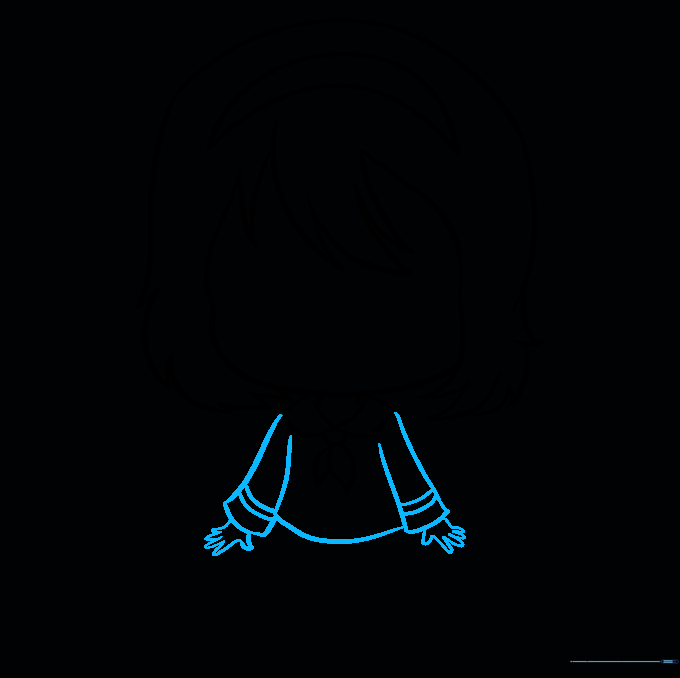
Draw the arms with curved lines and add 'U' shapes for the hands. Connect the sleeves with a curved line to form the shirt. Tip: Chibi hands are often simplified—don't worry about drawing individual fingers yet!
Step 7: The Skirt
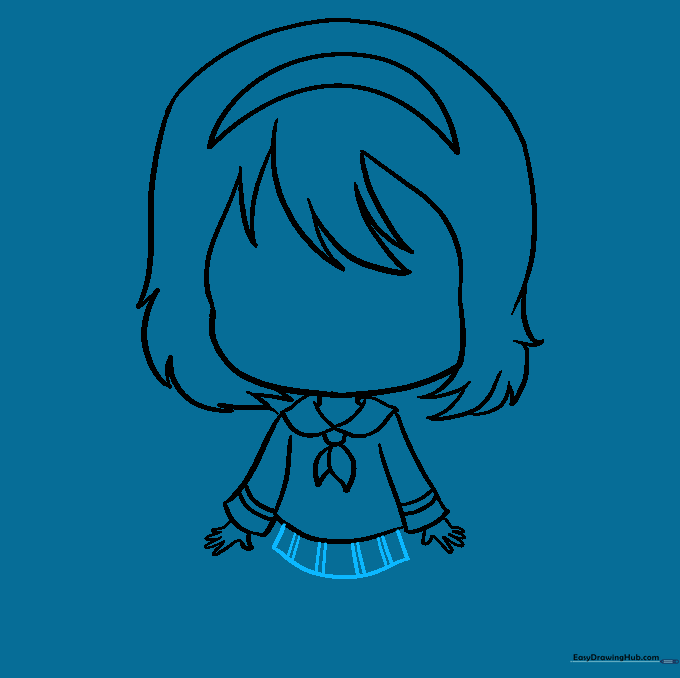
Draw a curved rectangle below the shirt for the skirt, adding vertical lines to create pleats. Tip: Pleats add movement to your drawing; make sure the lines are evenly spaced.
Step 8: Legs and Shoes
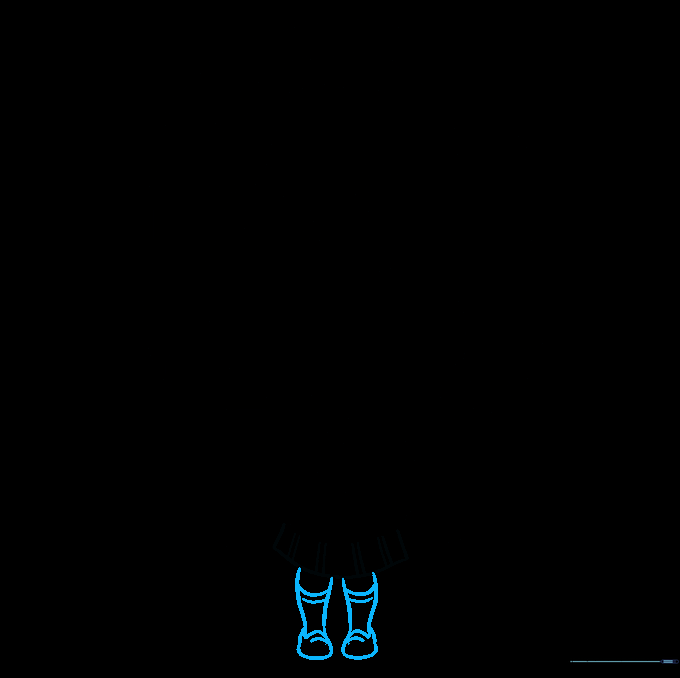
Draw the legs with curved lines, adding bands for socks and shoes. Tip: Keep the legs short and stubby to maintain that cute 'chibi' proportion.
Step 9: Facial Features
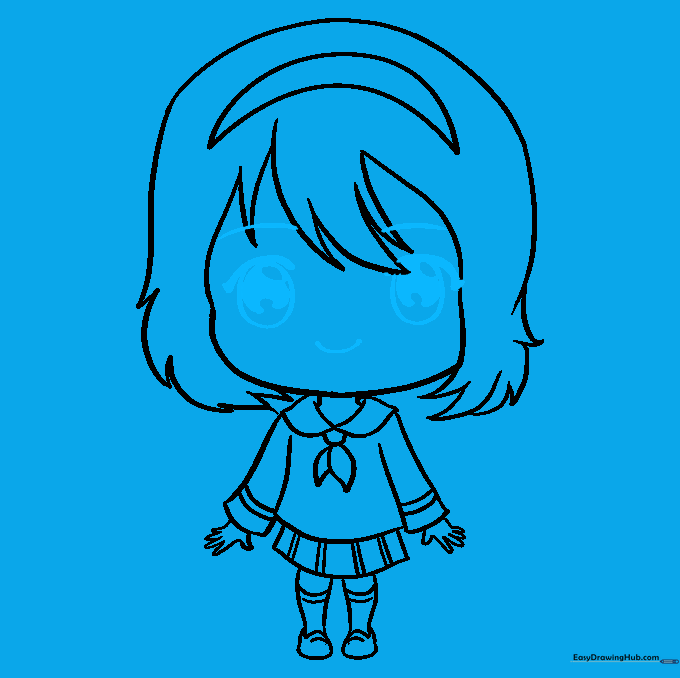
Draw large ovals for the eyes, adding pupils and simple curved lines for the eyebrows and a happy mouth. Tip: Big, expressive eyes are the most important part of a chibi character—take your time here!
Step 10: Adding Color
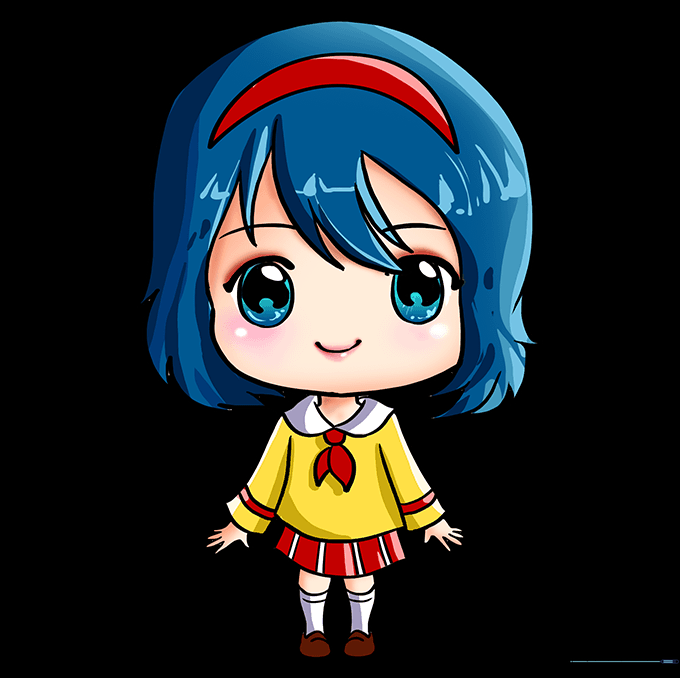
Bring your character to life with color! Don't be afraid to use bright, non-traditional colors for the hair and eyes. Tip: Use a darker shade of your base color to add a little shadow under the hair or chin for depth.
More Tutorials


