How to Draw an Anime Boy: Simple Full-Body Tutorial
Ready to bring your own anime character to life? This tutorial is perfect for artists ages 8+ looking to master full-body proportions using simple shapes. All you need is a pencil, an eraser, and a piece of paper to start building your character from the head down to the shoes.
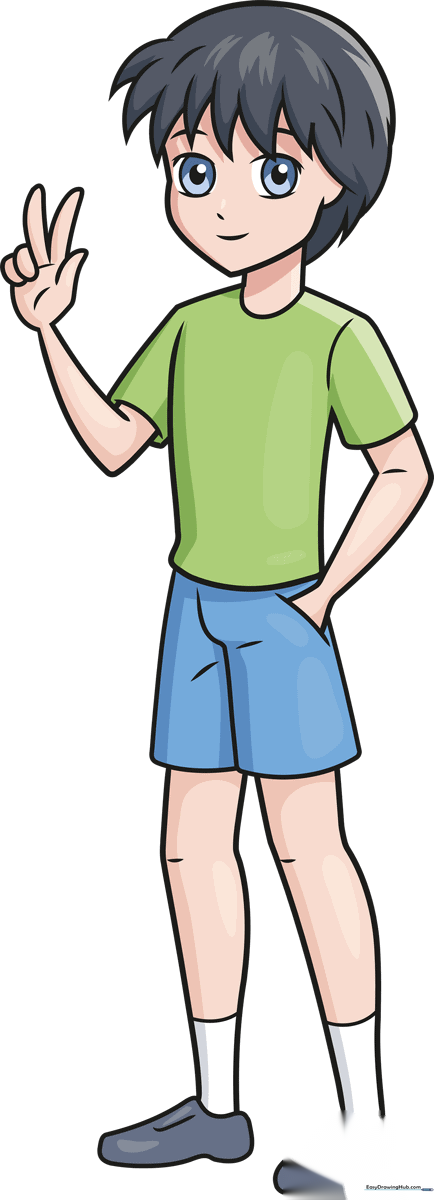
🎯 Final Result
Step-by-Step Instructions
Step 1: Sketching the Expressive Face

Start by drawing the eyes using three nested shapes: two ovals and a small circle for the pupil. Add curved lines above and below to create that signature anime look. Teacher's Tip: Keep your pencil pressure light here; these are just guidelines for your character's expression.
Step 2: Adding Spiky Manga Hair
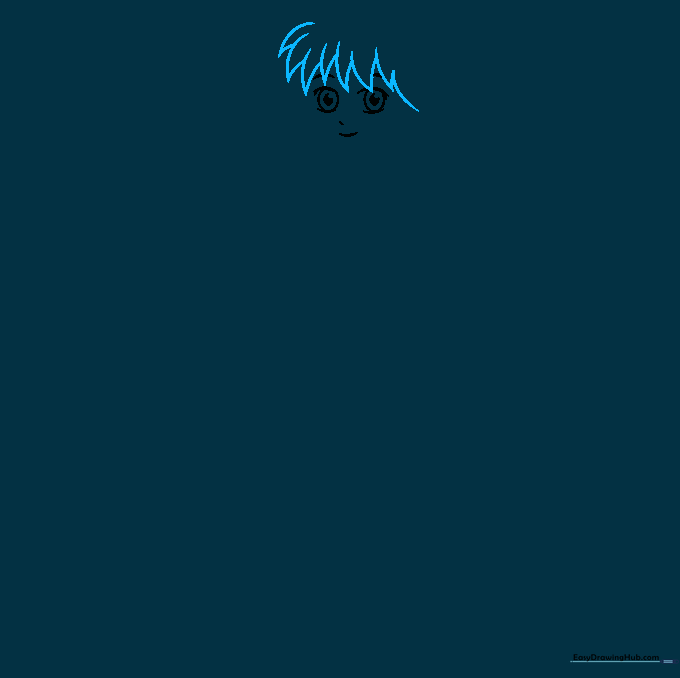
Draw the hair using pairs of curved lines that meet at sharp, jagged points. Tip: Don't worry about perfection; manga hair is meant to look slightly wild and energetic!
Step 3: Defining the Head and Chin
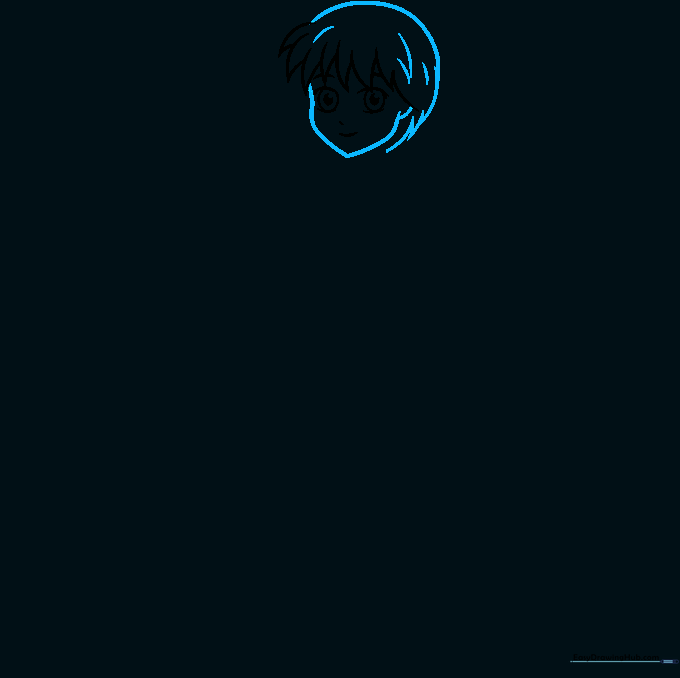
Use a long, smooth curve to connect the hair to the chin. Add a small ear on the side. Teacher's Tip: A pointed chin is a classic anime trait—keep the curve sharp to maintain the style.
Step 4: Sketching the Torso
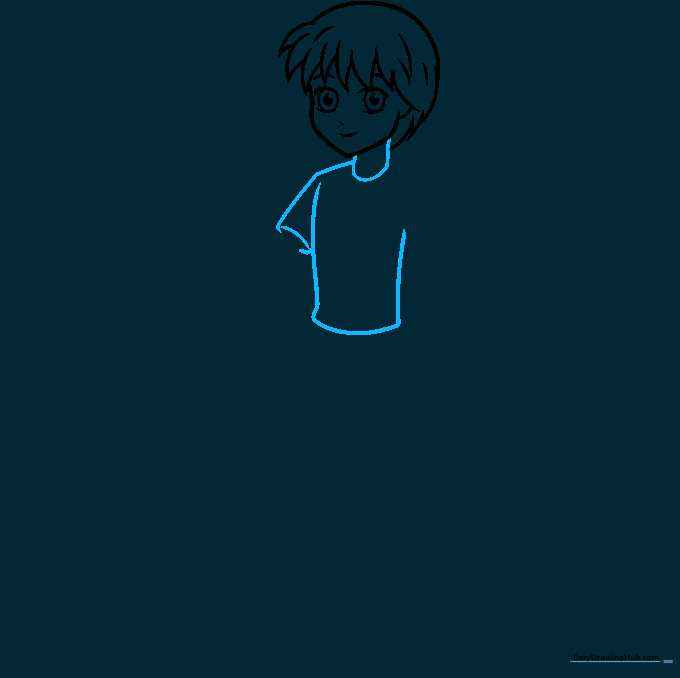
Extend two lines down from the head to create the neck, then sketch the shoulders and the top of the shirt. Tip: Keep the shoulders slightly rounded to give the character a natural posture.
Step 5: Adding Arms and Pockets

Draw the arms using simple tubes, adding a small curve at the elbow to show the bend. Add a pocket line on the pants for detail. Tip: Use your own arm as a reference for where the elbow should sit!
Step 6: Drawing the Hands
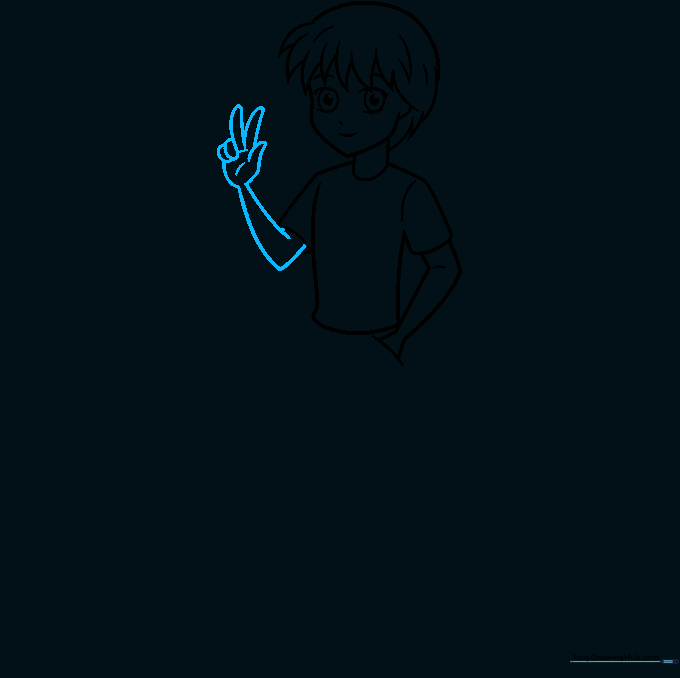
Draw the hands with a 'victory' sign using small U-shaped lines for fingers. Tip: Hands are tricky! Focus on the overall shape rather than individual knuckles at this stage.
Step 7: Shaping the Pants
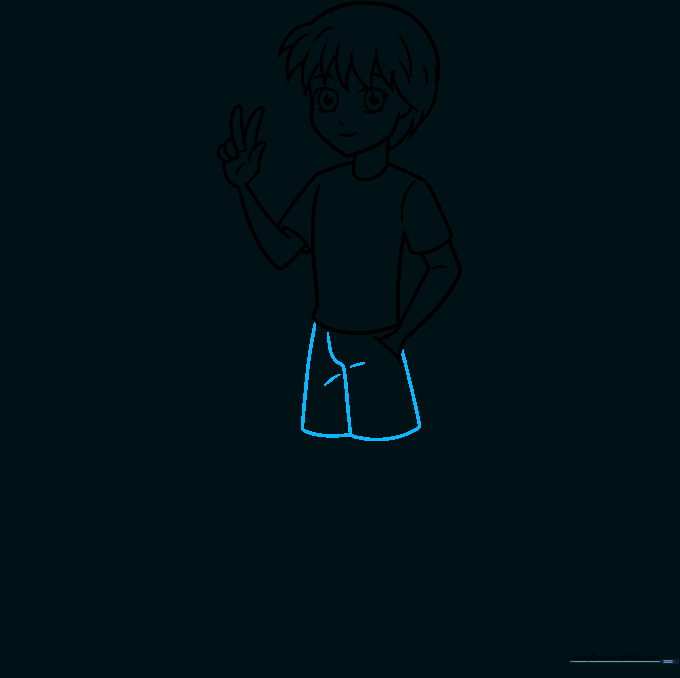
Use curved lines to define the pants, adding a few extra lines near the knees to suggest fabric folds. Tip: Adding these small 'wrinkle' lines makes your drawing look much more professional.
Step 8: Adding the First Leg and Shoe
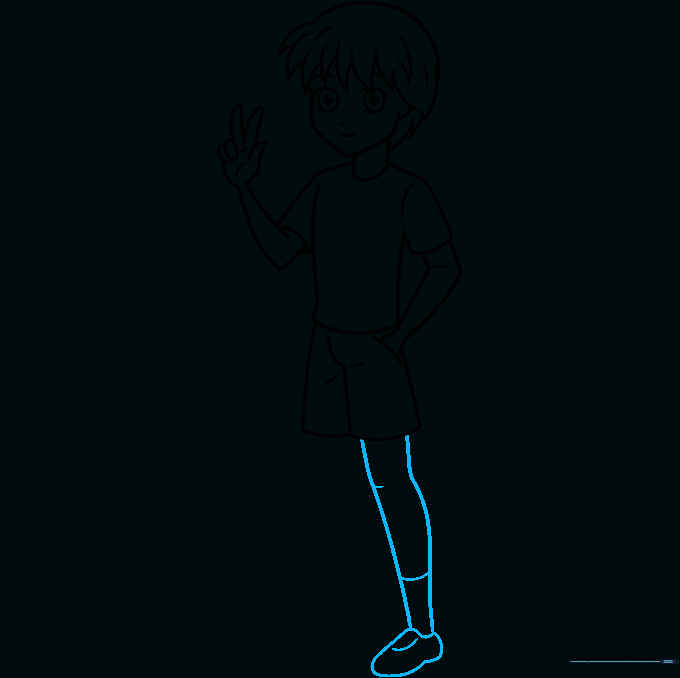
Draw the leg and a loafer-style shoe. Add a horizontal line at the ankle to represent the sock. Tip: Keep the shoe shape rounded to match the anime aesthetic.
Step 9: Completing the Second Leg

Mirror the process for the second leg, ensuring the knee bend matches the first. Tip: Check that both feet are at the same level on the page so your character looks like they are standing firmly.
Step 10: Bringing Your Character to Life with Color
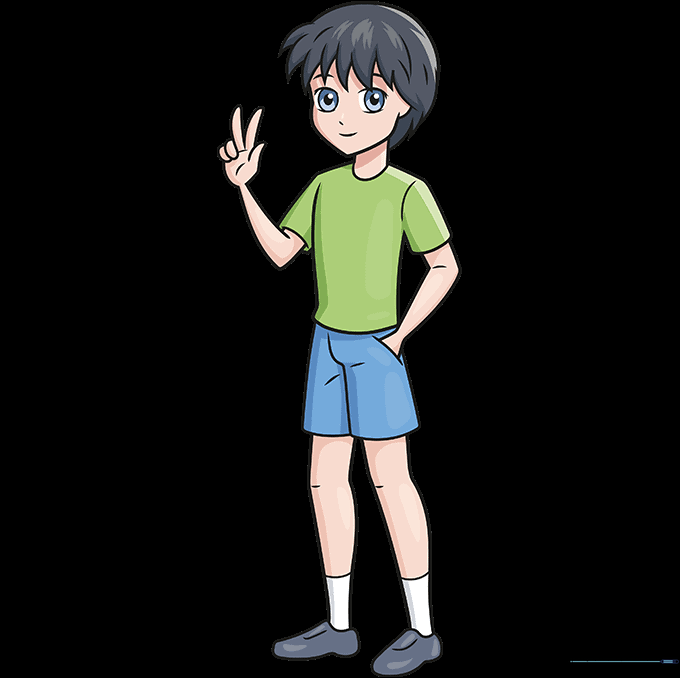
Erase your stray guideline marks and add your favorite colors! Tip: Use bold, flat colors for the clothes to keep that classic anime look.
More Tutorials


