How to Draw an Anime Beard: Easy Step-by-Step Guide
Ready to add personality to your anime characters? This guide is perfect for artists looking to master facial hair, from stubble to full beards. Grab your pencil and eraser, and let’s build a character with confidence.
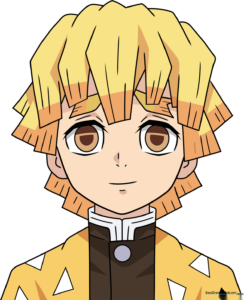
🎯 Final Result
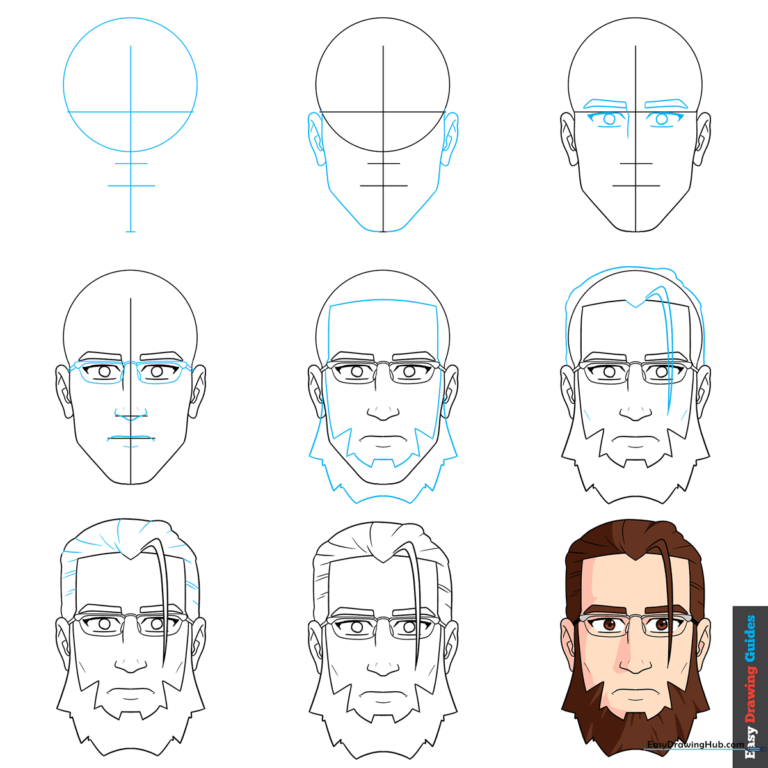
Step-by-Step Instructions
Step 1: Establishing the Facial Grid
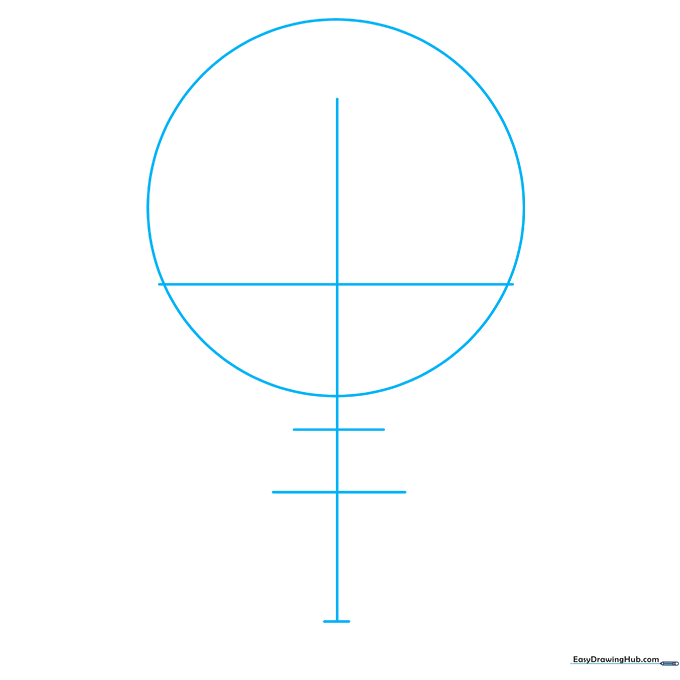
Start by sketching a light vertical line through a circle to serve as your center axis. Add a horizontal line below the circle's midpoint to mark the eye level. Below the circle, add three short horizontal marks to map out the nose, mouth, and chin. Teacher's Tip: Keep these lines extremely faint so they don't smudge when you start adding details.
Step 2: Shaping the Jawline
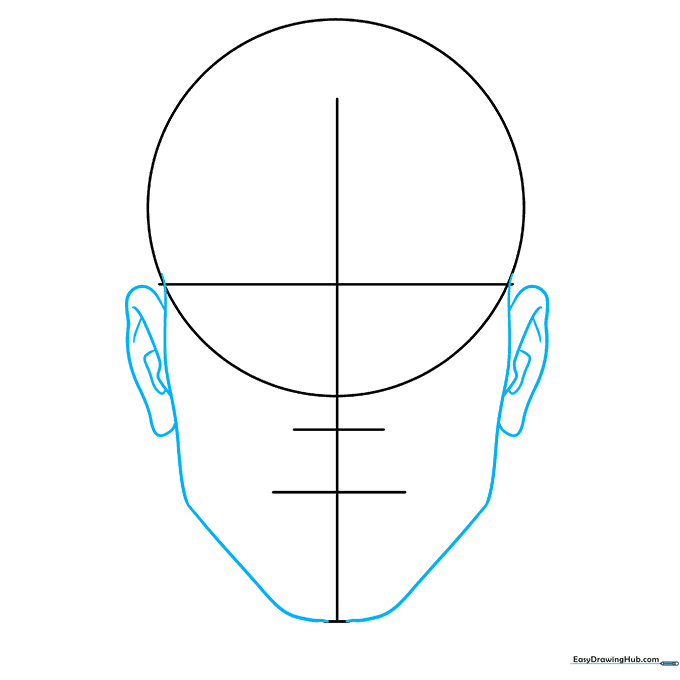
Connect the sides of the circle to your lowest horizontal mark with a smooth, curved line to define the jaw. Add small, curved shapes just below the eye line for the ears. Teacher's Tip: Ensure your jawline is symmetrical; if it looks lopsided, rotate your paper to get a better angle.
Step 3: Placing Eyes and Brows
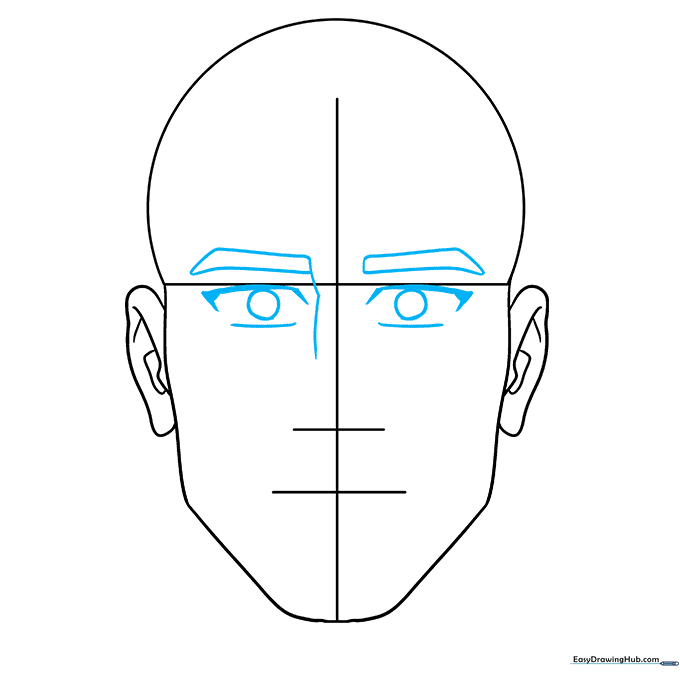
Erase the bottom of your initial circle. Position rectangular anime-style eyes along the horizontal grid line, with matching rectangular brows just above them. Add a small curve for the nose bridge. Teacher's Tip: Anime eyes are expressive; keep the tops of the eyes flat to give your character a more serious, mature look.
Step 4: Adding Glasses and Features
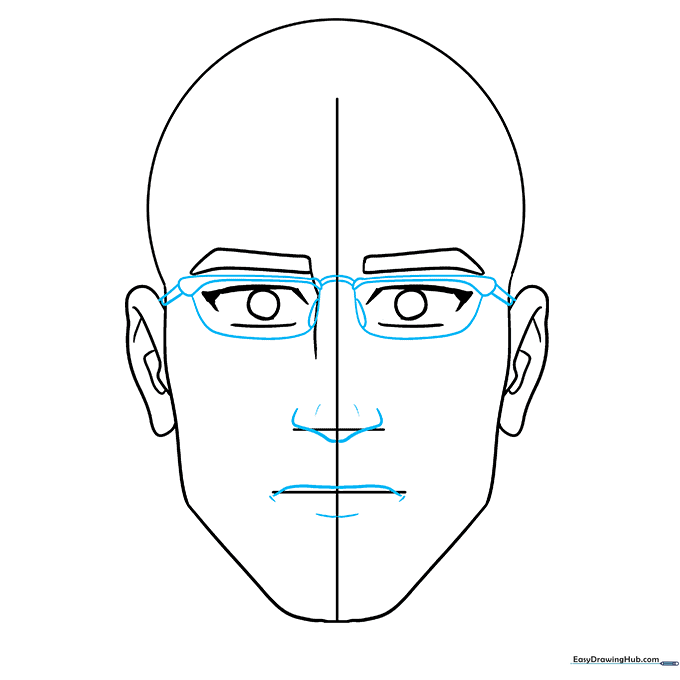
Draw the glasses frames encircling the eyes, connecting them with a bridge. Use your remaining grid lines to place the nose and mouth. Teacher's Tip: When drawing the mouth, keep the line short and simple—less is more in anime expressions.
Step 5: Defining the Beard and Hairline
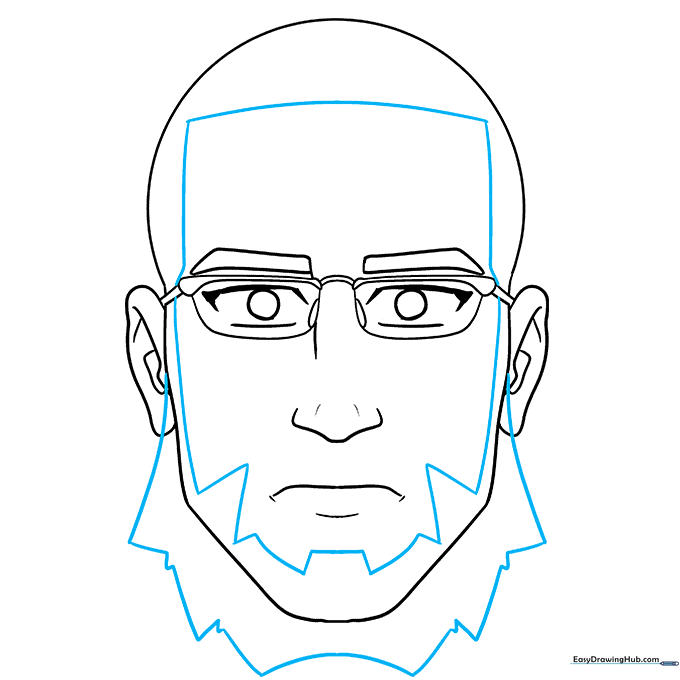
Clean up your guide lines. Use jagged, rhythmic strokes to outline the beard around the chin and jaw. Add the hairline at the top of the forehead. Teacher's Tip: Don't make the beard too perfect; vary the length of your strokes to make the hair look natural and full.
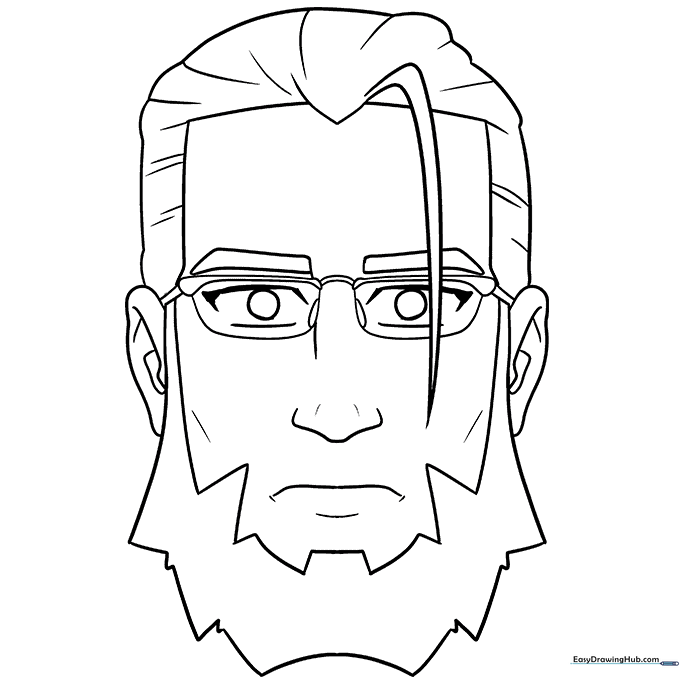
Step 6: Refining Hair Strands

Erase the jawline hidden behind the beard. Add curved, flowing lines to create the hair on top of the head, including a strand falling across the forehead. Teacher's Tip: Think of hair in 'clumps' rather than individual strands to keep your drawing clean.
Step 7: Adding Texture
Use short, flicking pencil strokes within the beard and hair to add texture and depth. Teacher's Tip: Vary the pressure of your pencil to create darker and lighter areas, which makes the beard look more realistic.
Step 8: Final Coloring
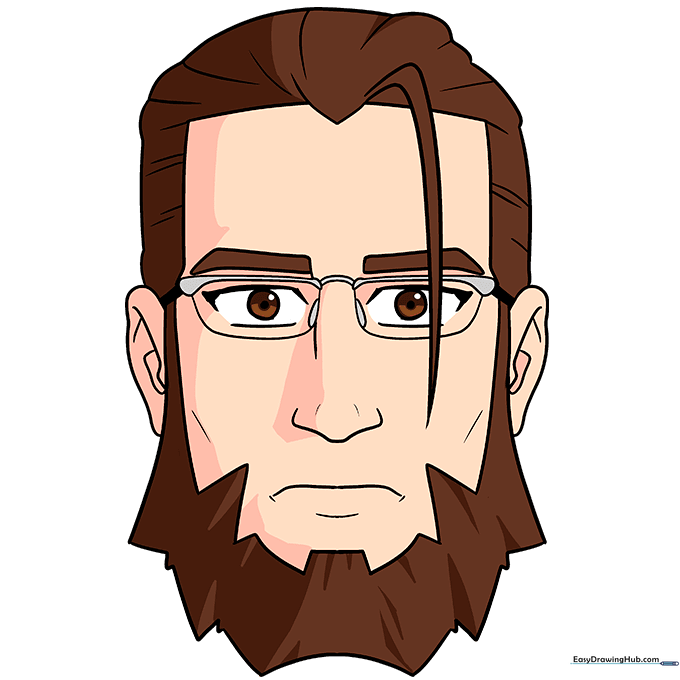
Fill in the beard and hair with your chosen color. Use darker shades for the roots and lighter shades for the tips to add dimension. Teacher's Tip: If you're using markers, color in the direction of the hair growth for a professional finish.
More Tutorials