How to Draw an Angler Fish: Easy 10-Step Guide for Kids
Ready to explore the mysterious deep sea? This tutorial is perfect for young artists ages 6+ who want to draw their own spooky angler fish. All you need is a pencil, an eraser, and some paper to bring this bioluminescent creature to life.
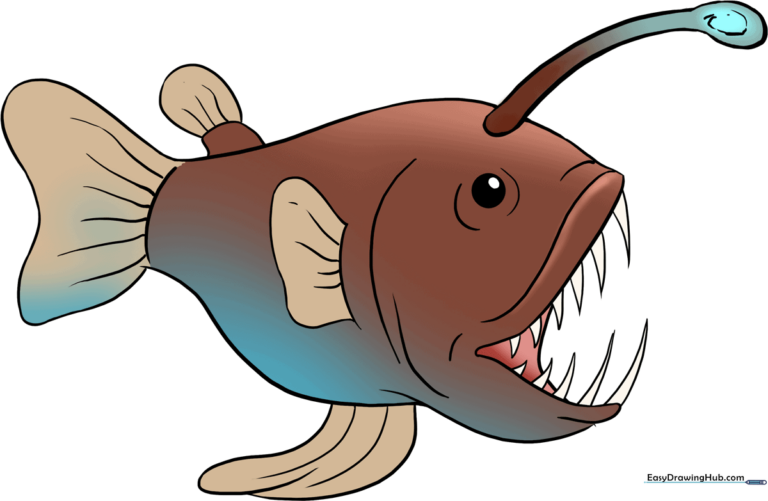
🎯 Final Result
Step-by-Step Instructions
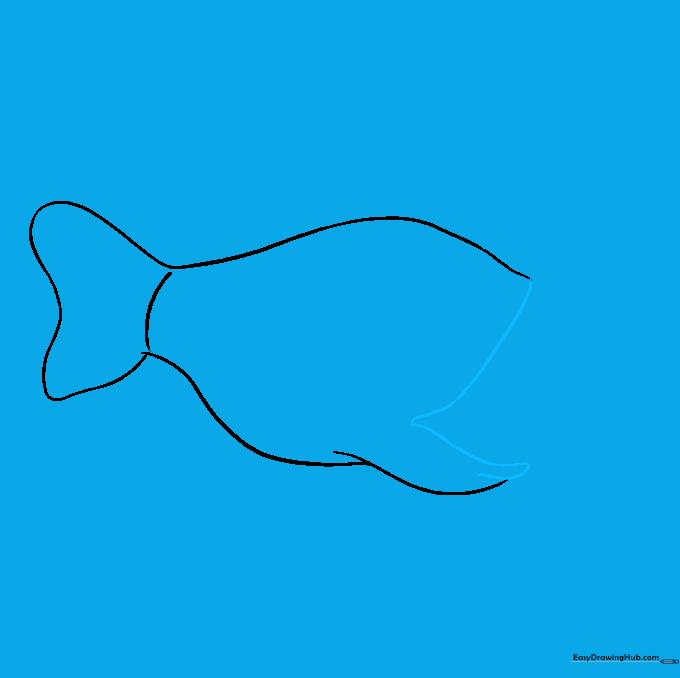
Sketching the Back

Start by drawing a long, horizontal curved line to form the fish's back. Teacher's Tip: Keep your pencil pressure light so you can easily adjust the shape later if you need to.
Forming the Belly and Jaw

Draw two overlapping curved lines beneath your first line to create the belly and the lower jaw. Tip: Think of this as creating a wide, rounded 'U' shape for the mouth area.
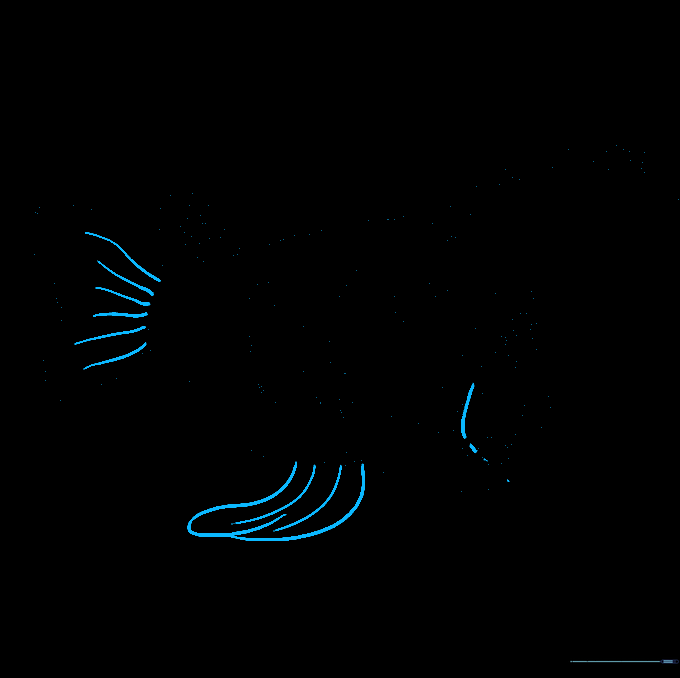
Adding the Tail Fin

Connect the back and belly lines with a short curve, then draw a loose 'M' shape at the end for the tail. Tip: Don't worry about making the tail perfectly symmetrical; nature is full of unique shapes!
Defining the Wide Mouth
Use two curved lines to sketch the wide-open mouth. Let the lower line double back slightly to give the jaw a realistic, sturdy look. Tip: Make the mouth look big—angler fish are famous for their giant chompers!
Drawing Sharp Teeth

Add long, sharp teeth by drawing two curved lines that meet at a point. Tip: Vary the length of the teeth, making them longer toward the front of the mouth for a more dramatic effect.
Adding the Bioluminescent Lure

Draw the 'lure' by extending two parallel lines from the head, ending in a small oval. Tip: This is the angler fish's special light! Draw a small circle inside the oval to represent the glowing tip.
Adding the Eye and Pectoral Fin
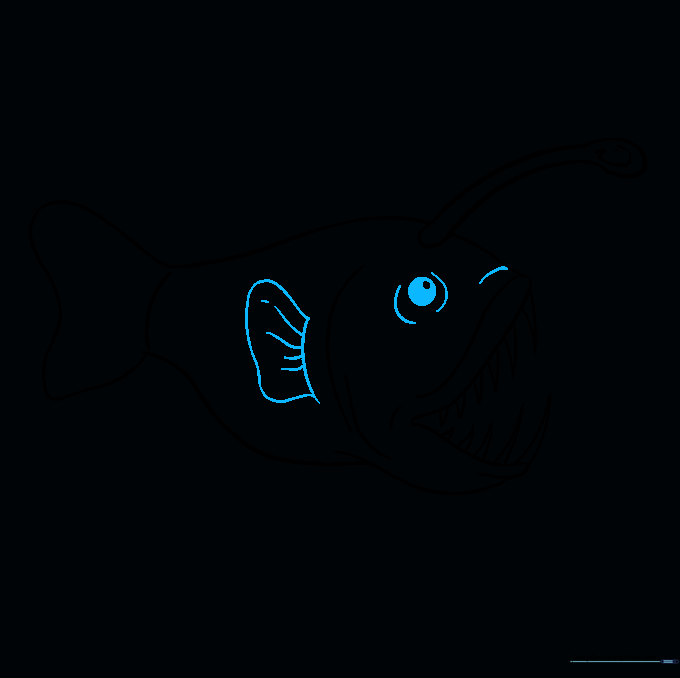
Draw a circle for the eye with a smaller pupil inside, and add a pectoral fin on the side. Tip: Use parenthesis-like curves around the eye to give your fish a grumpy, deep-sea expression.
Drawing the Dorsal Fin
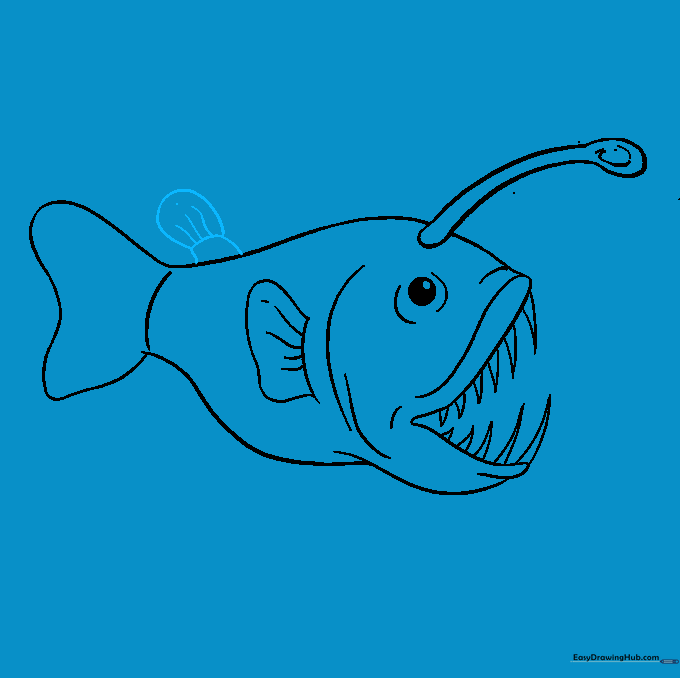
Add the dorsal fin on the back using irregular, wavy shapes. Tip: Keep the lines loose and flowing to make the fin look like it's moving through water.
Finalizing the Outline
Add the ventral fin and refine the tail details. Tip: Go over your main lines with a darker pencil or marker to make your drawing pop!
Coloring Your Creation
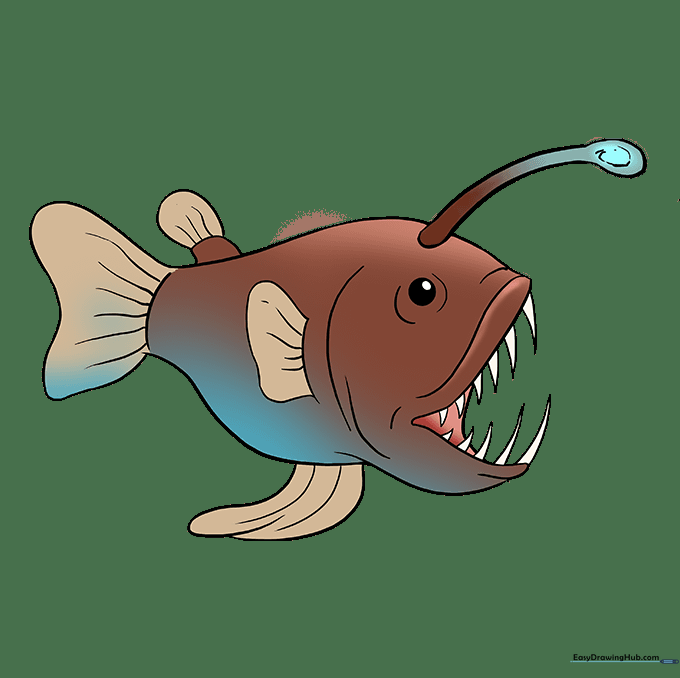
Time to color! Use dark reds, browns, or blacks for a deep-sea look, or get creative with bright colors for a shallow-water species. Tip: Use a light yellow or white for the lure to make it look like it's glowing in the dark.
More Tutorials


