How to Draw an Angelfish: Easy 10-Step Guide for Kids
Bring the beauty of the coral reef to your sketchbook! This tutorial is designed for young artists ages 5 and up. You will need a pencil, an eraser, and your favorite markers or crayons to create this elegant tropical fish.
🎯 Final Result

Step-by-Step Instructions
Step 1: Sketching the Head and Eye

Draw a long, gentle curve to form the top of the fish's head and back. Add a small arch for the eye, placing two circles inside for the pupil. Teacher's Tip: Keep the eye near the front of the curve to give your fish a friendly, curious expression.
Step 2: Defining the Snout

Extend a curved line from the forehead to create the snout. Add a small 'U' shape for the mouth. Teacher's Tip: Think of the mouth as a tiny smile to make your fish look happy!
Step 3: Adding Pectoral Fins

Draw two curved lines that meet at a sharp point to create the side fin. Teacher's Tip: Make sure the fin points slightly backward to give the fish a sense of movement.
Step 4: Drawing the Anal Fin
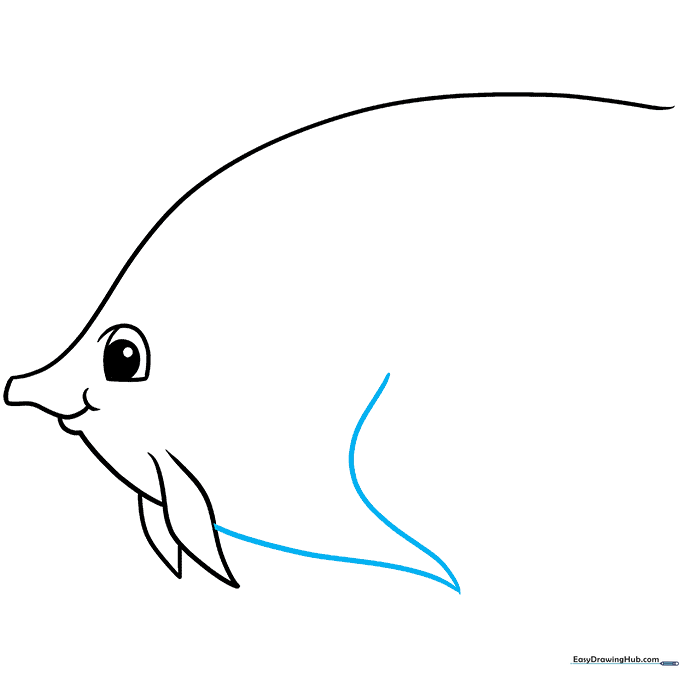
Create a large, triangle-like shape along the bottom of the fish for the anal fin. Teacher's Tip: Use long, sweeping strokes to keep the fin looking graceful and fluid.
Step 5: Sketching the Tail

Draw the tail using two triangle shapes joined together. Teacher's Tip: Angelfish tails are often fan-shaped; keep your lines light so you can round them out if needed.
Step 6: Closing the Outline
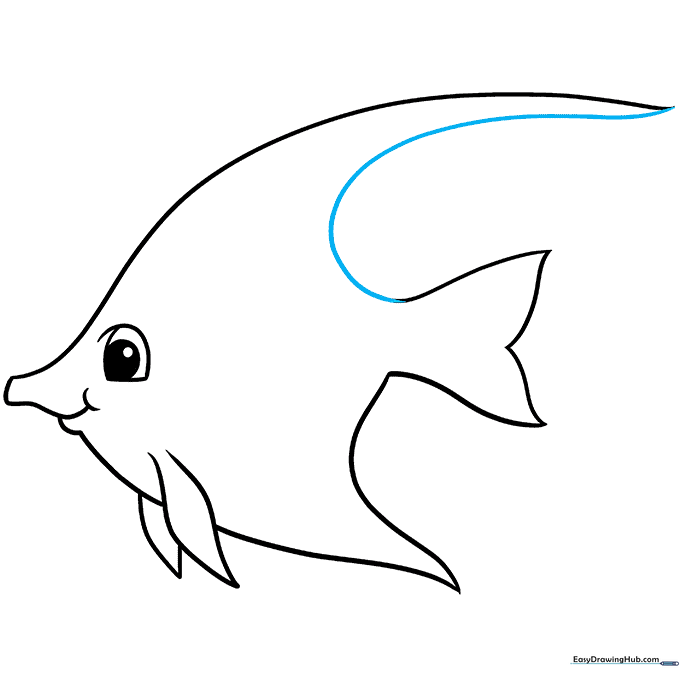
Connect the top of the tail to the dorsal fin with a smooth, continuous curve. Teacher's Tip: This line defines the silhouette, so take your time to make it look smooth.
Step 7: Adding Body Stripes
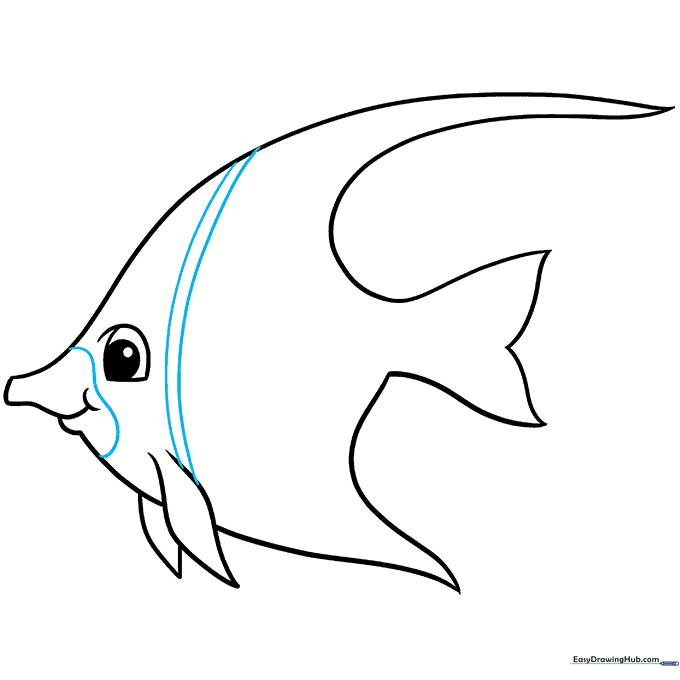
Draw a curved line near the mouth and parallel lines from the pectoral fin upward. Teacher's Tip: These stripes give the fish its iconic look; keep them evenly spaced.
Step 8: Refining the Pattern
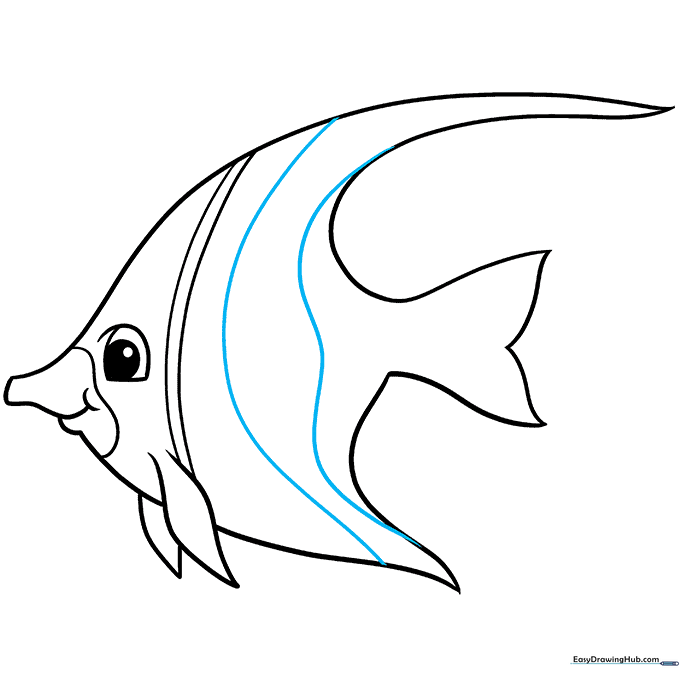
Add more long, curved lines across the body from the top fin to the bottom fin. Teacher's Tip: Vary the thickness of your lines slightly to make the pattern look more natural.
Step 9: Adding Texture

Add small, delicate lines to the tail and fins to show texture. Teacher's Tip: Use very light pressure with your pencil for these details to keep them looking soft.
Step 10: Bringing it to Life with Color

Color your fish! Try bold black stripes with yellow accents for a classic look. Teacher's Tip: Use a white gel pen or leave small gaps to create a 'shiny' underwater effect.
More Tutorials


