How to Draw an Angel: Simple 9-Step Guide for Kids
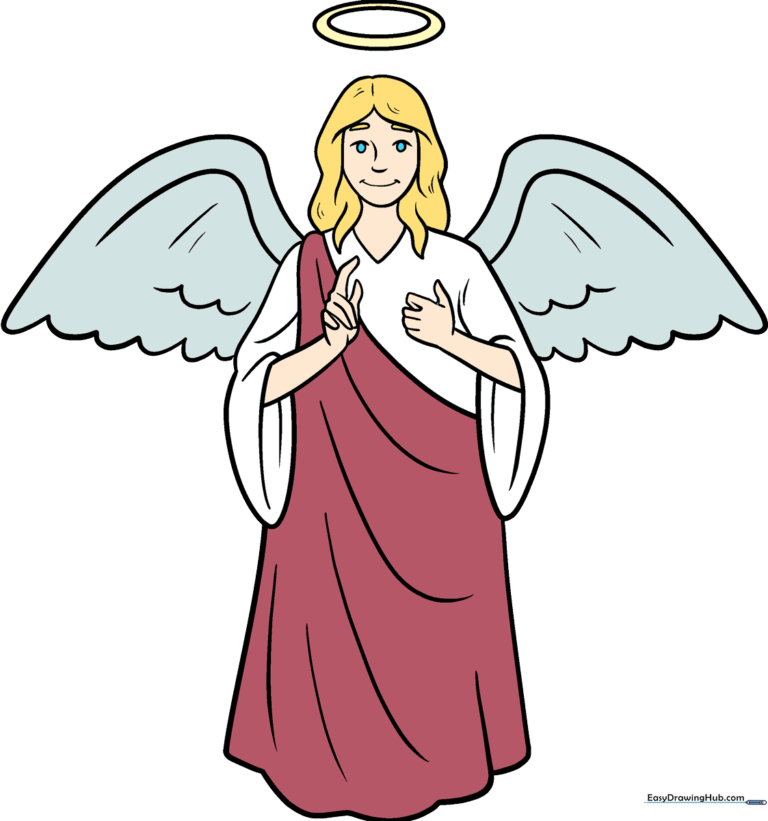
Bring a celestial character to life with this beginner-friendly angel drawing guide. Designed for ages 5 and up, this activity requires only a pencil, paper, and an eraser to build confidence in character design. Follow along to master simple shapes and flowing lines that create a graceful, classic angel.
🎯 Final Result
Step-by-Step Instructions
Step 1: Sketching the Face
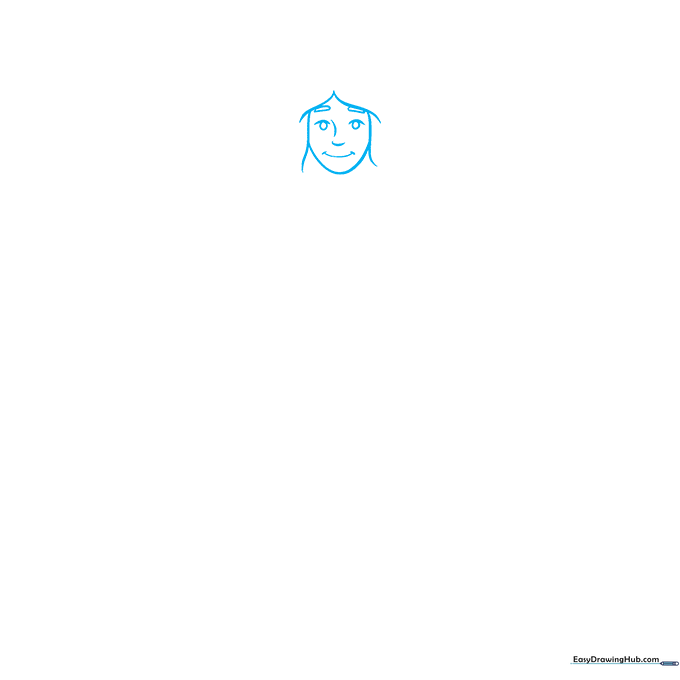
Draw a soft, rounded shape for the face. Add two small circles for eyes and simple curves for the nose and a gentle smile. Teacher's Tip: Keep your pencil pressure light so you can easily adjust the facial features if they aren't perfectly symmetrical on the first try.
Step 2: Adding the Hair
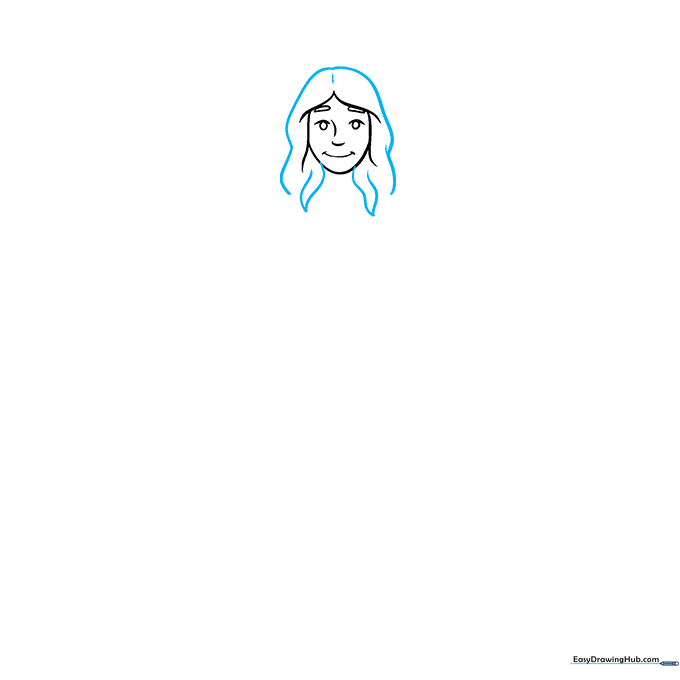
Frame the face with long, flowing curved lines to create the hair. Use pairs of lines that meet at points to give the hair a natural, locked texture. Teacher's Tip: Vary the length of your strokes to make the hair look more realistic and less like a solid block.
Step 3: Forming the Shoulders
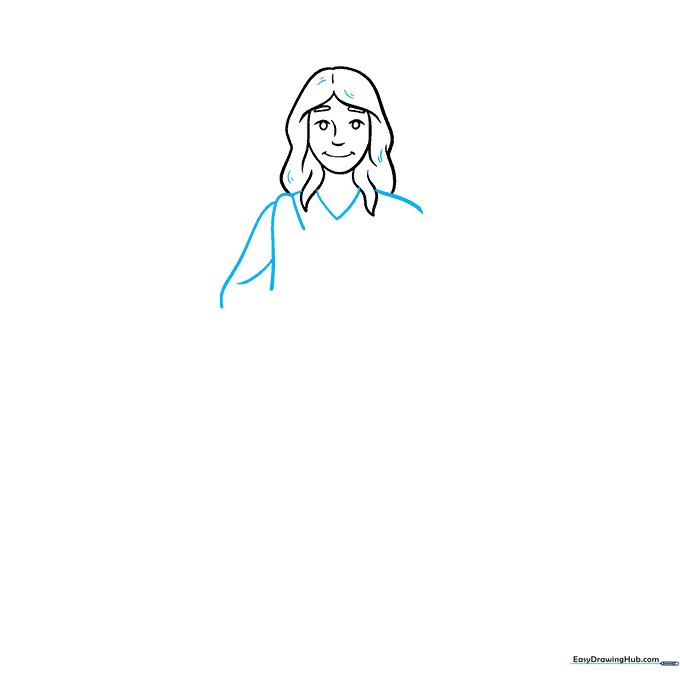
Draw a small 'V' shape below the chin for the neckline. Extend curved lines outward to form the shoulders and the start of the sleeves. Teacher's Tip: Think of the shoulders as soft, rounded slopes rather than sharp corners to keep the drawing looking gentle.
Step 4: Sketching the First Arm
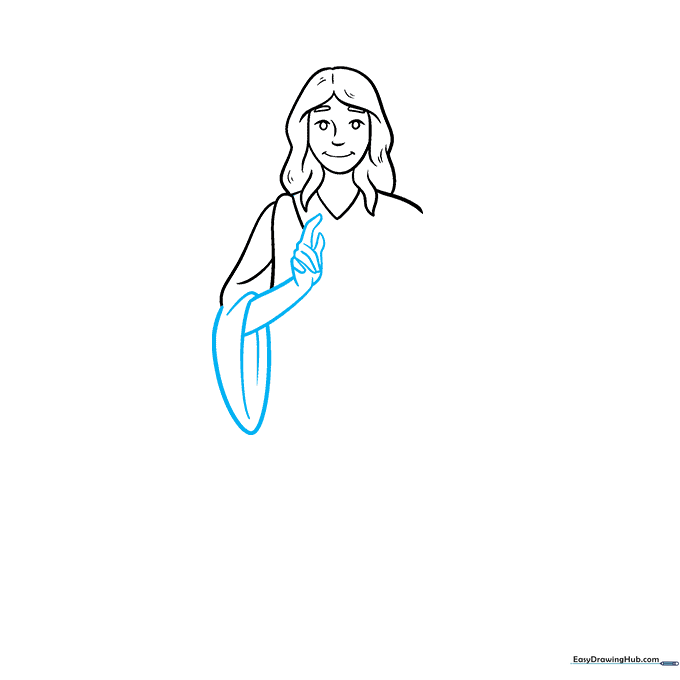
Create an oval shape for the sleeve opening, then extend the arm downward. Add a simple hand at the end. Teacher's Tip: If drawing hands feels tricky, keep them simple—a small rounded shape is perfectly fine for a cartoon style.
Step 5: Adding the Second Arm

Repeat the process on the other side to draw the second sleeve and arm. Teacher's Tip: Try to match the angle of the first arm to keep your angel looking balanced.
Step 6: Refining the Hands and Robe
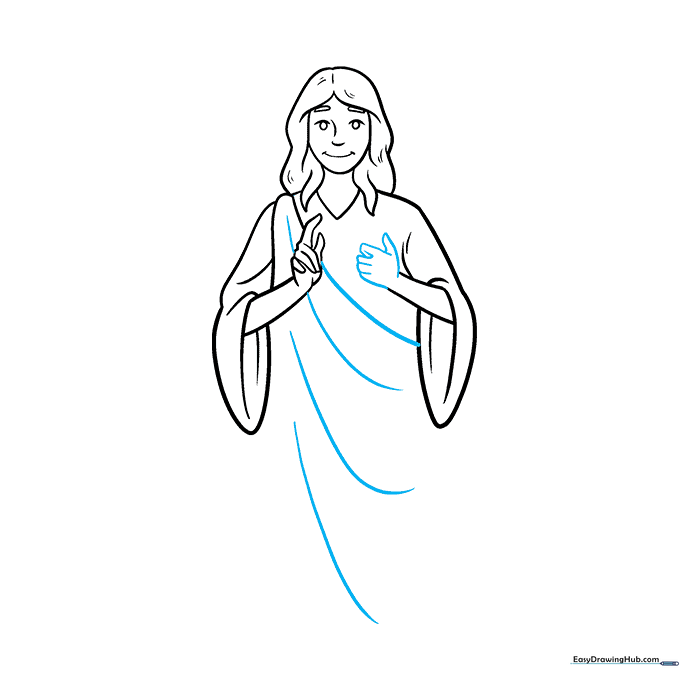
Detail the hands with a thumb and curled fingers. Add long, sweeping curved lines down the body to represent the folds of the robe. Teacher's Tip: The longer your lines are, the more 'flowy' and elegant the fabric will look.
Step 7: The Halo
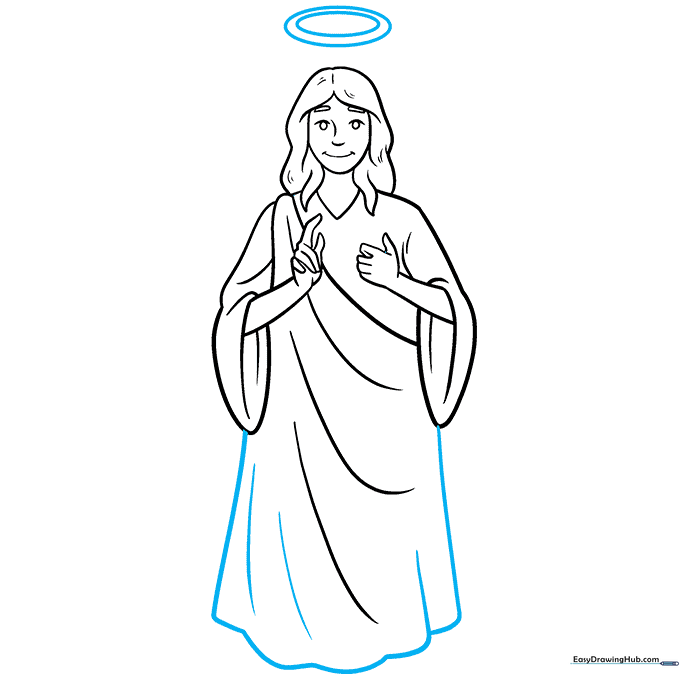
Finish the bottom of the robe with overlapping curves. Draw a halo above the head by placing a smaller oval inside a larger one. Teacher's Tip: Make the halo slightly tilted to give your angel a more dynamic, three-dimensional look.
Step 8: First Wing
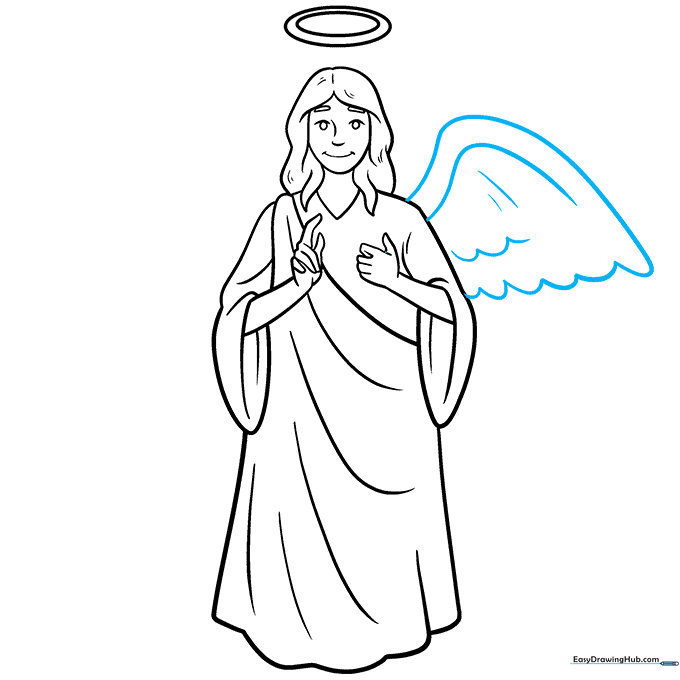
Draw a large wing using a long curved top line and 'U' shaped lines for the feathers. Add extra lines inside for texture. Teacher's Tip: Don't worry about making every feather identical; nature is imperfect and your drawing will look better with variety.
Step 9: Second Wing
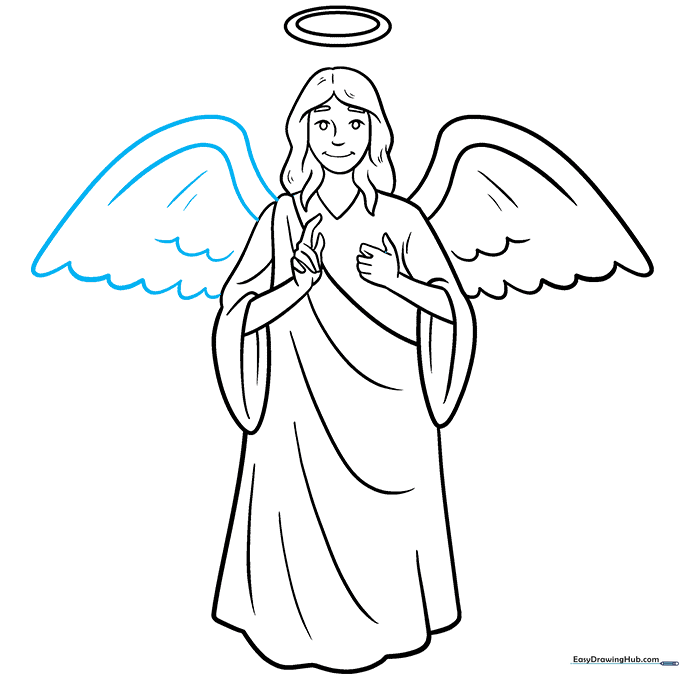
Mirror the first wing on the opposite side to complete the silhouette. Add your final feather textures. Teacher's Tip: Ensure the wings are roughly the same size to keep the angel looking balanced.
Step 10: Adding Color
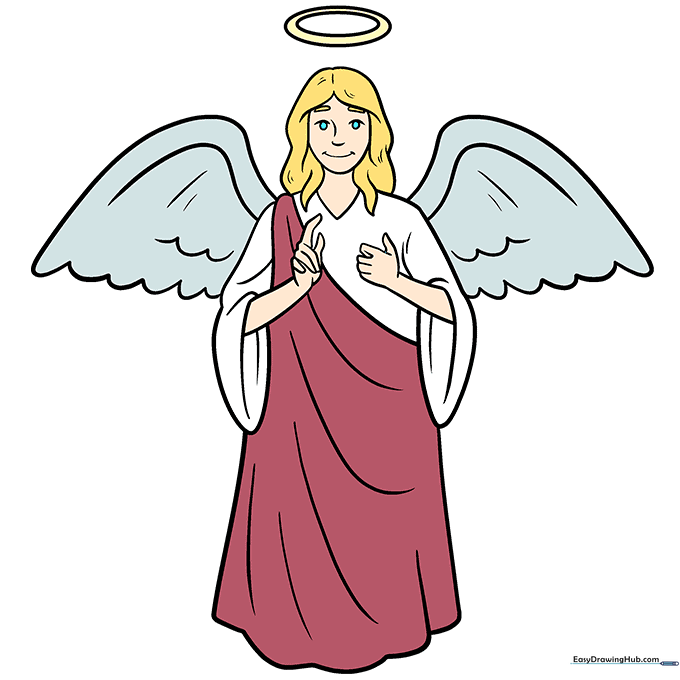
Bring your angel to life with color! Use soft whites or light blues for the robes and a bright yellow or gold for the halo. Teacher's Tip: Use light, circular motions with your colored pencils to create a soft, ethereal glow on the wings.
More Tutorials


