How to Draw an Anemometer: Easy 10-Step Science Drawing Guide
Bring meteorology to life with this fun, screen-free drawing activity! Perfect for ages 7+, this guide helps you sketch a functional-looking anemometer using basic geometric shapes. All you need is a pencil, an eraser, and a piece of paper to start measuring the wind.
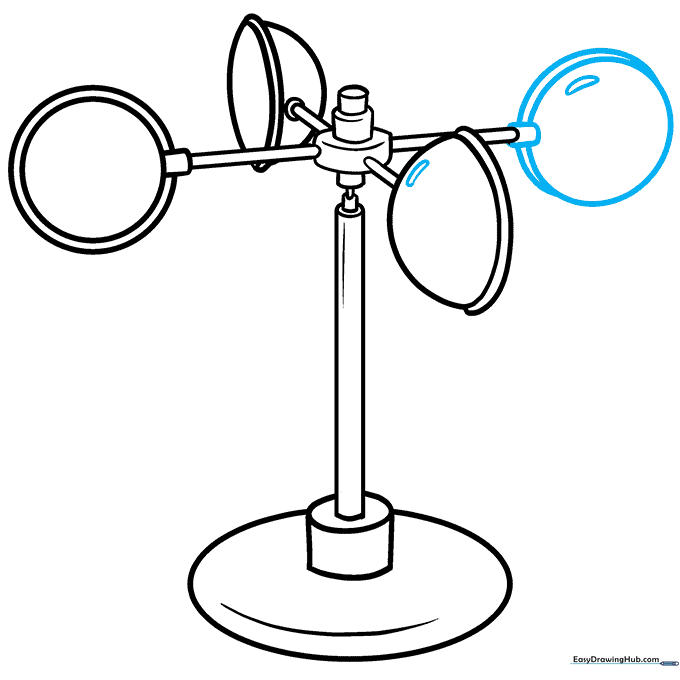
🎯 Final Result

Step-by-Step Instructions
Step 1: Sketching the Base
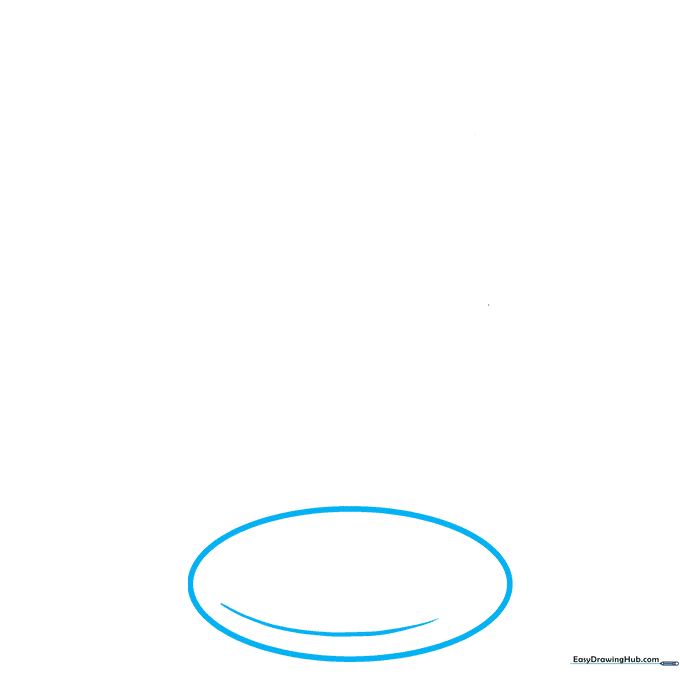
Draw a sturdy oval for the base, then add a curved line parallel to one side to give it a 3D feel. Teacher's Tip: Keep your pencil pressure light so you can easily adjust the shape if it looks a bit lopsided.
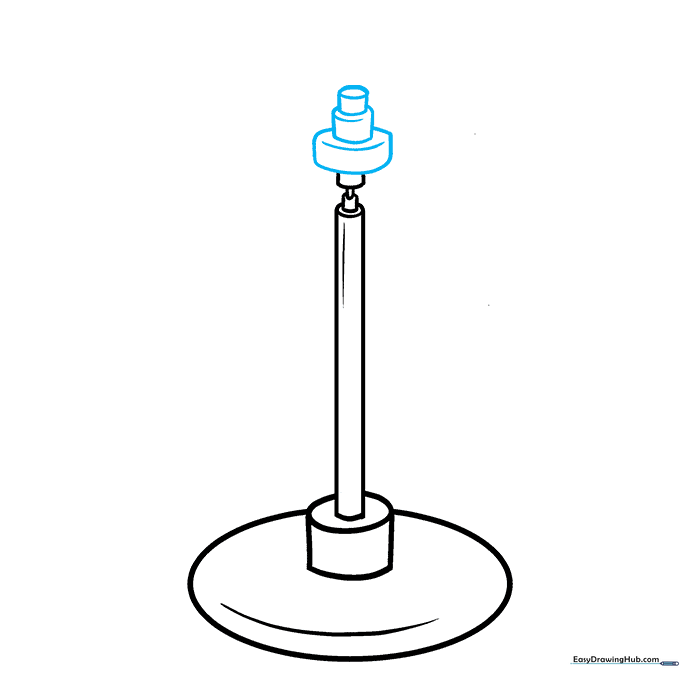
Step 2: Building the Central Pillar
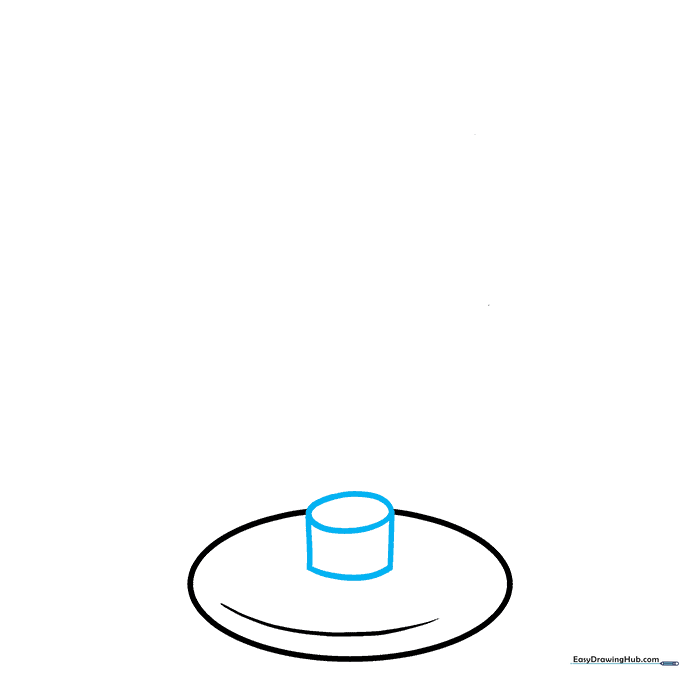
Draw a small cylinder in the center of your base. Start with two vertical lines, then cap the top with a small oval and the bottom with a curved line. Tip: Imagine you are drawing a soda can—keep the top oval narrow to show perspective.
Step 3: Extending the Main Rod
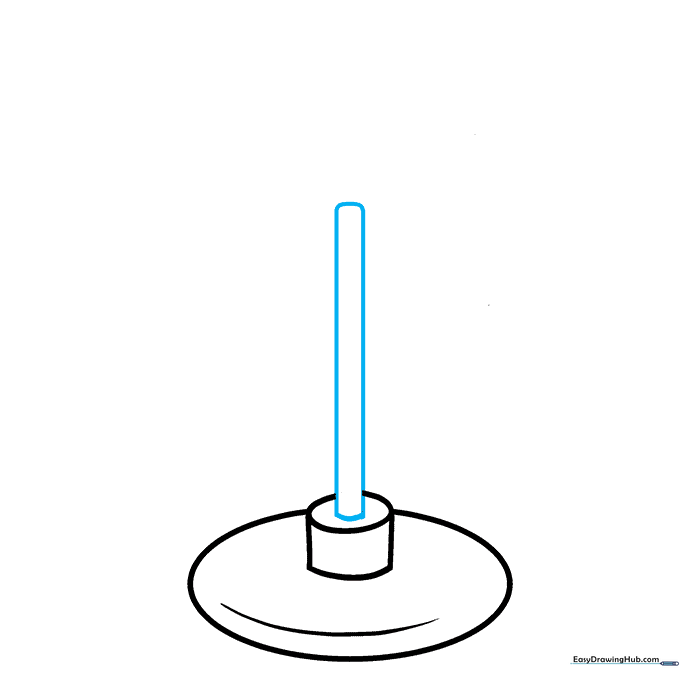
Draw a straight, vertical rod extending upward from your cylinder. Use two parallel lines and connect them at the top. Tip: Use a ruler if you struggle with straight lines, but try freehand first to build your steady-hand muscles!
Step 4: Creating the Rotor Hub
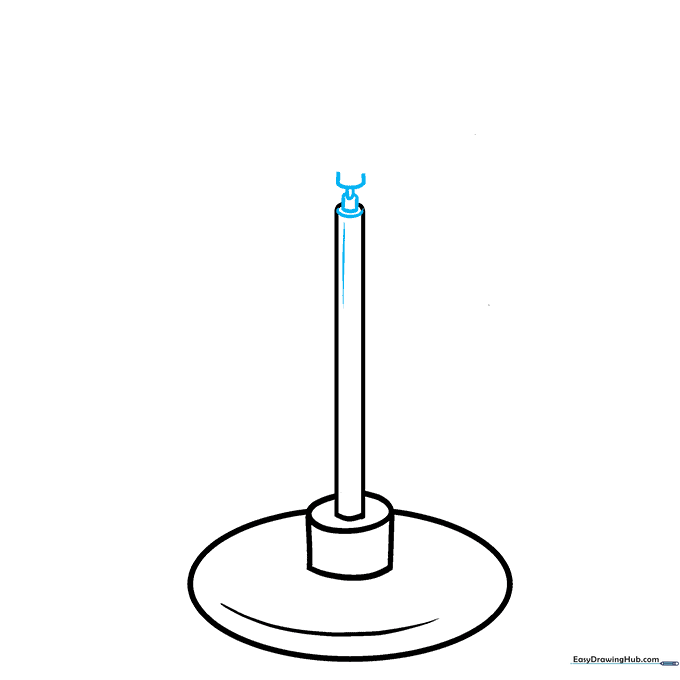
Add small rounded rectangles at the top of the rod to act as the hub. Enclose an oval at the very tip. Tip: Keep these shapes compact; they are the mechanical heart of the anemometer.
Step 5: Refining the Rotor Structure
Add three smaller cylinders stacked at the top. Use curved lines for the tops and bottoms to show depth. Tip: Focus on making these cylinders look symmetrical—it helps the drawing look more realistic.
Step 6: Drawing the Wind Cups
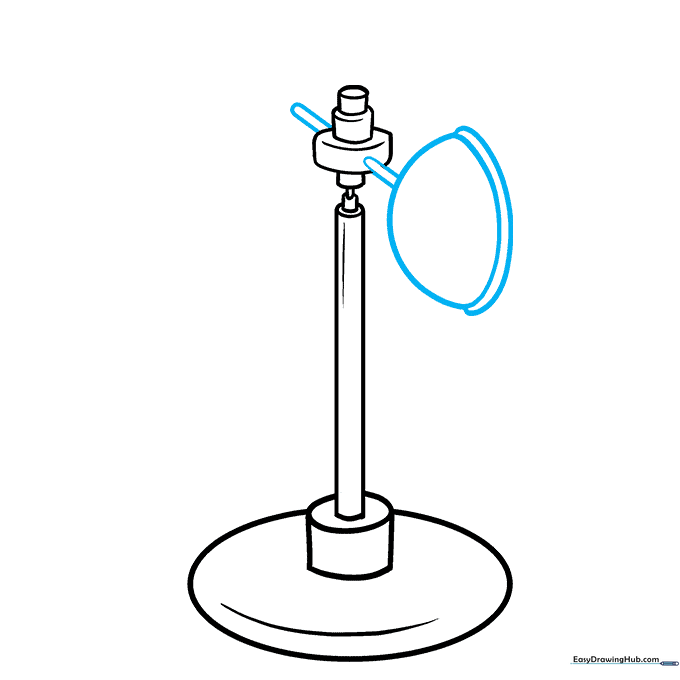
Extend pairs of lines from the cylinder to create the arms, then sketch the cup shapes using pointed ovals. Tip: The 'cup' should look like a small bowl catching the wind—add a curved line inside to show the rim.
Step 7: Adding More Rotor Arms
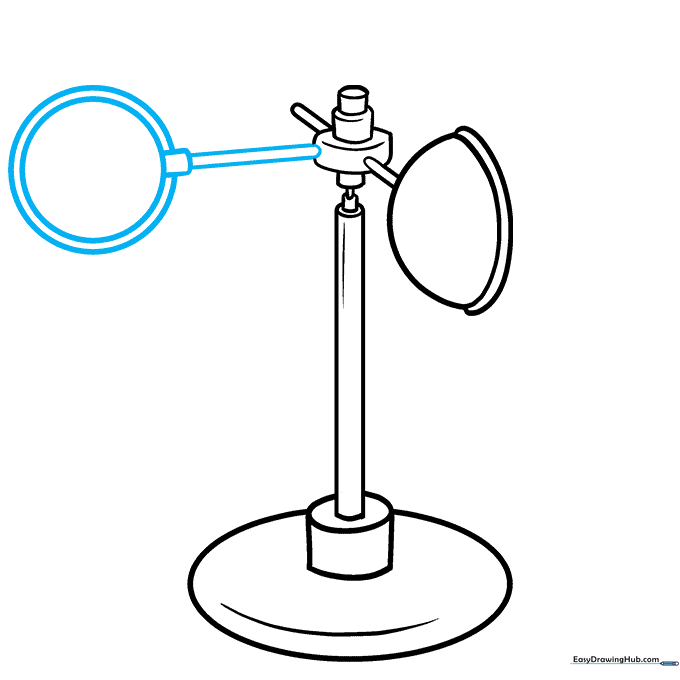
Extend another set of lines for the second arm. Enclose a small rectangle and a large circle at the end. Tip: Drawing a circle inside a circle creates a great 'rim' effect that makes the cup look hollow.
Step 8: Detailing the Cups
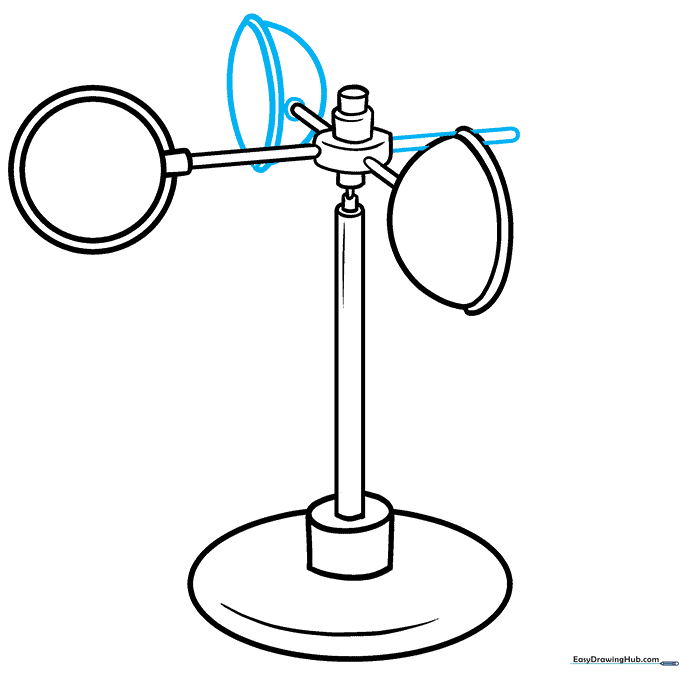
Add a crescent shape to the end of the empty rod to represent the cup's curve. Draw an oval inside the concave side. Tip: This creates a sense of volume, making your anemometer look like a real scientific instrument.
Step 9: Finalizing the Outline
Add the final cup details and draw small curved shapes on the cups to represent light reflections. Tip: These little highlights are the secret to making your drawing look metallic and shiny!
Step 10: Bringing it to Life with Color
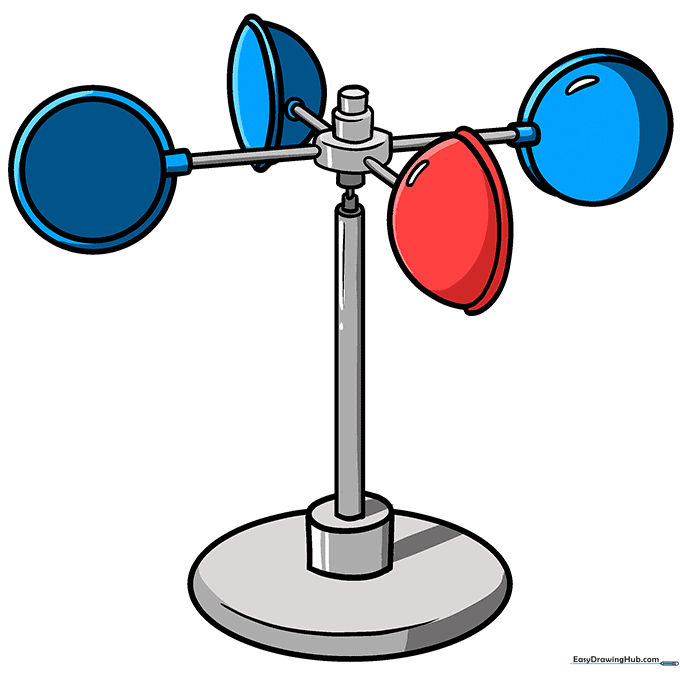
Time to color! Use shades of gray for the metal parts. Try coloring one cup red or blue to help the eye track the 'spin' of the instrument. Tip: Use colored pencils to create smooth gradients for a professional, polished look.
More Tutorials


