How to Draw an Anatomical Heart with Flowers: Easy Guide
Combine biology and botany in this creative drawing project perfect for artists ages 8 and up. You will need a pencil, eraser, and paper to bring this unique anatomical heart to life. Follow these steps to master organic shapes and floral detailing while learning basic heart anatomy.
🎯 Final Result

Step-by-Step Instructions
Step 1: Sketching the Heart Base

Draw an irregular, rounded shape to form the main ventricles and atrium of the heart. Add a 'Y' shape at the top to represent the pulmonary trunk. Teacher's Tip: Keep your pencil lines light and loose; you'll be adding more detail later, so don't press too hard yet!
Step 2: Adding the Aortic Arch

Draw a 'rainbow' shape over the pulmonary trunk to form the aortic arch. Extend small, paired curved lines from the arch to represent the major vessels. Teacher's Tip: Think of these as branches on a tree—keep them smooth and flowing rather than rigid.
Step 3: Detailing the Surface Veins
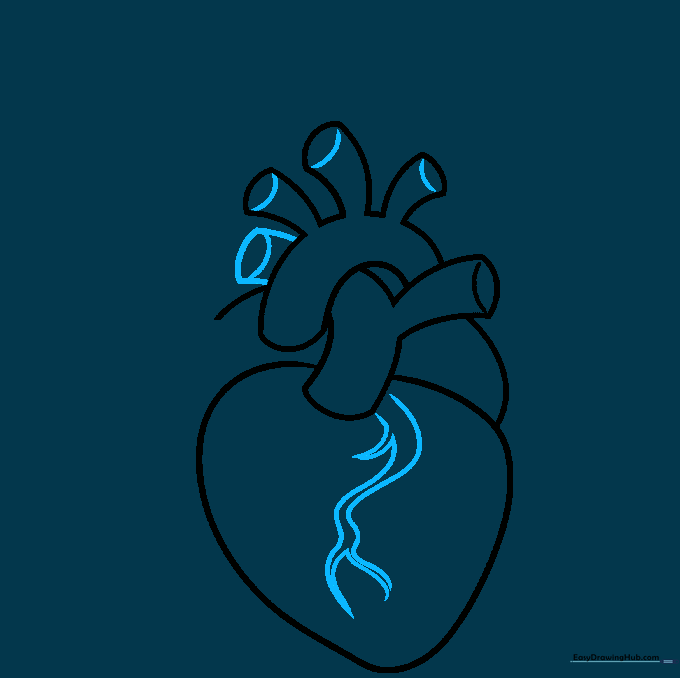
Add branching cylinders to the arch and sketch the anterior interventricular sulcus—the veins running down the front of the heart. Teacher's Tip: Use short, sharp strokes to make the veins look like they are resting on the surface of the muscle.
Step 4: Starting the Floral Accents
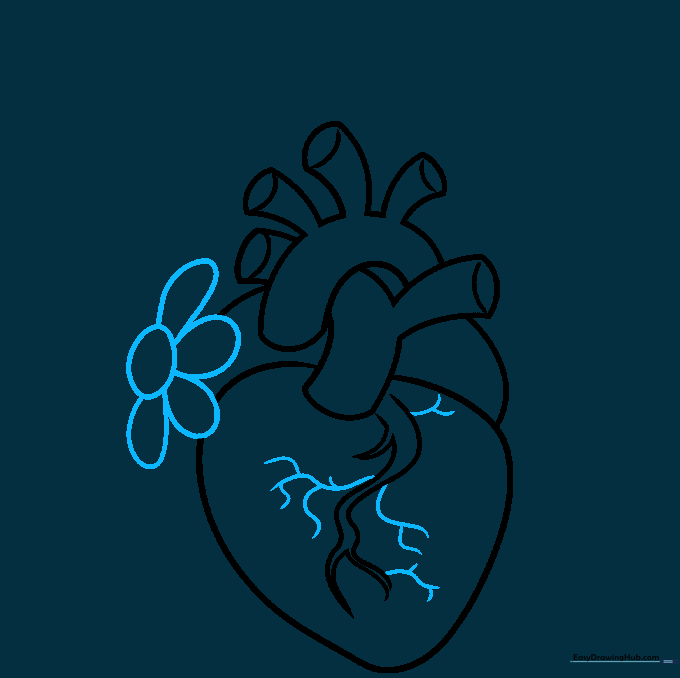
Now for the fun part! Draw a daisy near the top of the heart using an oval center and 'U' shaped petals. Teacher's Tip: Don't worry about making the petals perfect; flowers in nature are beautifully imperfect.
Step 5: Adding Stems and Leaves
Draw a long, curved line extending from the pulmonary trunk to create a stem, then add a leaf using two curved lines that meet at a point. Teacher's Tip: Vary the thickness of your stems to make the drawing look more realistic.
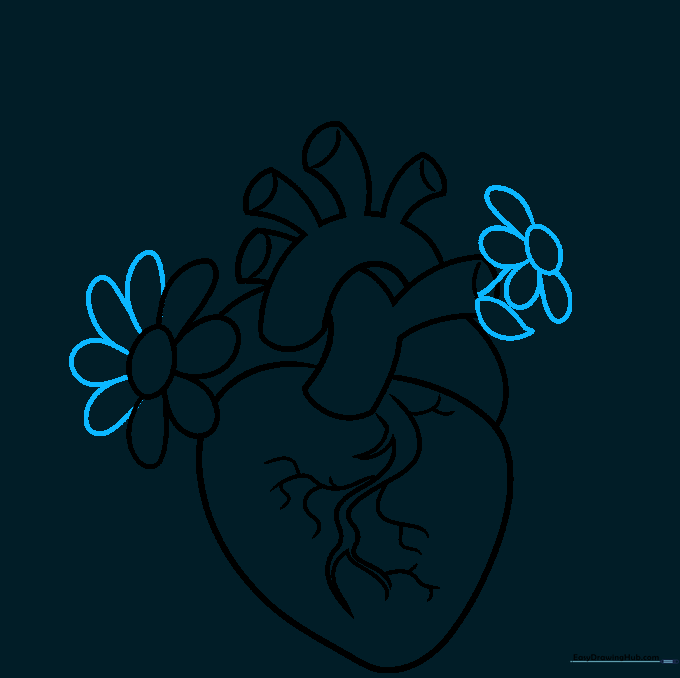
Step 6: Expanding the Garden

Add another flower blooming from the aortic arch. Continue using the 'U' shape technique for petals and pointed shapes for leaves. Teacher's Tip: Overlap your leaves slightly to create a sense of depth.
Step 7: Drawing Blossoms

Draw an unopened blossom at the end of a stem using overlapping curved lines. Add another stem extending from the arch. Teacher's Tip: Use a light touch for the unopened petals to make them look delicate.
Step 8: Adding Final Floral Details

Draw one more flower overlapping the heart body. Erase any lines behind the flower to make it look like it's sitting on top. Teacher's Tip: This 'layering' technique is a great way to make your drawings look more professional.
Step 9: Final Touches

Complete your outline by adding a few more stems and leaves peeking out from behind the heart. Teacher's Tip: Check your drawing for any stray pencil marks and clean them up with your eraser before coloring.
Step 10: Bringing it to Life with Color

Color the heart red, the pulmonary trunk blue (deoxygenated blood), and the aortic arch pink or red (oxygenated blood). Teacher's Tip: Use light pressure with your colored pencils to create soft gradients, making the heart look more rounded and 3D.
More Tutorials


