How to Draw an Among Us Ghost: Easy 9-Step Guide
Bring your favorite space game to life with this simple Among Us ghost drawing tutorial. Designed for ages 5 and up, this project requires only a pencil, paper, and an eraser. Follow these steps to master character proportions and clean line work while creating your own spooky crewmate.
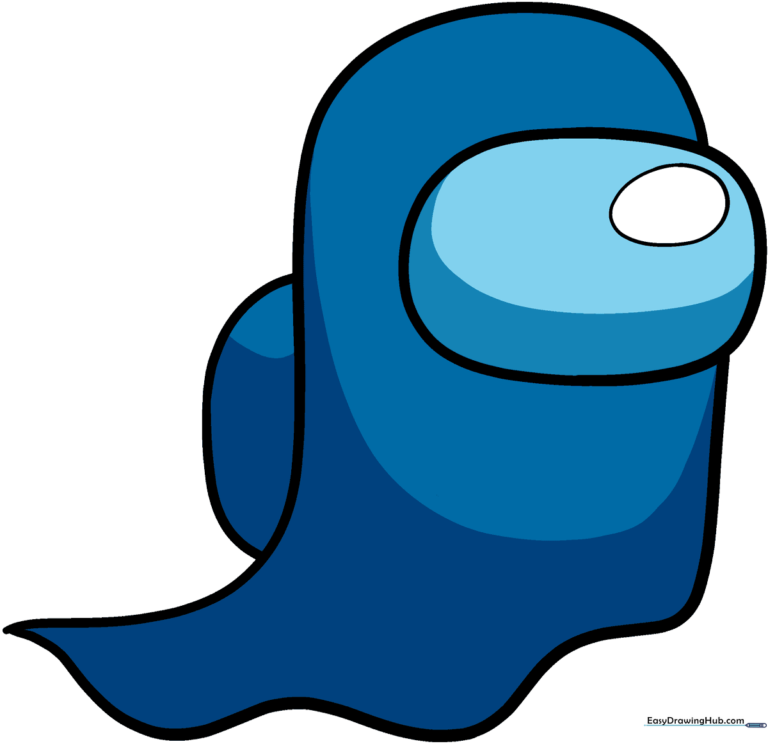
🎯 Final Result
Step-by-Step Instructions
Step 1: Sketching the Main Body
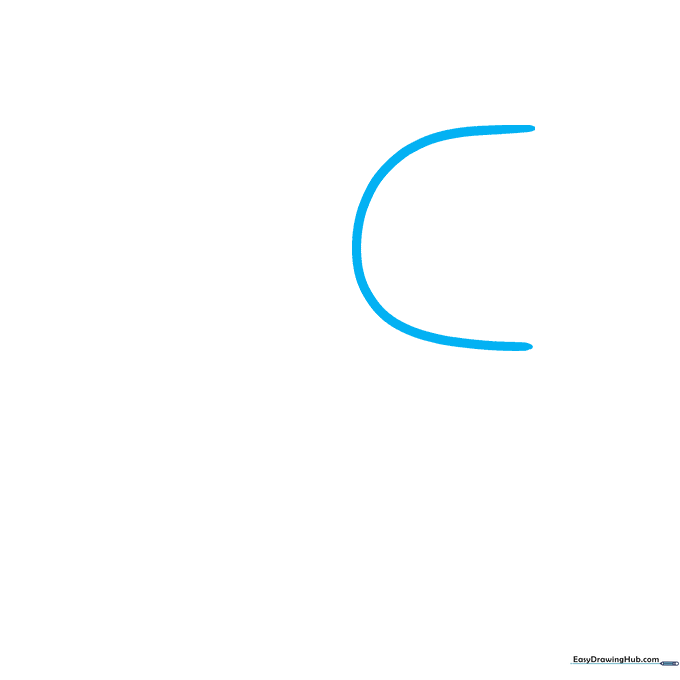
Draw a large, slightly squared 'C' shape on the right side of your paper. Teacher's Tip: Keep this shape loose and light; it serves as the foundation for the entire character.
Step 2: Closing the Oval
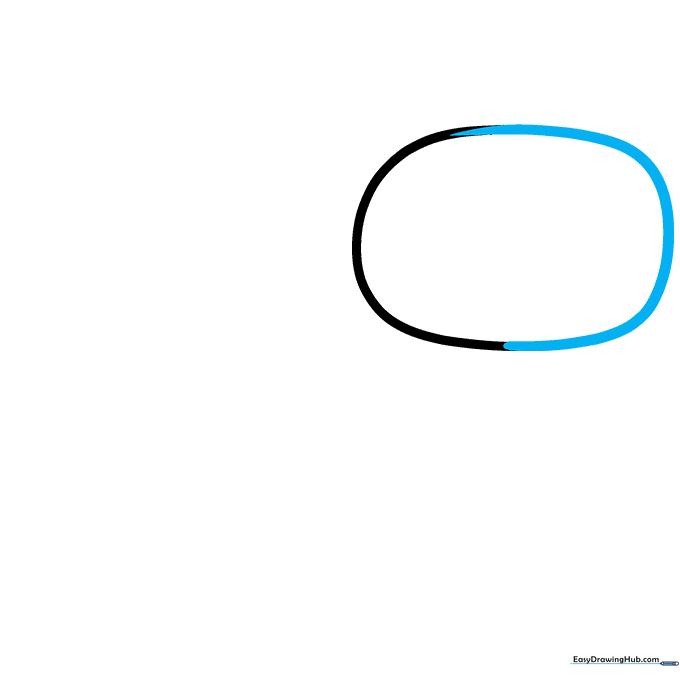
Complete the oval shape by drawing the left side. Make it slightly uneven to give it a more organic, cartoonish feel. Tip: Don't worry about perfection; ghosts are meant to look a bit floaty!
Step 3: Adding the Visor
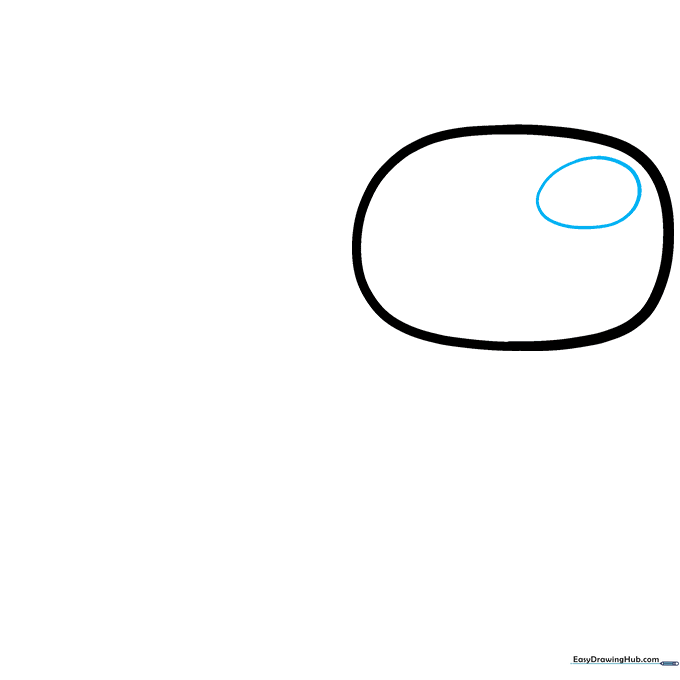
Draw an egg shape in the top-right corner of the body. Ensure the left side of the egg is narrower than the right. Tip: This creates the perspective of the visor wrapping around the helmet.
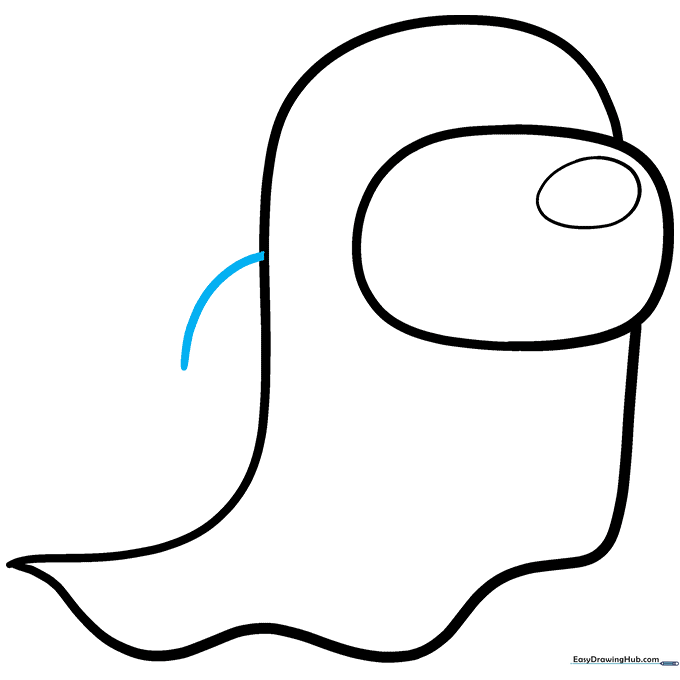
Step 4: Creating the Ghostly Trail
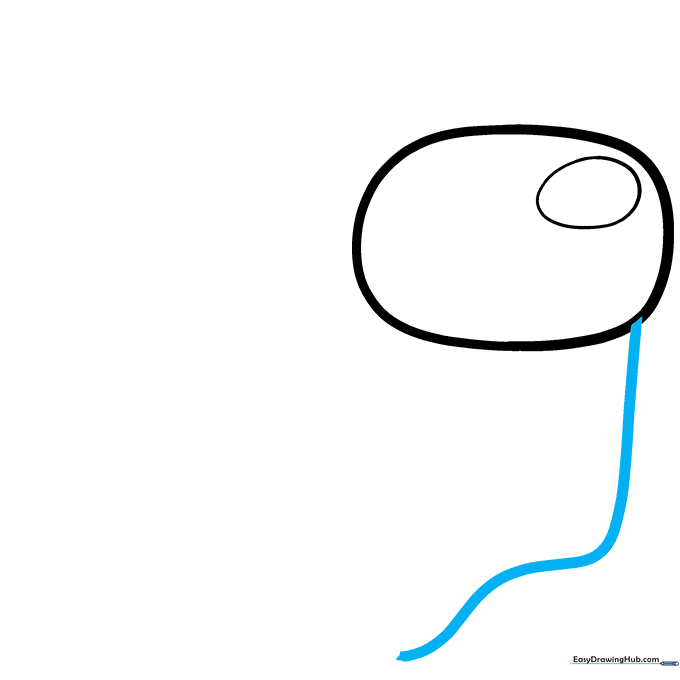
Sketch a vertical line extending from the bottom of the body, then curve it into a wavy line that trails downward. Tip: Use a fluid, continuous motion to make the ghost look like it's drifting.
Step 5: Finishing the Bottom Edge
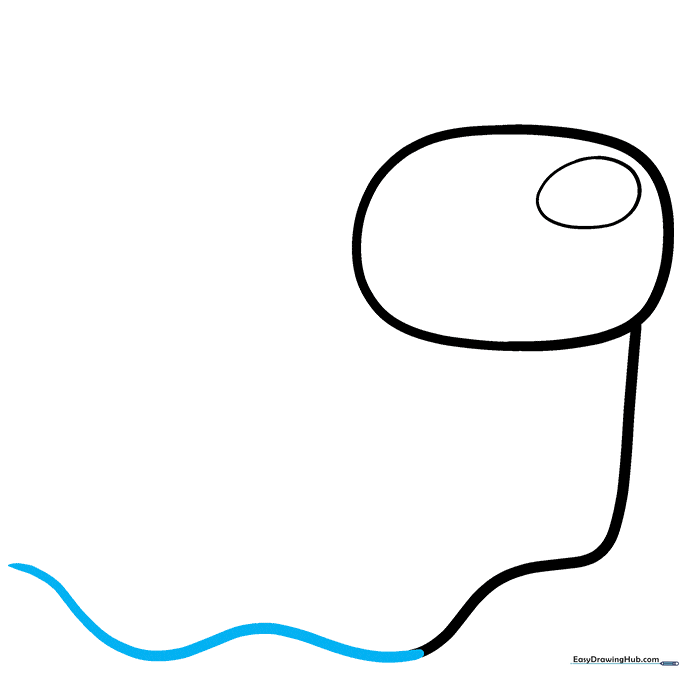
Continue the wavy line until it nearly reaches the other side of the page, resembling the hem of a curtain. Tip: Vary the size of your waves to give the ghost a more dynamic, ethereal appearance.
Step 6: Adding Internal Curves
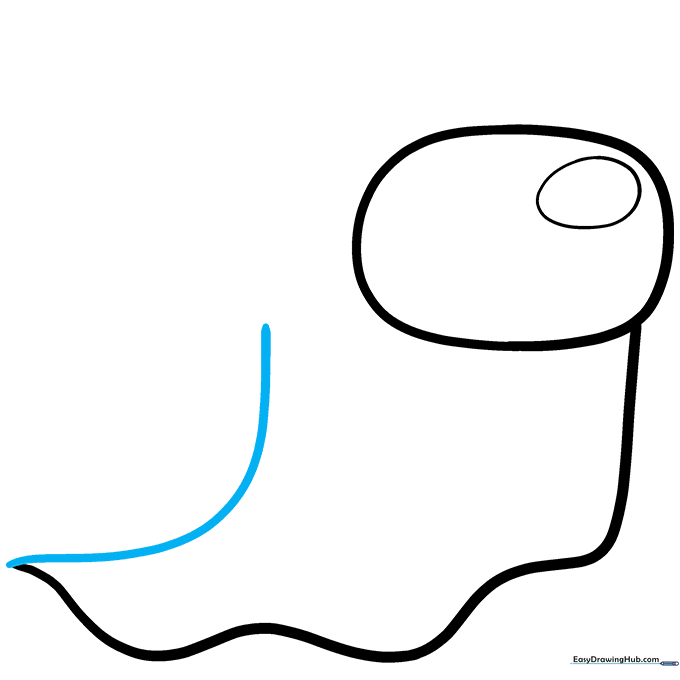
Draw a gentle curve that points upward inside the body. Tip: This helps define the ghost's posture and adds depth to the drawing.
Step 7: Completing the Shape
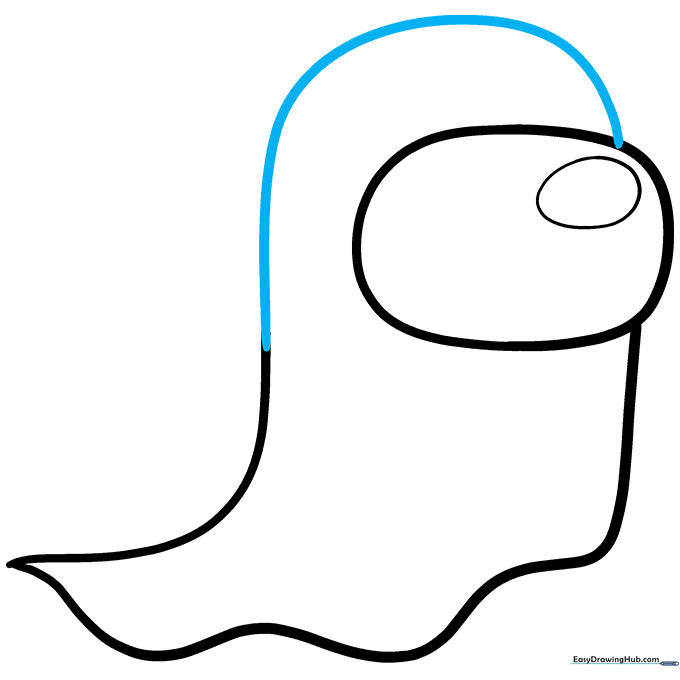
Close the shape with a dome that connects back to the main oval. Tip: Ensure your lines meet cleanly to make the final inking process much easier.
Step 8: Adding the Backpack
Sketch a curve on the left side of the body to represent the backpack. Tip: Think of it as a small 'D' shape attached to the back of the astronaut suit.
Step 9: Finalizing the Outline
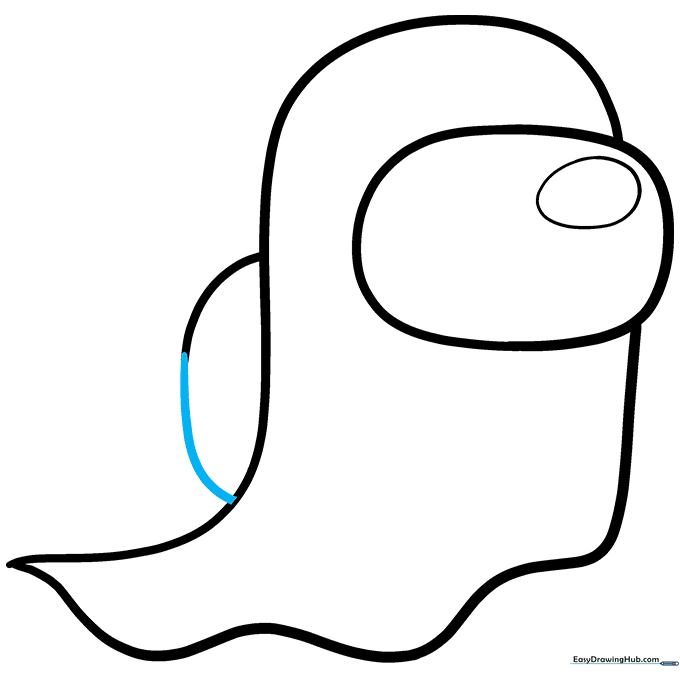
Connect the backpack to the body with a clean curve. Once you're happy with the sketch, trace over your lines with a black pen. Tip: Use thicker lines for the main body and thinner lines for the visor highlight to create visual contrast.
Step 10: Adding Color
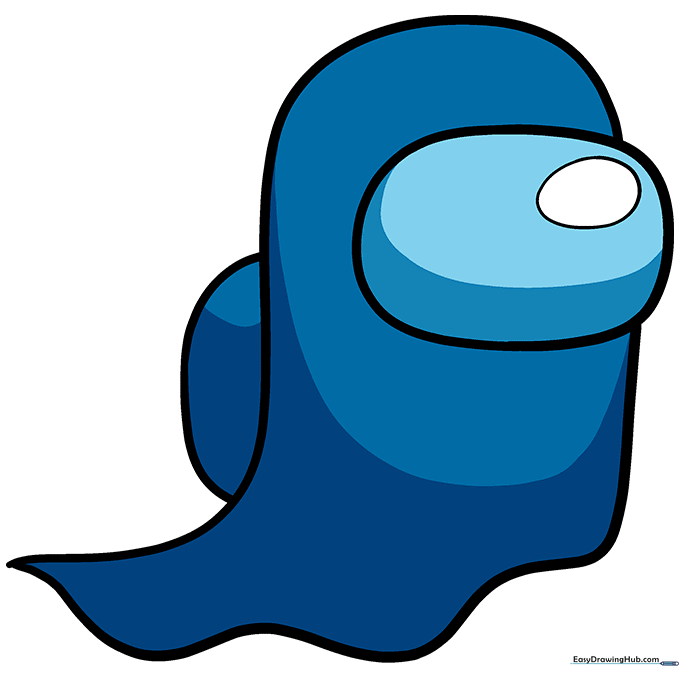
Use two shades of blue for the body to create a ghostly, transparent look. Leave a white space on the visor for a reflection. Tip: To make it look truly transparent, try drawing a faint background behind the ghost.
More Tutorials


