How to Draw an Allosaurus: Easy 10-Step Guide for Kids
Bring the Jurassic era to life with this fun, kid-friendly Allosaurus tutorial. Perfect for ages 5 and up, you only need a pencil, paper, and an eraser to get started. Follow these steps to build confidence in your sketching skills while creating a fierce prehistoric predator.
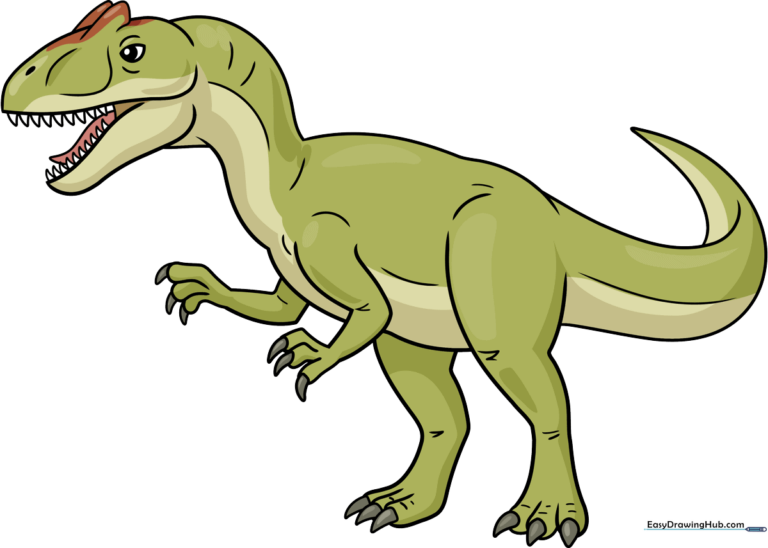
🎯 Final Result
Step-by-Step Instructions
Step 1: Sketching the Head and Crest

Start by drawing the dinosaur’s face. Create a curved line that doubles back to form the central crest. Leave a small gap at the back for the neck. Teacher's Tip: Draw a teardrop shape for the eye and add a small brow line above it to give your Allosaurus a focused, 'scary' expression.
Step 2: Defining the Jaw and Teeth
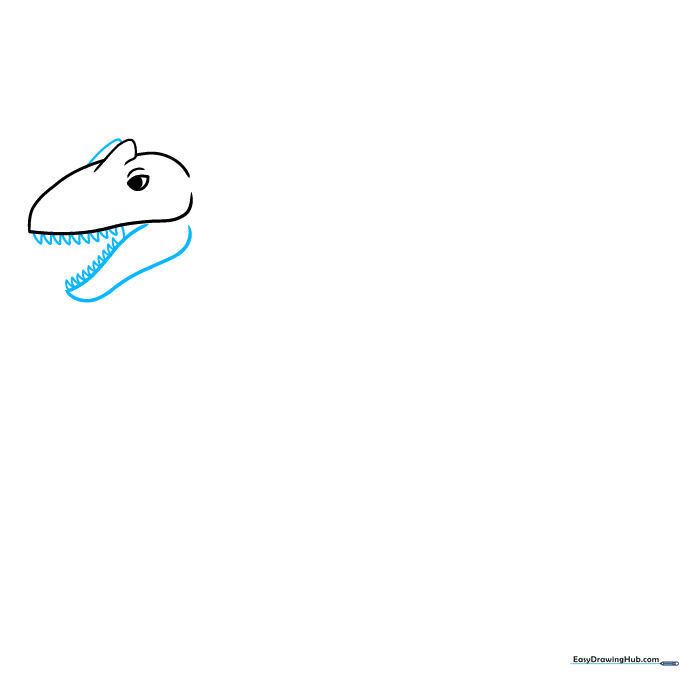
Draw the lower jaw using two curved lines meeting at a point. Add small, sharp triangles inside the mouth for teeth. Tip: Keep the teeth small and uniform to maintain the cartoon style.
Step 3: Neck and Nostril Details

Extend lines from the head to form the neck. Add a small oval for the nostril and a curved line for the tongue. Tip: Use light, fluid strokes for the neck to make it look strong and muscular.
Step 4: Sketching the Forearm
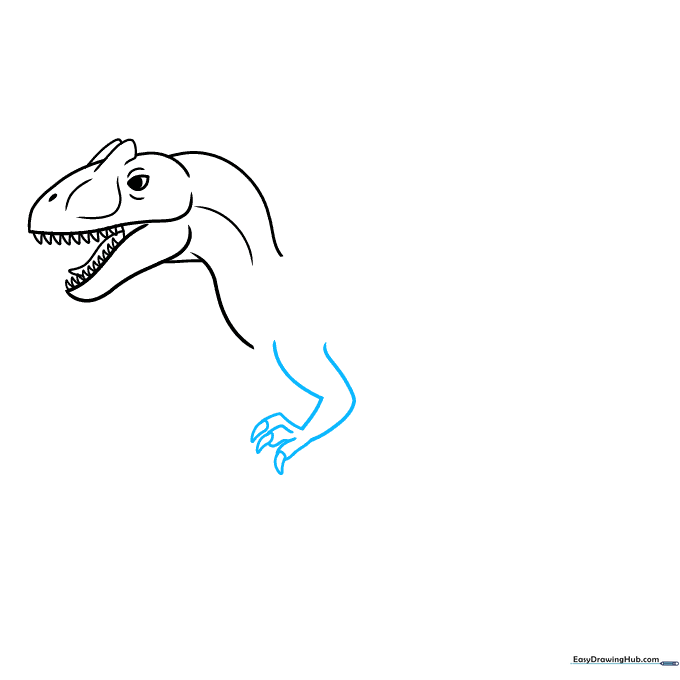
Use curved lines to draw the arm and fingers, ending in sharp, triangular claws. Tip: Allosaurus had small arms compared to its body, so keep these proportions modest.
Step 5: The Belly and Rear Leg
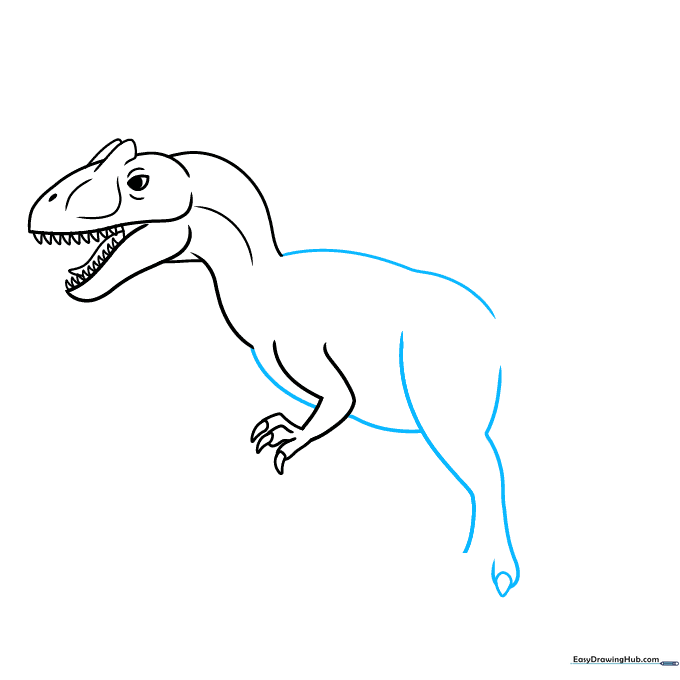
Draw the belly and the back using long, sweeping curved lines. Add the rear leg with a teardrop shape for the toenail. Tip: Ensure the leg looks sturdy to support the dinosaur's weight.
Step 6: Completing the Feet and Second Arm
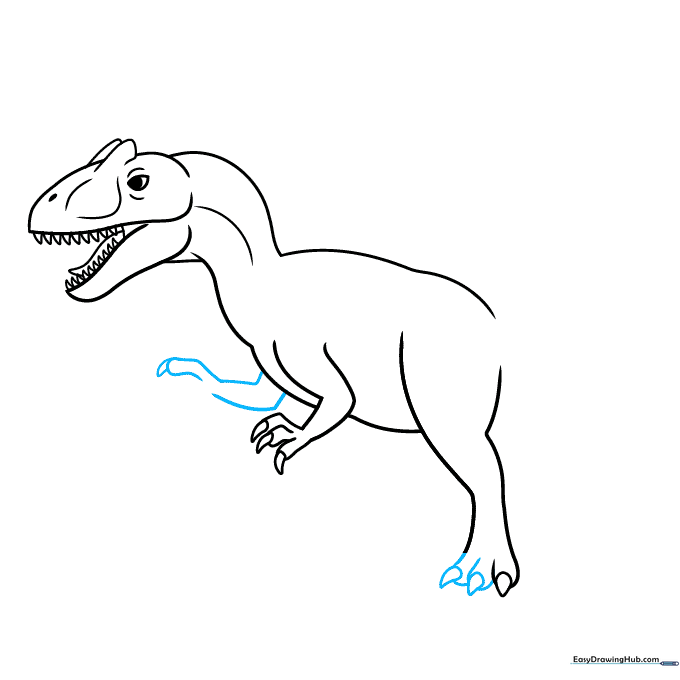
Finish the rear foot with teardrop shapes. Begin the second forelimb using rounded triangular claws. Tip: Overlapping lines help create a sense of depth and perspective.
Step 7: Finalizing Limbs
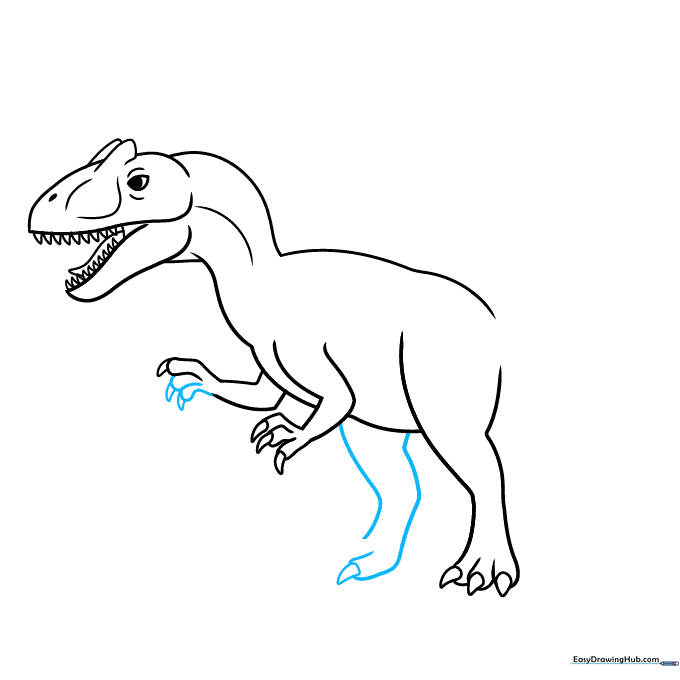
Complete the second forepaw and the remaining rear leg. Use rounded triangles for the claws. Tip: Make sure the claws look sharp to emphasize the Allosaurus as a predator.
Step 8: Adding the Tail
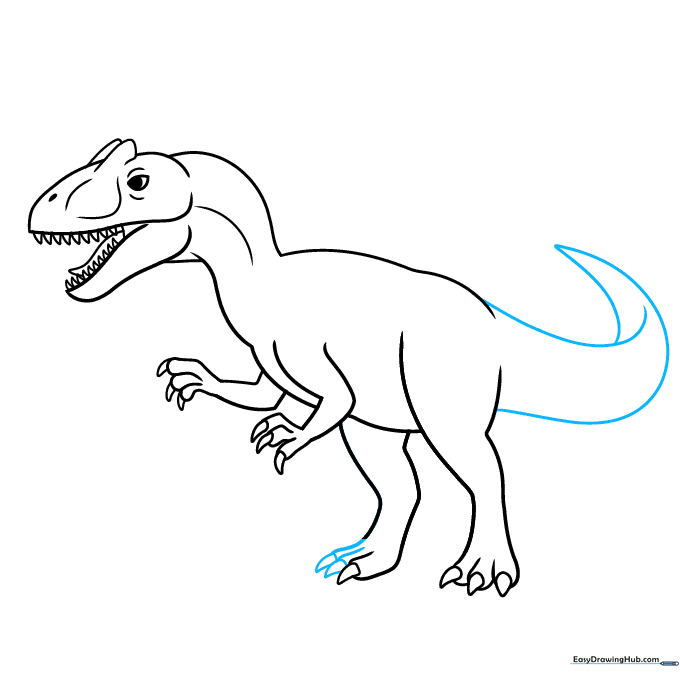
Draw a long, curved tail using overlapping lines. Tip: Extend the top line into the middle of the tail to create a 3D effect, making it look like it's swishing behind the dinosaur.
Step 9: Adding Skin Texture
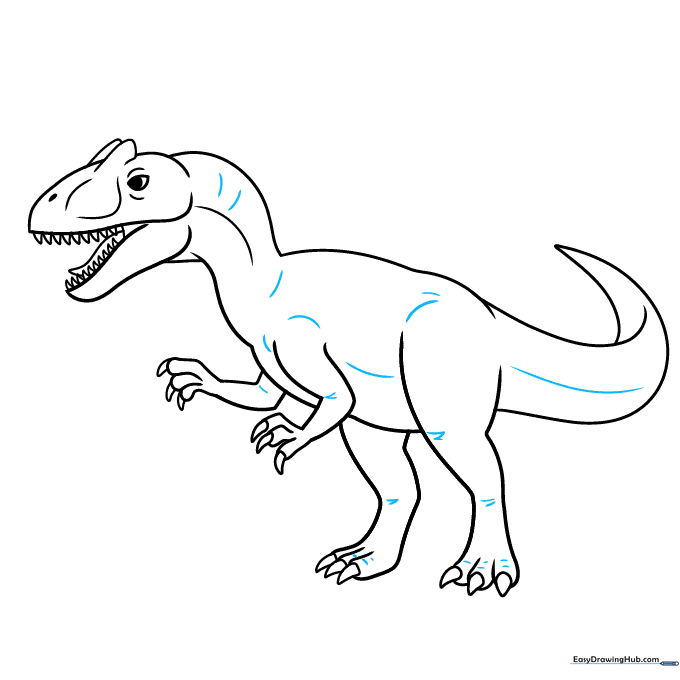
Contour the skin and joints with short, curved lines. Tip: These small marks suggest wrinkles and muscle, adding realism to your cartoon dinosaur.
Step 10: Coloring Your Dinosaur
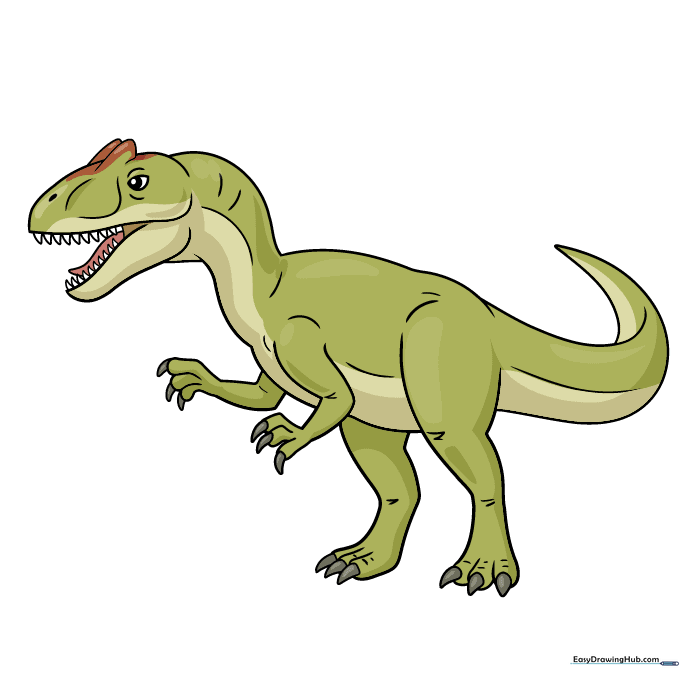
Your outline is complete! Now, bring it to life with color. Since we don't know the exact colors of dinosaurs, feel free to use browns, greens, or even creative patterns like stripes and spots. Tip: Use light pressure with your colored pencils to blend colors smoothly.
More Tutorials


