How to Draw an Alien Face: Easy 10-Step Guide for Kids
Ready to explore the galaxy? This tutorial is perfect for young artists ages 5+ who want to create their own extraterrestrial character. You only need a pencil, an eraser, and a piece of paper to get started. Follow these steps to build confidence in your sketching skills while bringing a friendly alien to life.
🎯 Final Result

Step-by-Step Instructions
Step 1: Sketching the First Eye
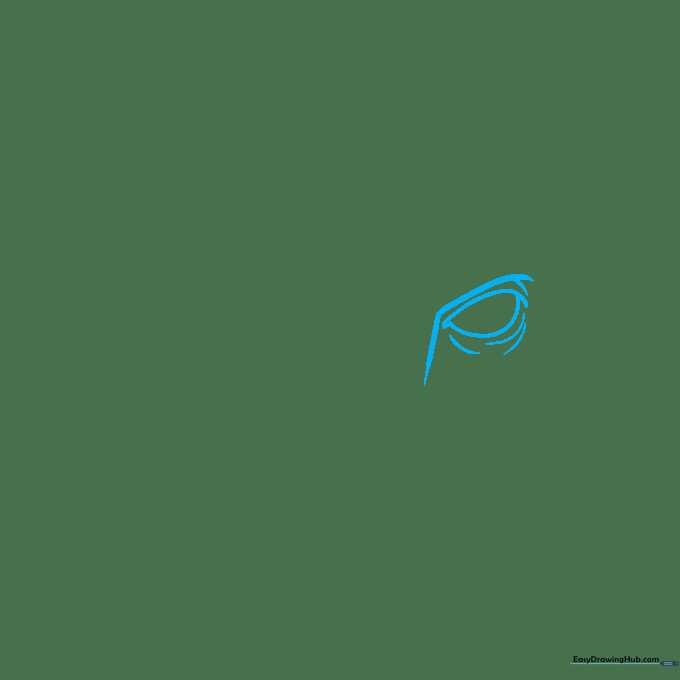
Start by drawing a diagonal line followed by a vertical one to create the framework for the eye. Add a deep, curved line underneath to give it that classic 'alien' look. Teacher's Tip: Keep your pencil pressure light so you can easily adjust the shape later if needed.
Step 2: Adding the Second Eye
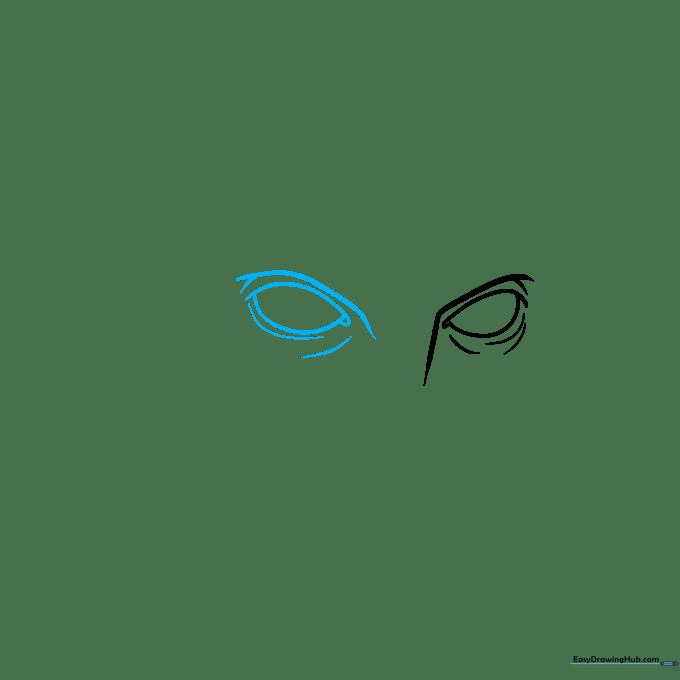
Draw a lemon-shaped outline for the second eye and include a tiny circle inside for the pupil. Add wavy lines above the eyes to create a curious expression. Teacher's Tip: Try to make the eyes symmetrical, but don't worry if they aren't perfect—aliens come in all shapes and sizes!
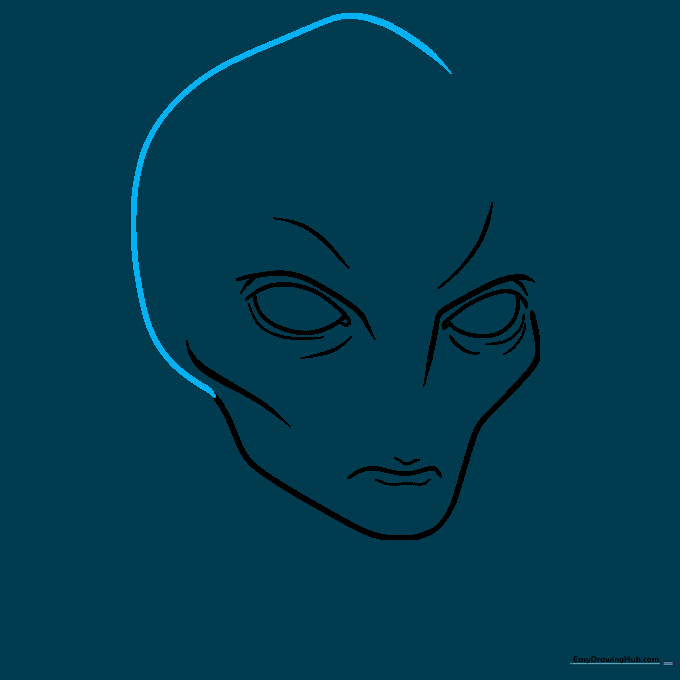
Step 3: Outlining the Face
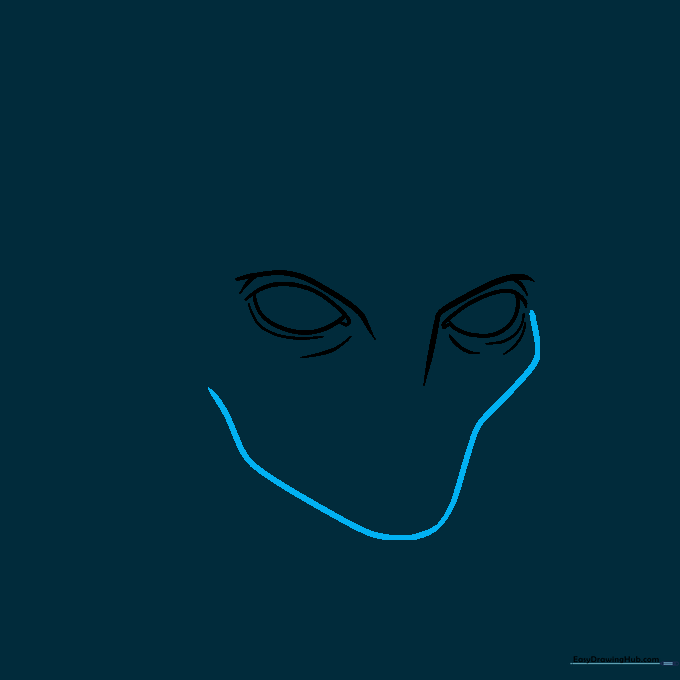
Use a rounded arrow shape on the right to start the side of the head. Bring the line down, add a small loop, and curve it back upward. Teacher's Tip: Use smooth, continuous motions to keep your lines looking clean.
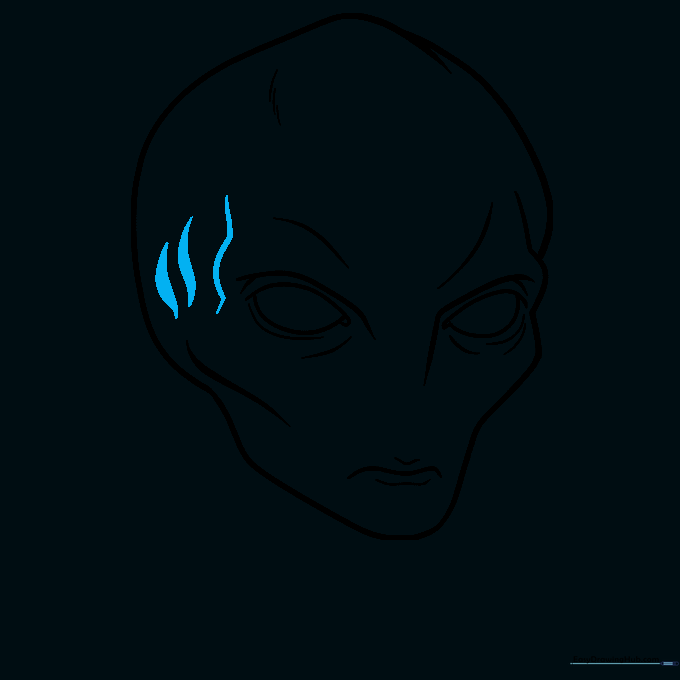
Step 4: Adding Facial Details
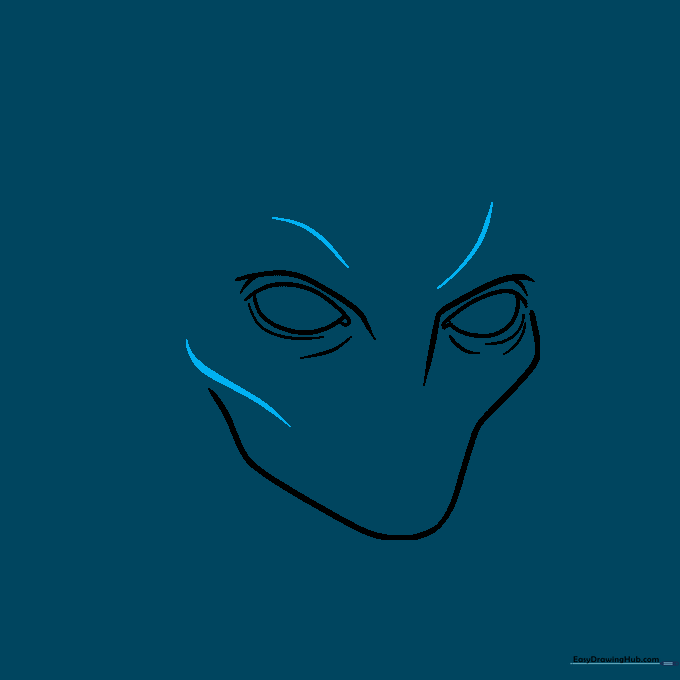
Sketch a small dash on the left side of the head and add extra curves above the eyes for character. Teacher's Tip: These small details add personality, so feel free to experiment with different shapes.
Step 5: Drawing the Mouth and Nose
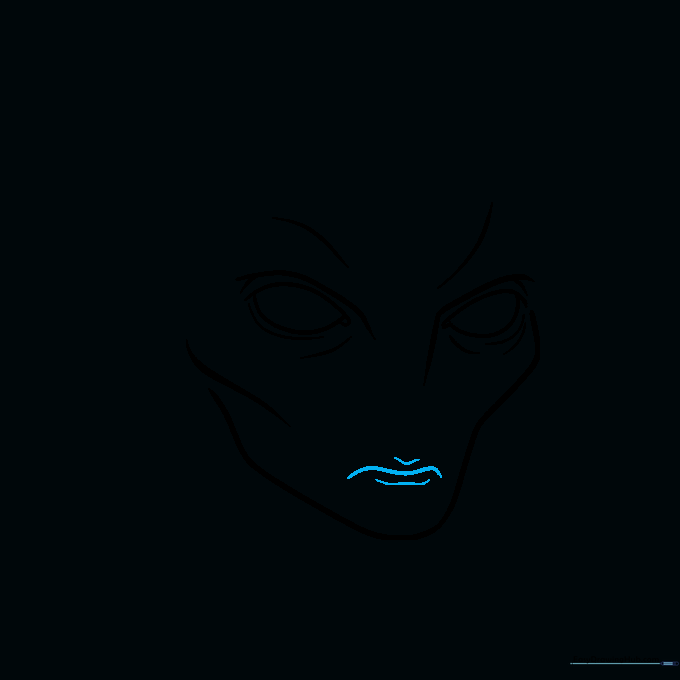
Draw a stretched-out 'M' shape for the mouth. Add a small triangle above it and two dashes below to create a unique nose. Teacher's Tip: Use a sharp pencil to keep these small features neat.
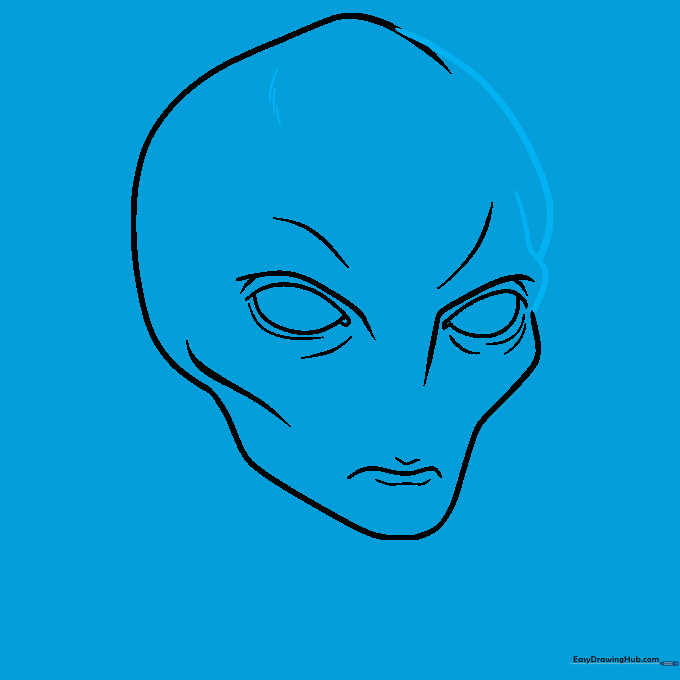
Step 6: Shaping the Head
Sketch an uneven semi-circle with a rounded triangle on top to define the alien's head shape. Teacher's Tip: Don't worry about making it perfectly round; aliens often have irregular, interesting head shapes!
Step 7: Refining the Outline
Complete the head shape with a final curve. Add a hook shape near the right eye and a few dashes on the left. Teacher's Tip: Use these dashes to suggest texture or alien skin markings.
Step 8: Adding Depth
Draw two bold, leaf-like shapes and another hook to frame the eye. Teacher's Tip: Bold lines help make the eyes pop, so press a little harder with your pencil here.
Step 9: Drawing the Neck
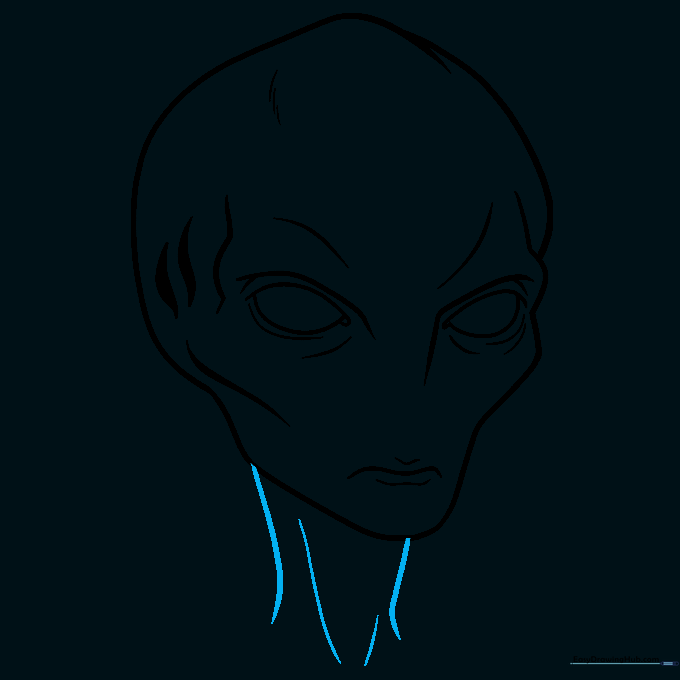
Sketch the neck using simple vertical lines. Teacher's Tip: Keep the neck lines straight to contrast with the curves of the head.
Step 10: Final Coloring
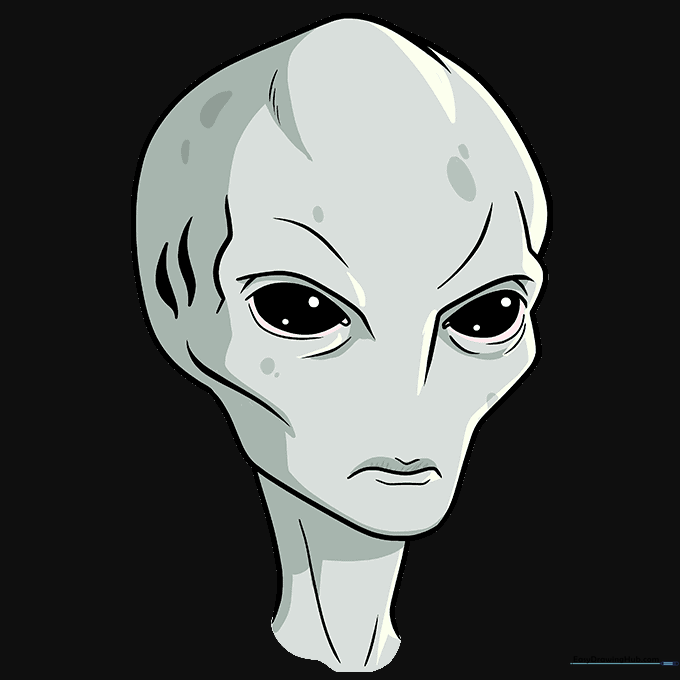
Outline your drawing with a black pen or marker. Fill the eyes with black, leaving small white spots for highlights. Use shades of grey for the skin. Teacher's Tip: Highlights make the eyes look shiny and alive!
More Tutorials


