How to Draw an Alarm Clock: Easy 10-Step Guide
Ready to master a classic timepiece? This tutorial is perfect for artists ages 5 and up. You will only need a pencil, an eraser, and some paper to bring this retro alarm clock to life while practicing your circular shapes and symmetry.
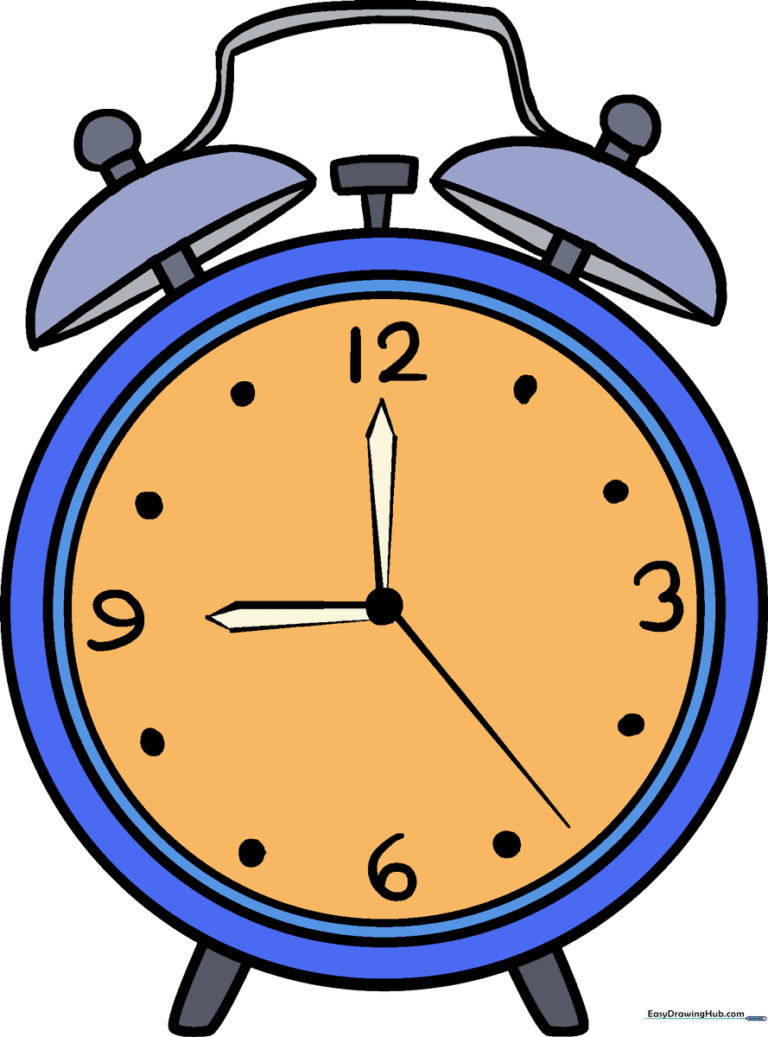
🎯 Final Result
Step-by-Step Instructions
Step 1: Sketching the Clock Face

Draw a clean circle to serve as the clock face. Teacher's Tip: Use a light touch with your pencil so you can easily erase any overlapping lines later.
Step 2: Defining the Clock Rim

Draw two smaller circles inside your first circle to create the rim. Teacher's Tip: Keep the spacing between these lines consistent to make the clock look professional.
Step 3: Adding the Support Feet

Sketch two sets of diagonal lines at the bottom, connecting them with a flat base. Teacher's Tip: Make sure the feet are symmetrical so your clock doesn't look like it's tipping over!
Step 4: Preparing the Bell Mounts

Draw two sets of short diagonal lines at the top, capped with flattened circles. Teacher's Tip: These act as the 'shoulders' for your bells, so keep them angled outward.
Step 5: Drawing the First Bell

Create a half-circle shape on top of the first mount. Teacher's Tip: Think of this as drawing a little hat for the clock; keep the curve smooth.
Step 6: Drawing the Second Bell

Mirror the shape from the previous step on the right side. Teacher's Tip: Try to match the size of the first bell so your clock looks balanced.
Step 7: Cleaning Up

Gently erase any overlapping guide lines inside the bells. Teacher's Tip: A clean drawing makes the final coloring much easier!
Step 8: Adding the Hammer

Draw a small rectangle between the bells and connect it to the clock. Teacher's Tip: This is the hammer that hits the bells—keep it centered!
Step 9: Adding the Clock Face Details
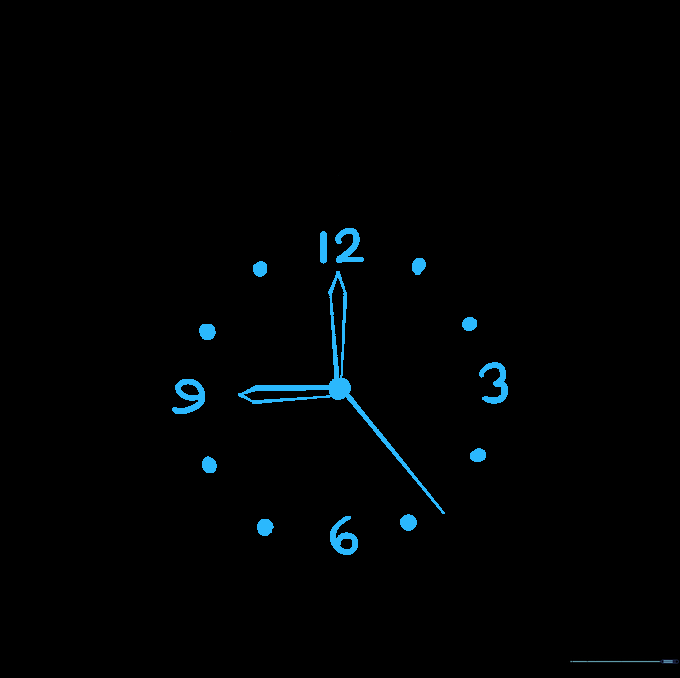
Add the numbers 3, 6, 9, and 12, and draw the clock hands. Teacher's Tip: Use two elongated diamond shapes for the hands to give them a classic look.
Step 10: Bring It to Life with Color
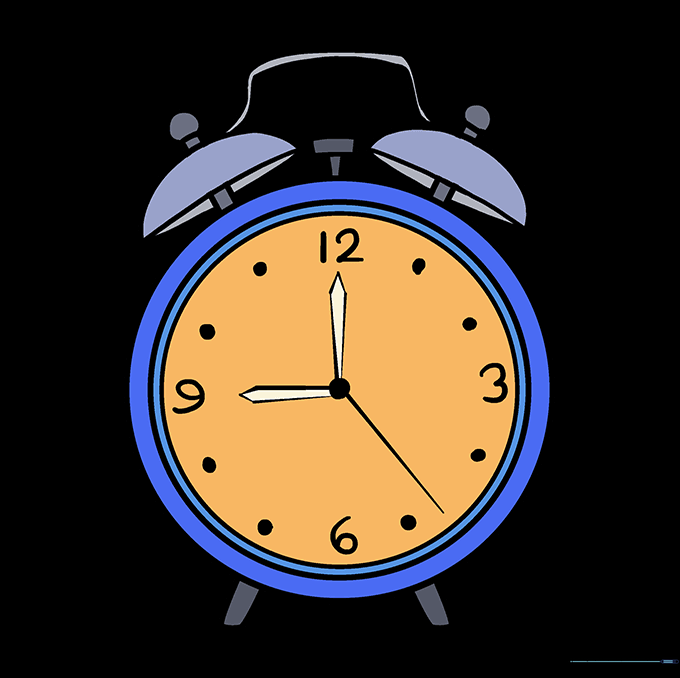
Add your favorite colors! Teacher's Tip: Use metallic silver for the bells and a bright color for the clock body to make it pop.
More Tutorials


