How to Draw an Air Jordan 1: Easy Step-by-Step Guide
Ready to design your own legendary sneaker? This tutorial is perfect for young artists and sneakerheads ages 7+ who want to master the classic Air Jordan 1 silhouette. All you need is a pencil, an eraser, and a piece of paper to bring this streetwear icon to life.
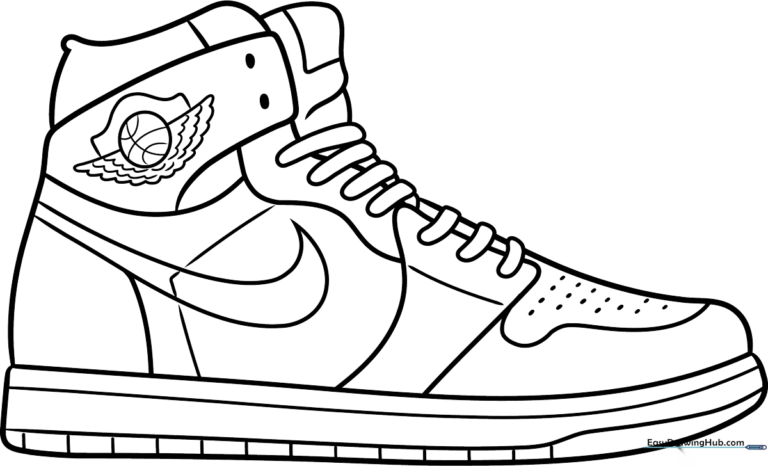
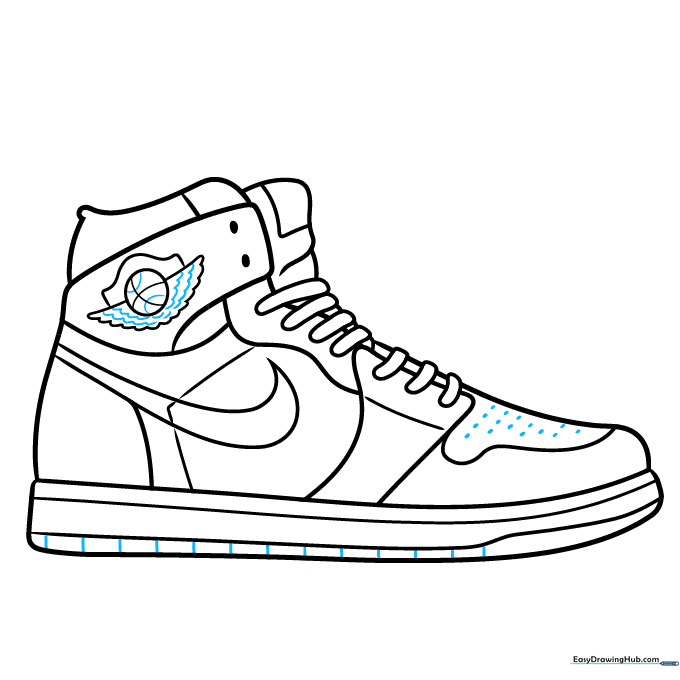
🎯 Final Result
Step-by-Step Instructions
Step 1: Sketching the Sole
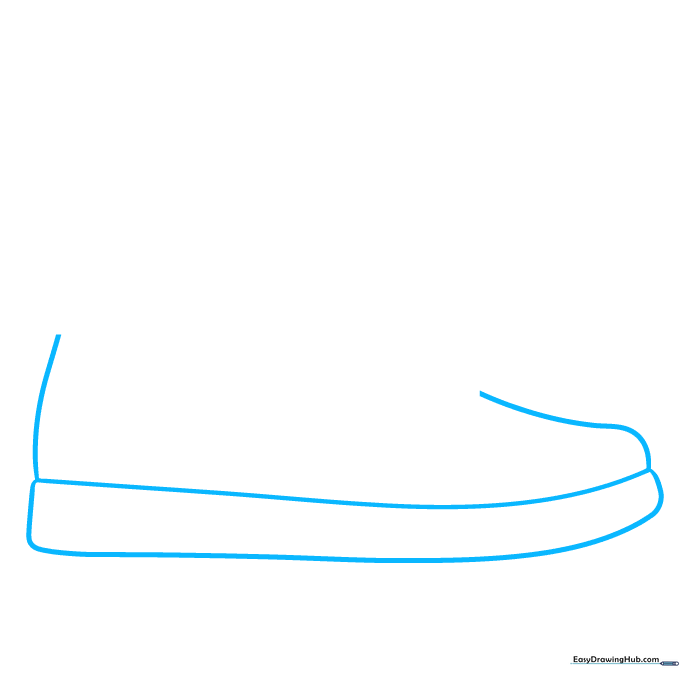
Draw the base of the shoe by sketching a long, narrow rectangle with slightly rounded corners. Tip: Keep your pencil pressure light so you can easily adjust the curve of the toe and heel later.
Step 2: Defining the Heel and Collar
Extend the heel line upward and loop it back to create the ankle collar. Tip: Think of the collar as a soft, rounded cuff that hugs the ankle; don't make it too rigid.
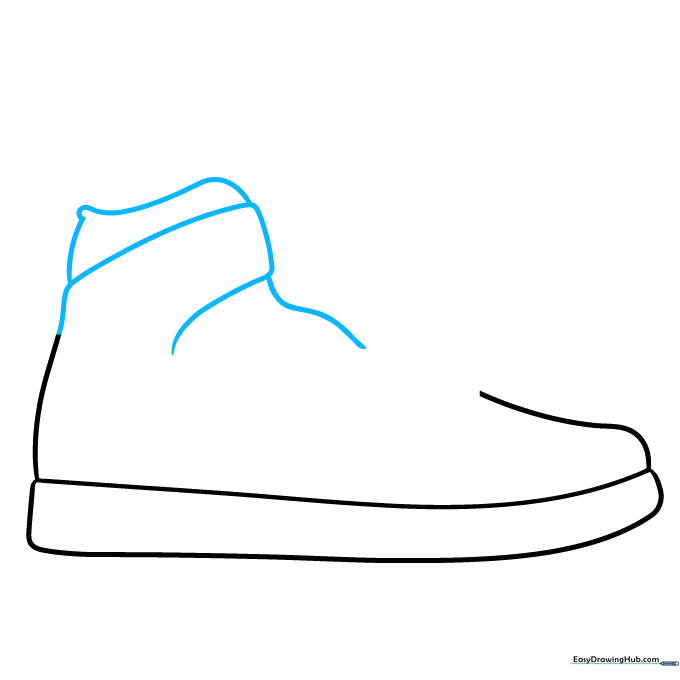
Step 3: Shaping the Upper
Add a curved rectangular shape across the top of the foot area. Connect this to the collar with a gentle, wavy line. Tip: This creates the 'tongue' area, so keep your lines smooth and flowing.
Step 4: Adding Eyelets
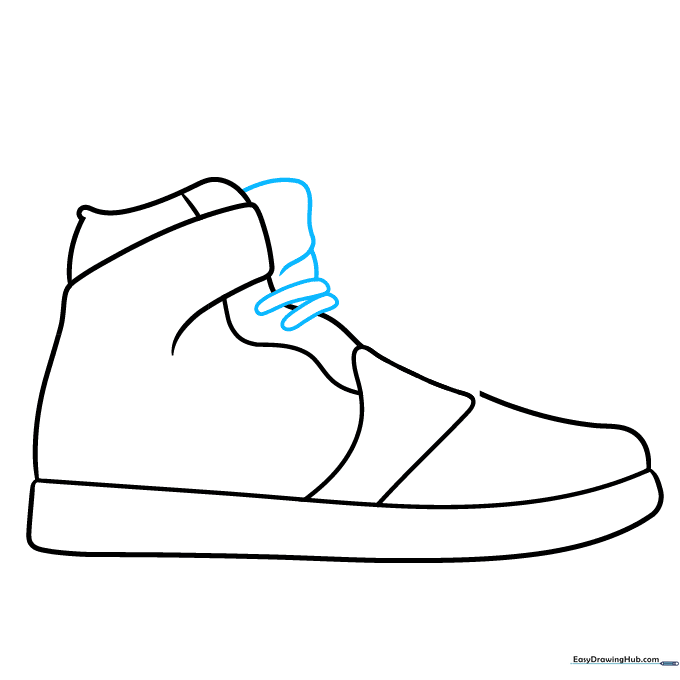
Define the other side of the collar with overlapping curves, then draw small, flat ovals where the laces will go. Tip: Space these ovals evenly to make the shoe look realistic and symmetrical.
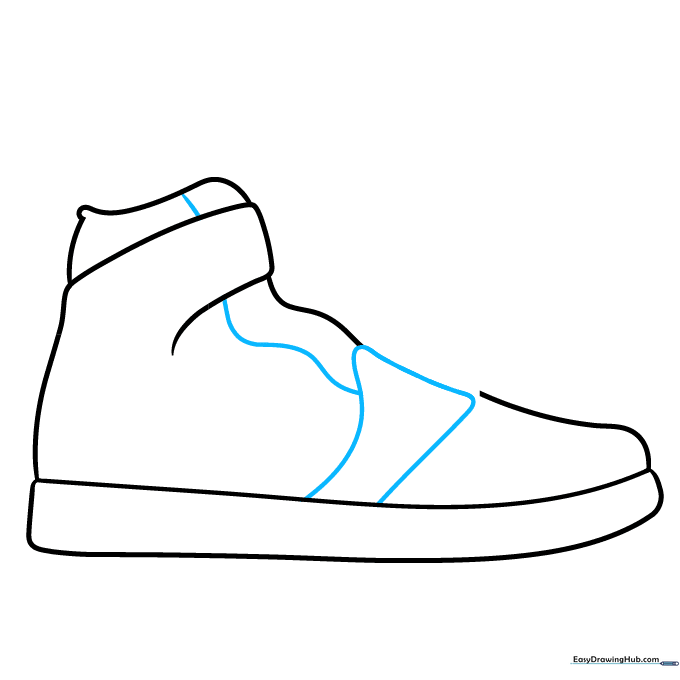
Step 5: Sketching the Laces
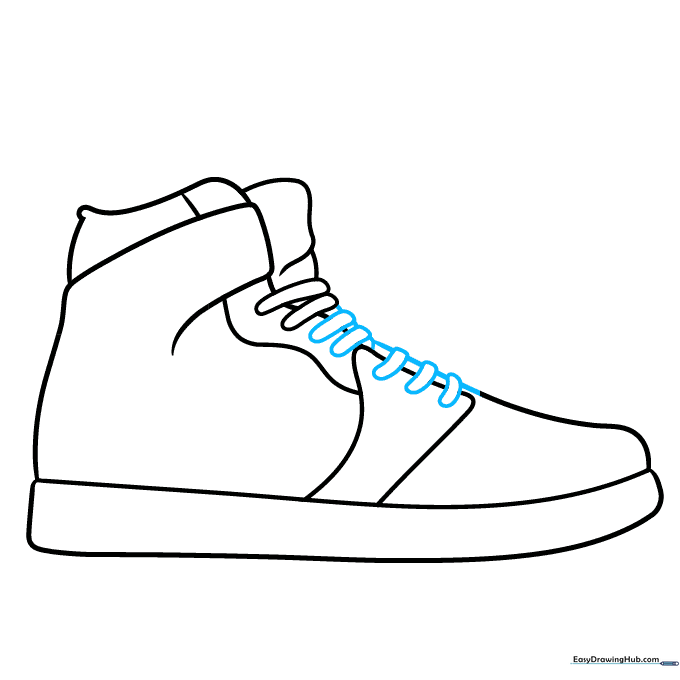
Draw curved shapes between the eyelets to represent the laces. Connect them with short lines. Tip: Don't worry about perfection; laces are naturally messy, so slight variations look great!
Step 6: Drawing the Swoosh
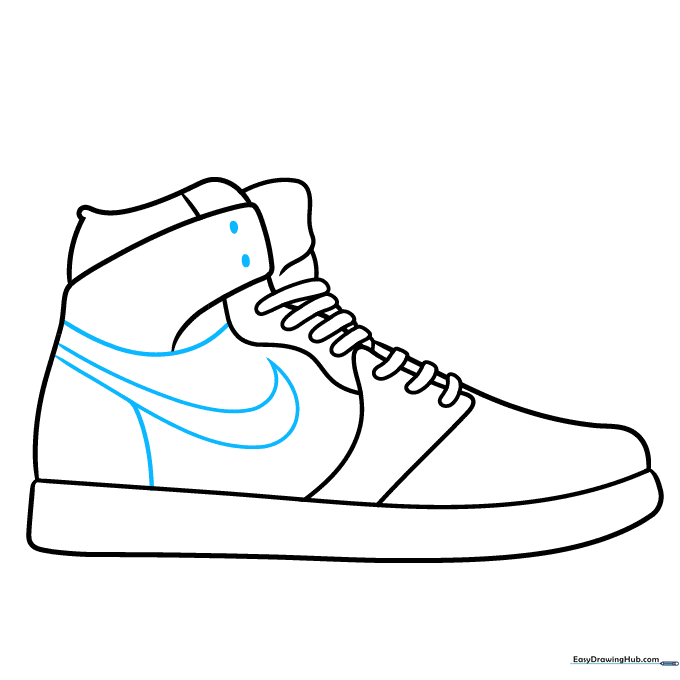
Add the iconic Nike swoosh on the side using two curved lines that meet at a sharp point. Tip: The swoosh should look like a fast, flying checkmark—keep it sleek!
Step 7: Adding Panel Details

Add a 'V' shape on the side and wavy lines on the toe box to show the shoe's panels. Tip: These lines define the different leather sections of the shoe, so make them distinct.
Step 8: The Wings Logo
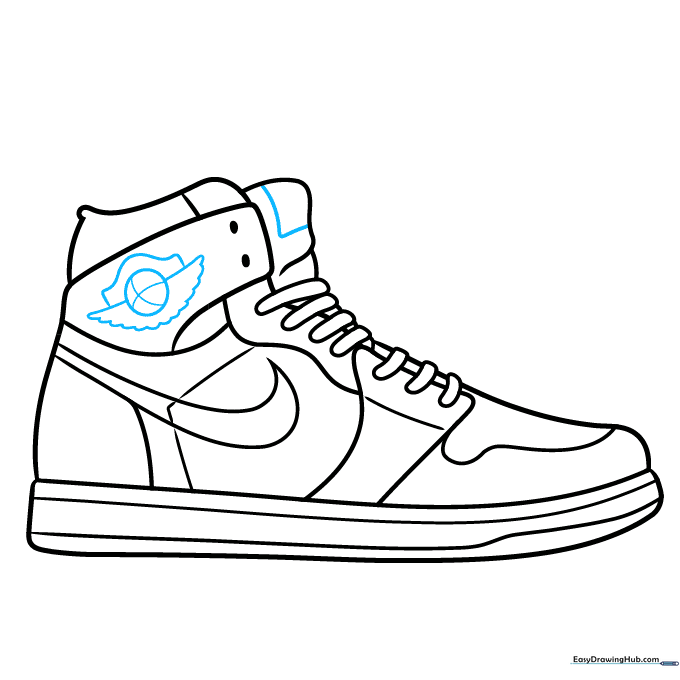
Draw the Air Jordan wings logo near the collar: a circle with two feathered wings extending from the sides. Tip: Use short, quick strokes for the feathers to give them a textured look.
Step 9: Final Textures
Add small dots to the toe box for ventilation and short lines on the sole for grip. Tip: These tiny details make your drawing look like a professional design sketch!
Step 10: Color Your Design
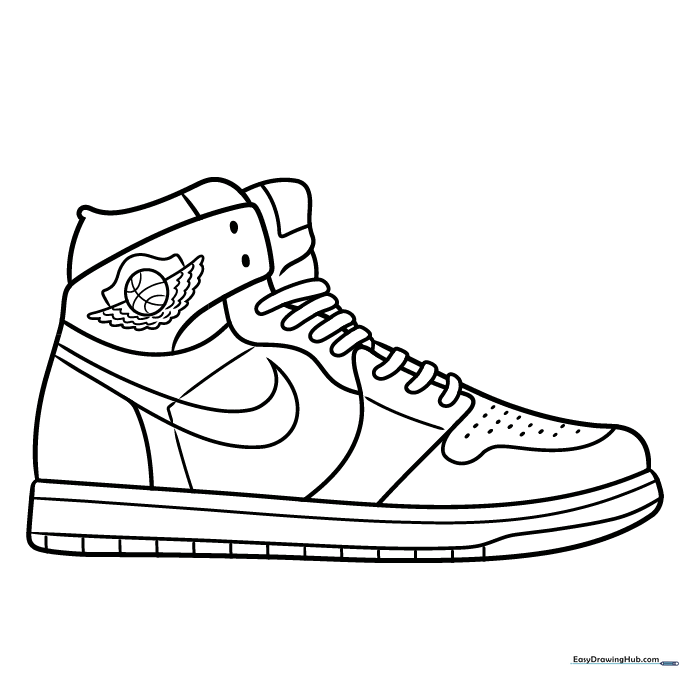
Your outline is ready! Grab your markers or colored pencils. Fun fact: The original Jordan 1s were banned by the NBA for their bold red-and-black colorway, so feel free to break the rules with your own unique color scheme!
More Tutorials


