How to Draw an Agouti: Easy 10-Step Guide for Kids
Ready to bring this unique rainforest rodent to life? This tutorial is perfect for young artists ages 5 and up. All you need is a pencil, an eraser, and a piece of paper to start building your own wildlife sketch.
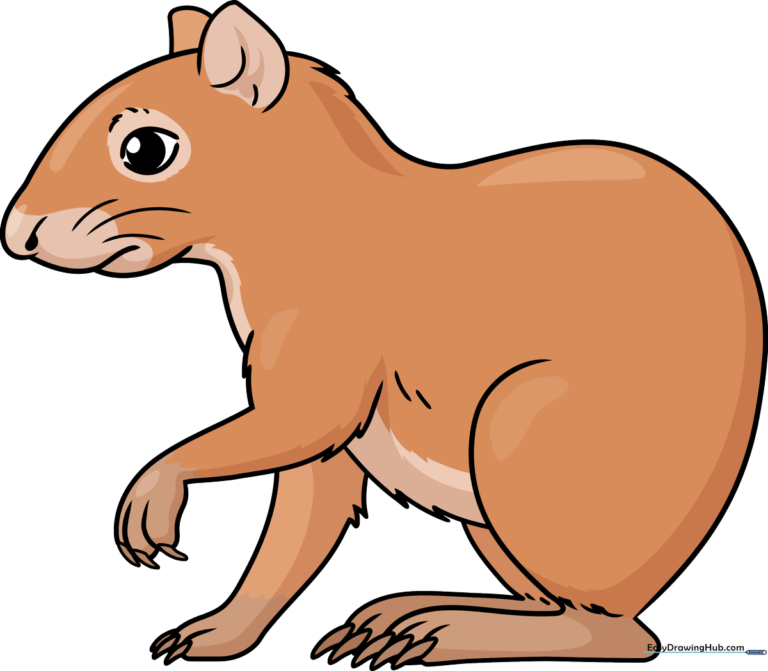
🎯 Final Result
Step-by-Step Instructions
Step 1: Sketching the Head
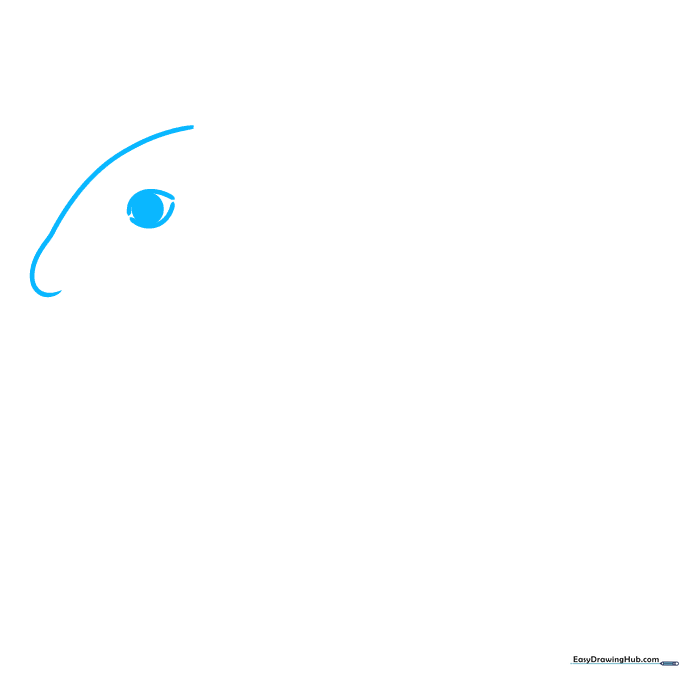
Draw a smooth, curved line to form the top of the head. Add an oval for the eye, leaving a small white space inside for a highlight. Teacher's Tip: Keep your pencil pressure light so you can easily adjust the shape if needed.
Step 2: Defining the Snout
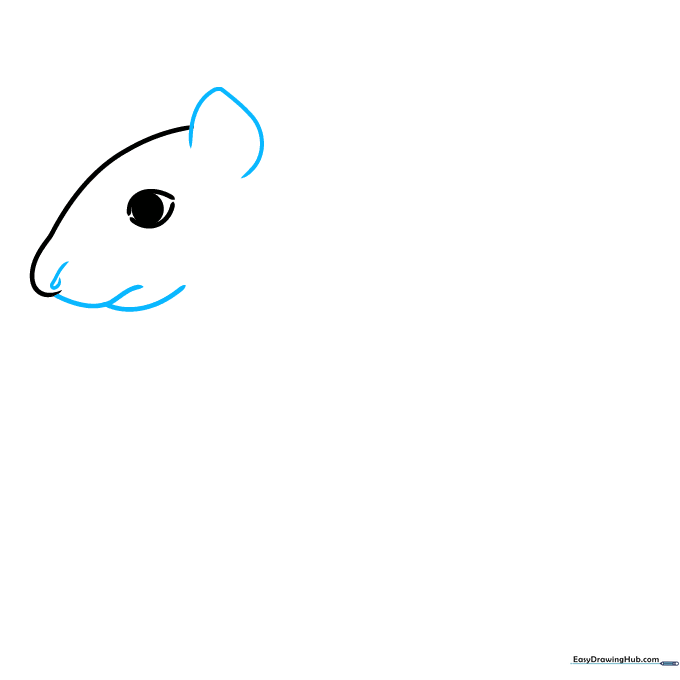
Add a pointed ear shape at the top. For the nose, draw a small curve for the nostril, then use a 'Y' shape to define the mouth and jawline. Teacher's Tip: The 'Y' shape is a classic trick for drawing small rodent snouts!
Step 3: Adding the Neck and Fur
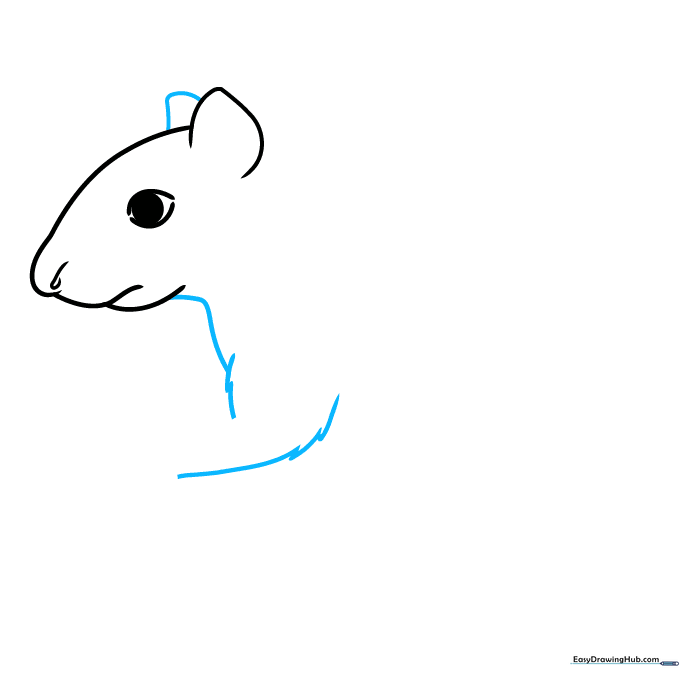
Draw the second ear tucked behind the first. Use short, jagged lines to connect the head to the body. Teacher's Tip: Use quick, flicking motions with your pencil to make the lines look like soft, natural fur.
Step 4: Sketching the Front Paw
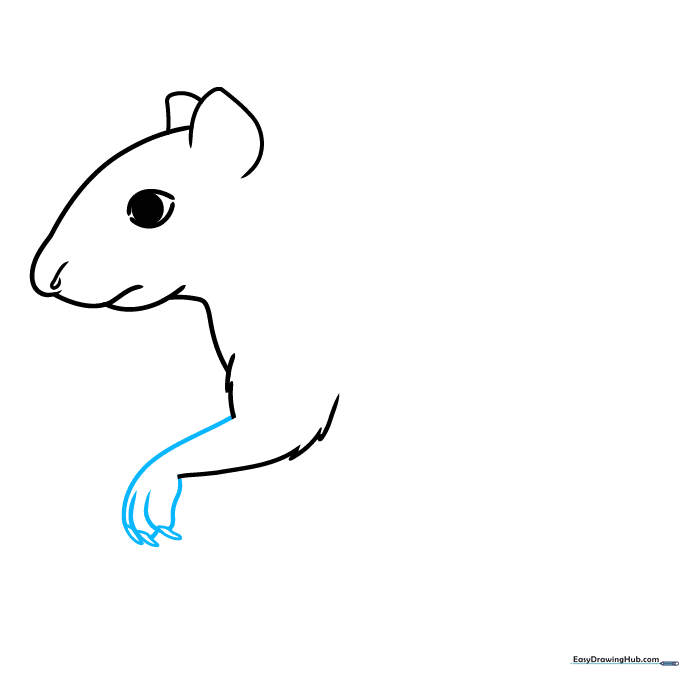
Draw the front leg using curved lines, ending in small, triangular claws. Teacher's Tip: Agoutis have delicate feet; keep your lines thin to show their agility.
Step 5: Shaping the Body
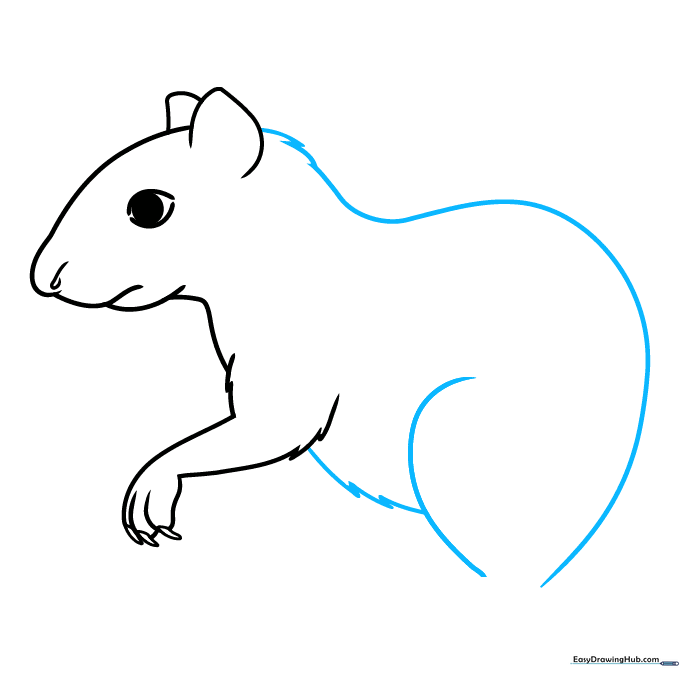
Continue the back and belly with long, sweeping curves. Use more jagged lines near the hips to suggest fur texture. Teacher's Tip: Think of the body as a large, rounded bean shape.
Step 6: Drawing the Rear Foot
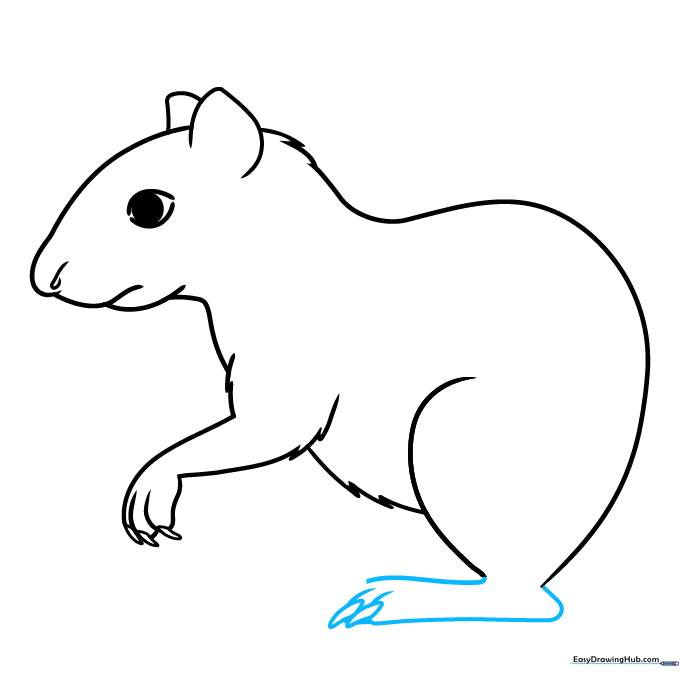
Draw the strong rear leg with a slightly larger foot. Add the toes and claws just like you did for the front. Teacher's Tip: The rear legs are stronger, so make them look a bit thicker than the front ones.
Step 7: Adding Remaining Limbs
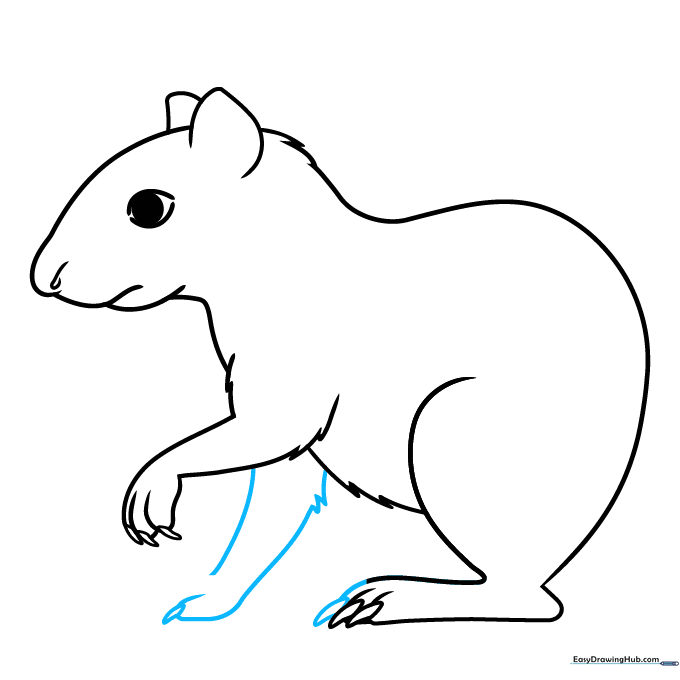
Complete the second rear paw and the remaining foreleg. Keep the fur texture consistent by using those same jagged, short lines. Teacher's Tip: Overlapping lines help create depth in your drawing.
Step 8: Refining the Paws
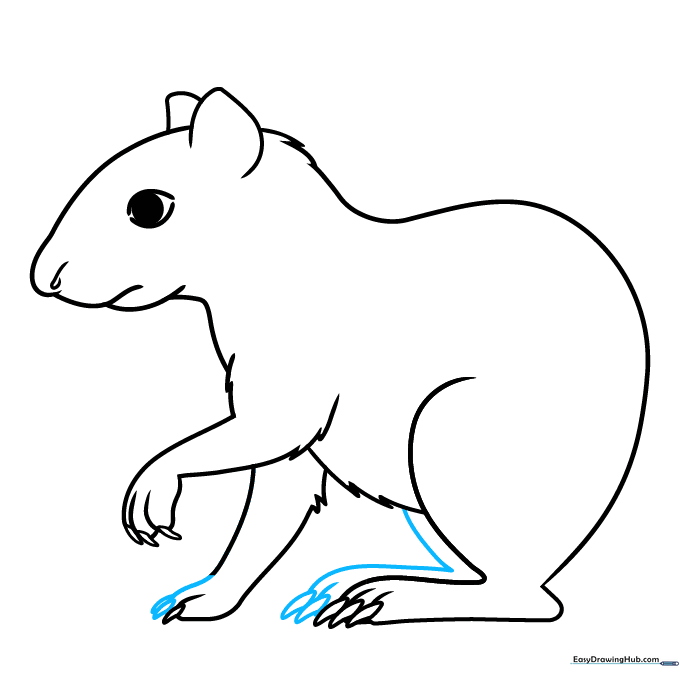
Go back over your paws to ensure the claws are clearly defined. Add a few extra curved lines to show the joints. Teacher's Tip: Small details like joints make your animal look much more realistic.
Step 9: Adding Whiskers and Texture
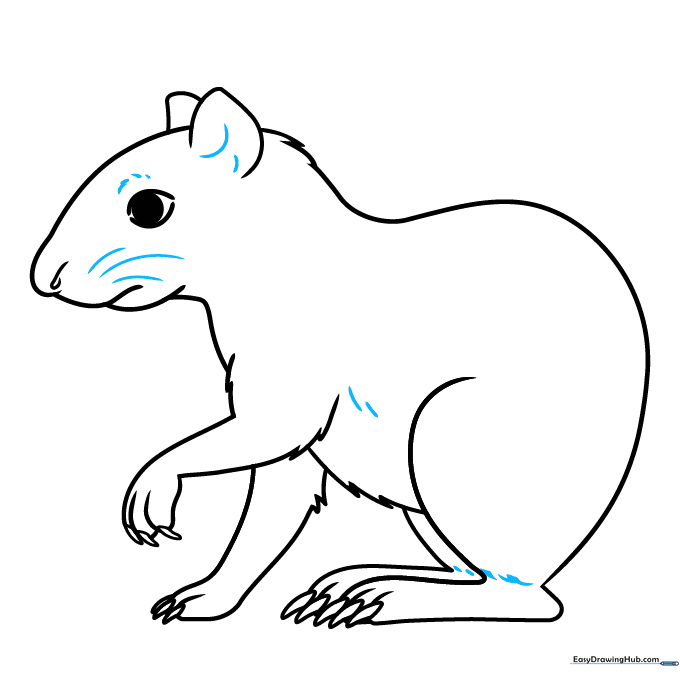
Add long, thin lines for whiskers on the snout. Add light, feathery lines around the ears and feet to finish the fur look. Teacher's Tip: Whiskers should be drawn with a single, confident stroke.
Step 10: Bringing it to Life with Color
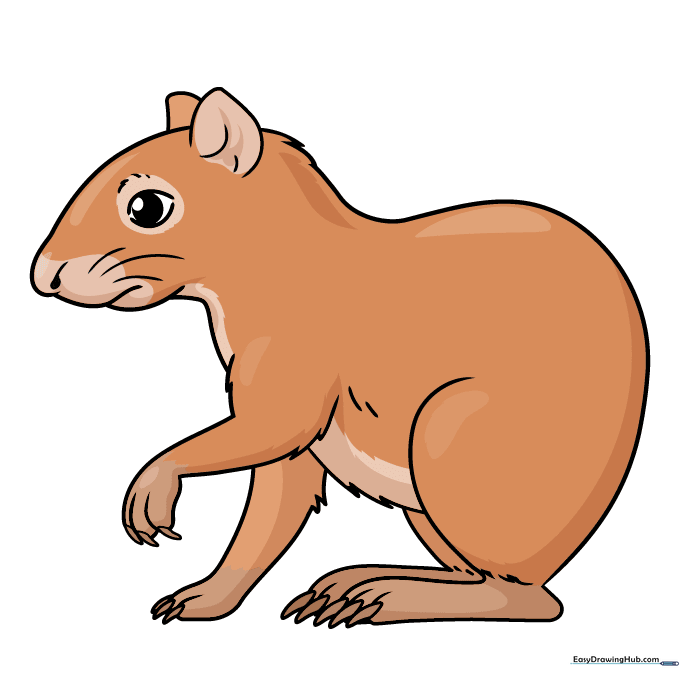
Time to color! Use warm reddish-browns for the body. Agoutis often have lighter undersides. Teacher's Tip: Use a blending technique with your pencils to create the natural 'agouti' pattern of alternating light and dark bands.
More Tutorials


