How to Draw an Abstract Self-Portrait: Easy 9-Step Guide
Ready to express your unique personality through art? This abstract self-portrait tutorial is perfect for artists ages 6 and up. You only need a pencil, an eraser, and some markers or colored pencils to turn simple shapes into a bold, modern masterpiece.
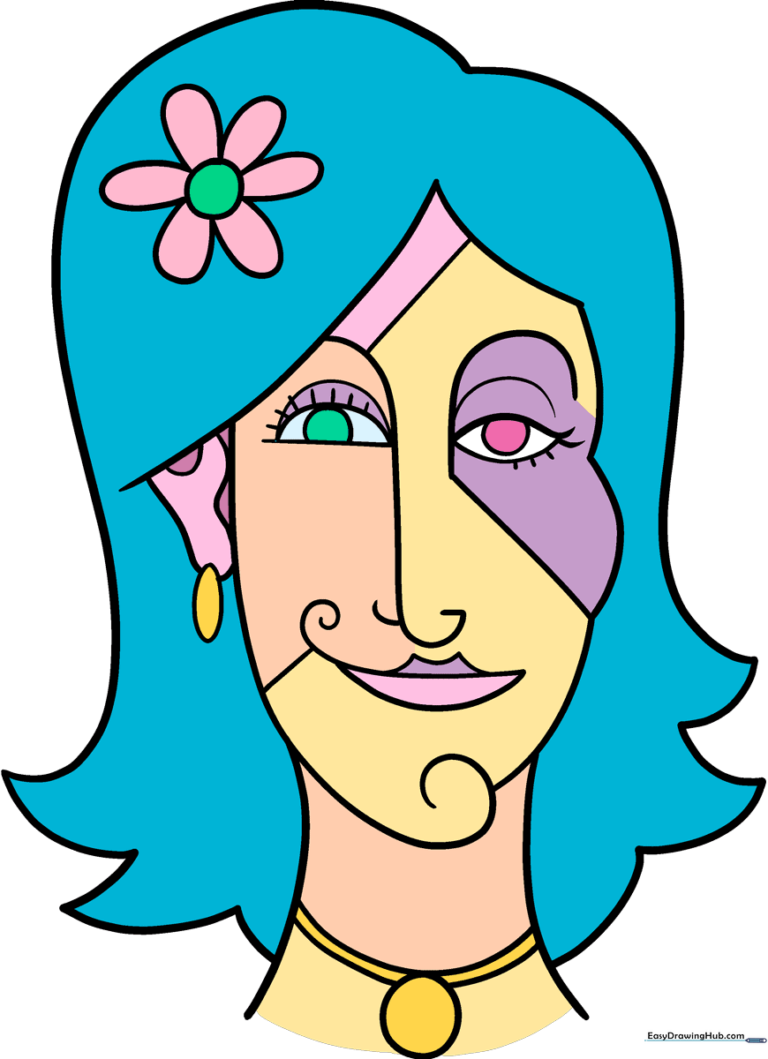
🎯 Final Result
Step-by-Step Instructions
Step 1: Sketching the Face Shape
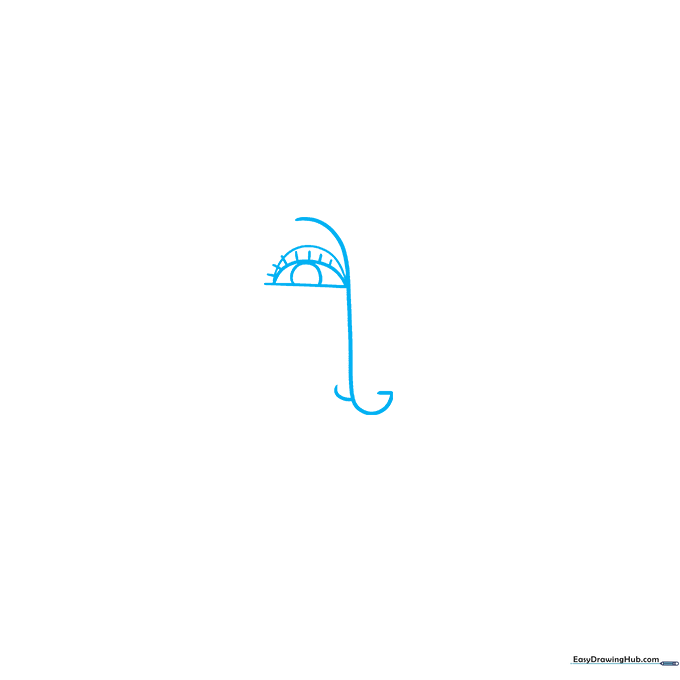
Draw a soft semi-oval for the face and place a circle inside for the eye. Add a dome shape on top for the forehead and small dashes for eyelashes. Teacher's Tip: Keep your pencil lines very light so you can easily erase them later when you finalize your outline.
Step 2: Adding the Second Eye
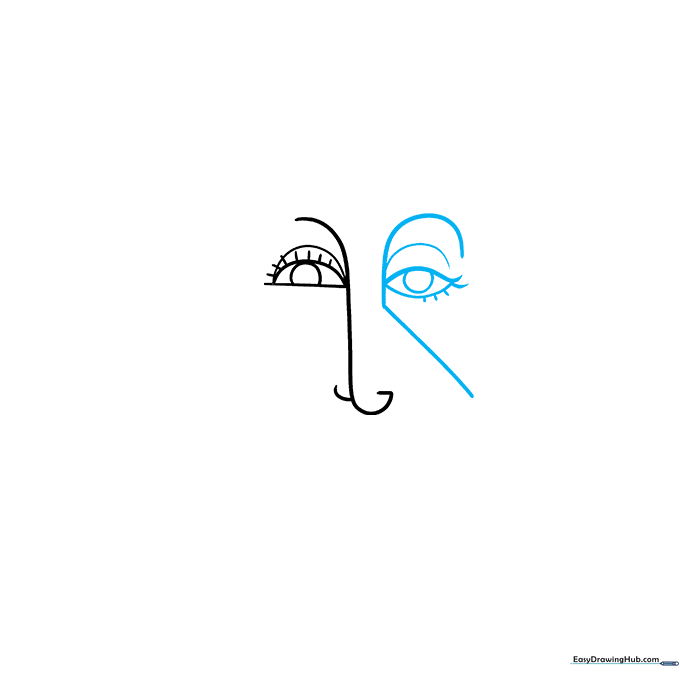
On the right side, draw a lemon-shaped eye with a circle inside and matching lashes. Add a curved line above the eye and a hook shape to suggest the bridge of the nose. Tip: If you want a more expressive look, try making the eyes different sizes—that's the fun of abstract art!
Step 3: Defining the Mouth and Jaw
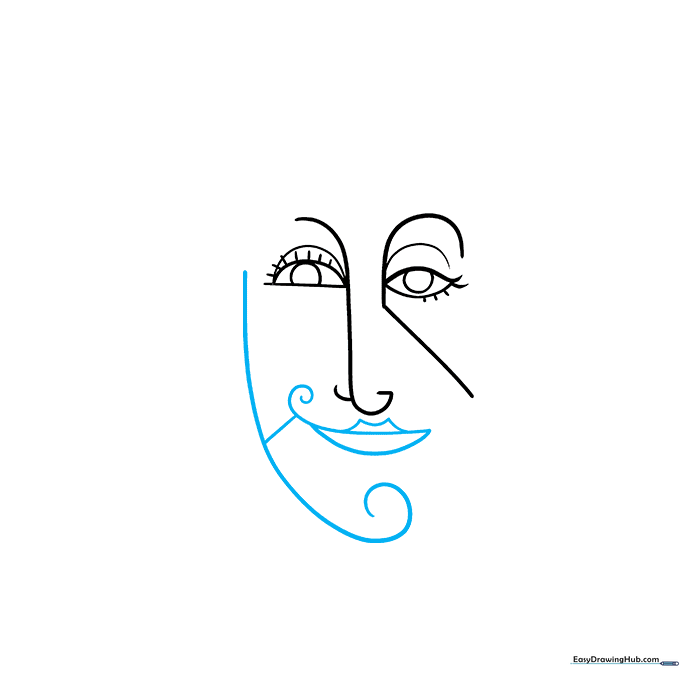
Outline the left side of the face with a curve that ends in a playful swirl. Add a swirl-shaped mouth and connect it to the face with a diagonal line. Tip: Use an 'M' shape for the upper lip to give it a stylized, artistic look.
Step 4: Creating the Hairline
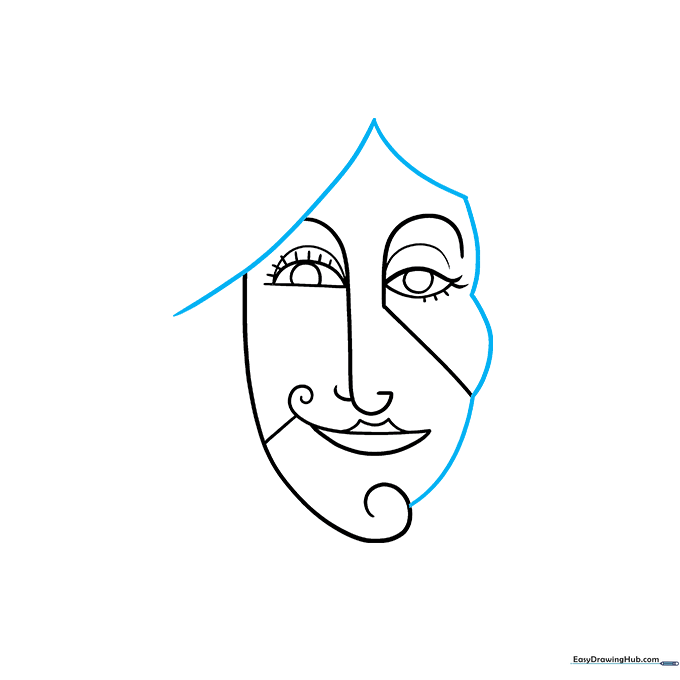
Sketch a swooping triangle above the head and add three fluffy cloud-like curves on the right side. Tip: Don't worry about making the hair look realistic; focus on creating interesting geometric shapes instead.
Step 5: Adding Ears and Neck
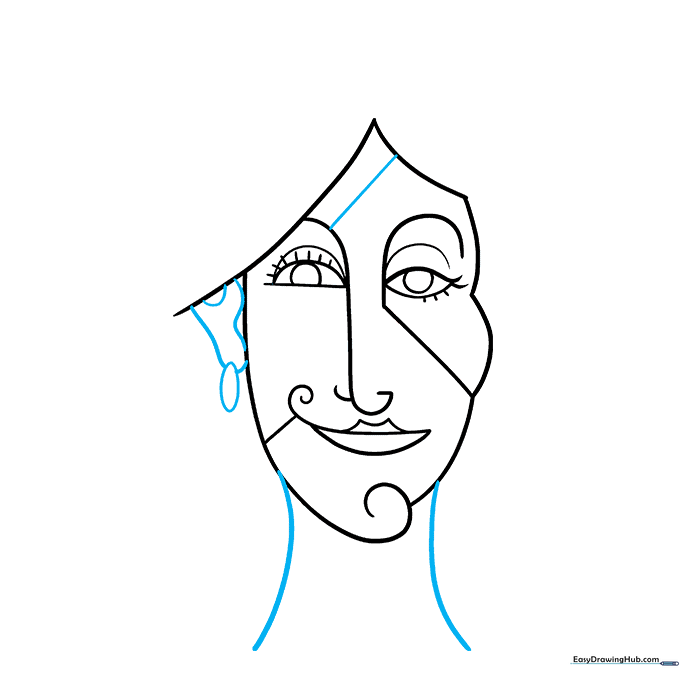
Add a diagonal line across the forehead for detail. Draw an ear using a wide 'Y' shape and an oval, then define the neck with two sweeping curves. Tip: Keep your neck lines fluid to balance out the sharp triangles in the hair.
Step 6: Developing the Hairstyle
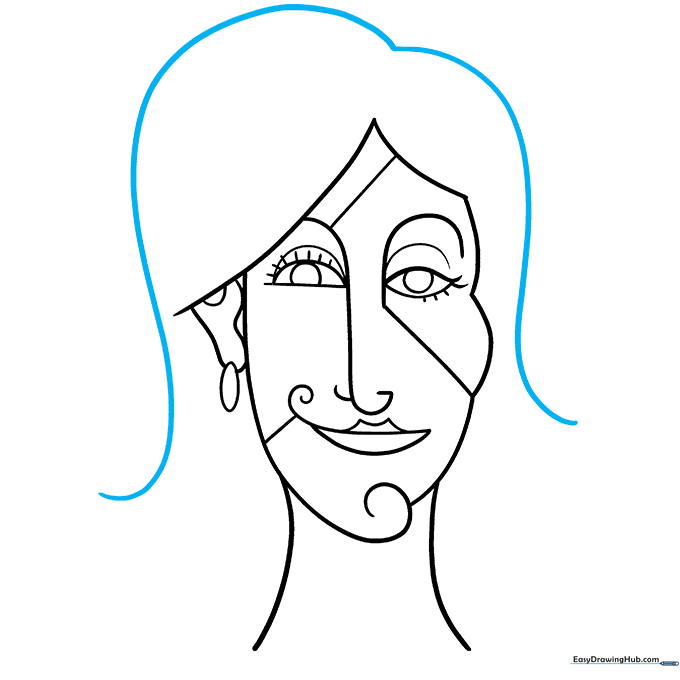
Sketch two large, bold curves on top of the head to build volume. Tip: Imagine you are drawing a hat or a headpiece—this helps you think about the hair as a separate, decorative element.
Step 7: Finishing the Hair

Complete the hair by adding six triangles around the top. Tip: You can change the number or size of these triangles to match your own hairstyle or create a wild, imaginative look.
Step 8: Adding Accessories
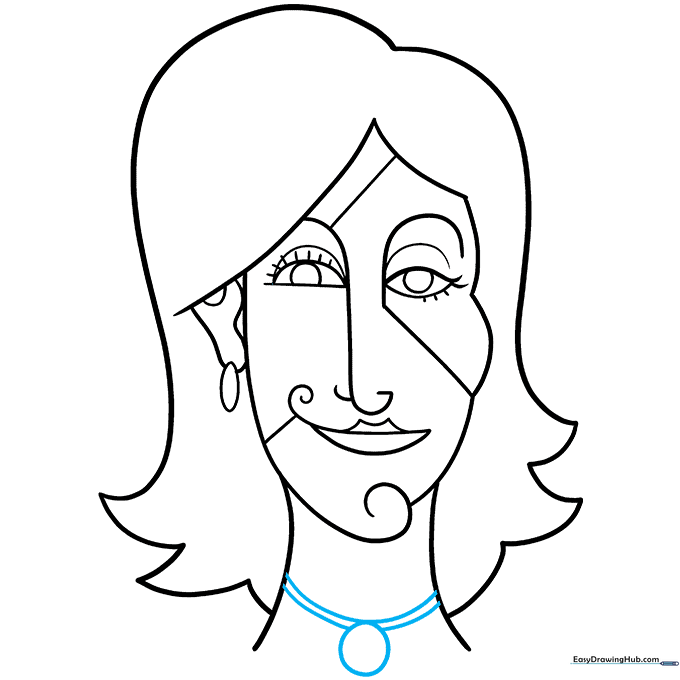
Add a necklace by sketching a circle on the neck with two curves behind it. Tip: This is a great place to personalize your drawing—maybe add your favorite charm or a geometric pendant!
Step 9: Final Details and Inking
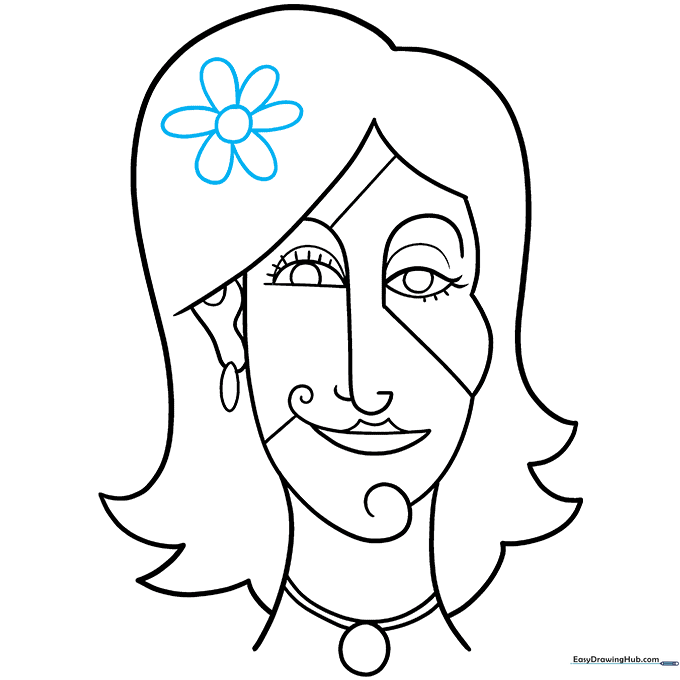
Optionally, add a flower with six petals on the side of the head. Once you're happy with your sketch, trace over your lines with a black pen and erase the leftover pencil marks. Tip: Use a steady hand when inking to keep your lines clean and bold.
Step 10: Adding Color
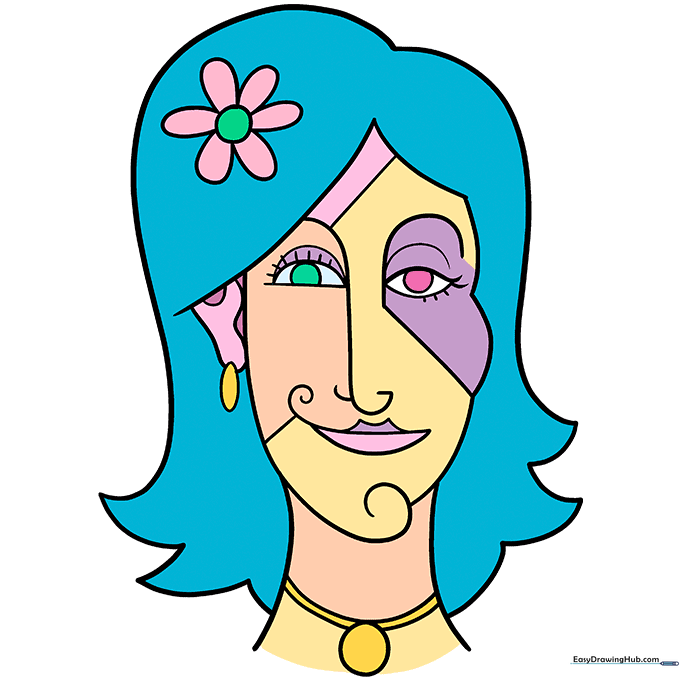
Bring your portrait to life with vibrant colors! Use blocks of tan, purple, and pink for the skin, and don't be afraid to use unexpected colors for the hair and eyes. Tip: Abstract art is all about expression—if you feel like using neon green for your hair, go for it!
More Tutorials


