Draw a Laurel Burch Style Cat: Easy Step-by-Step Guide
Bring the whimsical world of Laurel Burch into your home with this fun, pattern-focused cat drawing lesson. Perfect for ages 6+, this activity requires only paper, a pencil, and markers to explore bold shapes and rhythmic designs. Follow these steps to create your own colorful, abstract feline masterpiece.
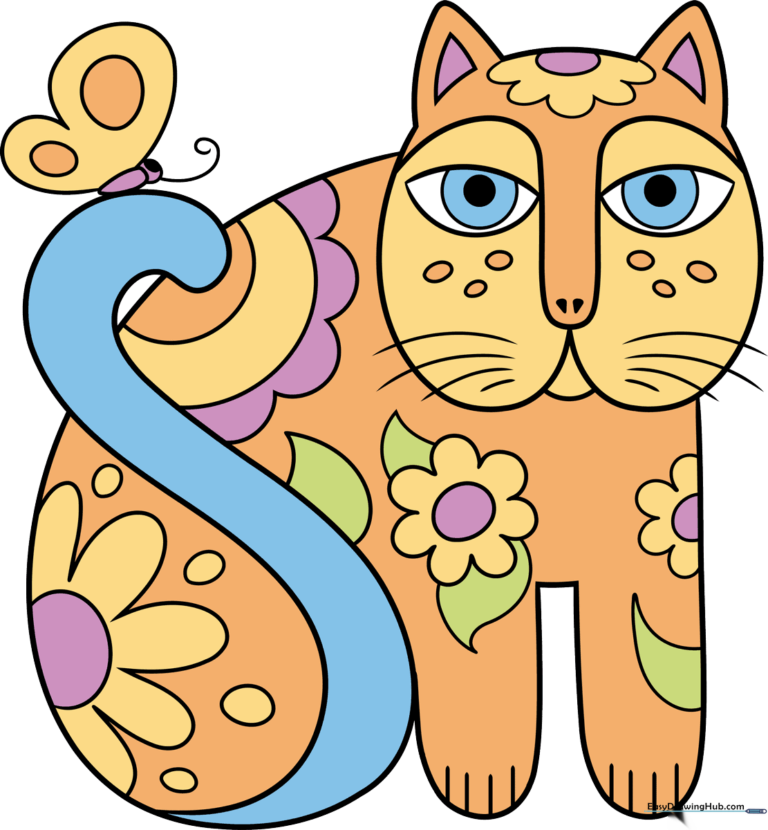
🎯 Final Result
Step-by-Step Instructions
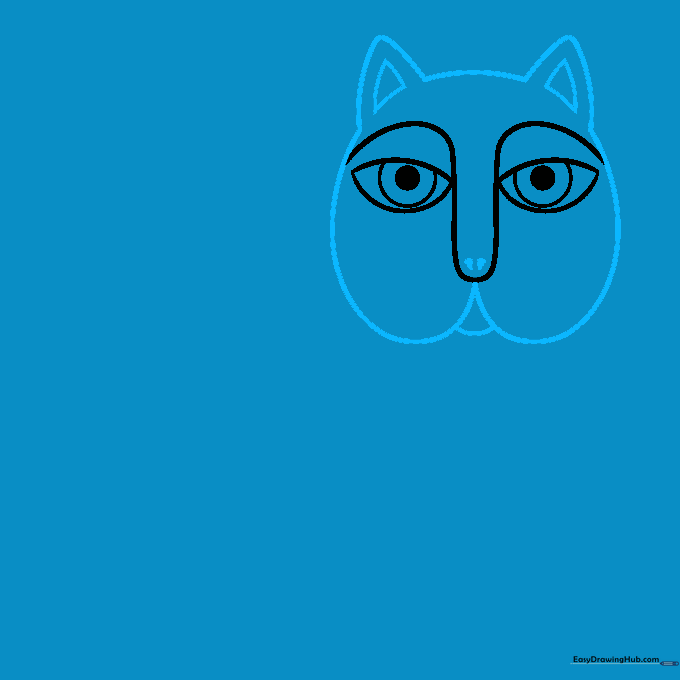
Step 1: Sketching the Central Face

Draw a deep, unraveled paper clip shape for the face, then add a lemon shape on each side. Tip: Keep your pencil pressure light so you can easily refine these shapes later. Add small circles inside the 'lemons' for eyes and fill them in to create an instant focal point.
Step 2: Defining the Head and Ears
Draw a wide loop starting from the nose, arching over the face to complete the head shape. Add two triangles on top for ears and small dashes for nostrils. Tip: Laurel Burch art is all about symmetry—try to make your ear triangles the same size!
Step 3: Building the Body and Whiskers
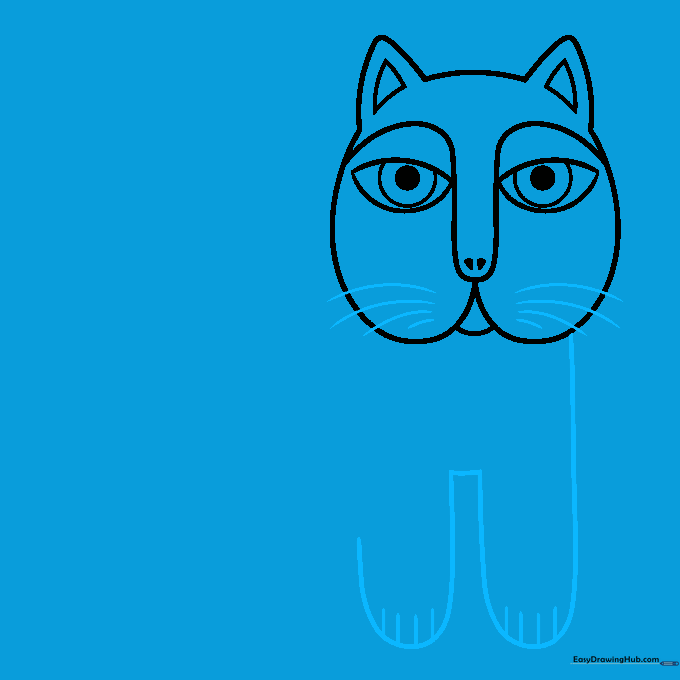
Outline the body using straight lines and loops, then add the toes and whiskers. Tip: Use long, confident strokes for the whiskers to give the cat a sense of movement.
Step 4: Adding the Whimsical Tail
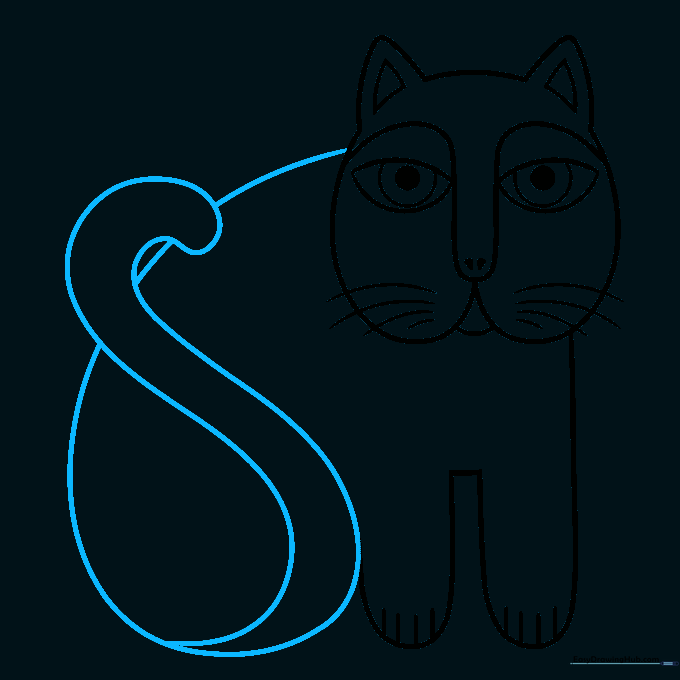
Draw a curve from the head that spirals outward into a long, cylindrical tail. Tip: Don't worry if the spiral isn't perfect; abstract art celebrates organic, flowing lines.
Step 5: Decorating with Geometric Patterns
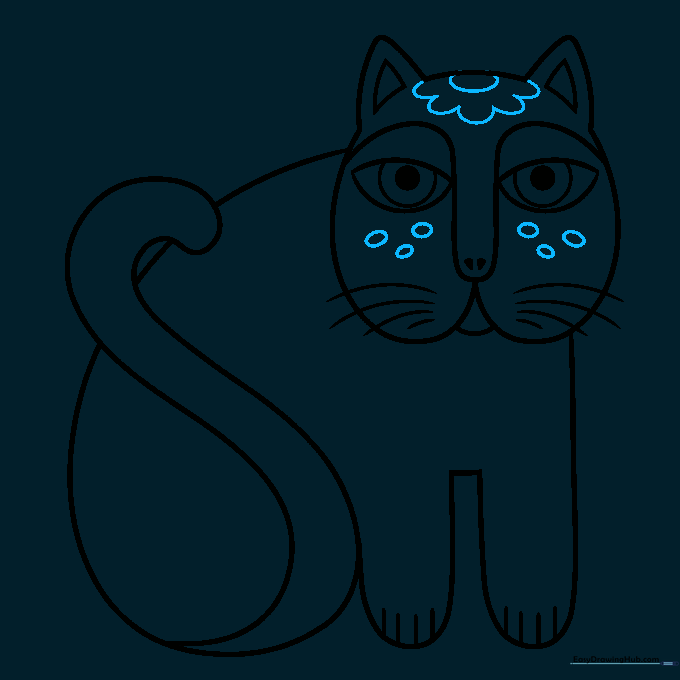
Add a flower shape to the top of the head and fill the face with circles and geometric patterns. Tip: Laurel Burch designs are famous for their 'pattern-within-a-pattern' style, so fill the negative space with small shapes.
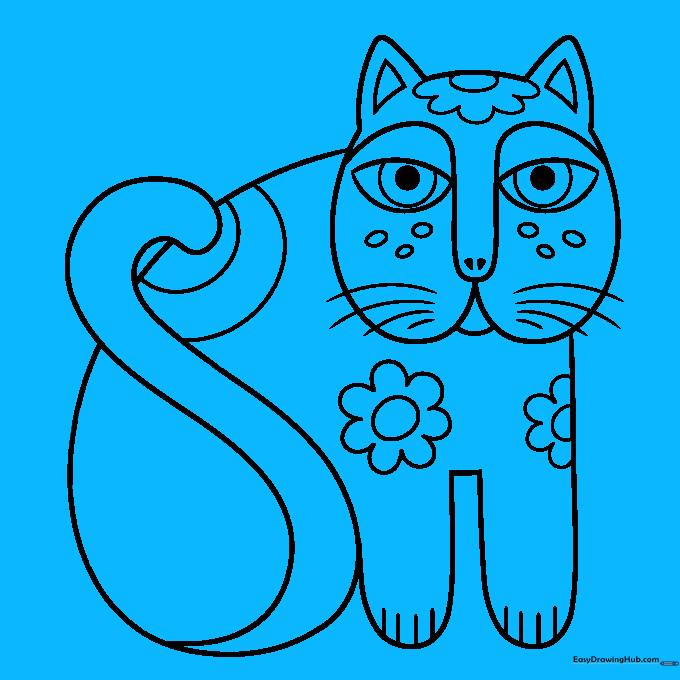
Step 6: Patterning the Body

Incorporate more flowers and semi-circles along the body. Tip: Use these shapes to break up the cat's body into smaller sections, which makes coloring much more fun later!
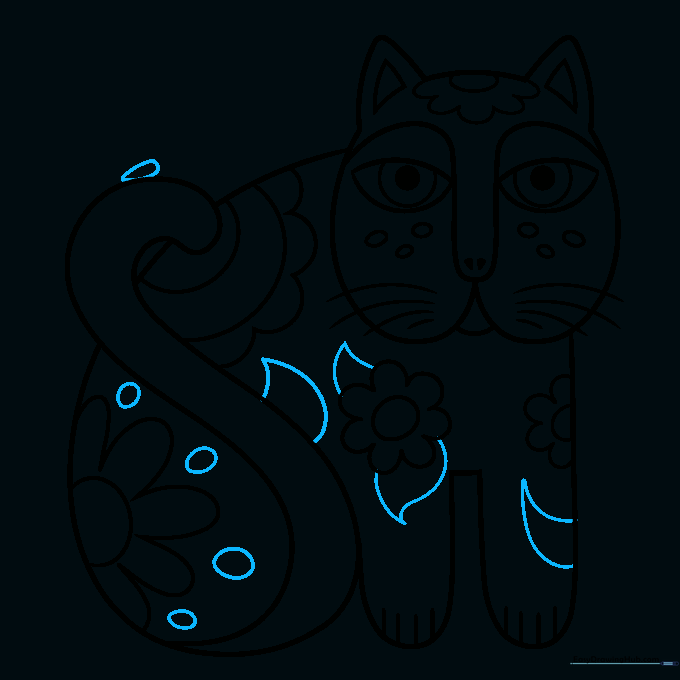
Step 7: Expanding the Floral Design
Continue adding loops and circles to create more stylized flowers across the design. Tip: Vary the size of your circles to create visual interest and depth.
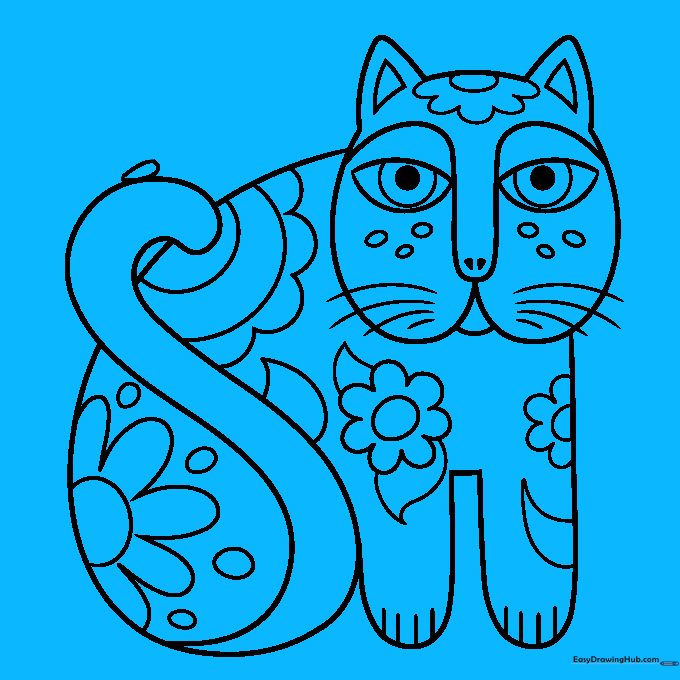
Step 8: Final Decorative Touches
Add rounded leaves and an oblong shape to the tip of the tail. Tip: These small details act as 'anchors' for your colors, helping the eye move across the drawing.
Step 9: Completing the Outline
Add a butterfly wing detail with loops and circles to finish the composition. Tip: Ensure all your lines are connected so the drawing looks like a cohesive, stained-glass piece.
Step 10: Bringing it to Life with Color
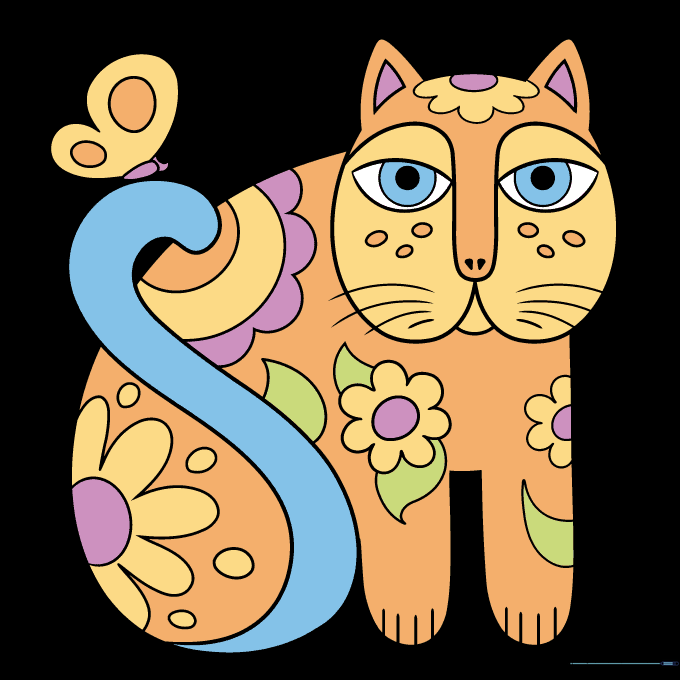
Outline everything in black marker, using thicker lines for the main body and thinner ones for the patterns. Use bright, bold colors like orange, green, and yellow. Tip: Use blue for the eyes and tail to create a cool-toned contrast against the warm body colors, making the design pop!
More Tutorials


