How to Draw an Abstract Face: Easy Cubist Art Guide
Unlock your inner artist with this fun, Cubist-inspired abstract face tutorial! Designed for ages 8+, this project requires only a pencil, paper, and your imagination. You'll learn how to break down facial features into geometric shapes to create a bold, modern masterpiece.
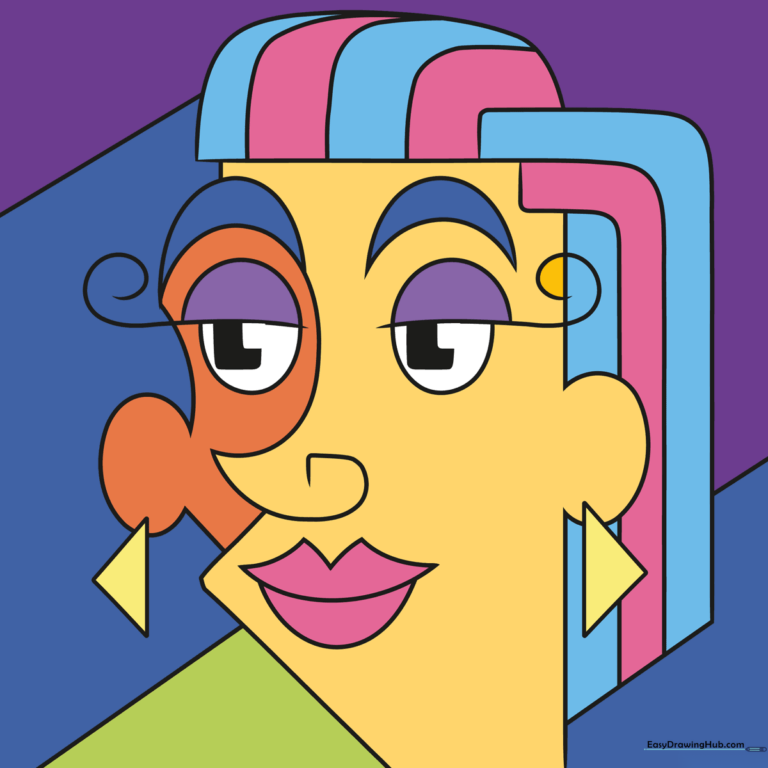
🎯 Final Result
Step-by-Step Instructions
Step 1: Sketching the Abstract Eyes

Draw two open-ended ovals for the eyes. Add a curved line with a small spiral in one eye to represent stylized lashes. Teacher's Tip: Keep your pencil pressure light here; you want these shapes to feel fluid, not rigid.
Step 2: Defining the Pupils
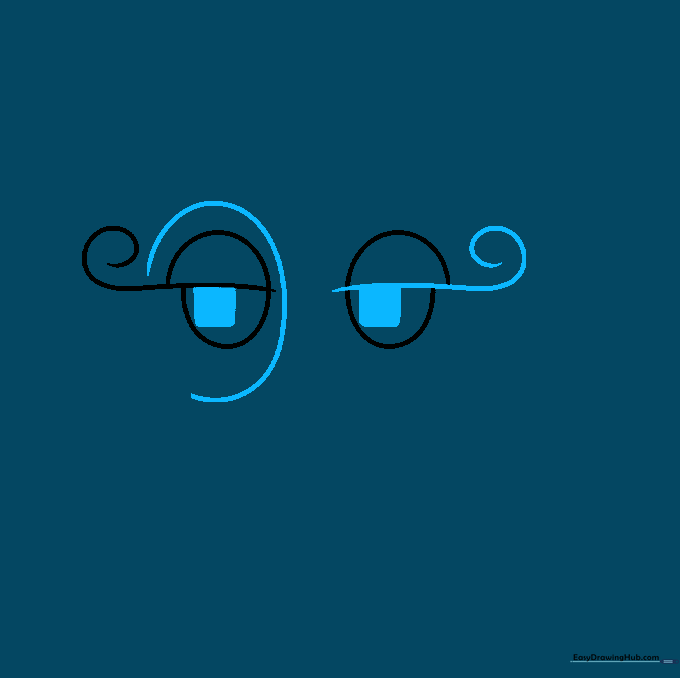
Add a spiral to the second eye and shade a small square inside each to serve as pupils. Draw a partial oval around one eye to create depth. Teacher's Tip: Using geometric shapes like squares for pupils is a classic Cubist technique to make the face look more 'deconstructed'.
Step 3: Creating the Nose and Lips
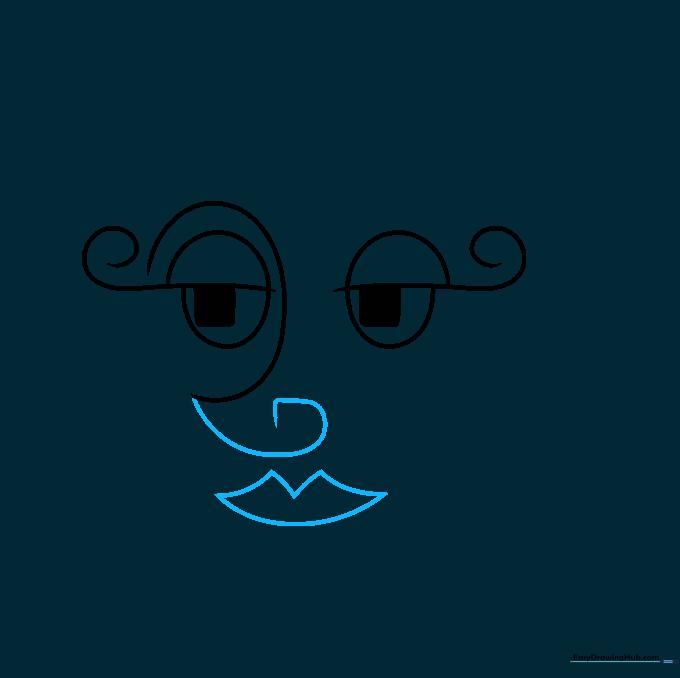
Draw a 'G' shaped line for the nose, then a wide 'M' shape below it for the lips, connecting the ends with a curve. Teacher's Tip: Don't aim for realism here; the 'G' shape creates a fun, quirky profile view that defines the abstract style.
Step 4: Adding Brows and Face Outline
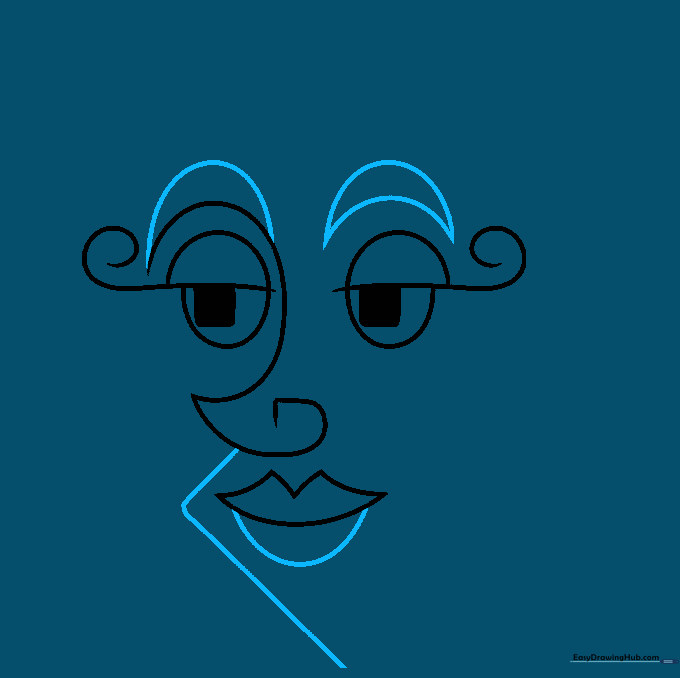
Add crescent moon eyebrows above each eye and an 'L' shaped line from the nose to define the side of the face. Teacher's Tip: The 'L' shape acts as a boundary, helping to separate the face from the background.
Step 5: Drawing the First Ear
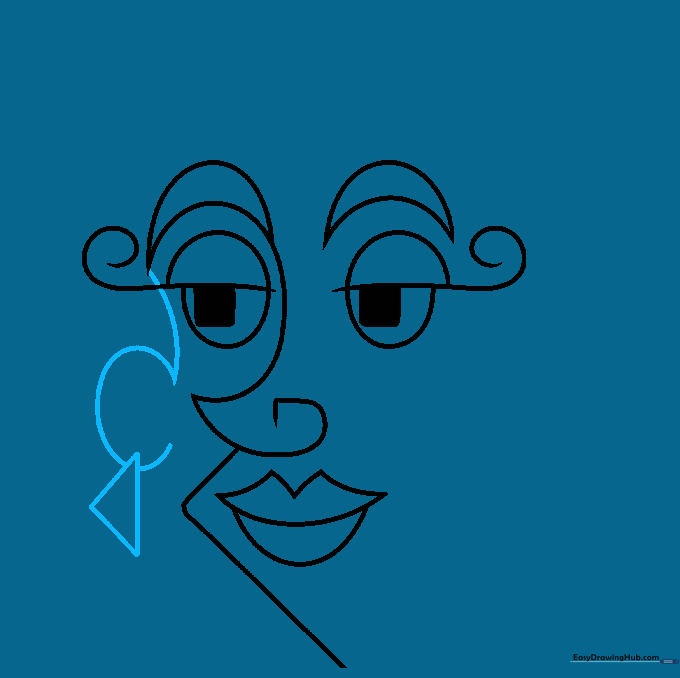
Draw a 'C' shaped ear extending from the eyebrow, adding a small right triangle as an earring. Teacher's Tip: Earrings are a great way to add personality—feel free to change the triangle to a circle or star!
Step 6: Adding the Second Ear
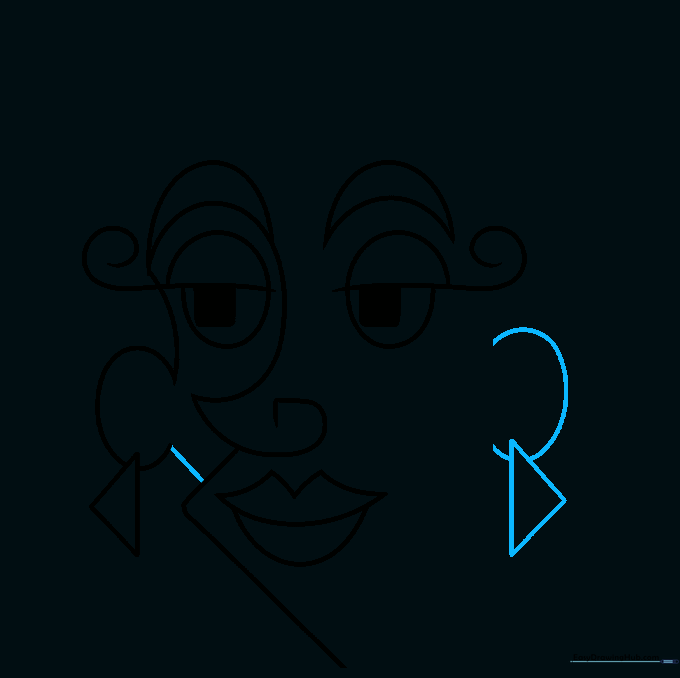
Connect the first ear to the face, then repeat the 'C' shape and triangular earring on the opposite side. Teacher's Tip: Since this is abstract, the ears don't need to be perfectly aligned with the eyes.
Step 7: Adding Structural Lines
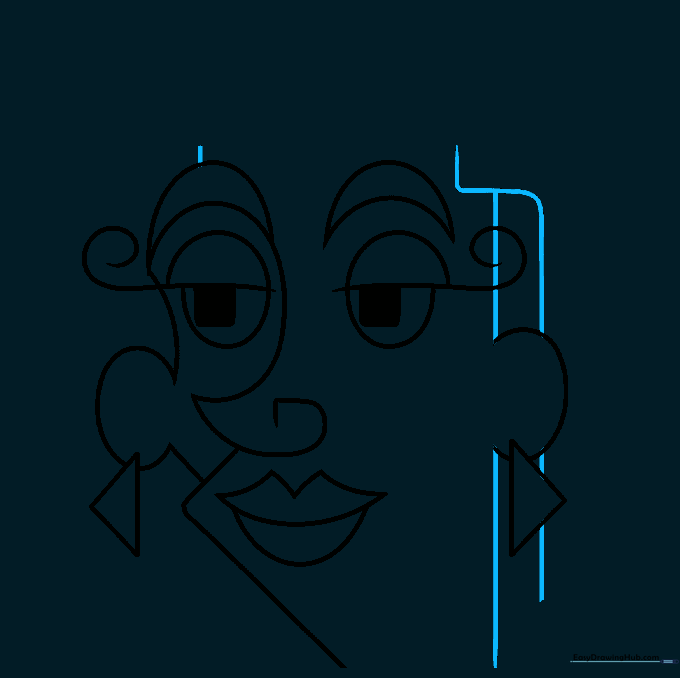
Add straight lines near the ears and brows, then draw a winding line with 'L' bends along the side of the face. Teacher's Tip: These lines create visual 'movement' across the page, a key element in modern art.
Step 8: Sketching the Hair
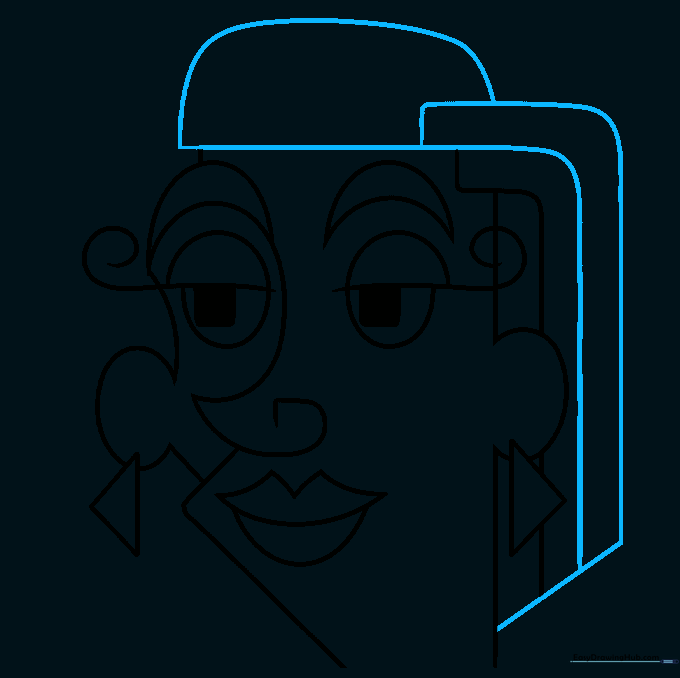
Draw long, curved 'L' shapes along the side of the head to suggest flowing hair, connecting them with a diagonal line. Teacher's Tip: Use broad, confident strokes for the hair to contrast with the smaller details of the face.
Step 9: Final Texturing
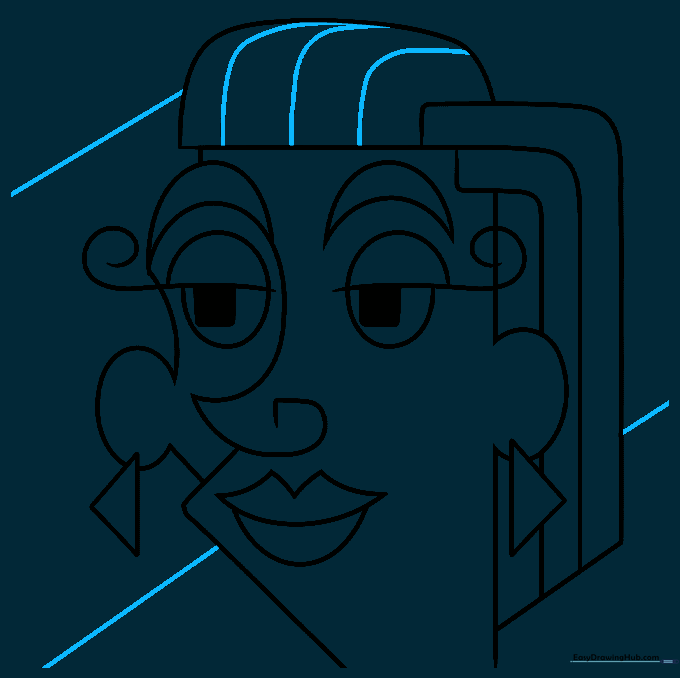
Add curved lines to the hair and diagonal lines across the background to complete the portrait. Teacher's Tip: The background lines help 'anchor' the face, making it pop off the page.
Step 10: Adding Color
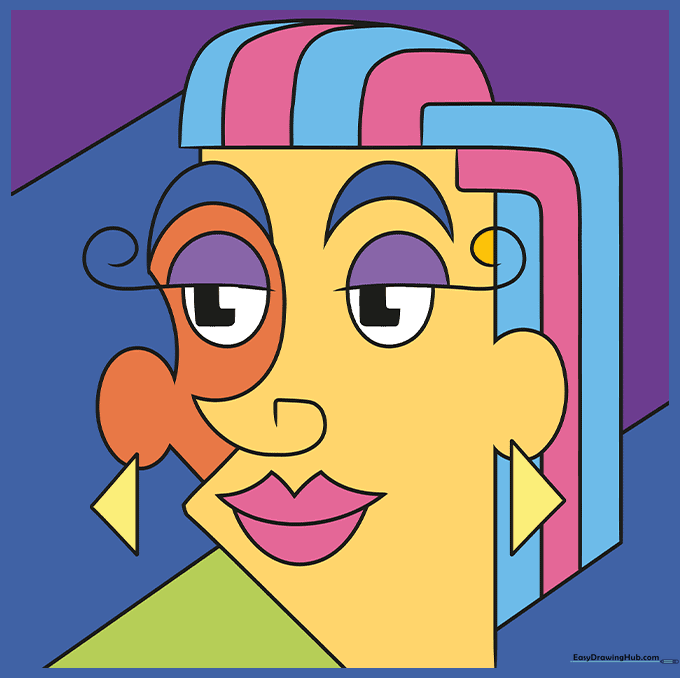
Bring your drawing to life with bright, bold colors! Don't be afraid to use 'unnatural' colors for the skin or hair to fully embrace the Cubist style. Teacher's Tip: Try using complementary colors (like blue and orange) to make your artwork vibrate with energy.
More Tutorials


