How to Draw Alvin the Chipmunk: Easy 9-Step Guide
Bring the mischievous Alvin to life with this easy-to-follow drawing guide, perfect for artists ages 5 and up. You will only need a pencil, an eraser, and some paper to master his iconic look. Follow these steps to build confidence in your character sketching and create a fun piece of fan art.
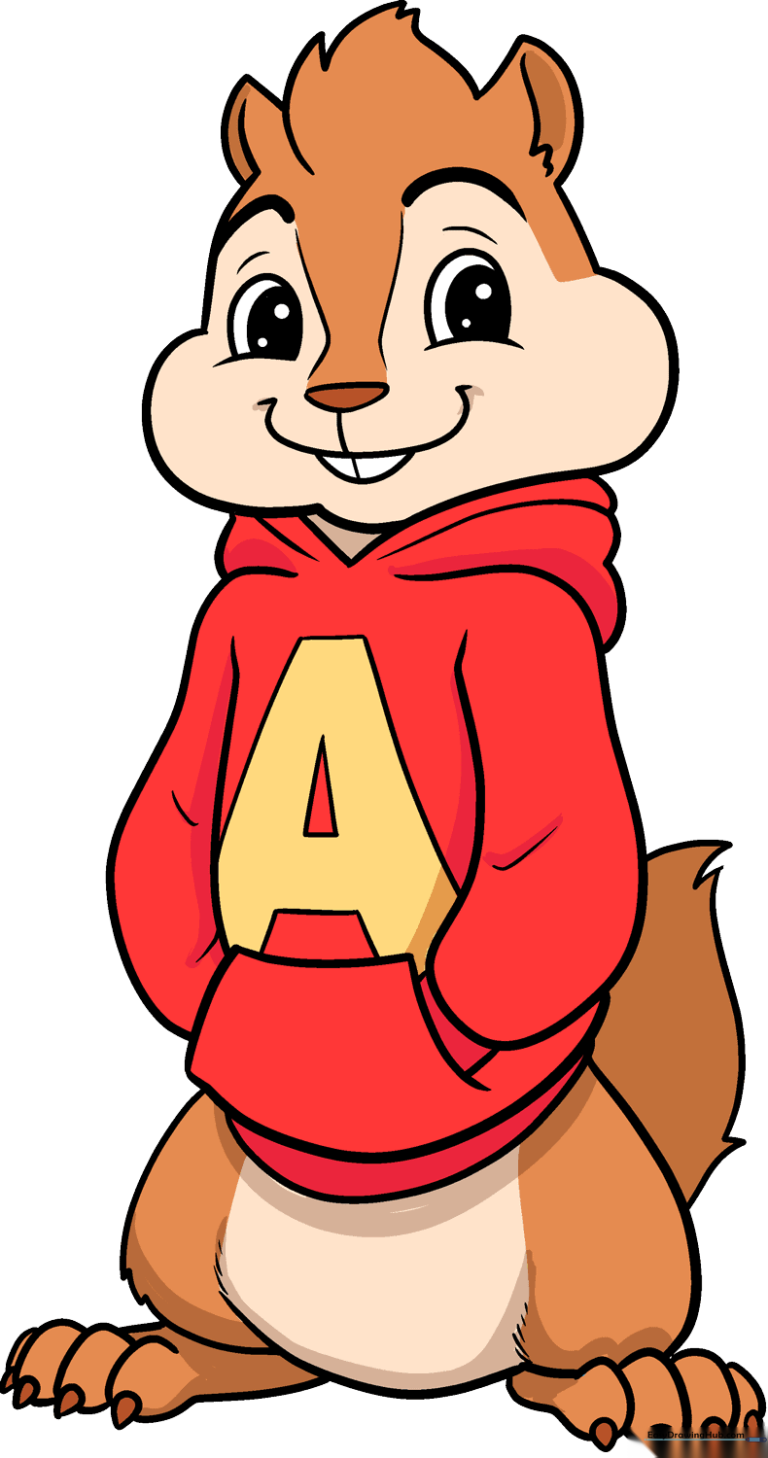
🎯 Final Result
Step-by-Step Instructions
Step 1: Sketching the Expressive Eyes

Start by drawing two curved lines for the upper eyelids, enclosing partial ovals. Add a small circle inside each for the pupil and shade them in. Tip: Keep your pencil pressure light so you can easily adjust the shape if the eyes look uneven.
Step 2: Adding the Signature Smile
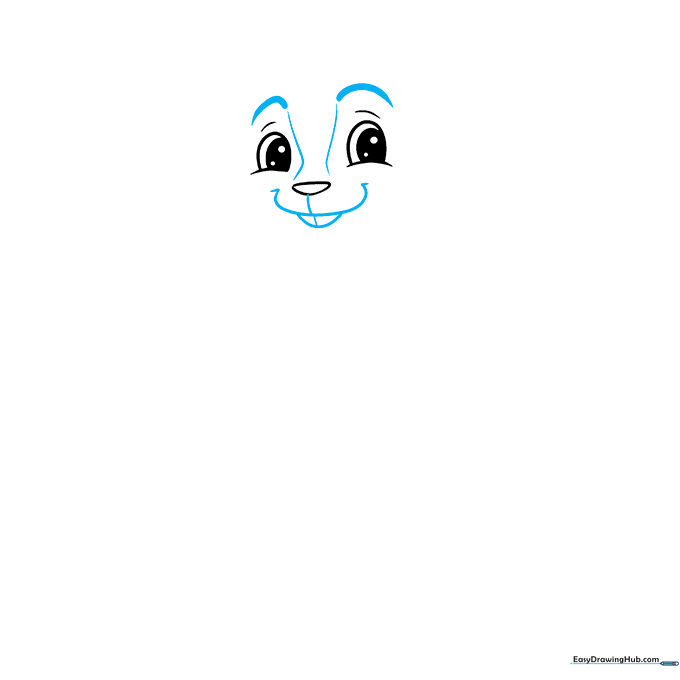
Draw thick, arched eyebrows to give him his classic attitude. Sketch a small inverted triangle for the nose, then add his wide, happy mouth and buck teeth. Tip: Make the teeth slightly rounded at the corners to keep them looking friendly rather than sharp.
Step 3: Shaping the Head and Ears
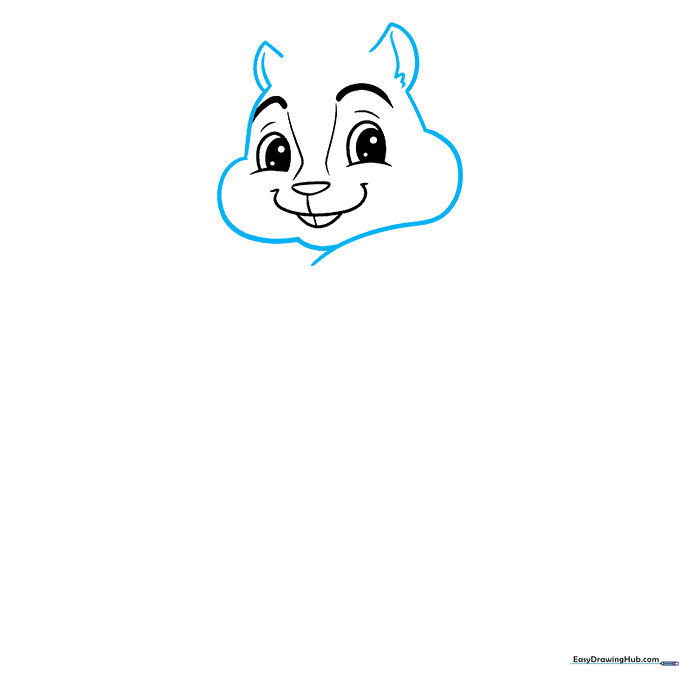
Use overlapping curved lines to define his chubby cheeks and rounded ears. Tip: Draw the ears slightly higher than the eyes to give him that alert, chipmunk-like appearance.
Step 4: Drawing the Hoodie

Add a tuft of fur between the ears using jagged lines. Then, draw the hood and shoulders of his hoodie. Tip: Use loose, flowing lines for the fabric to make it look soft and comfortable.
Step 5: Sketching the Arms
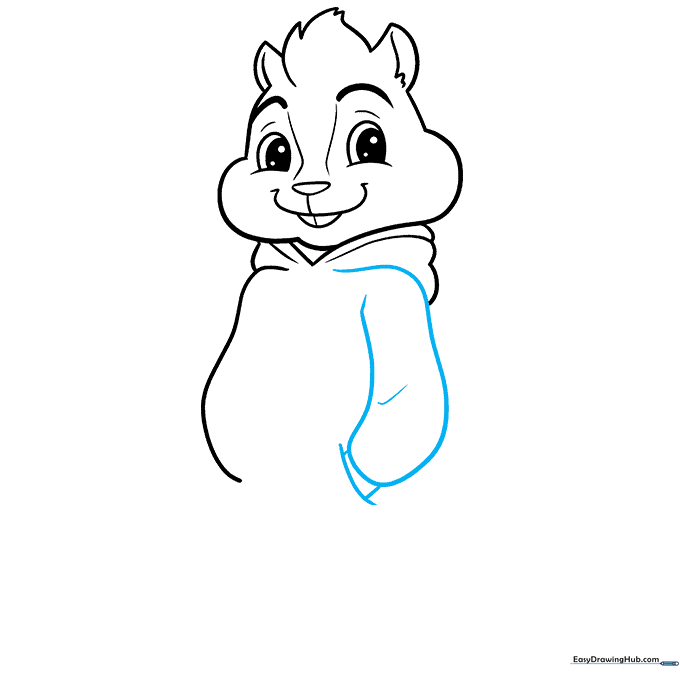
Draw the arm of the hoodie by doubling back a curved line. Add a rectangular shape for the hand tucked into the pocket. Tip: Keep the arm lines simple; you don't need to draw fingers since they are hidden in the pocket!
Step 6: Adding Hoodie Details
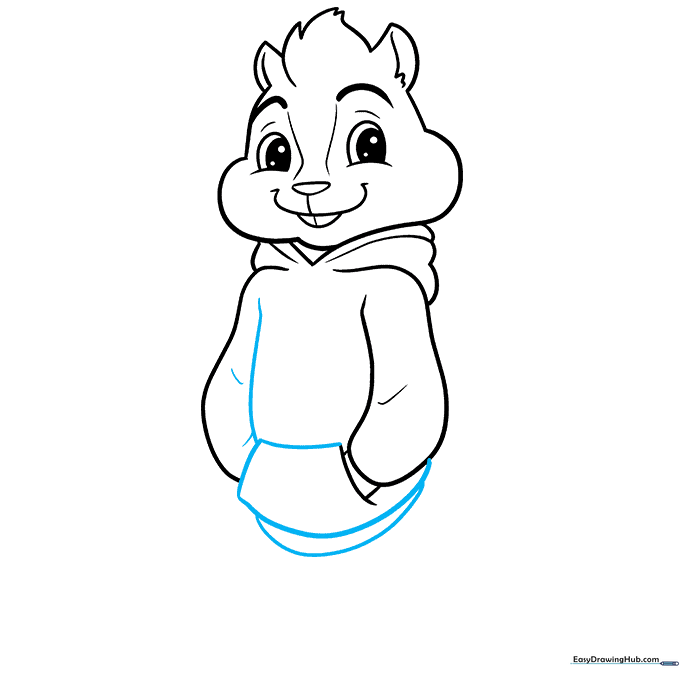
Draw the front pocket and the hem of the hoodie using overlapping curved lines. Tip: Add a few short lines near the sleeve to suggest fabric folds.
Step 7: Drawing the Lower Body
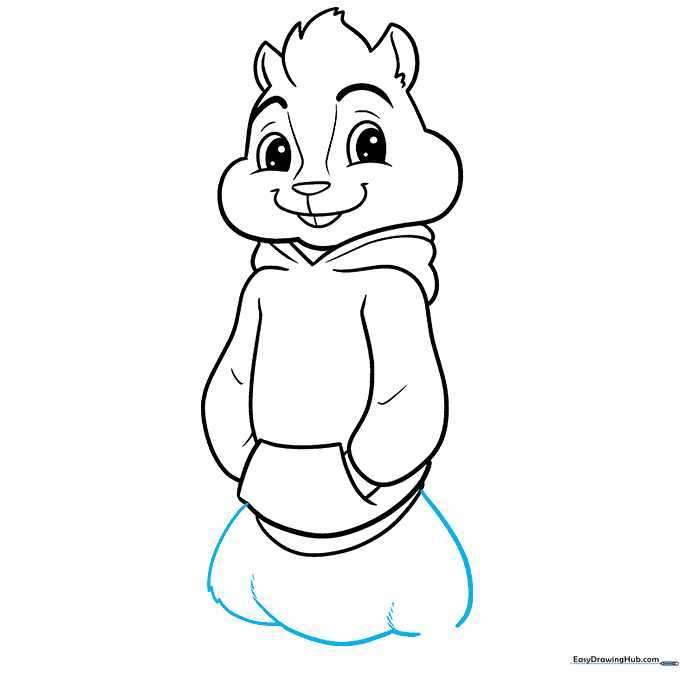
Sketch the hips and legs using overlapping curves. Add jagged lines on the legs to represent fur texture. Tip: Keep the legs short and stout to maintain the character's proportions.
Step 8: Feet and Claws
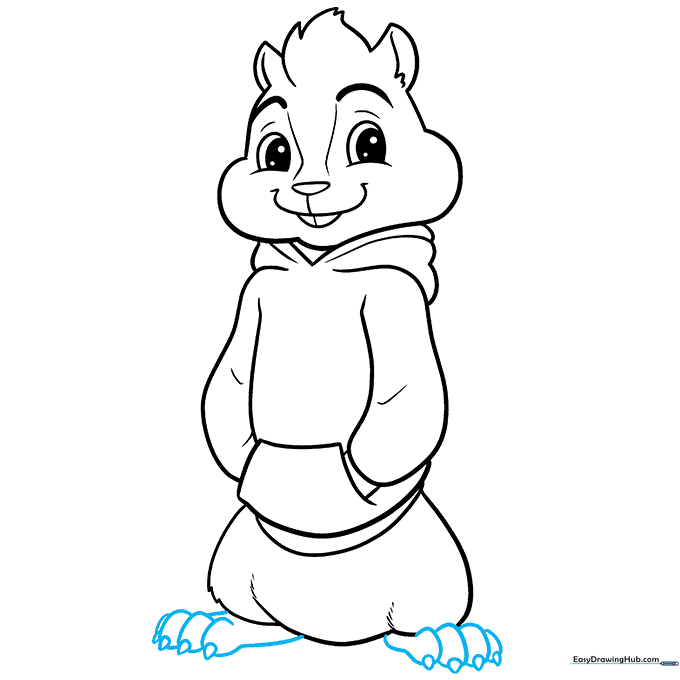
Draw the feet and toes using small, overlapping curves. Add a tiny triangle at the tip of each toe for the claw. Tip: Don't worry if the claws look small; they are just tiny details that add character.
Step 9: Final Touches
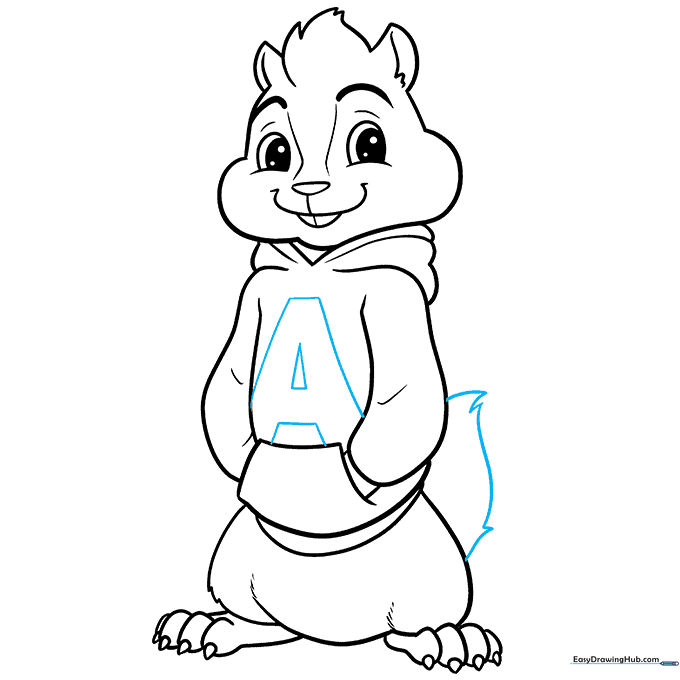
Draw a large 'A' on the hoodie and a fluffy tail behind him. Tip: Use a ruler for the 'A' if you want it to look extra neat, or draw it freehand for a more casual look.
Coloring Your Masterpiece
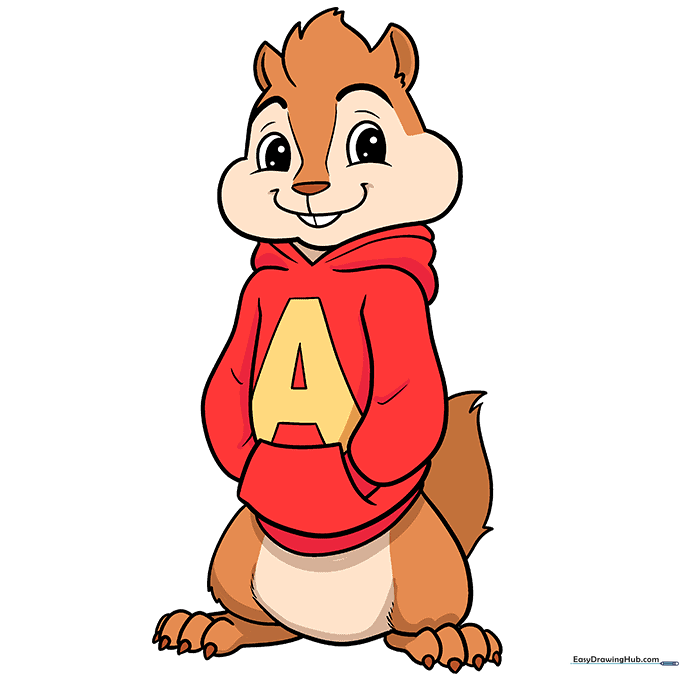
Now for the fun part! Use brown and tan for the fur and a vibrant red for the hoodie. Don't forget to color the 'A' yellow to complete the look.
More Tutorials


