How to Draw Aloe Vera: Easy 10-Step Guide for Beginners
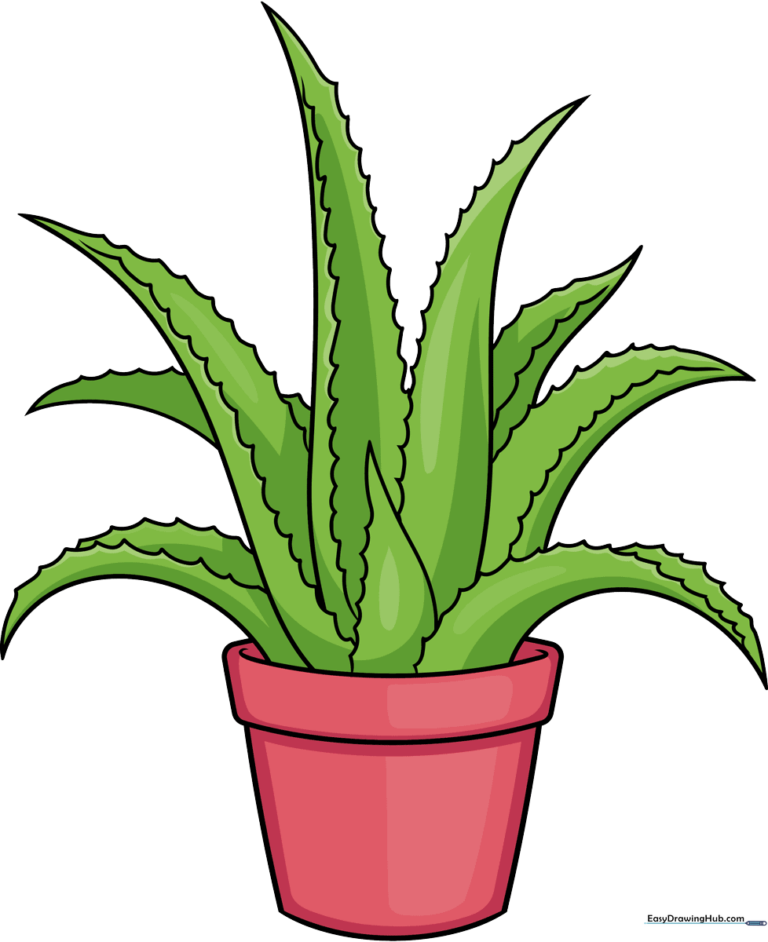
Bring a touch of nature to your sketchbook with this fun aloe vera drawing tutorial. Designed for ages 5 and up, this activity uses basic shapes to help you master plant anatomy while building confidence. All you need is a pencil, an eraser, and your favorite markers to get started.
🎯 Final Result
Step-by-Step Instructions
Step 1: Sketching the Base Pot
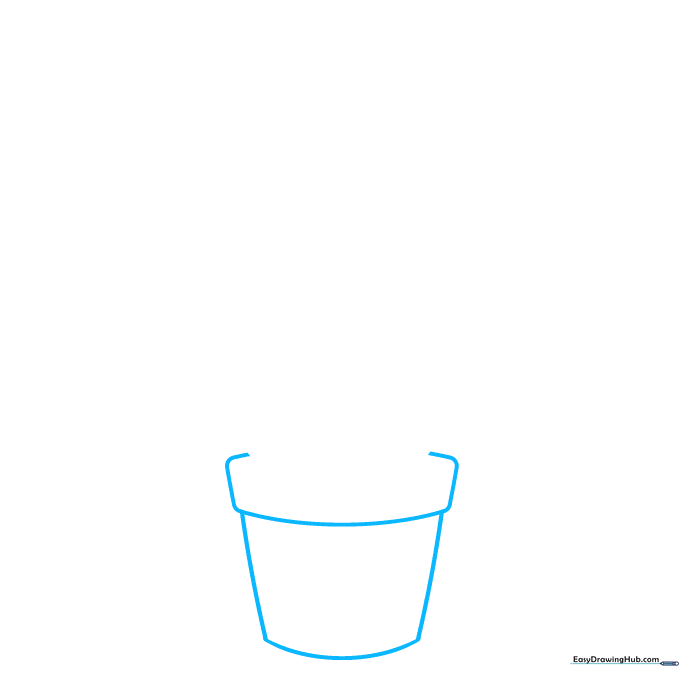
Draw a wide, blocky 'C' shape for the top of the pot, then add a curved trapezoid underneath for the base. Teacher's Tip: Use a light touch; this pot acts as the foundation for your plant's leaves.
Step 2: Defining the Rim and First Leaf
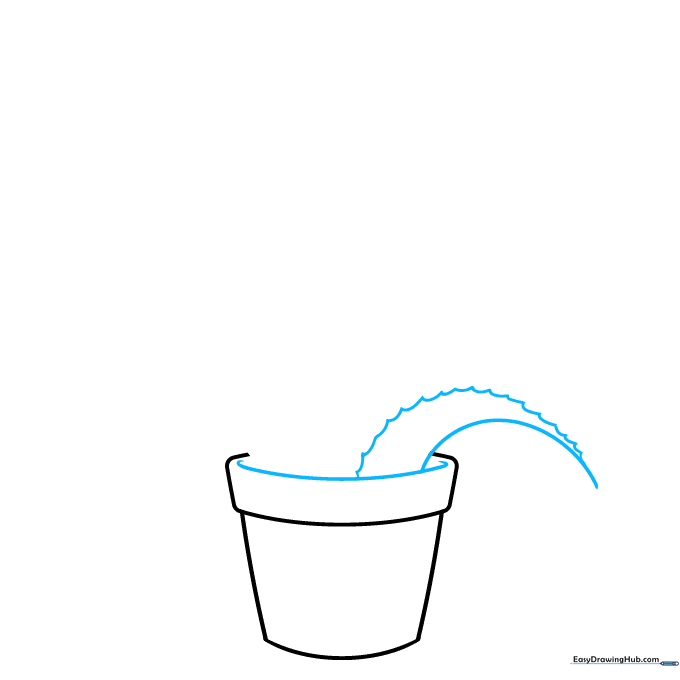
Draw a shallow 'C' inside the pot rim, then extend a curved line upward to start your first leaf. Use short, jagged lines to create the serrated edges. Teacher's Tip: Aloe leaves are thick, so make your curves nice and wide.
Step 3: Adding Leaf Depth
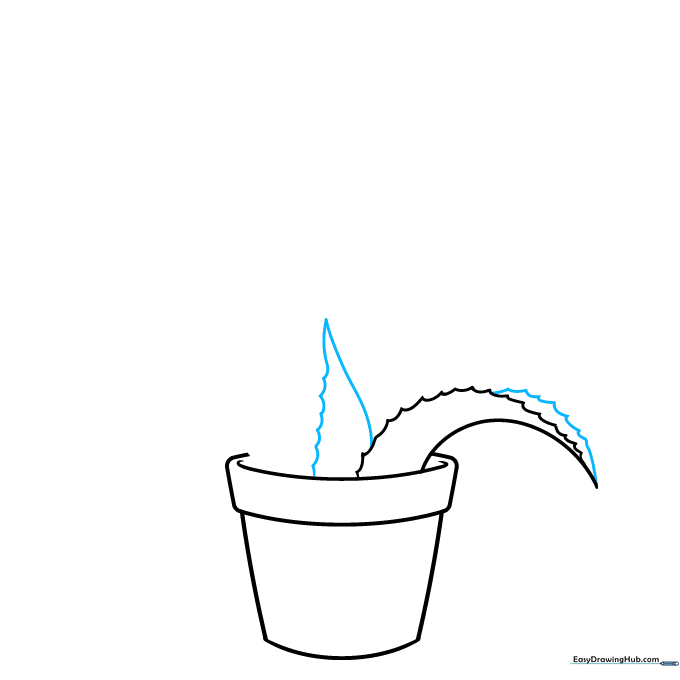
Add a serrated line near the end of your first leaf to create a 3D fold. Then, draw a second leaf next to it using similar curved, jagged lines. Teacher's Tip: Don't worry if the lines aren't perfect; nature is full of irregular shapes!
Step 4: Extending the Foliage
Extend two long, graceful curved lines from the pot. Add a serrated leaf alongside one of them. Teacher's Tip: Imagine the leaves are reaching toward the sunlight.
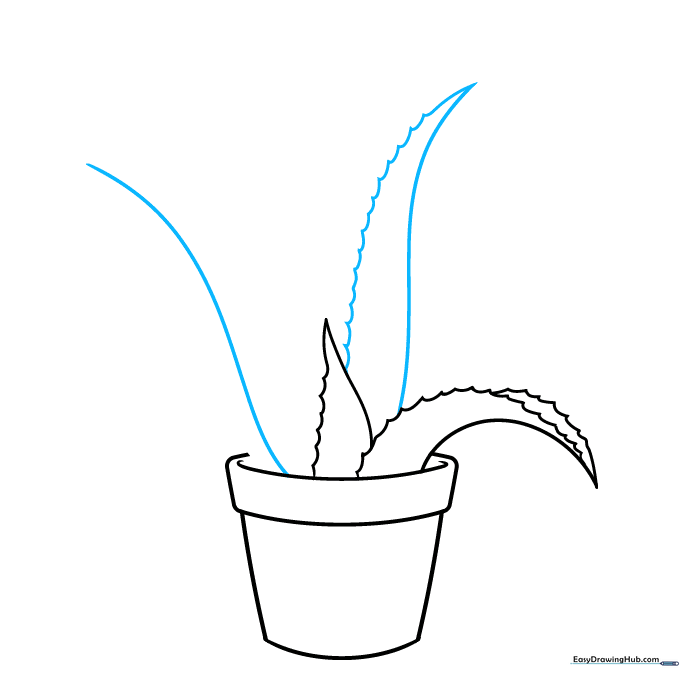
Step 5: Creating Leaf Volume

Draw another long curve and add serrated edges to the tips. This creates the illusion of a leaf surface facing the viewer. Teacher's Tip: Keep your pencil strokes fluid to make the leaves look organic.
Step 6: Layering the Leaves
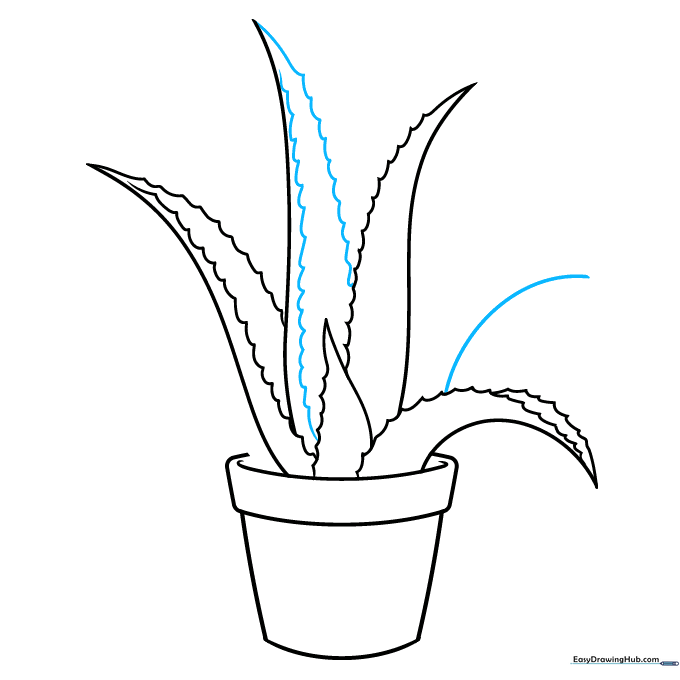
Add more serrated lines to enclose another leaf, then draw one more long, sweeping curve. Teacher's Tip: Overlapping your lines helps the plant look full and healthy.
Step 7: Completing the Leaf Shape
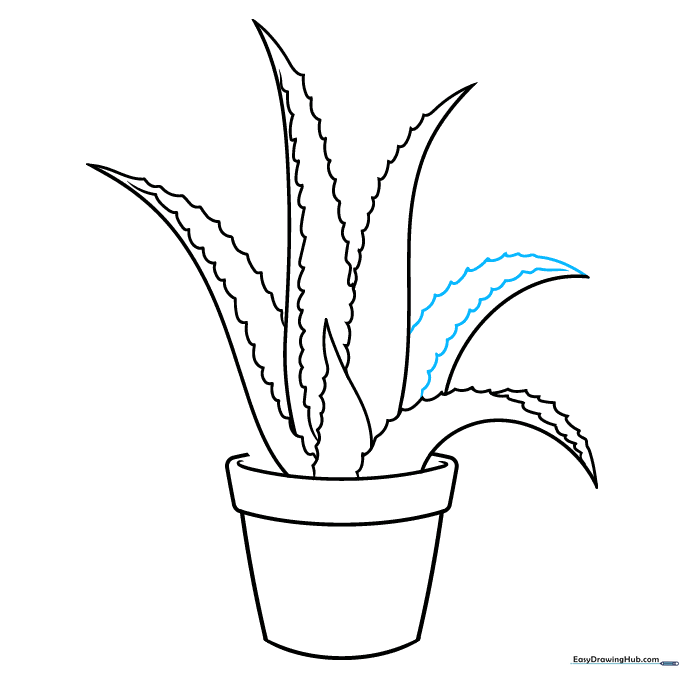
Use two series of serrated lines meeting at a point to finish the tip of your latest leaf. Teacher's Tip: Make sure the points are sharp to mimic the real thorns of an aloe plant.
Step 8: Adding Inner Detail
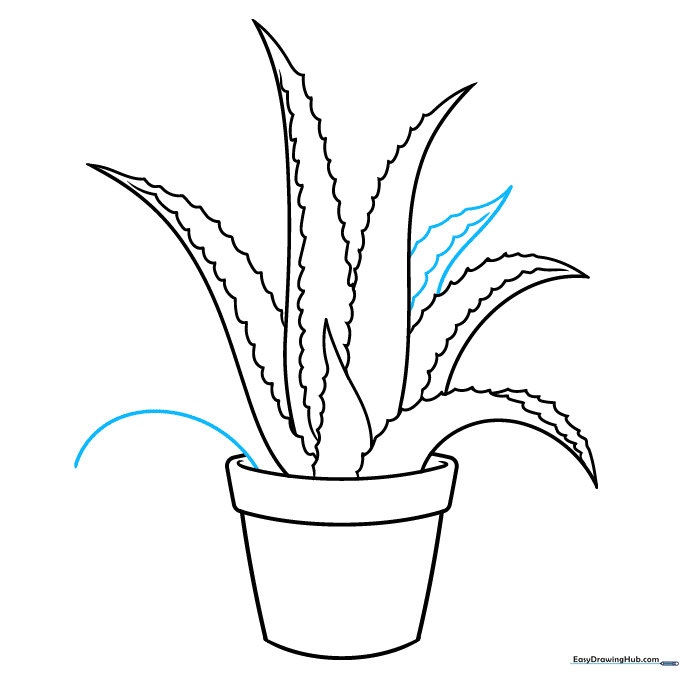
Draw a small, curved section of leaf tucked between the others, then extend one final long curve from the base. Teacher's Tip: This adds a sense of realism by showing leaves growing from the center.
Step 9: Finalizing the Outline

Finish the last leaf with serrated lines and add a partially hidden leaf behind it. Teacher's Tip: Check your drawing for any stray lines and erase them now to prepare for coloring.
Step 10: Bringing Your Plant to Life with Color
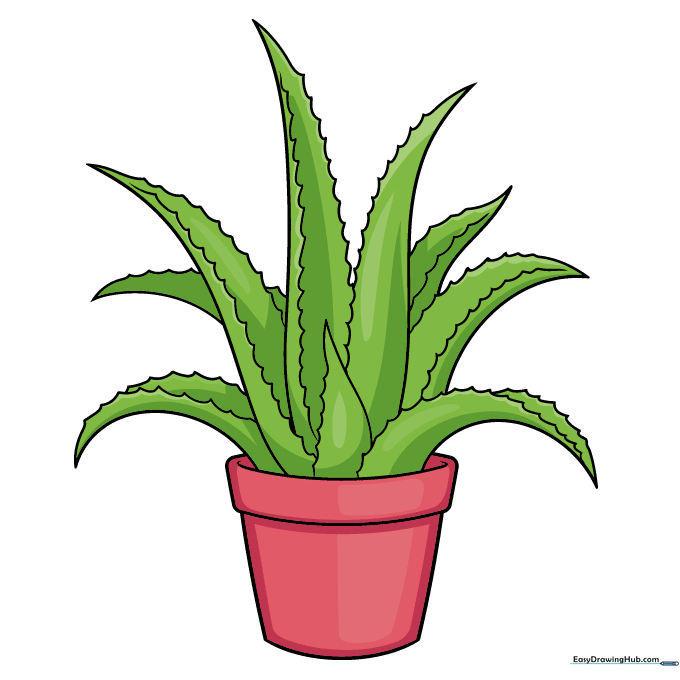
Your outline is complete! Use deep greens for the leaves and perhaps a lighter shade for the pot. Teacher's Tip: Use a white gel pen or a light pencil to add tiny spots on the leaves for extra detail.
More Tutorials


