How to Draw Alexander Hamilton: Easy 9-Step Portrait Guide
Bring history to life with this step-by-step portrait tutorial of Alexander Hamilton. Designed for young artists and students, this lesson focuses on facial proportions and period-accurate clothing details. Grab a pencil, an eraser, and some paper to begin your historical sketch.
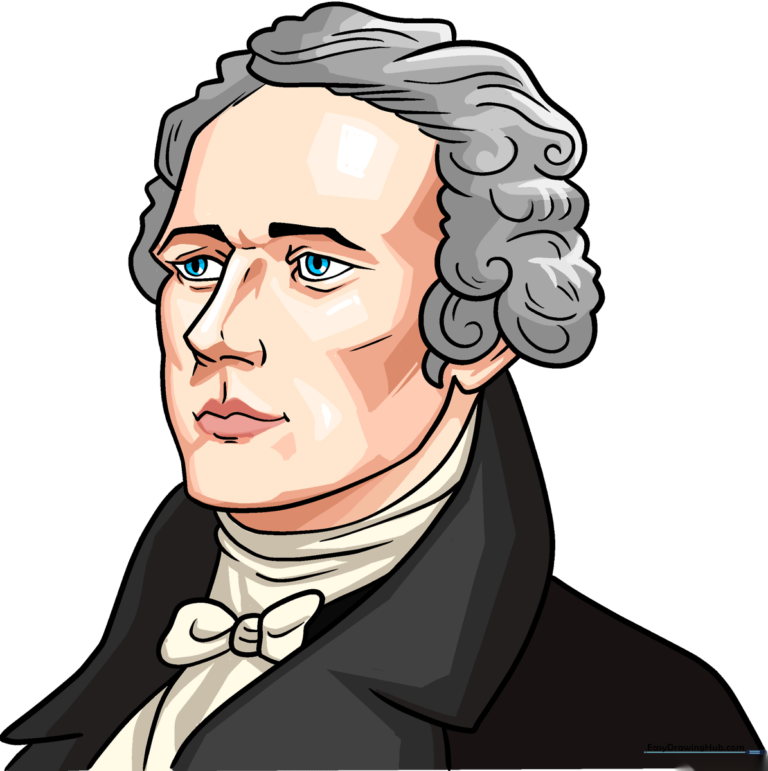
🎯 Final Result
Step-by-Step Instructions
Step 1: Sketching the Eye and Nose
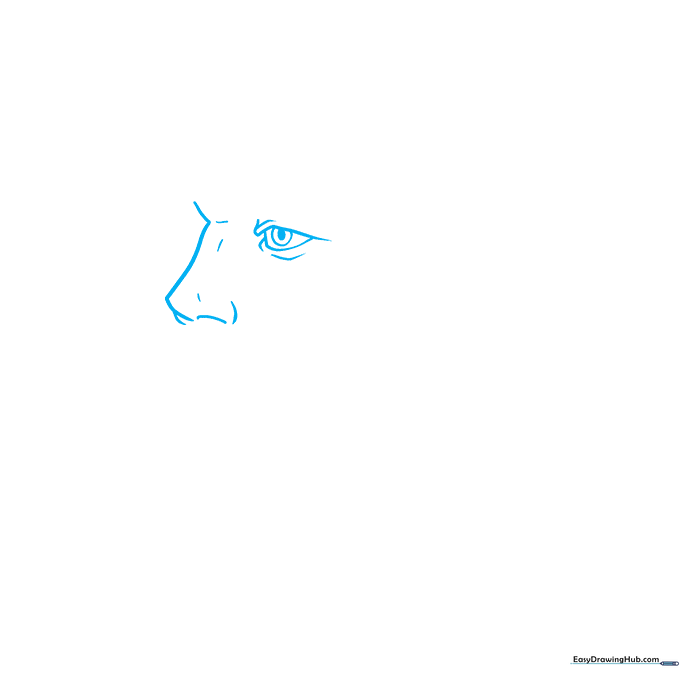
Start by sketching the bridge of the nose and the eye. Use gentle curved lines for the eyelid. Tip: Draw the iris and pupil as two smaller circles inside the eye, and shade the inner circle to give the gaze depth.
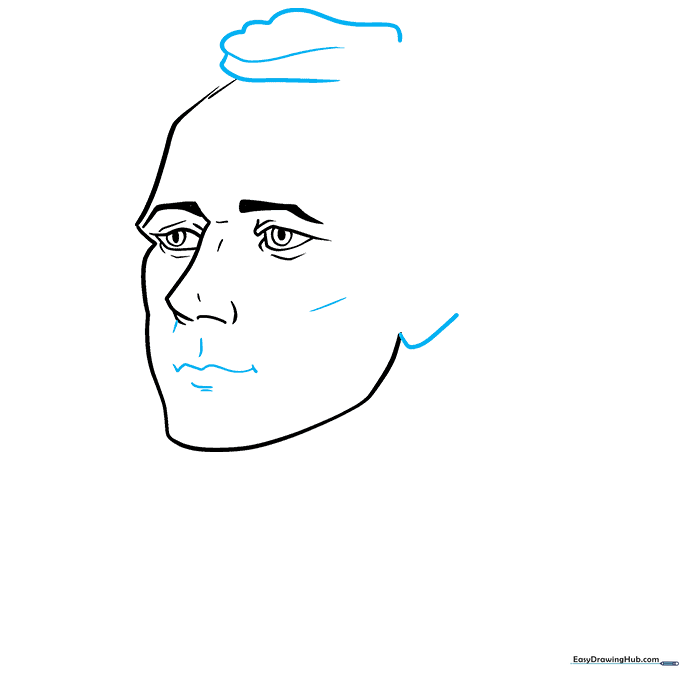
Step 2: Defining the Second Eye and Brows
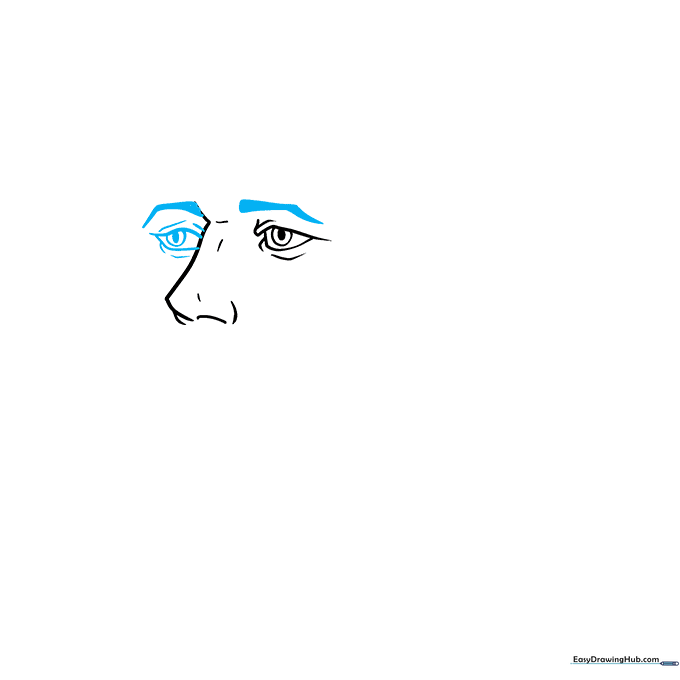
Add the second eye to maintain facial balance. Once the eyes are set, draw the thick, expressive eyebrows above them. Tip: Keep the eyebrows slightly arched to give the portrait a thoughtful, historical expression.
Step 3: Outlining the Face Shape
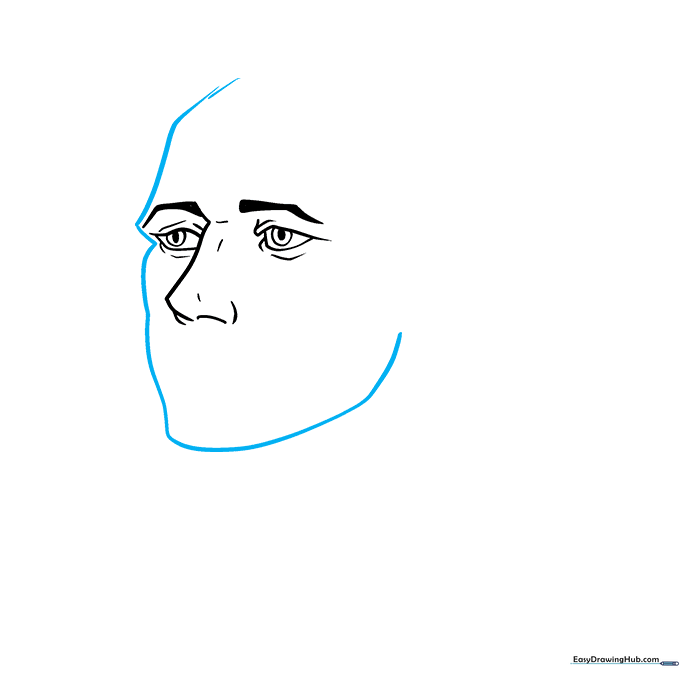
Use long, sweeping curved lines to define the jawline and chin. Tip: Notice the slight indentation near the eye; this helps create a more realistic bone structure for the face.
Step 4: Adding Features and Hairline
Sketch the mouth with soft curves to define the lips and cheekbones. Begin framing the face by drawing the ear and the start of the hairline. Tip: Use light, overlapping strokes for the hair to make it look natural and voluminous.
Step 5: Developing the Hair
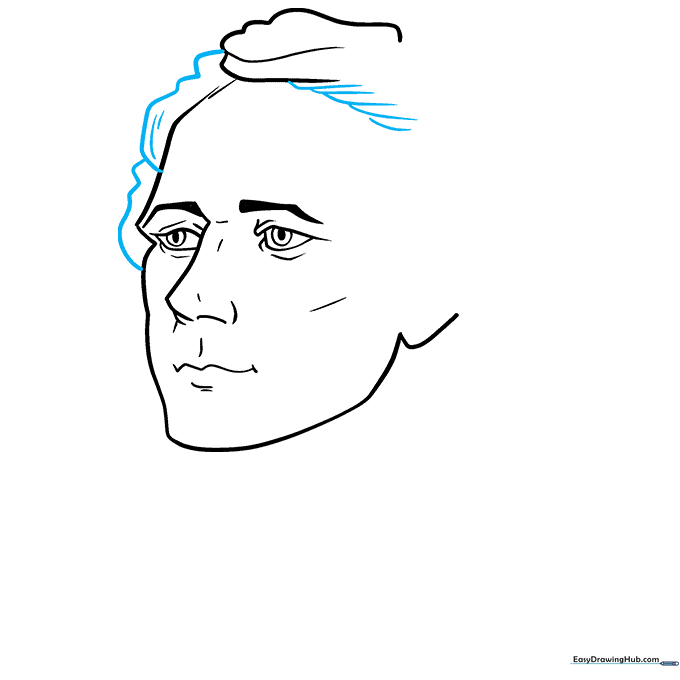
Continue building the hair using overlapping curved lines. Tip: Think of the hair as large shapes rather than individual strands to keep your drawing from looking too cluttered.
Step 6: Adding Texture to the Hair
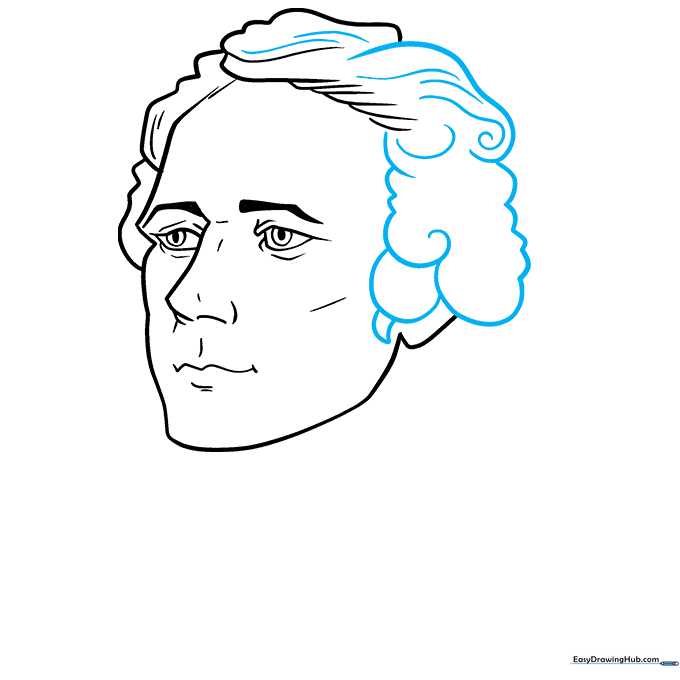
Add detail to the hair using spiral shapes and curved lines. Tip: Use the spirals to represent the curls common in 18th-century hairstyles.
Step 7: Drawing the Cravat and Lapel
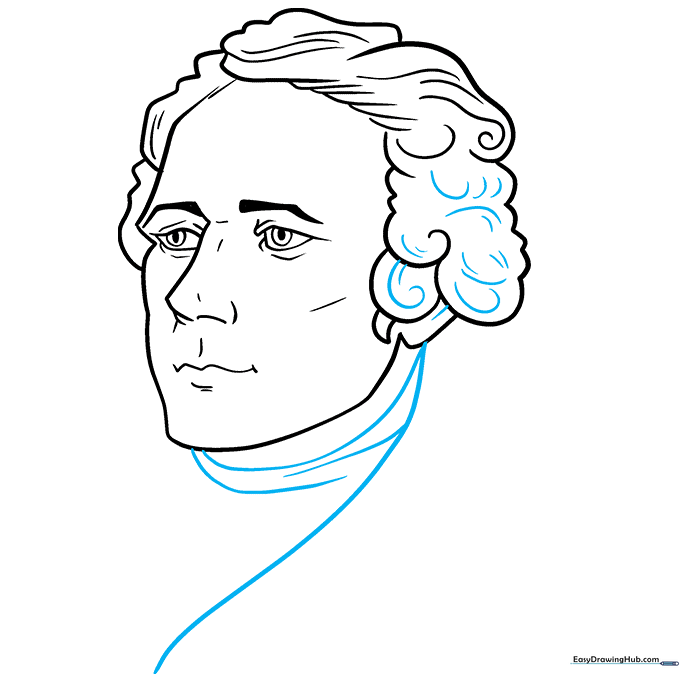
Refine the hair texture, then shift focus to the clothing. Sketch the cravat and the lapel of his suit using long, elegant curved lines. Tip: Keep your lines smooth to mimic the look of fabric.
Step 8: Detailing the Clothing
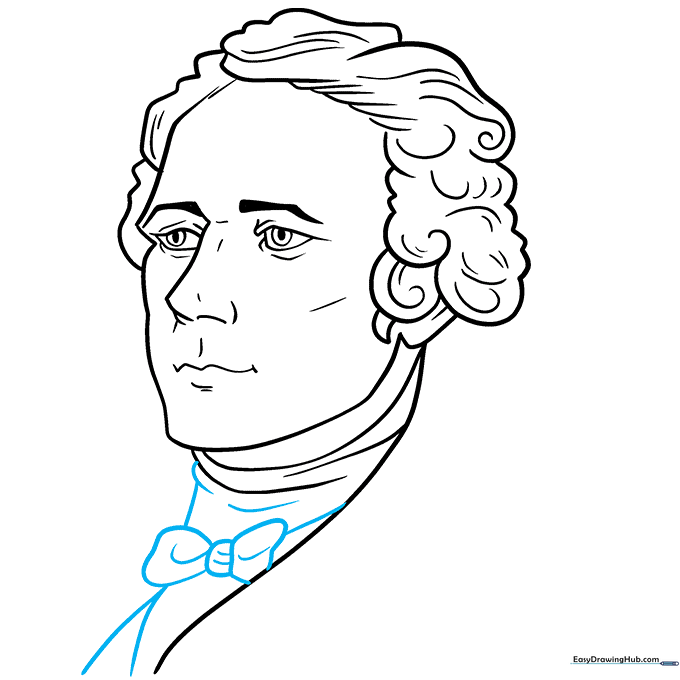
Add the knot of the bowtie and texture the fabric with additional curved lines. Tip: Use short, quick strokes to show the folds in the cravat.
Step 9: Finalizing the Outline
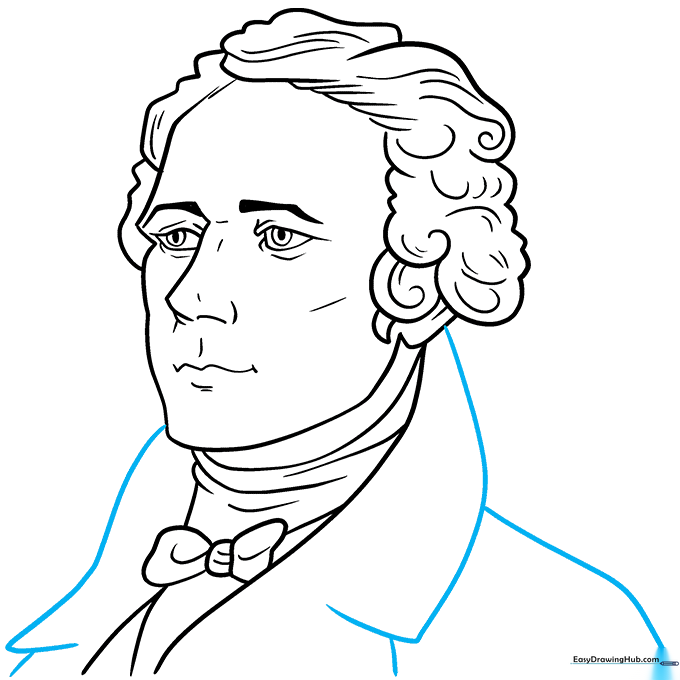
Complete the drawing by sketching the wide collar, lapels, and shoulders. Tip: Ensure the shoulders are broad to give the figure a strong, authoritative posture.
Step 10: Adding Color
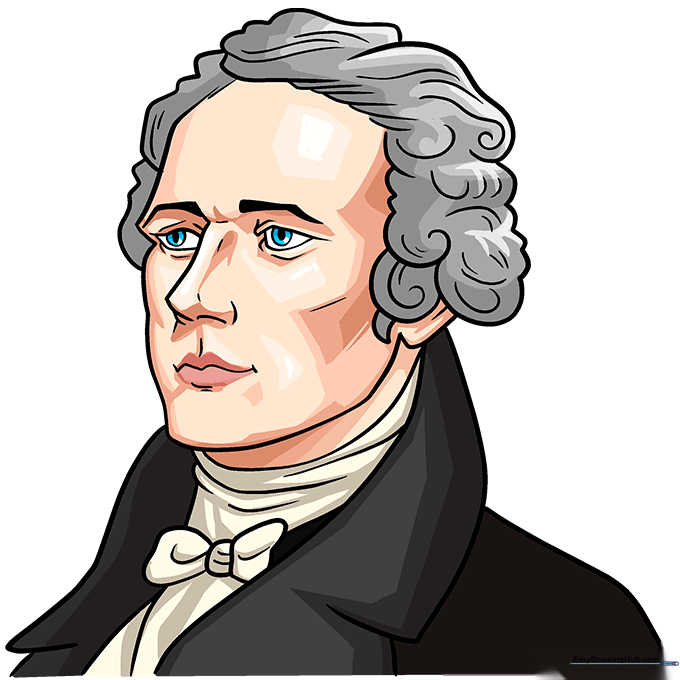
Your outline is complete! Now, add color. Use shades of gray for the hair to represent the powdered wigs popular in the 1700s, and choose muted, historical tones for the suit.
More Tutorials


