How to Draw Air Pollution: Easy Step-by-Step Guide
This drawing tutorial is perfect for students exploring environmental science or anyone looking to illustrate the impact of human activity. You will need a pencil, eraser, and paper to complete this scene. Follow these steps to build a detailed landscape that highlights industrial and vehicle emissions.
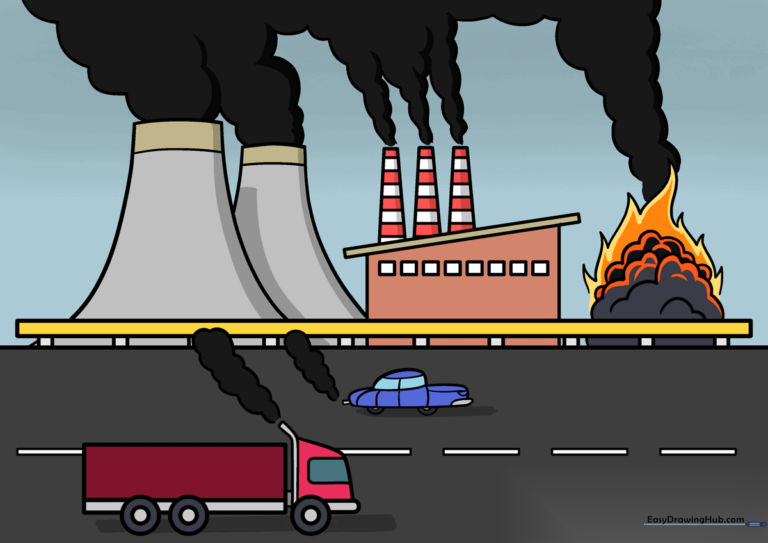
🎯 Final Result
Step-by-Step Instructions
Step 1: Sketching the Semi-Truck
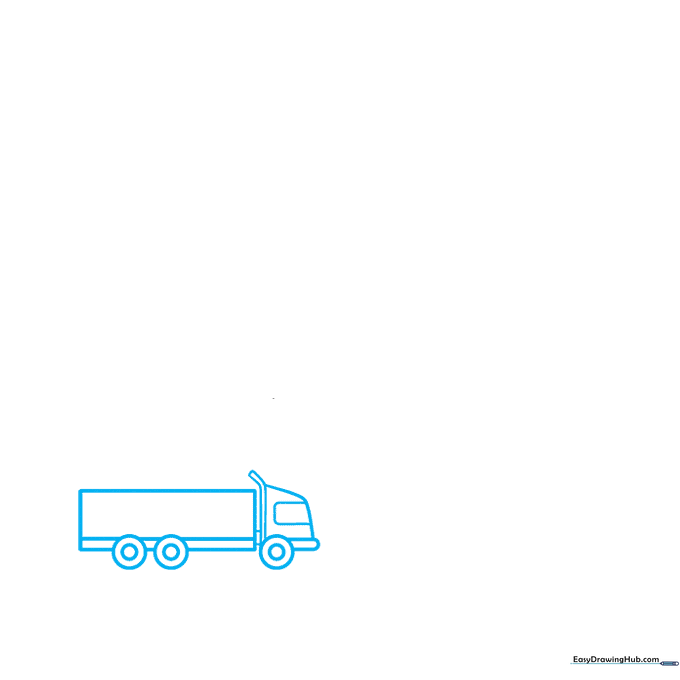
Draw a rectangle for the trailer and a smaller shape for the cab. Add two circles for wheels at the base. Teacher's Tip: Keep your lines light and loose; you can darken the final outlines once you are happy with the truck's proportions.
Step 2: Adding the Car
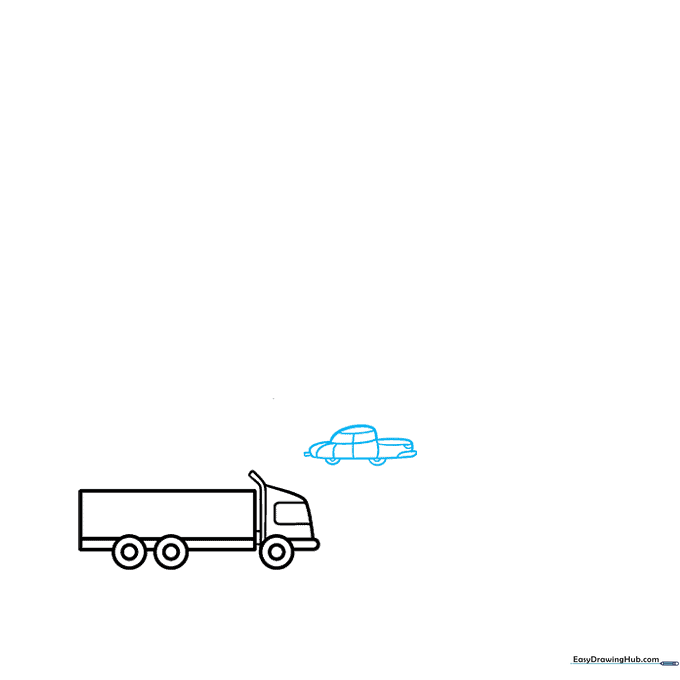
Draw a smaller vehicle next to the truck using curved lines for the body and windows. Add a small rectangle for the tailpipe. Teacher's Tip: Use a ruler if you struggle with straight lines, but remember that organic shapes like cars look great with a bit of hand-drawn character.
Step 3: Sketching Vehicle Exhaust
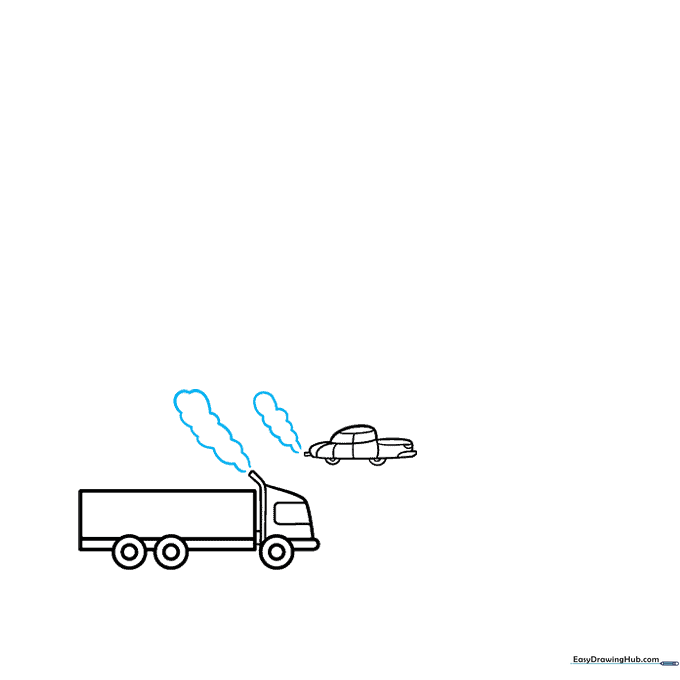
Use soft, overlapping curved lines to create clouds of smoke trailing from the vehicles. Teacher's Tip: Make the smoke look wispy by varying the size of your curves—don't make them all identical!
Step 4: Defining the Roadway
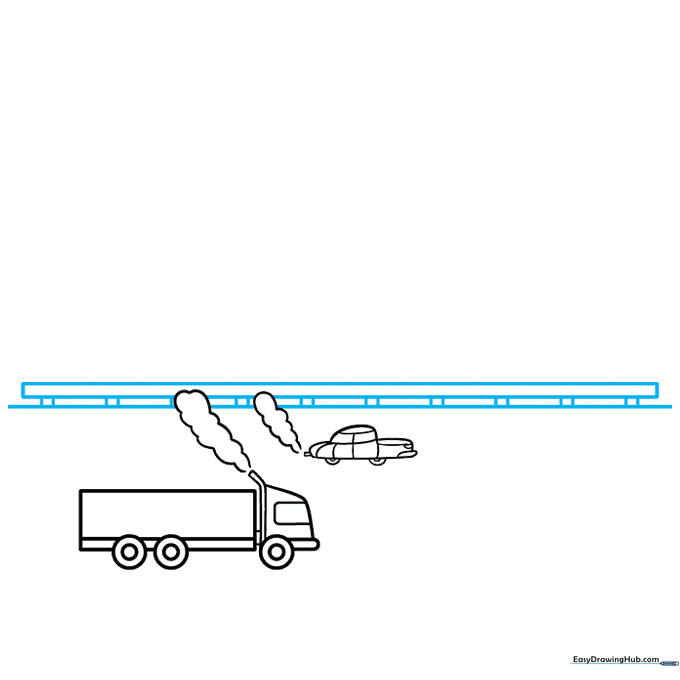
Draw a horizontal line for the horizon and a guard rail above the vehicles. Teacher's Tip: A straight horizon line helps ground your drawing and provides a clear separation between the road and the background.
Step 5: Road Markings
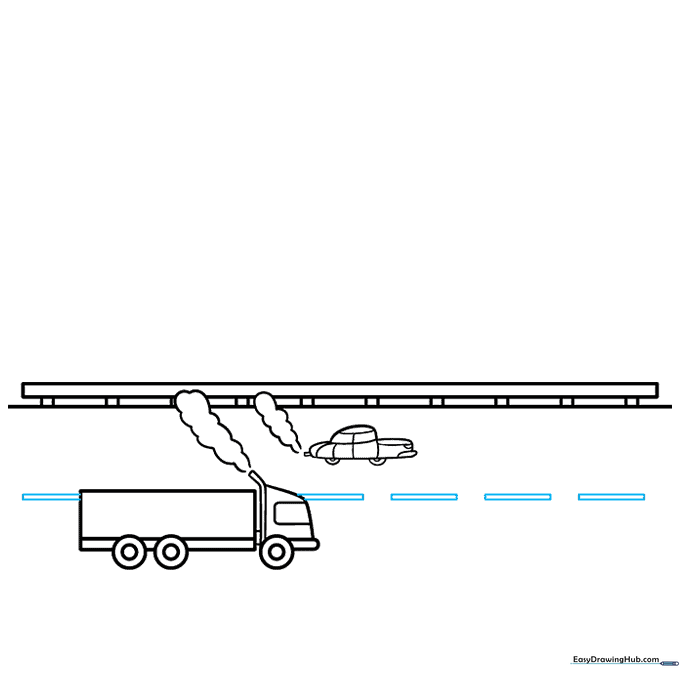
Add a series of narrow rectangles down the center of the road to represent lane markers. Teacher's Tip: Space these out evenly to create a sense of perspective.
Step 6: Building the Factory
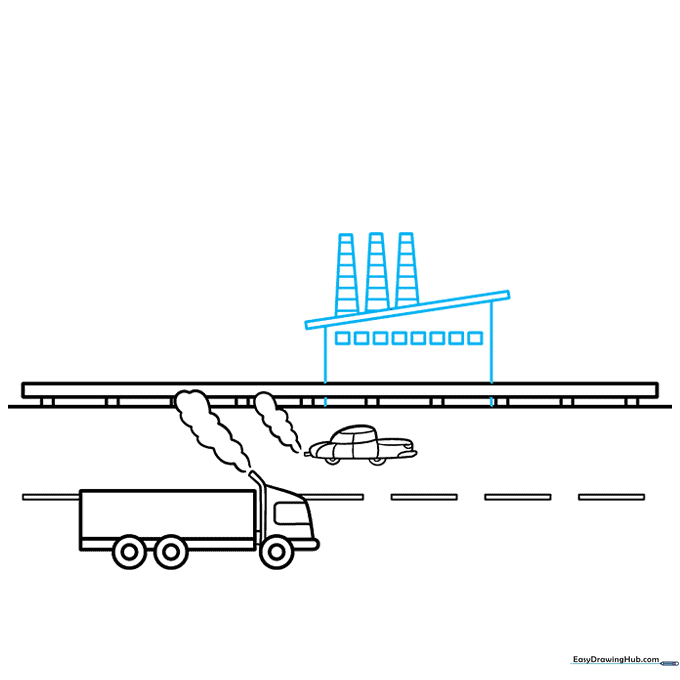
Draw a large building with a slanted roof and square windows. Add tall, narrow trapezoids on top for the smokestacks. Teacher's Tip: Use vertical lines for the smokestacks to make them look tall and imposing.
Step 7: Adding Power Plant Stacks
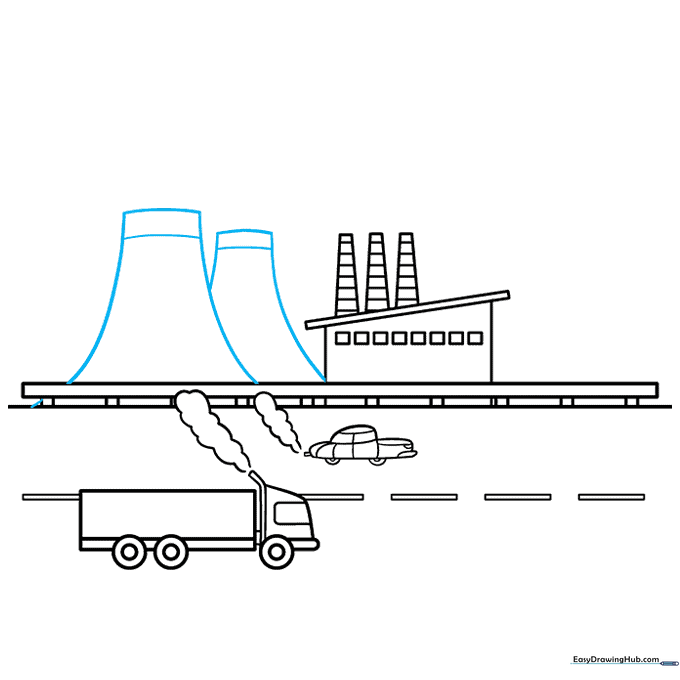
Draw two large, curved trapezoids next to the factory to represent power plant cooling towers. Teacher's Tip: Keep the tops curved to suggest a cylindrical shape.
Step 8: Illustrating Industrial Smoke and Fire
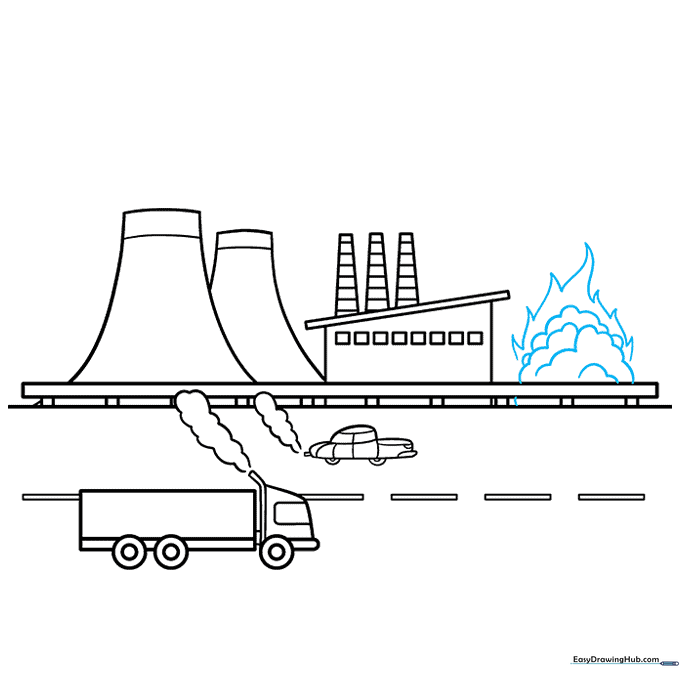
Draw thick, layered clouds of smoke rising from the stacks. Add sharp, flame-like shapes at the base of the smoke to represent combustion. Teacher's Tip: Use jagged lines for the flames to show energy and heat.
Step 9: Finalizing the Smoke Clouds
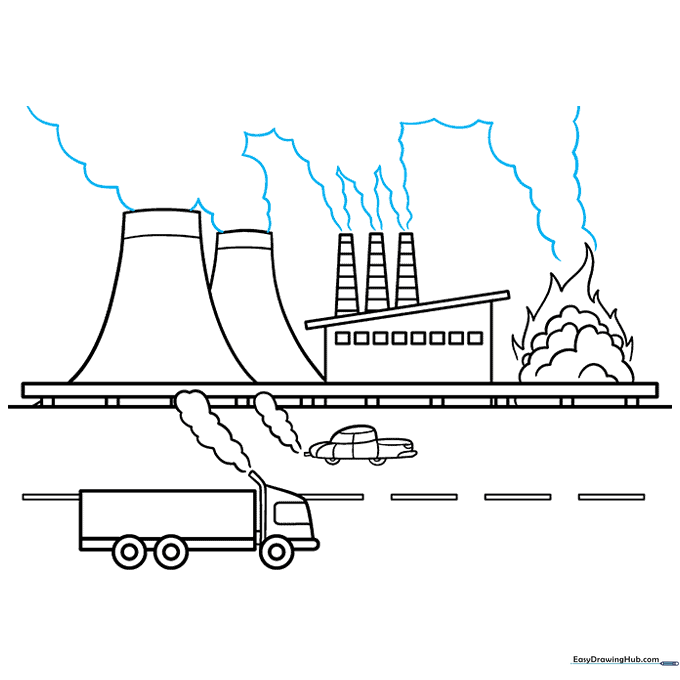
Add more curved lines to expand the smoke clouds, making them look like they are filling the sky. Teacher's Tip: Vary the size of the smoke puffs to make the drawing look more dynamic.
Step 10: Adding Color
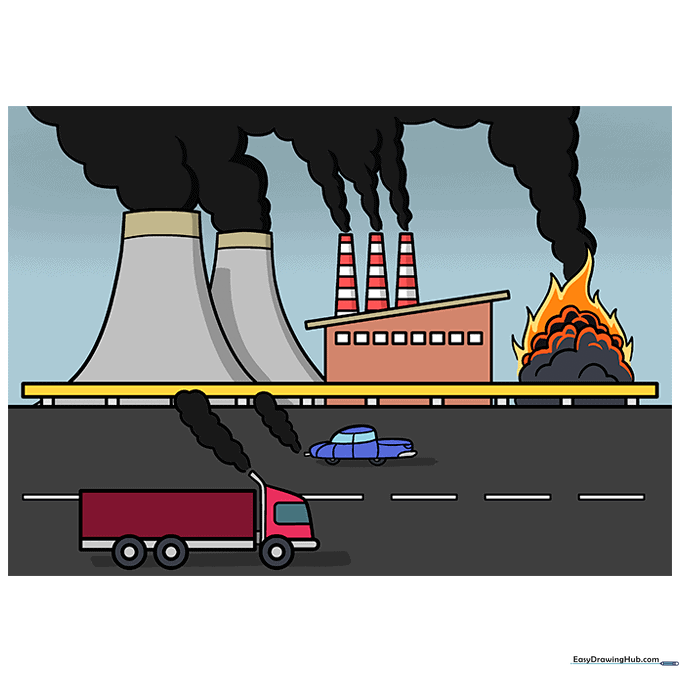
Bring your drawing to life with color. Use dark grays or blacks for the smoke, or try muted greens and browns to represent the environmental impact. Teacher's Tip: Use light pressure with your colored pencils to create a hazy, smog-like effect in the sky.
More Tutorials


