How to Draw Adrien Agreste: Easy Step-by-Step Guide
Ready to bring Adrien Agreste to life? This tutorial is perfect for fans ages 8+ looking to master anime-style facial proportions. Grab a pencil, an eraser, and a piece of paper to practice these classic manga features.
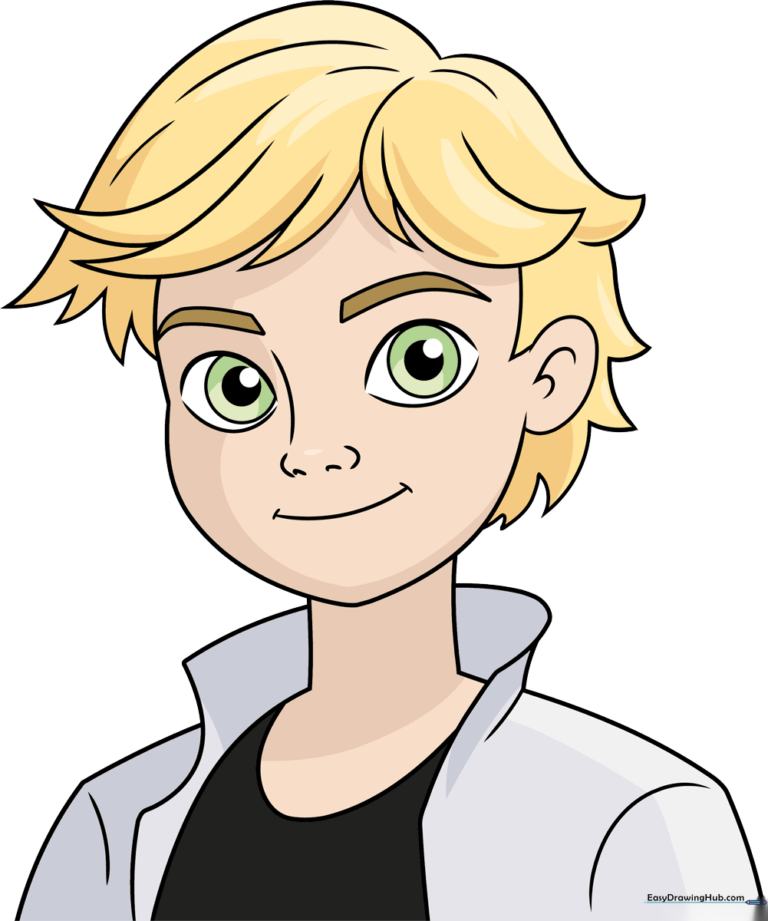
🎯 Final Result
Step-by-Step Instructions
Step 1: Sketching the Anime Eyes

Draw two almond-shaped eyes using gentle, curved lines. Tip: Keep the inner corners slightly pointed. Add a partial circle in the left eye and a full circle in the right to represent the iris, then shade in the pupils.
Step 2: Adding Brows and Nose
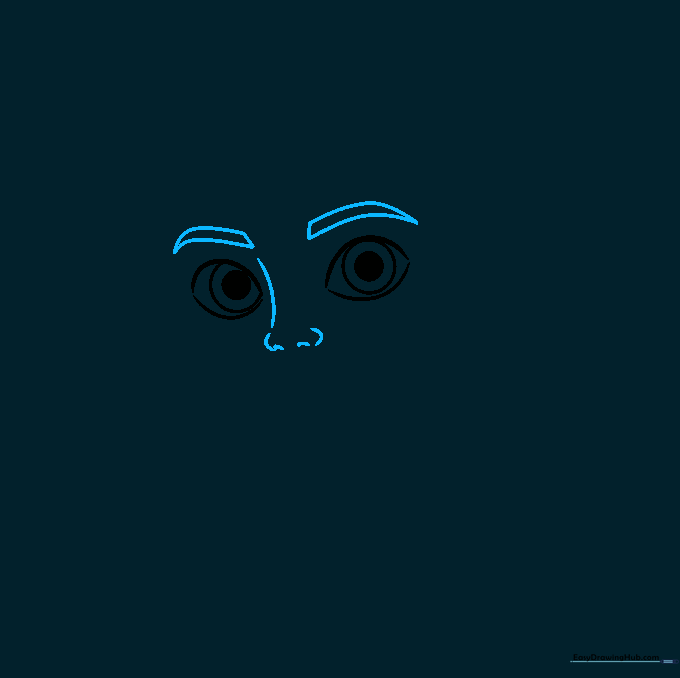
Sketch two angled, pointed lines above the eyes for the eyebrows. For the nose, use a small, subtle curved line to define the bridge and nostrils. Tip: Use a very light touch here to keep the face looking youthful.
Step 3: Defining the Face and Ear
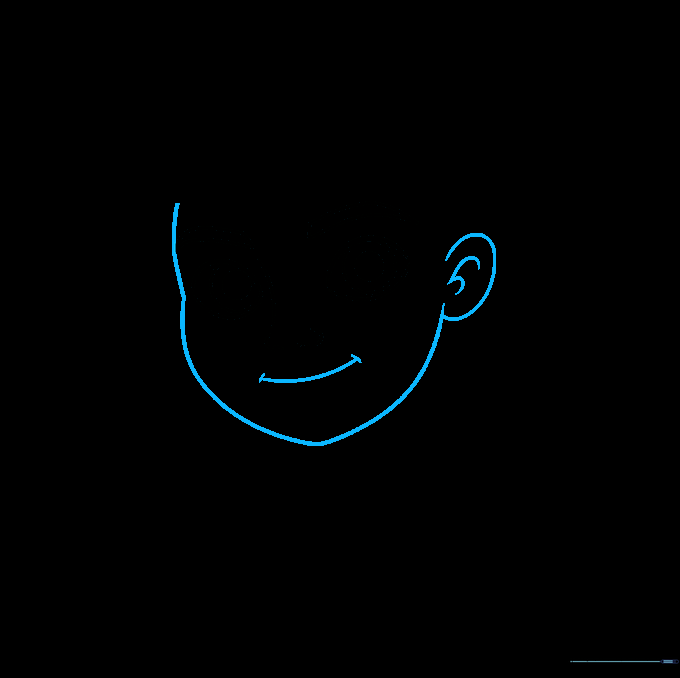
Draw a 'C' shape for the ear and add small lines inside for detail. Outline the jawline, ensuring you create a gentle point at the chin. Tip: The concave curve at the temple helps give the face a realistic manga structure.
Step 4: Starting the Hair
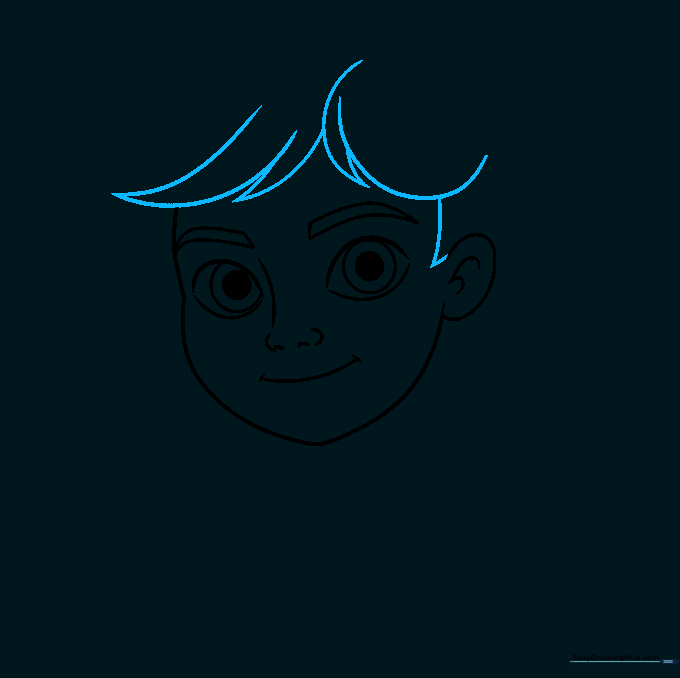
Begin the iconic hair by drawing overlapping, curved lines that meet at sharp points. Tip: Don't worry about perfection; hair is meant to look slightly messy and layered in anime style.
Step 5: Adding Hair Volume
Continue building the hair by adding a long, sweeping line across the top. Add a lock that crosses in front of the main hair mass to create depth. Tip: Think of the hair as separate 'clumps' rather than individual strands.
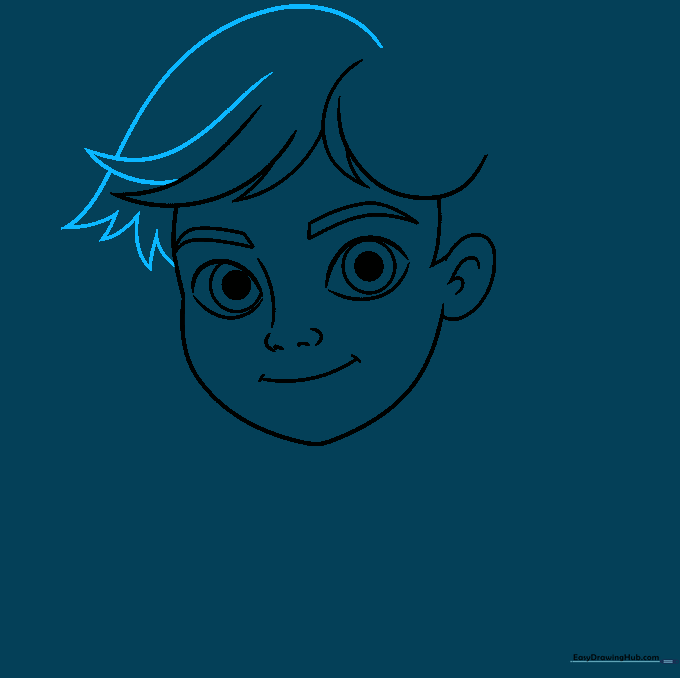
Step 6: Completing the Hair
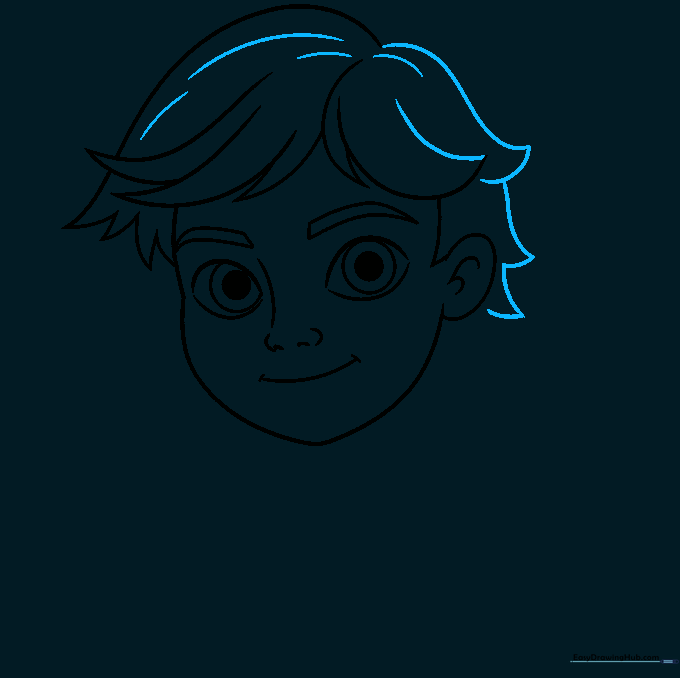
Finish the back of the hair and add texture lines originating from the center part. Tip: Use varying lengths of lines to make the hair look natural and full.
Step 7: Drawing the Neck and Shoulders
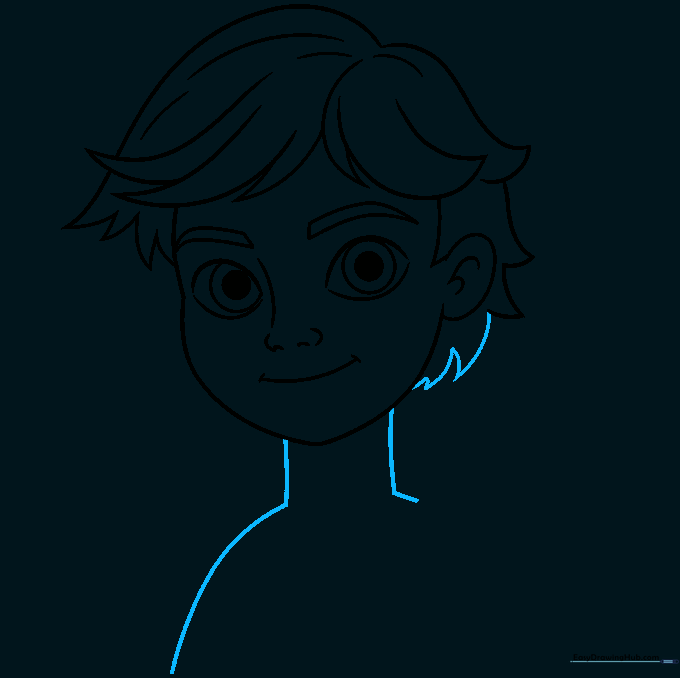
Draw two vertical lines below the chin for the neck. Extend lines outward to form the shoulders. Tip: Keep the neck lines parallel to maintain proper proportions.
Step 8: Adding the Jacket Collar
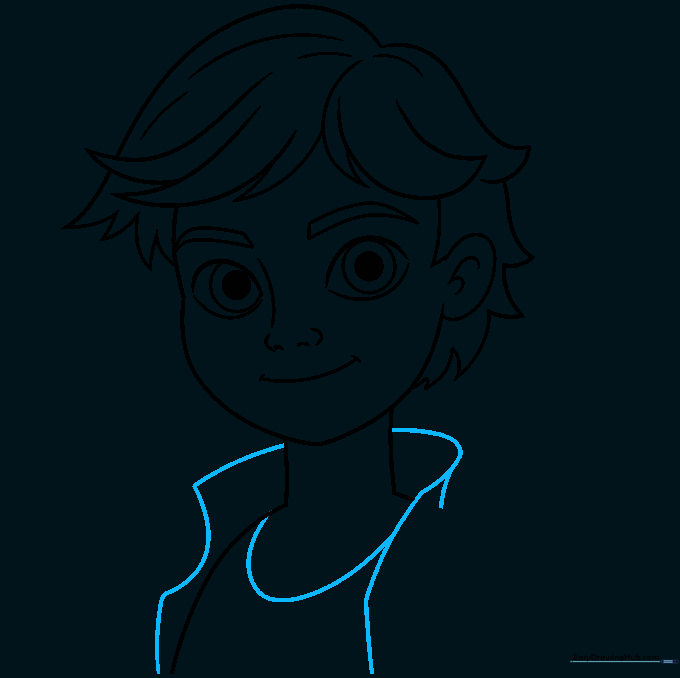
Draw a long, curved line around the torso to create the jacket collar. Add a 'U' shape for the shirt neckline. Tip: The collar should look like it's resting against the neck.
Step 9: Finalizing the Jacket
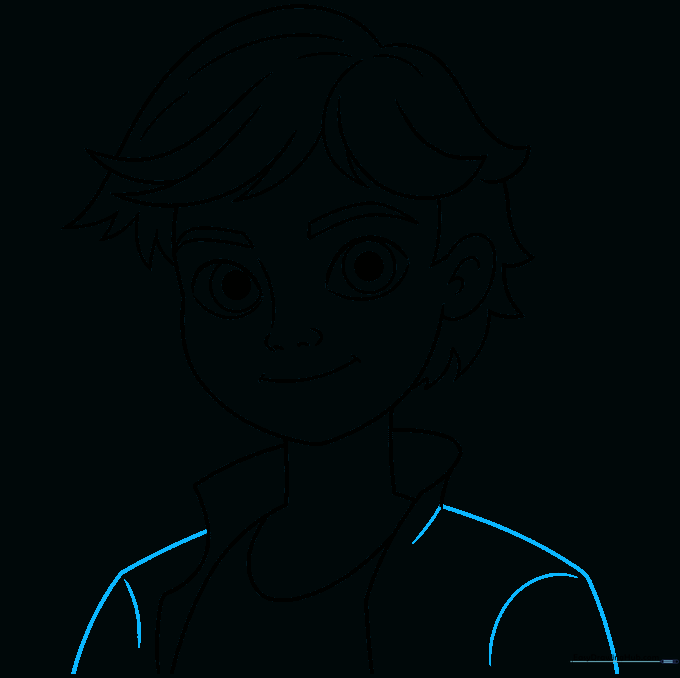
Extend lines from the shoulders to complete the jacket sleeves. Add small details at the sleeve tops and collar base. Tip: Use clean, confident strokes to finalize the outline.
Step 10: Adding Color

Bring your drawing to life! Use a soft yellow for his hair and a vibrant green for his eyes. Tip: Use light pressure with your pencils to create a smooth, even look.
More Tutorials


