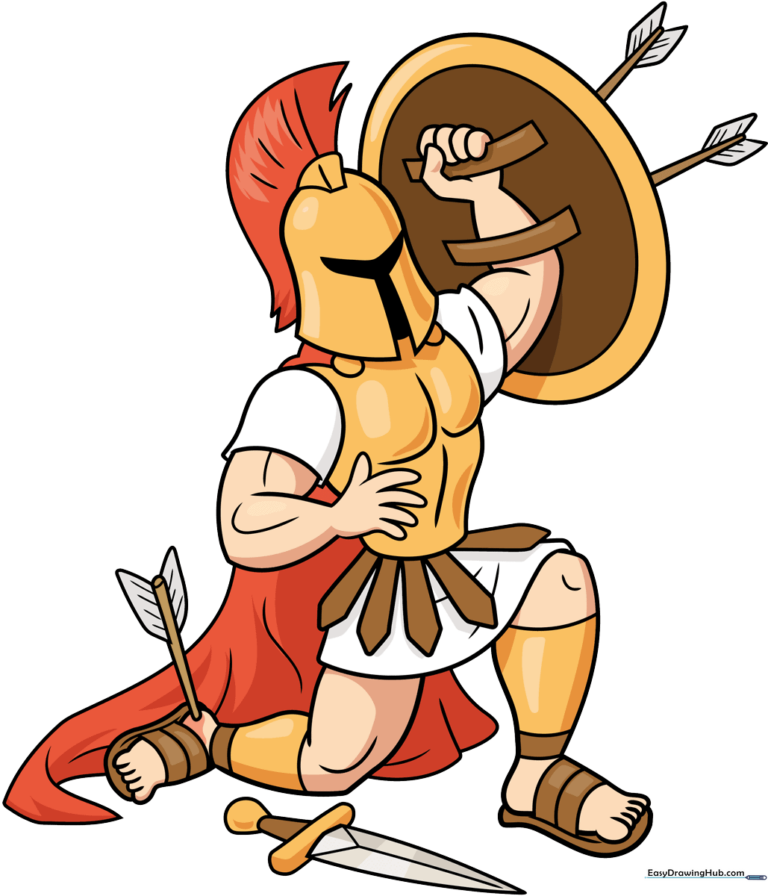
How to Draw Achilles: Easy 9-Step Hero Tutorial
Bring the legendary hero of the Trojan War to life with this step-by-step guide designed for young artists and history buffs. You will need a pencil, an eraser, and your favorite coloring markers to complete this epic portrait. Follow along to master character proportions and classic armor details in a fun, screen-free activity.
🎯 Final Result
Step-by-Step Instructions
Step 1: Sketching the Spartan Helmet
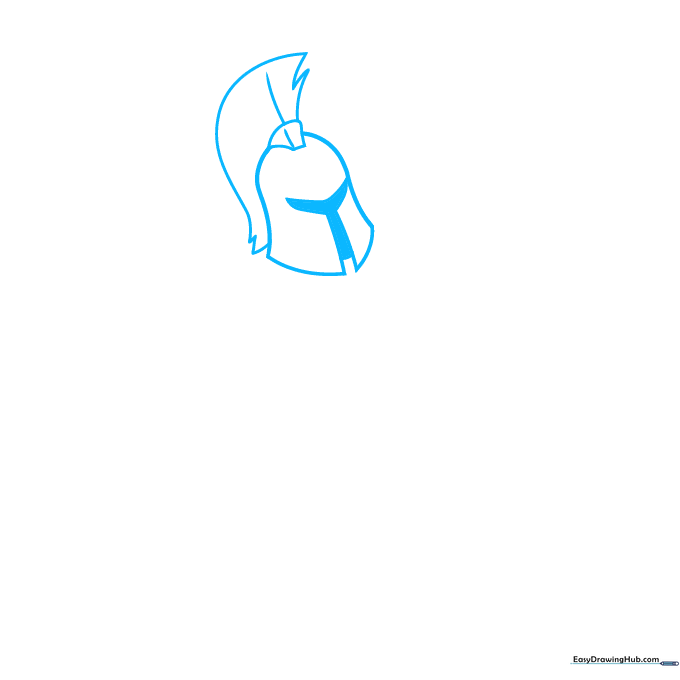
Start by sketching the bell-shaped outline of the Spartan helmet. Add a 'Y' shape at the front for the face opening. Teacher's Tip: Keep the plume tall and curved to give Achilles a heroic, larger-than-life silhouette.
Step 2: Defining the Armor and Cape
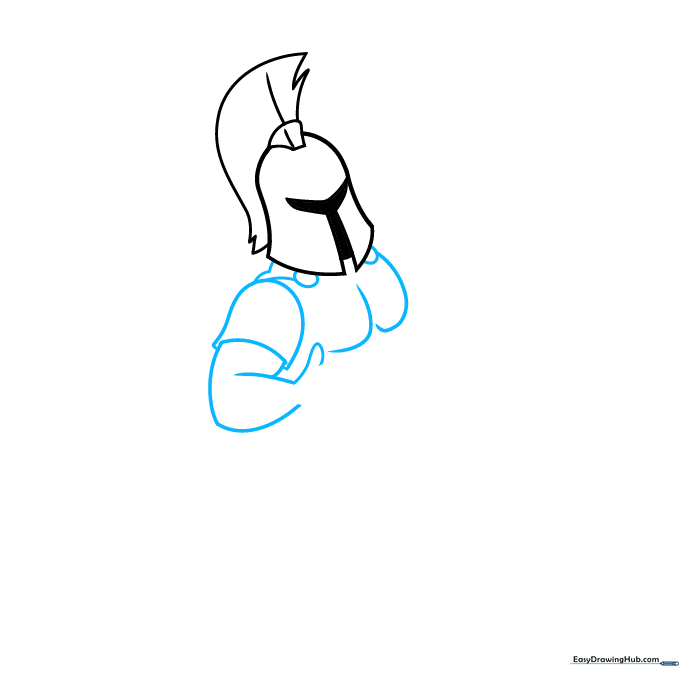
Draw two partial ovals beneath the helmet to anchor the cape. Use sweeping curved lines to outline the breastplate and the sleeve. Teacher's Tip: Imagine the cape is blowing in the wind—use loose, flowing strokes.
Step 3: Adding Arm Muscle Definition
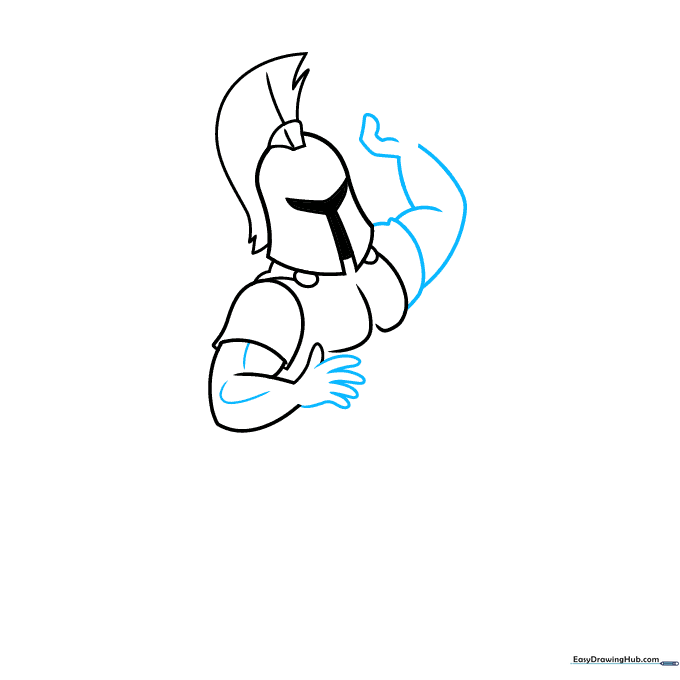
Complete the cape's shape and draw the arm extending outward. Add small curved lines to suggest bicep muscles. Teacher's Tip: Don't press too hard; these muscle lines should be subtle to keep the character looking natural.
Step 4: Constructing the Shield
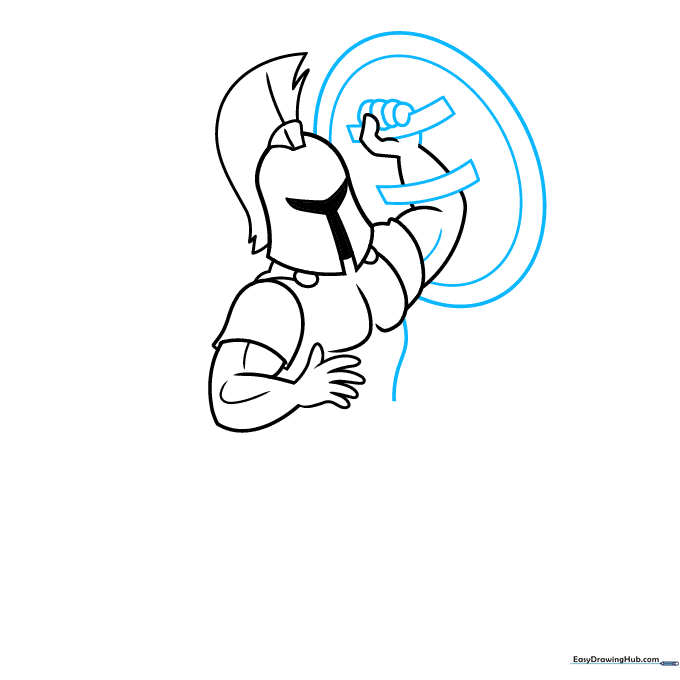
Draw two concentric ovals on the arm to form the shield. Add the hand and fingers gripping the edge. Teacher's Tip: Use a circular object like a coin to trace the shield if you struggle with freehand ovals.
Step 5: Drawing the Baltea Armor
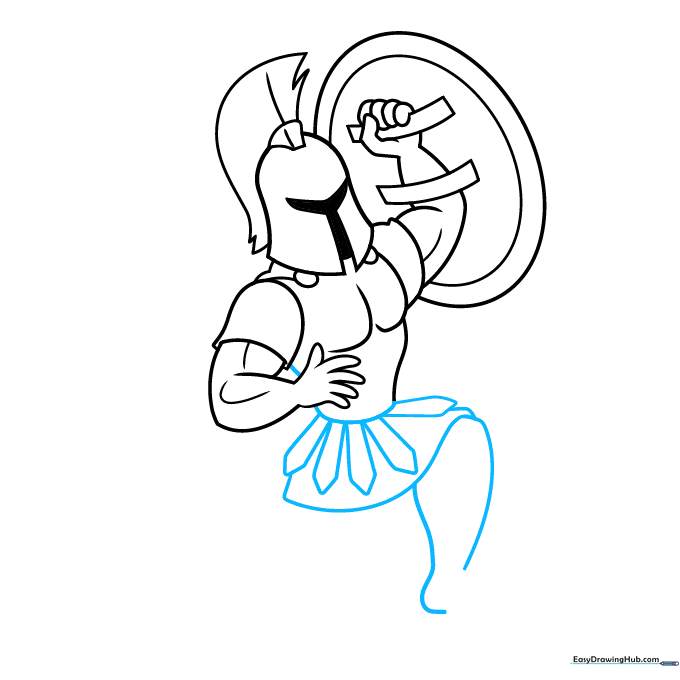
Add five narrow pentagons hanging from the waist—these are the 'baltea' skirt pieces. Sketch the tunic bottom and the start of the legs. Teacher's Tip: Keep the pentagons uniform in size to make the armor look balanced.
Step 6: Sketching the Legs and Sandals
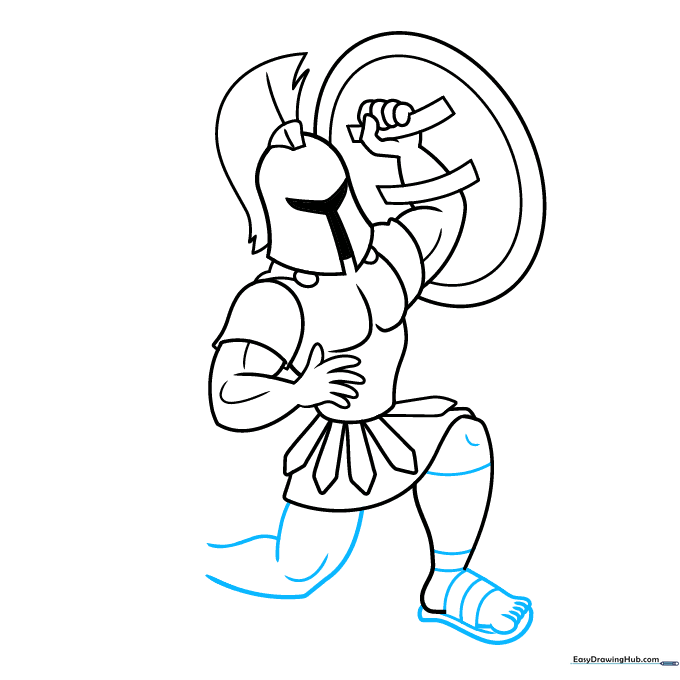
Draw the legs and the soles of the sandals. Add horizontal lines across the feet to represent the leather straps. Teacher's Tip: Think of these as simple 'X' or horizontal patterns to make the sandal straps look realistic.
Step 7: Finalizing Footwear
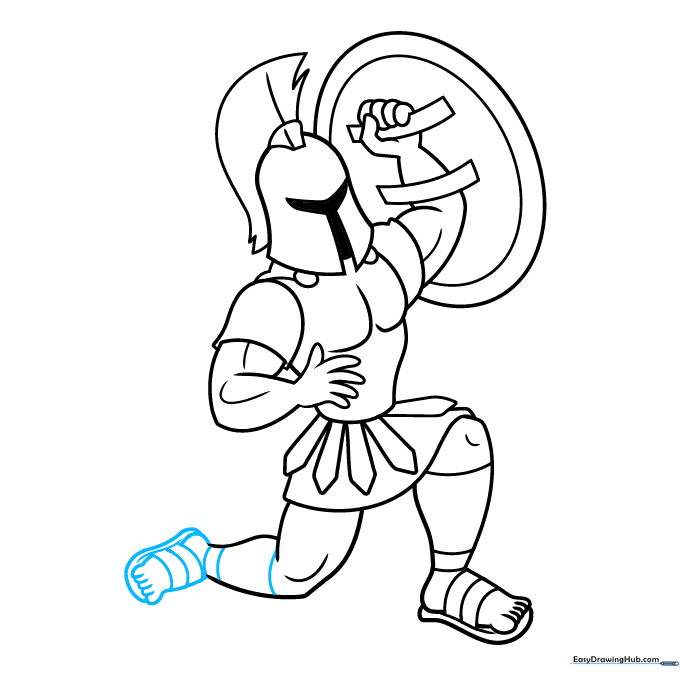
Complete the second foot and sandal details to match the first. Teacher's Tip: Ensure the feet are pointing in the same direction to keep the character's stance stable.
Step 8: Adding Battle Details
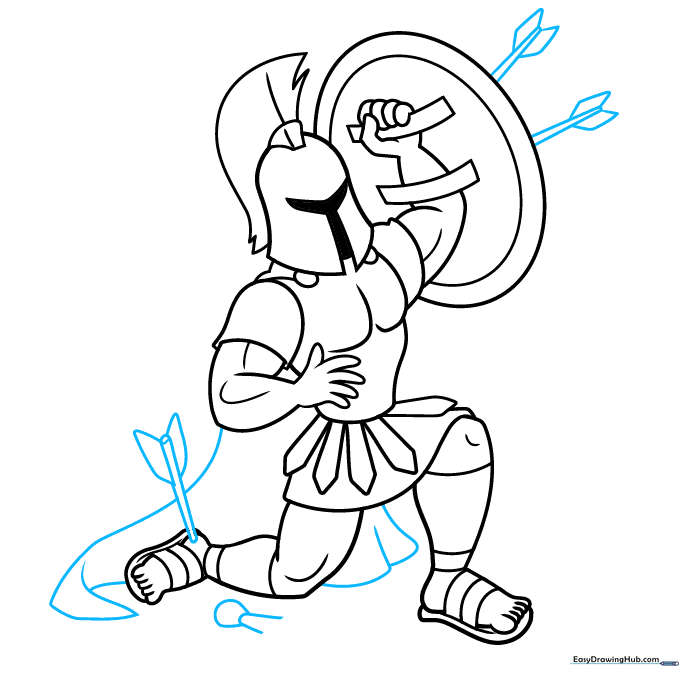
Draw the cape flowing behind him and add arrows sticking out of the shield and heel. Teacher's Tip: Use straight, parallel lines for the arrow shafts to make them look sharp and sturdy.
Step 9: Sword and Final Textures
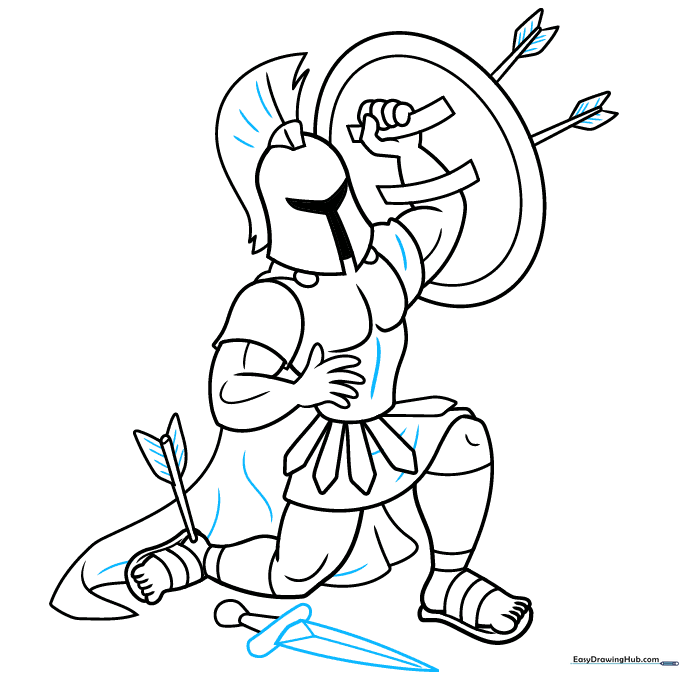
Draw the sword handle and blade. Add short, quick lines to the armor and plume to create texture. Teacher's Tip: A few small lines on the metal parts can simulate light reflecting off the surface.
Step 10: Bring Achilles to Life with Color
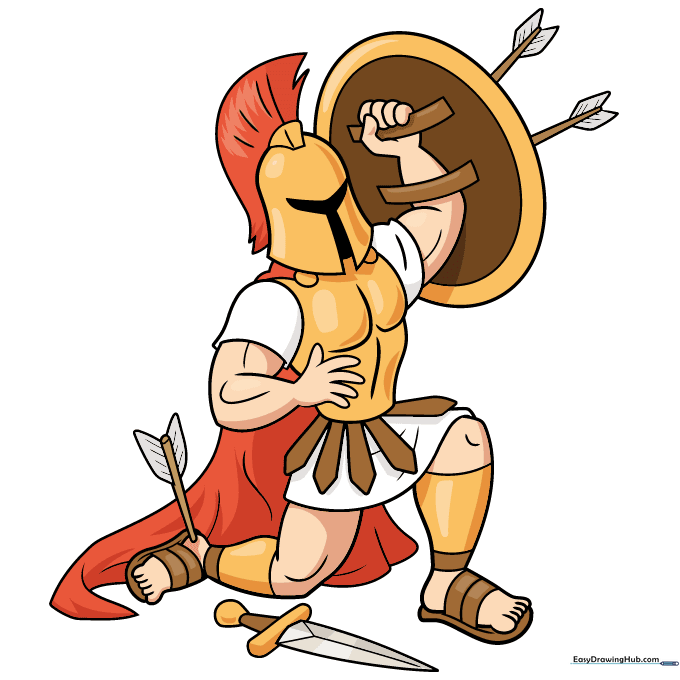
Time to color! Use gold for the armor and a bold red for the cape to make your hero stand out. Teacher's Tip: Use a darker shade of gold on the edges of the armor to create a 3D metallic effect.
More Tutorials


