How to Draw Abu from Aladdin: Easy 10-Step Guide
Ready to bring Aladdin's mischievous monkey sidekick to life? This tutorial is perfect for young artists ages 6+ who want to practice character sketching. Grab your pencil, eraser, and paper, and follow these simple steps to master Abu's expressive features and signature vest.
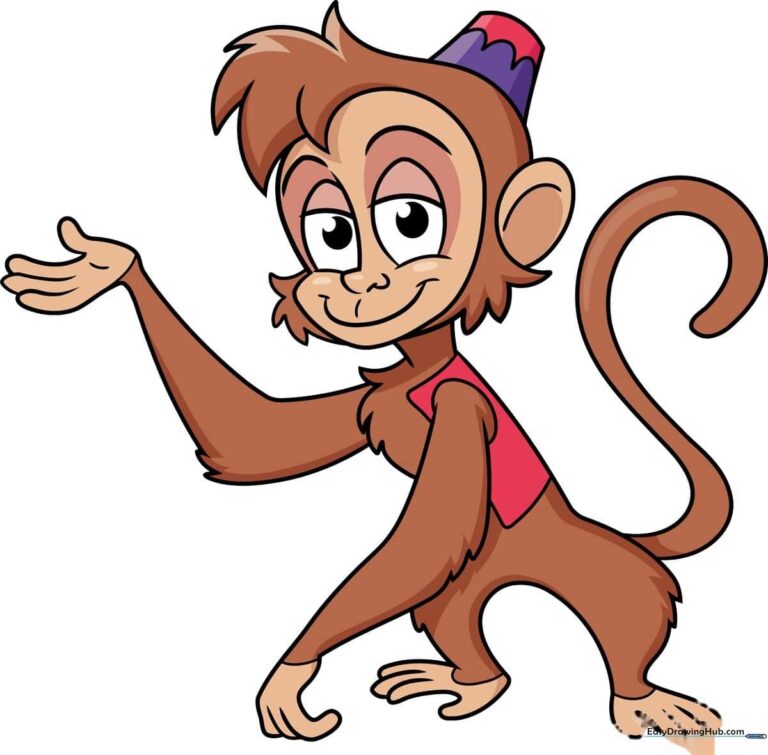
🎯 Final Result
Step-by-Step Instructions
Sketching the Face and Eyes
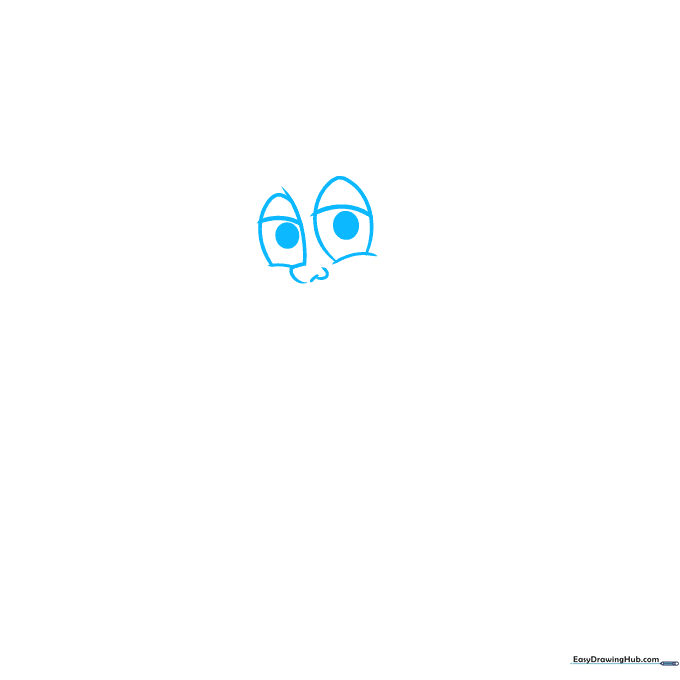
Start by drawing the outline of Abu's face using soft, curved lines. Sketch the eyes and eyelids, then add a small circle inside each for the pupils. Teacher's Tip: Keep your pencil pressure light so you can easily adjust the shape if the eyes look a bit uneven.
Defining the Facial Features
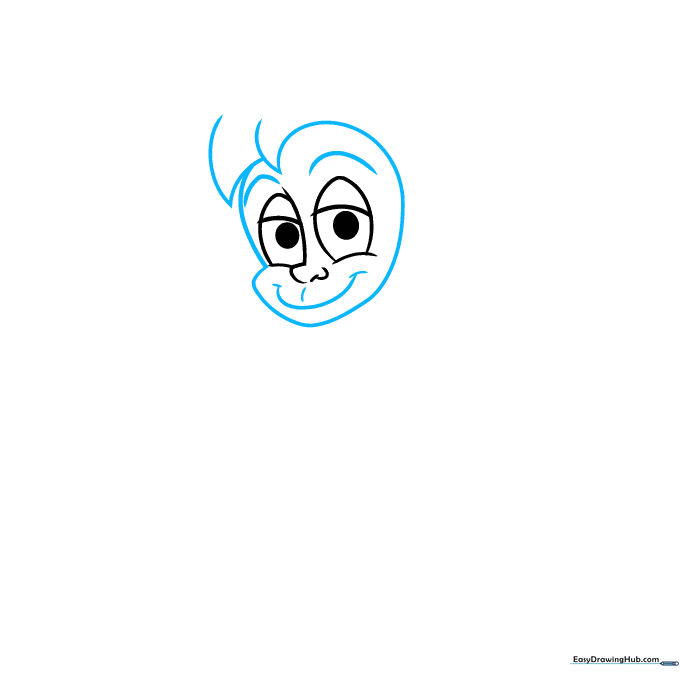
Use long, sweeping curves to define the sides of his face. Add tufts of fur at the top by letting your lines meet at sharp points. Draw his eyebrows and a cheerful, wide smile. Teacher's Tip: Use short, quick strokes for the fur to make it look soft and textured.
Adding Ears and Head Fur
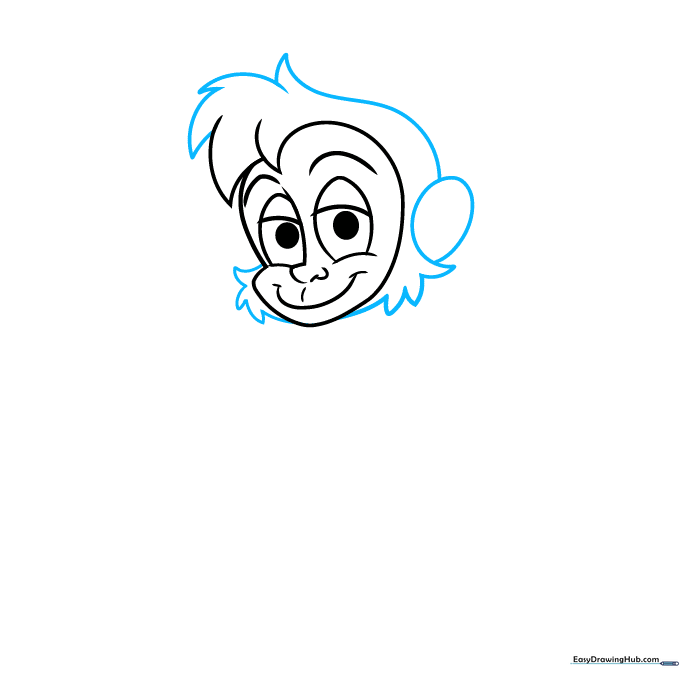
Draw a rounded oval for the ear. Continue adding tufts of fur along the cheeks and the top of the head. Teacher's Tip: Vary the size of your fur tufts to make the drawing look more natural and less like a rigid shape.
Drawing the Hat and Torso
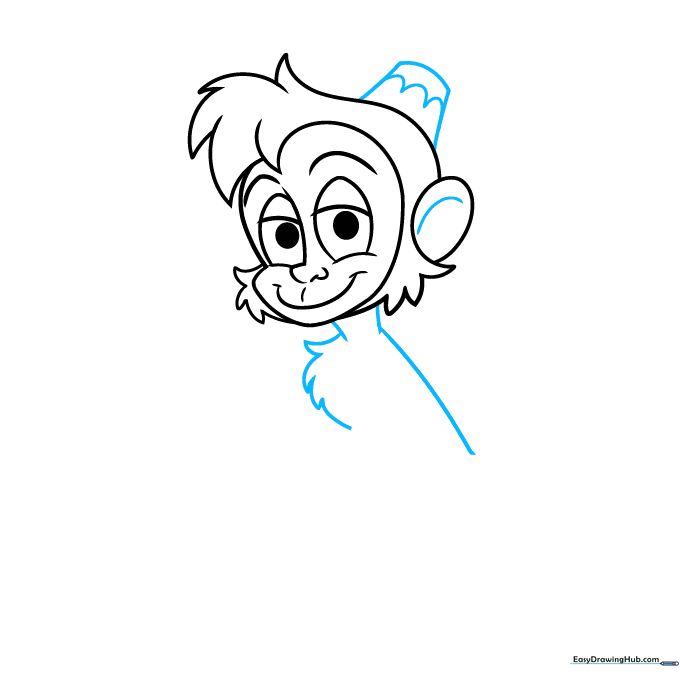
Enclose his rectangular hat with curved lines and add a scalloped 'U' pattern for detail. Sketch the neck, chest, and back. Teacher's Tip: The scalloped pattern on the hat is a great way to practice steady hand control.
Sketching the First Arm
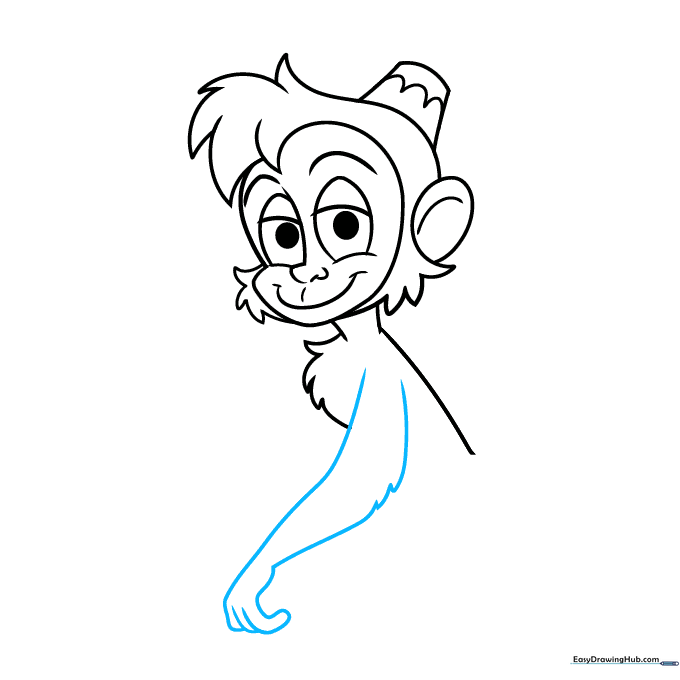
Use long, flowing curved lines to draw the furry arm and hand. Teacher's Tip: Don't worry if the arm isn't perfectly straight; monkeys are flexible, so a slight curve makes the pose look more dynamic.
Drawing the Second Arm
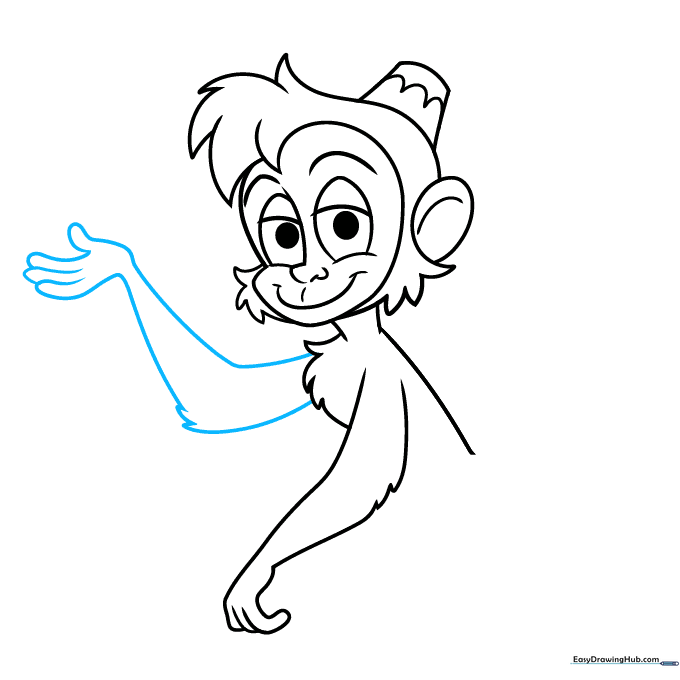
Draw the second arm reaching upward with the palm open. Use the same furry line technique as before. Teacher's Tip: Imagine Abu is reaching for a snack to help you get the hand position just right.
Starting the Legs
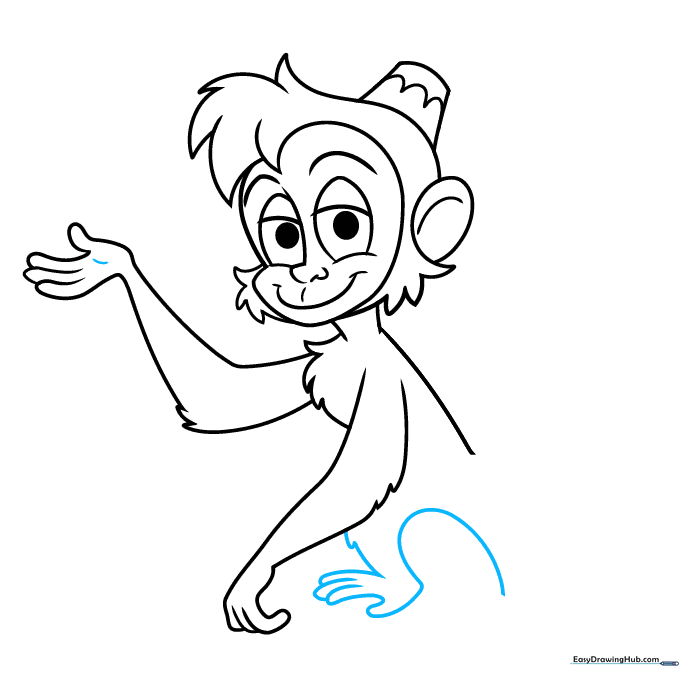
Add a small contour line to the palm, then begin sketching the legs and feet. Teacher's Tip: Keep the feet simple and rounded to maintain the cute, cartoon aesthetic.
Adding Leg Details
Draw the second leg, focusing on the knee area. Use short, jagged lines to suggest fur texture. Teacher's Tip: Focus on the 'furry' texture at the knees to make the character look more realistic.
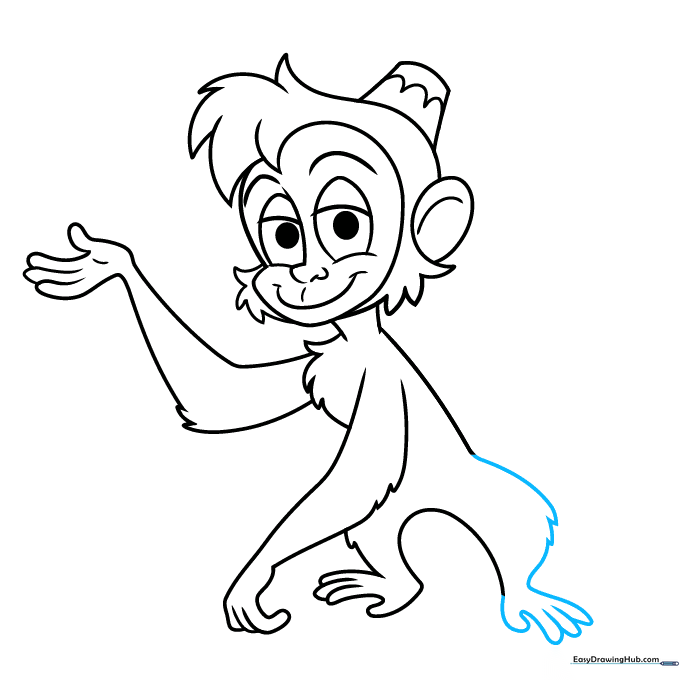
Finalizing the Outline
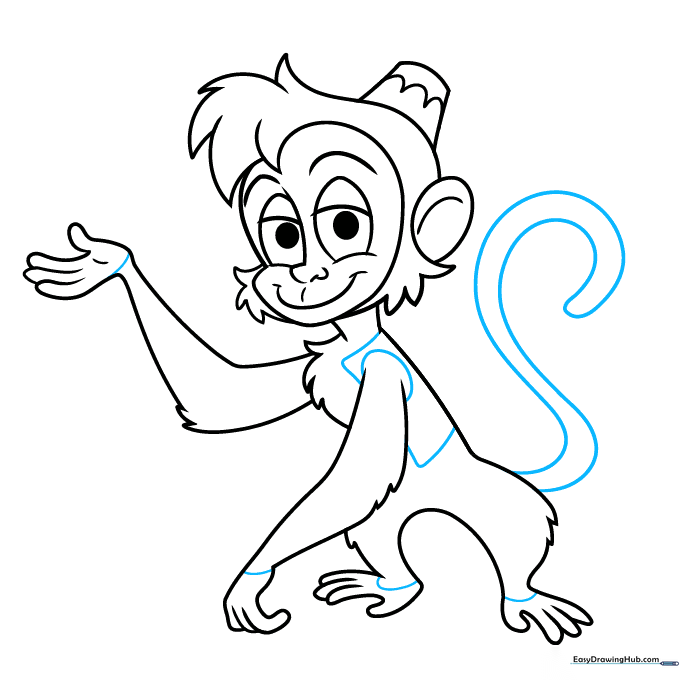
Add bands to the wrists and ankles. Draw the vest over his shoulders and finish with a long, S-shaped tail. Teacher's Tip: The tail adds balance to the drawing—make sure it curves gracefully behind him.
Adding Color
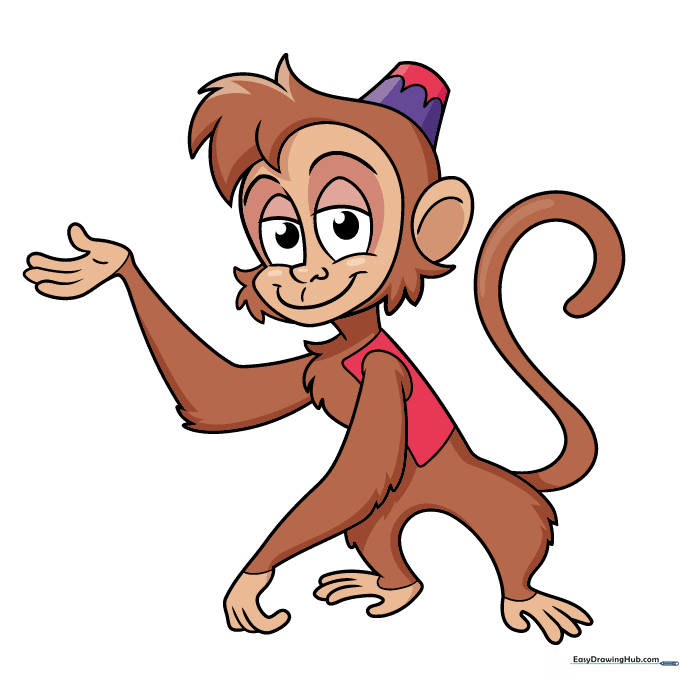
Bring Abu to life with color! Use brown for his fur, a lighter shade for his face and chest, and vibrant purple and blue for his vest and cap. Teacher's Tip: Use light, circular motions when coloring to keep the texture smooth and even.
More Tutorials


