How to Draw a Zombie Shark: Easy 10-Step Cartoon Guide
Ready to create a creature from the deep? This tutorial is perfect for young artists ages 7+ who love spooky, imaginative themes. You will need a pencil, an eraser, and a black fine-liner to bring your undead shark to life while practicing symmetry and jagged line work.
🎯 Final Result

Step-by-Step Instructions
Step 1: Sketching the Head Shape

Near the top of your page, draw a large triangle with a rounded point. Add a hook shape on top, then a broad S-curve. Teacher's Tip: Keep your pencil pressure light so you can easily adjust the proportions if the head looks too big or small.
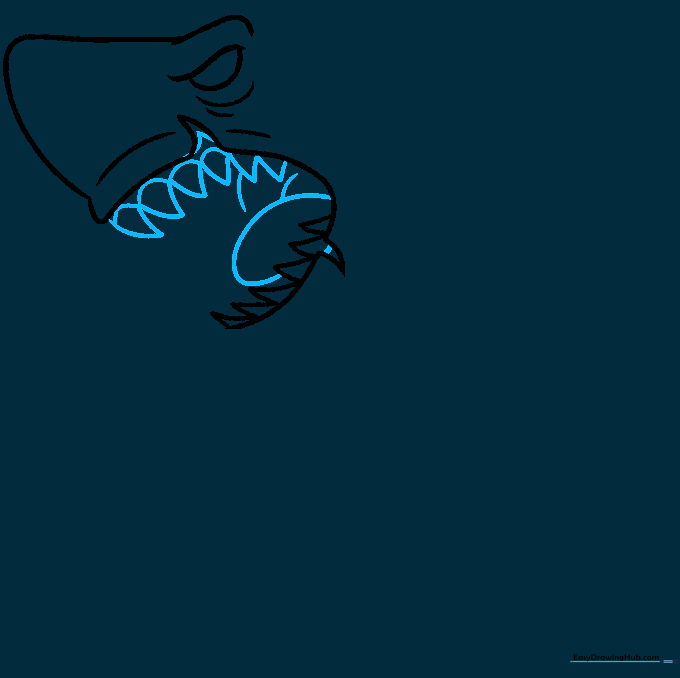
Step 2: Defining the Open Mouth

Draw an oblong oval that is open on the left side. Add two triangles pointing outward for teeth, and sketch curved lines above the mouth. Teacher's Tip: Use short, quick strokes to make the teeth look sharp and menacing.
Step 3: Adding Upper Teeth and Tongue
Add more triangles with rounded bottoms for the upper teeth. Sketch an oval inside for the tongue. Teacher's Tip: Vary the size of the teeth slightly to give the shark a more realistic, chaotic look.
Step 4: Lower Jaw Details
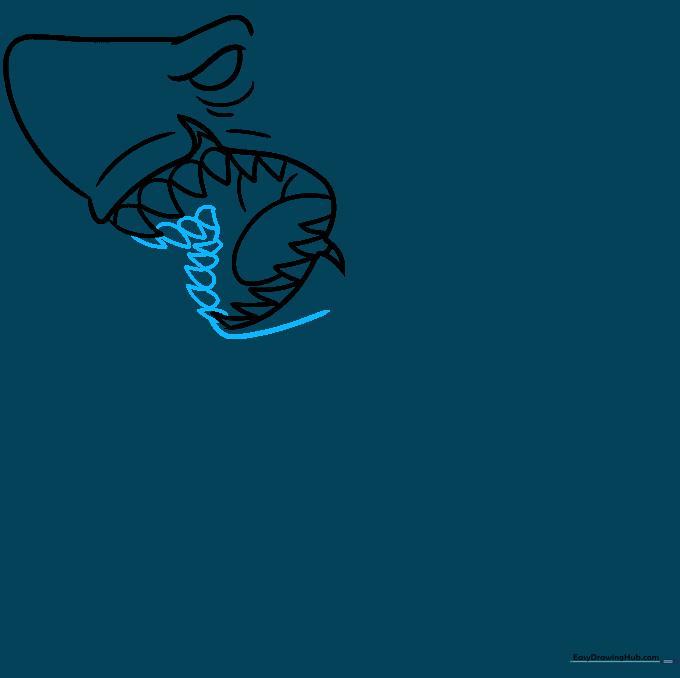
Draw a second row of triangular teeth and a straight line underneath the mouth. Teacher's Tip: Ensure the teeth overlap slightly to make the jaw look crowded and scary.
Step 5: Shaping the Head
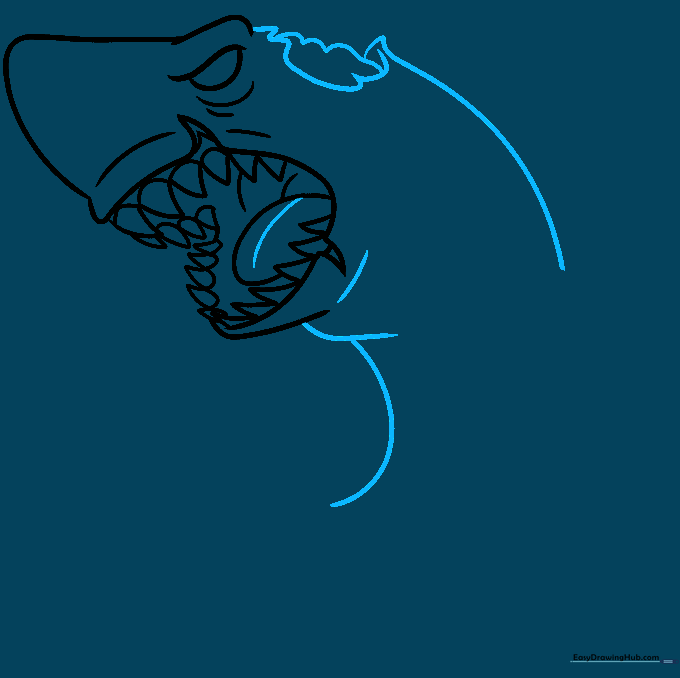
Draw a large curved line for the top of the head, using 'swooping' lines to create a chunked-out appearance. Add a loose L-shape under the mouth. Teacher's Tip: The 'chunked-out' look is what makes it a zombie—don't make the lines too smooth!
Step 6: Drawing the Fins

Draw the top fin using a curved line followed by an uneven, jagged line. Repeat this for the side fin. Teacher's Tip: Use a 'zigzag' motion with your pencil to create the tattered look of the fins.
Step 7: Body and Tail Base
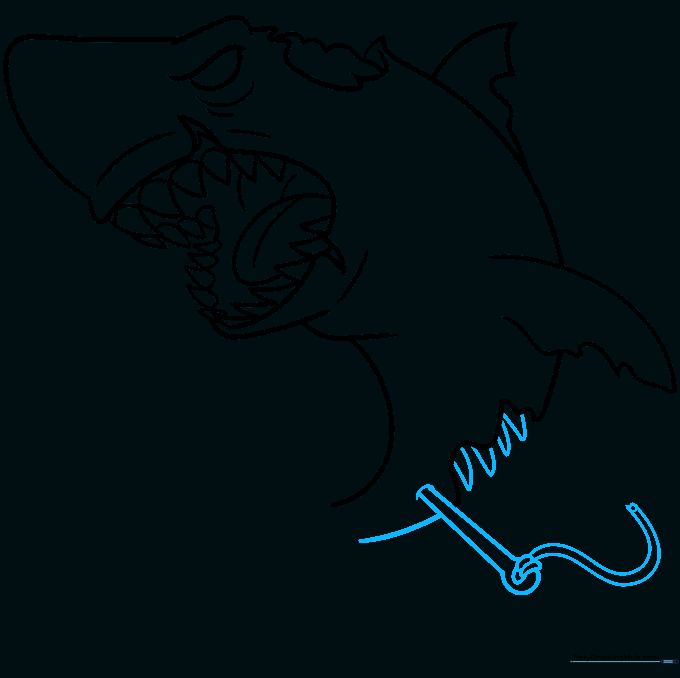
Create a tube shape for the body with a circle at the end. Add two small bean shapes and an S-curve for the tail base. Teacher's Tip: Keep your lines loose; the 'zombie' aesthetic thrives on imperfection.
Step 8: Refining the Tail

Draw a curved line for the left fin and an uneven line with a triangle in the center. Create the tail using an oval with a cutout and a petal shape. Teacher's Tip: Use your eraser to clean up any overlapping lines inside the tail area.
Step 9: Final Outlining

Add 'noodle' shapes for gills and curves for the brain. Trace your final lines with a black marker and erase your pencil guidelines. Teacher's Tip: Use a steady hand for the final outline to make your drawing pop.
Step 10: Adding Color

Use bluish-grey for the body, pale yellow for teeth, and pink/red for the mouth and brain. Teacher's Tip: Use a darker grey to shade the edges of the fins to give your shark more depth and a 3D effect.
More Tutorials


