How to Draw a Cute Worm: Easy 10-Step Guide for Kids
Bring a friendly garden friend to life! This tutorial is perfect for young artists ages 5 and up. You will only need a pencil, an eraser, and your favorite coloring markers to create this wiggly character while practicing smooth, curved line control.
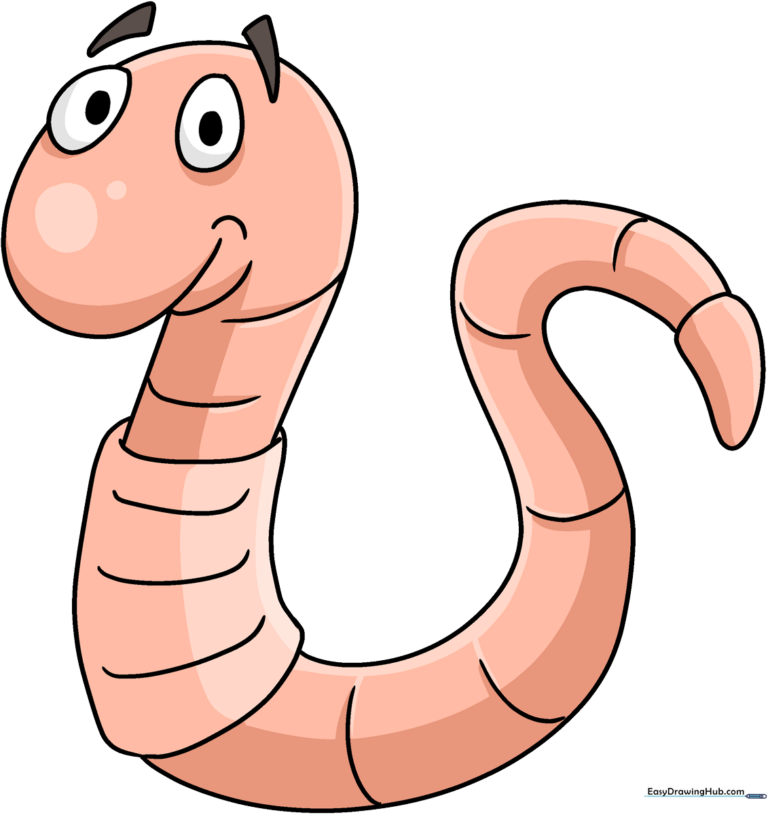
🎯 Final Result
Step-by-Step Instructions
Sketching the Head
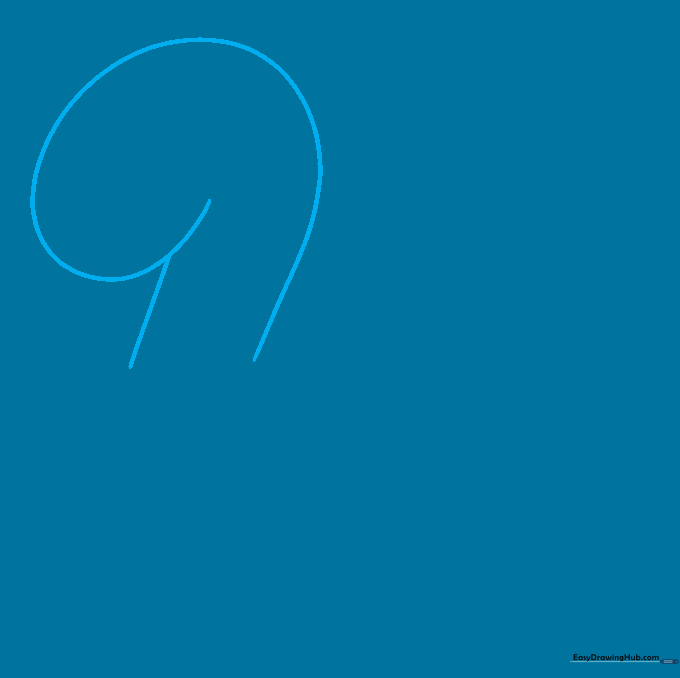
Start by drawing a gentle, spiraled line to form the top of the head, then add a straight line underneath for the neck. Teacher's Tip: Keep your wrist loose to get that nice, rounded curve for the head shape.
Adding the Eyes
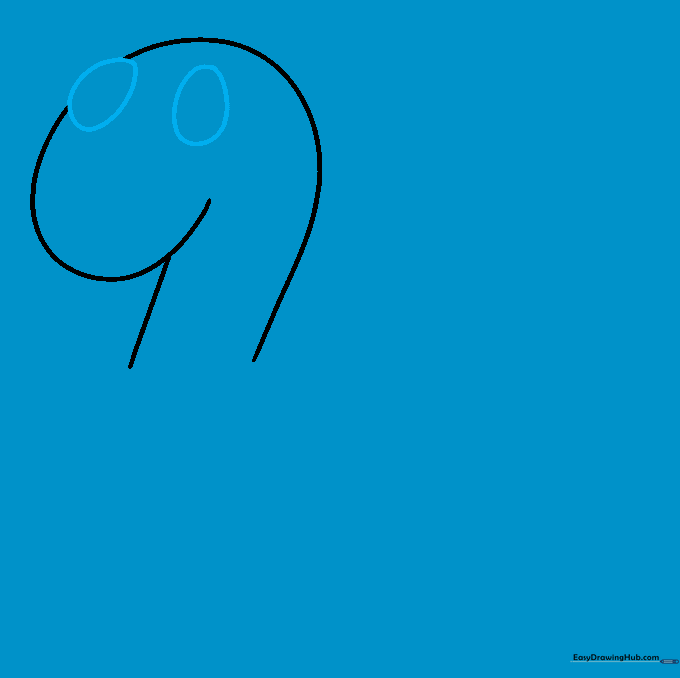
Draw two round circles on the face for the eyes. If they overlap the head outline, just use your eraser to clean up the extra lines. Tip: Placing the eyes slightly apart makes the worm look friendly and curious.
Drawing the Eyebrows
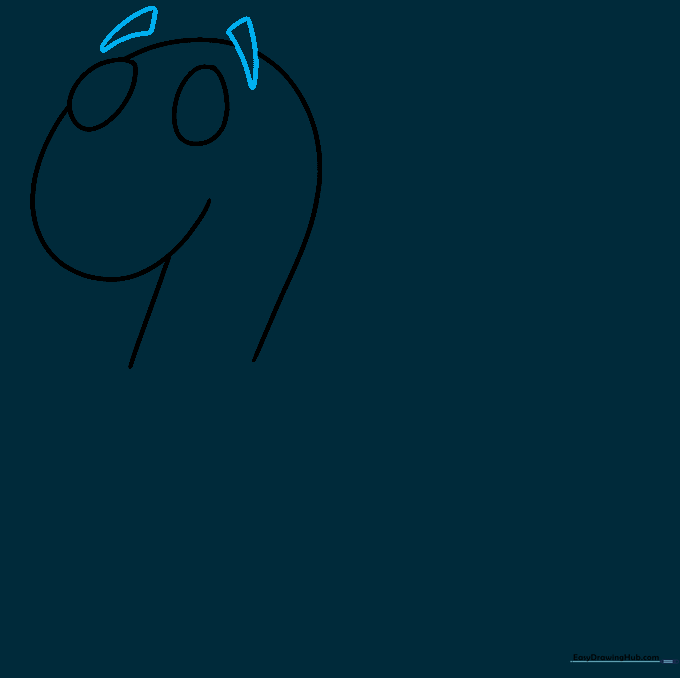
Add personality by drawing a narrow, curved triangle above each eye. Tip: Tilting the triangles slightly toward each other gives your worm a happy, surprised expression.
Defining the Mouth
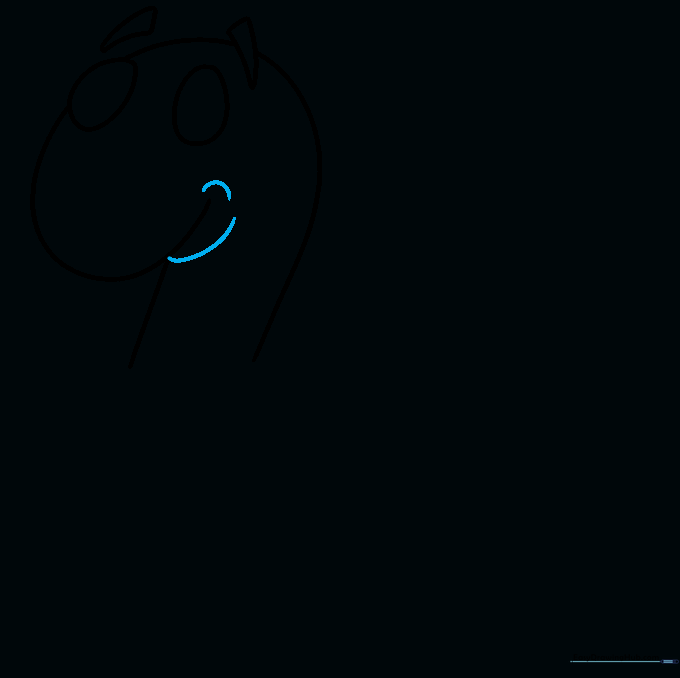
Use curved lines where the neck meets the head to outline the lower jaw and the corner of the mouth. Tip: A small, simple curve is all you need to suggest a friendly smile.
Adding the Clitellum
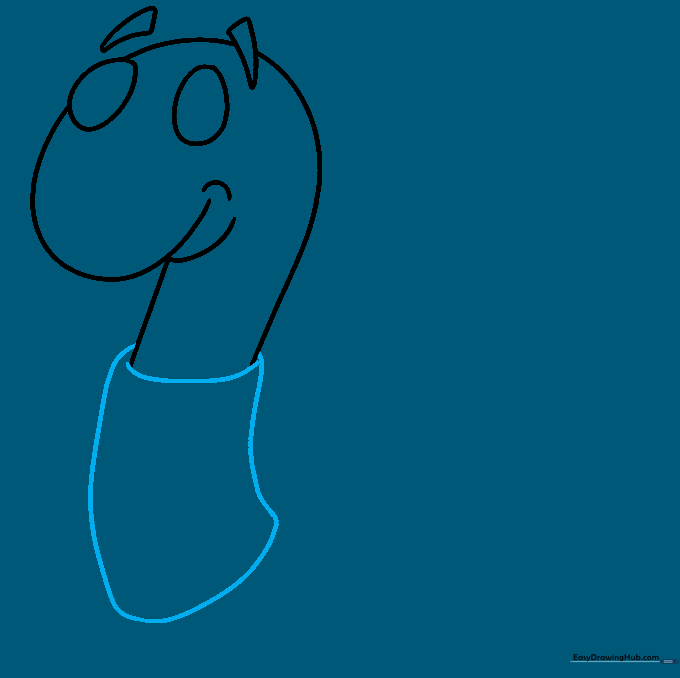
Draw a band around the middle of the body—this is called the clitellum. Connect the sides with a smooth, curved line. Tip: Think of this as a little belt around the worm's tummy.
Forming the Body
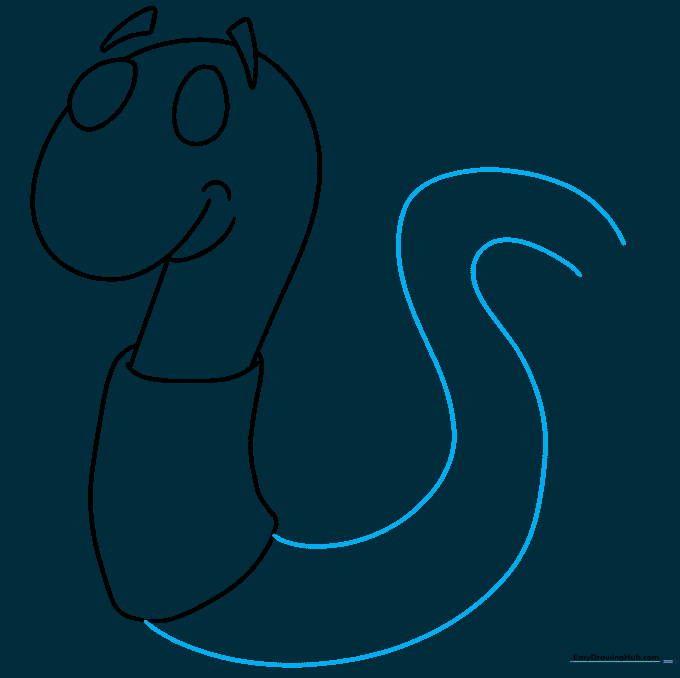
Extend two long, parallel 'S' shaped lines down from the clitellum to create the worm's wiggly body. Tip: Don't worry if the lines aren't perfectly parallel; worms are naturally wiggly!
Drawing the Tail
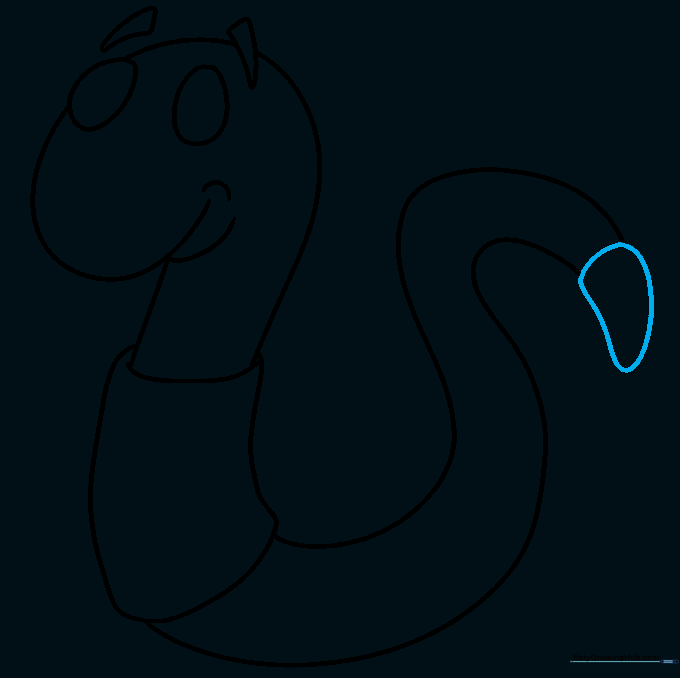
Close off the bottom of the body with a rounded, triangular shape for the tail. Tip: Keep the tip of the tail soft and rounded so it looks natural.
Adding Body Segments
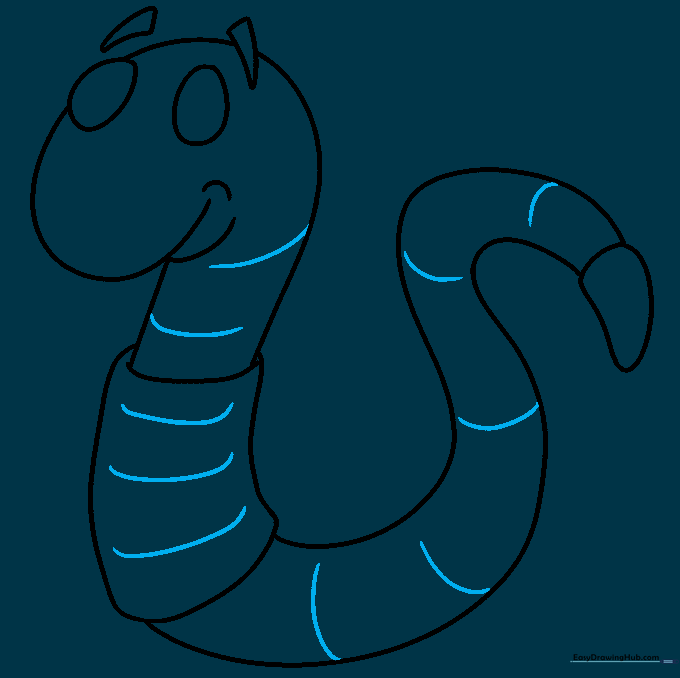
Draw short, curved lines across the body to show the worm's segments. Tip: Space them out evenly to make the worm look like it's stretching.
Finishing the Eyes
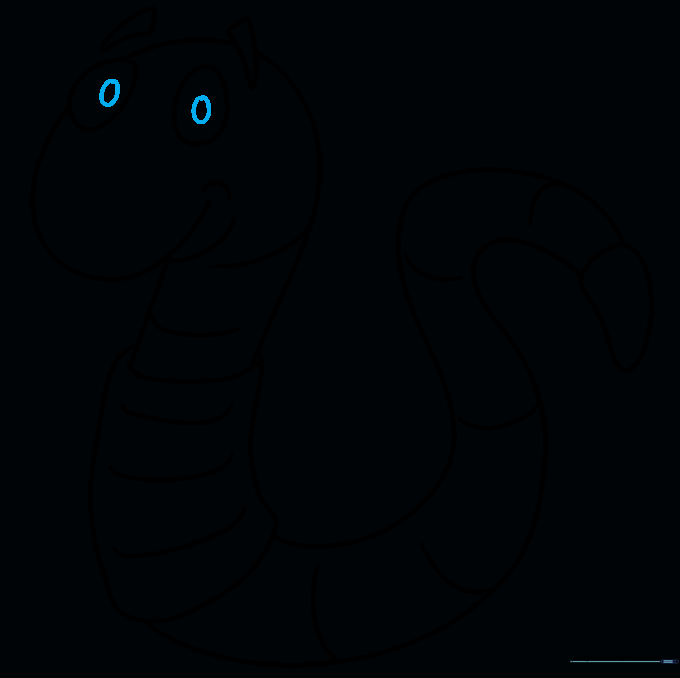
Add a small oval inside each eye to create pupils. This gives your worm a 'looking at you' gaze. Tip: Place the pupils in the same direction to make the worm look like it's focusing on something.
Adding Color
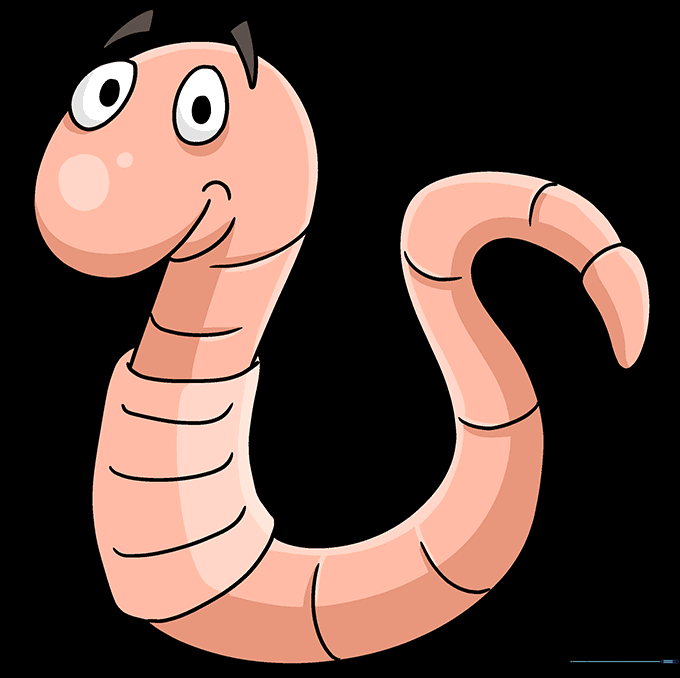
Time to bring your worm to life! Use tan, pink, or reddish-brown colors. Tip: Try using a darker shade of your color on the edges to give the worm a 3D, rounded look.
More Tutorials


