How to Draw a Wolf: Easy 10-Step Guide for Beginners
Ready to bring a wild wolf to life? This tutorial is perfect for young artists ages 6+ looking to build confidence with animal anatomy. Grab a pencil, an eraser, and a piece of paper to follow along as we break down the wolf's features into simple, manageable shapes.
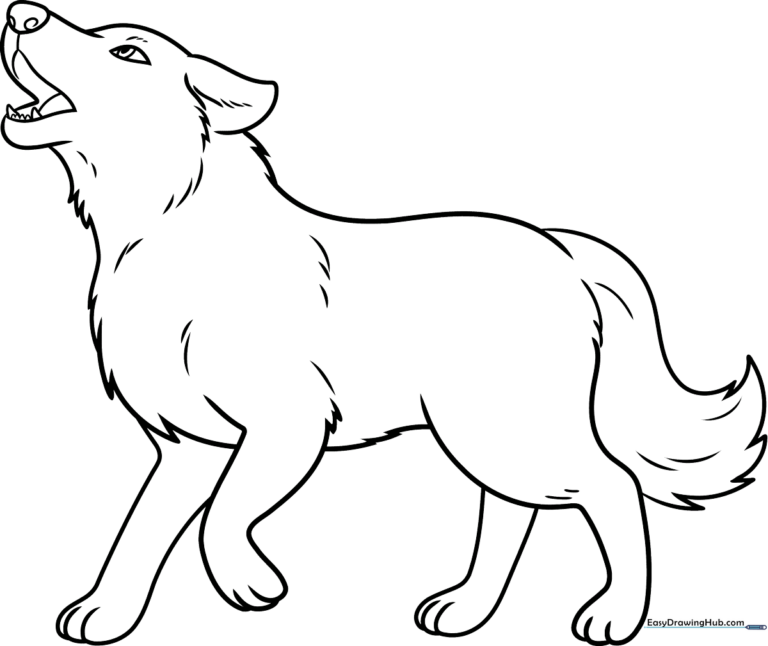
🎯 Final Result
Step-by-Step Instructions
Step 1: Sketching the Head and Eye
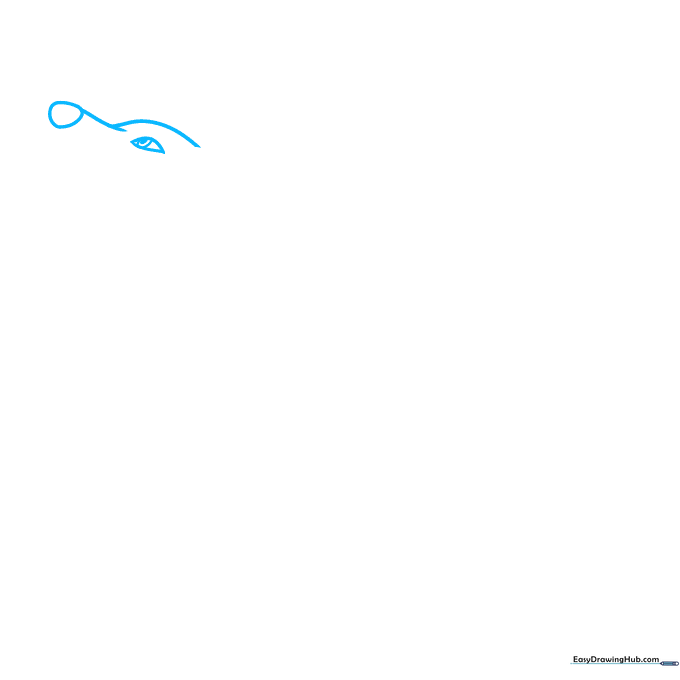
Start by drawing the wolf's face using light, overlapping curved lines for the top of the snout and head. Enclose a rounded nose pad, then draw an almond-shaped eye. Tip: Keep the eye shape simple; add a small pupil inside to give your wolf a focused, alert expression.
Step 2: Defining the Snout and Mouth
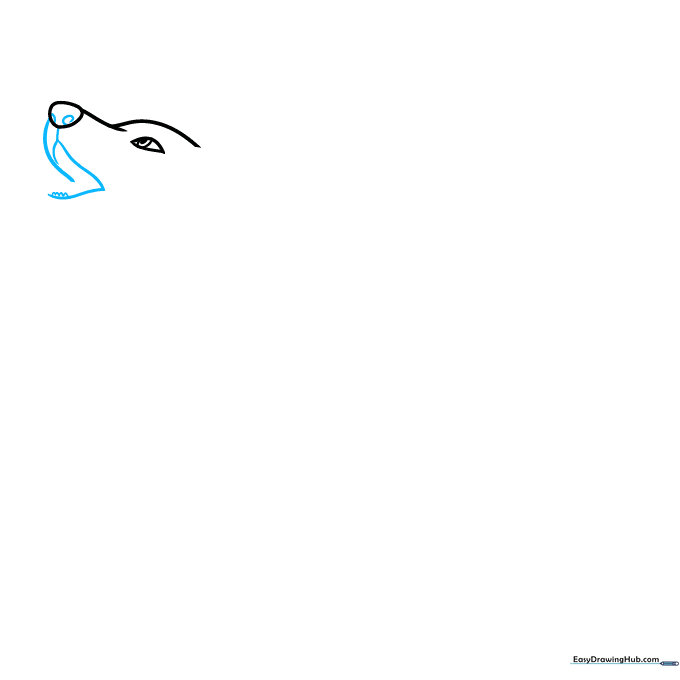
Add two 'C' shaped lines on the nose for nostrils and a 'Y' shaped line below to define the mouth. Draw the lower jaw around this 'Y' and add small 'U' shapes for teeth. Tip: Drawing the teeth as small 'U's makes them look friendly rather than overly sharp.
Step 3: Adding Ears and Fur Texture
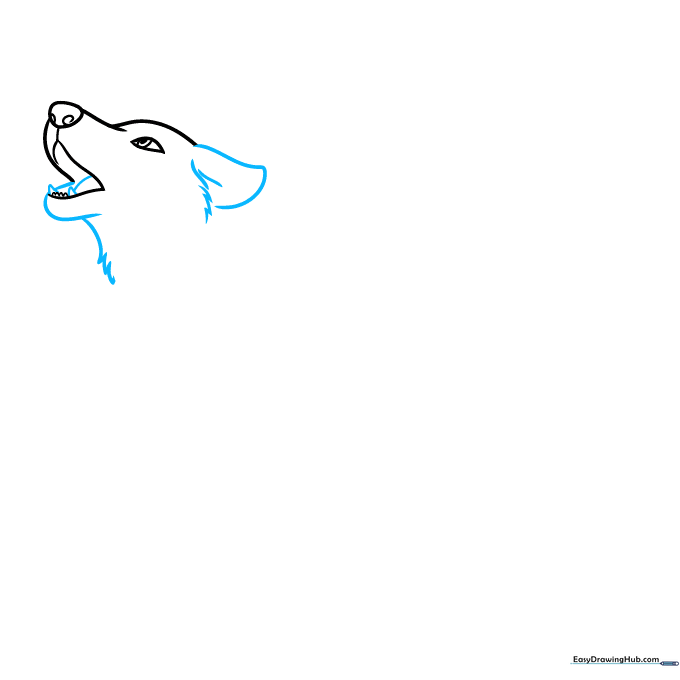
Draw two small triangles for the canine teeth and a curved line for the tongue. Sketch a rounded triangular ear, then use short, jagged lines to create the furry texture of the neck and head. Tip: Use quick, flicking motions with your pencil to make the fur look natural and soft.
Step 4: Shaping the Chest and Front Leg
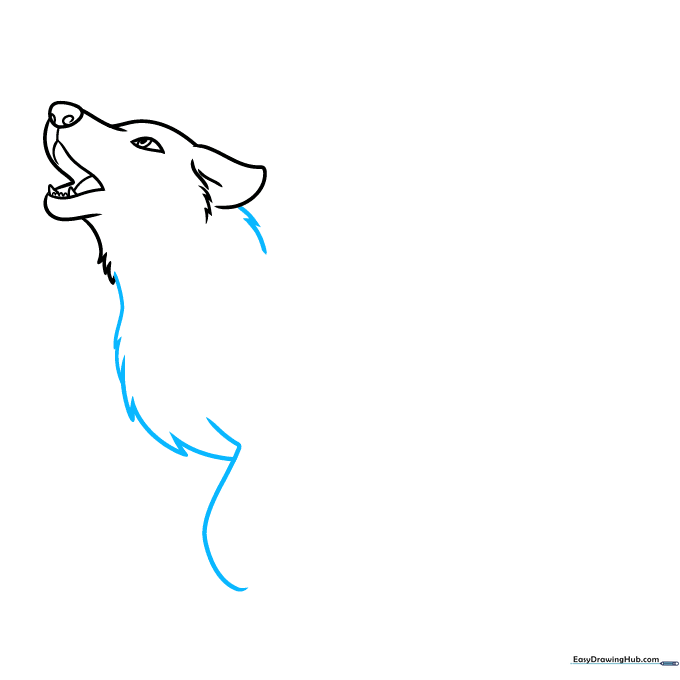
Continue the jagged, furry lines down the neck to form the chest. Draw a long, graceful curved line overlapping the chest to outline the front leg. Tip: Think of the leg as a long, slightly bent tube to help keep your proportions balanced.
Step 5: Defining the Back and Belly
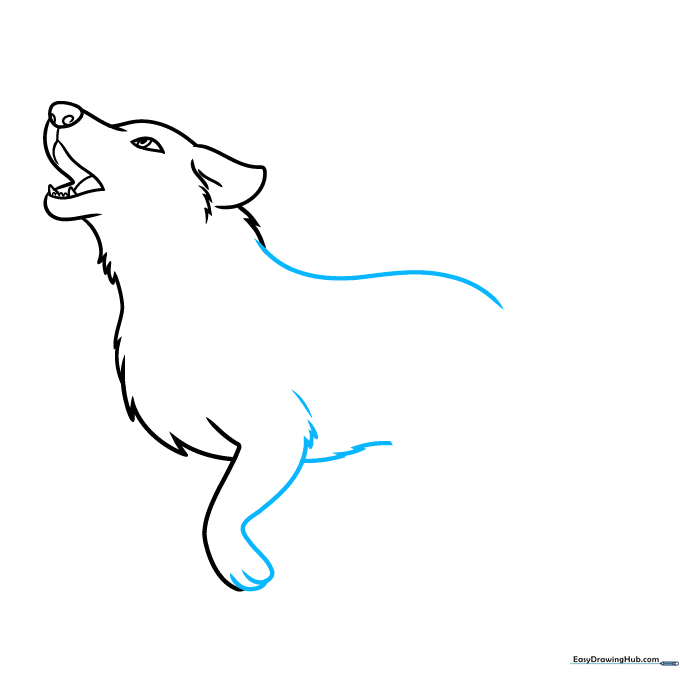
Draw a long, sweeping curved line from the neck to create the back and rump. Complete the front leg with toes and a furry elbow, then add a series of jagged lines along the belly. Tip: The belly should curve slightly upward to give the wolf a lean, athletic look.
Step 6: Drawing the Rear Leg

Sketch the rear leg using long, smooth curved lines for the structure and short, overlapping lines for the toes. Add jagged fur at the top of the leg where it meets the body. Tip: Make sure the rear leg looks slightly thicker at the top to represent the thigh muscle.
Step 7: Adding Remaining Legs
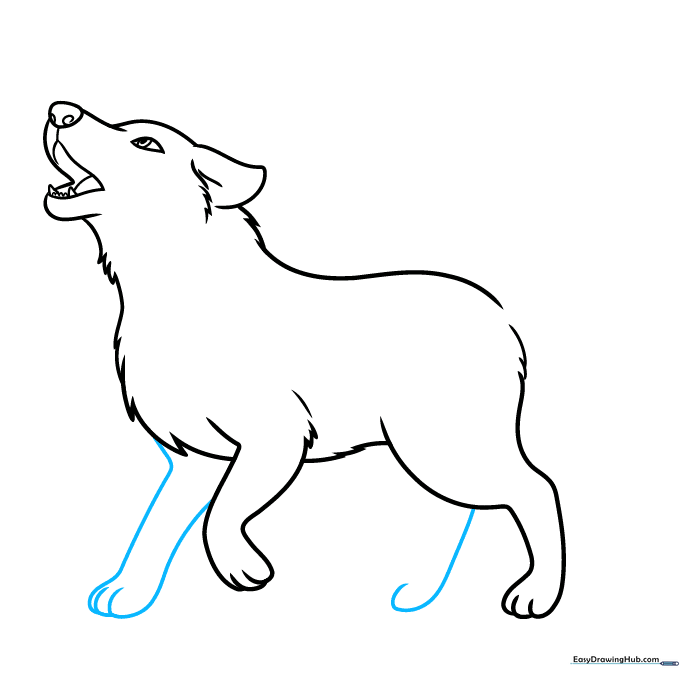
Draw the two remaining legs on the far side of the body using similar long, curved lines. Keep these slightly lighter than the front legs to create a sense of depth. Tip: Only draw the lower parts of these legs to show they are behind the wolf's body.
Step 8: Adding the Tail
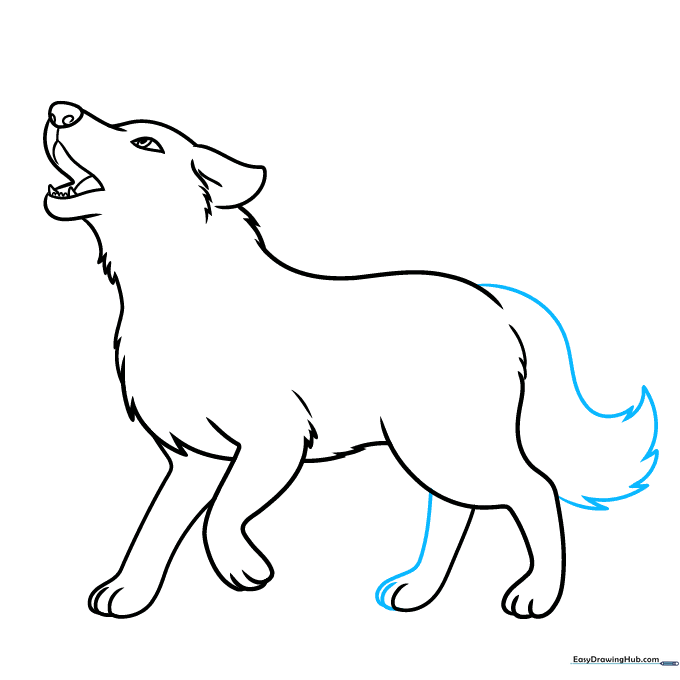
Complete the rear leg and draw a large, fluffy tail. Use a series of lines of varying lengths that meet at jagged points to mimic thick fur. Tip: A big, bushy tail is a classic wolf feature—don't be afraid to make it look voluminous!
Step 9: Final Fur Texturing
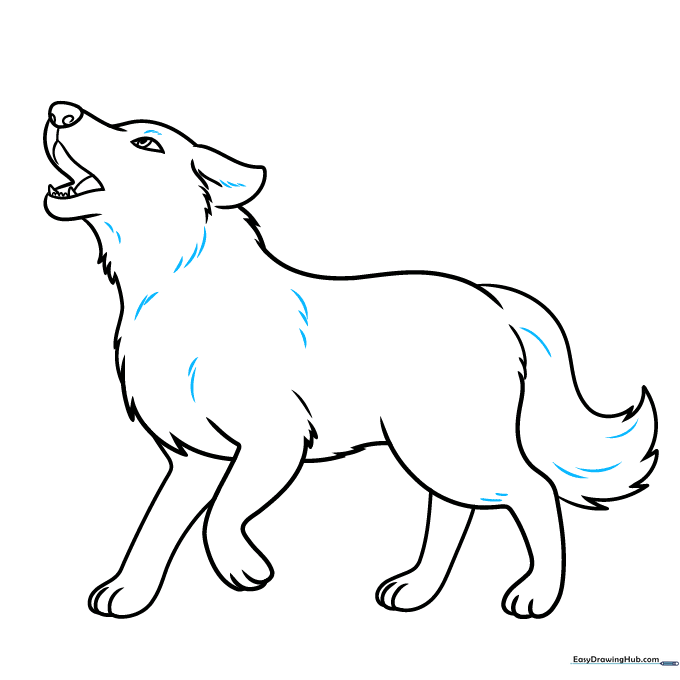
Add small, short curved lines across the body to texture the fur. Focus these lines around the neck and tail area. Tip: Less is more! A few well-placed lines suggest a full coat without cluttering your drawing.
Step 10: Bringing Your Wolf to Life with Color
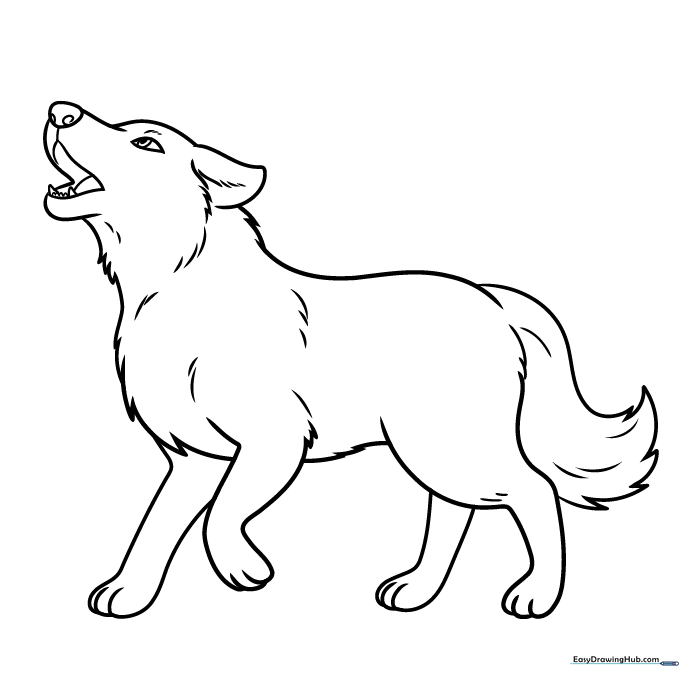
Your wolf outline is complete! Now, add color. Wolves look great in shades of grey, brown, or white. Tip: Try using a darker shade for the shadows under the belly and legs to give your drawing a 3D effect.
More Tutorials


