How to Draw a Howling Wolf: Easy 10-Step Guide
Capture the spirit of the wild with this fun, step-by-step howling wolf tutorial. Designed for artists ages 5 and up, this project requires only a pencil, paper, and an eraser. Follow along to master basic shapes and build confidence in your animal drawing skills.
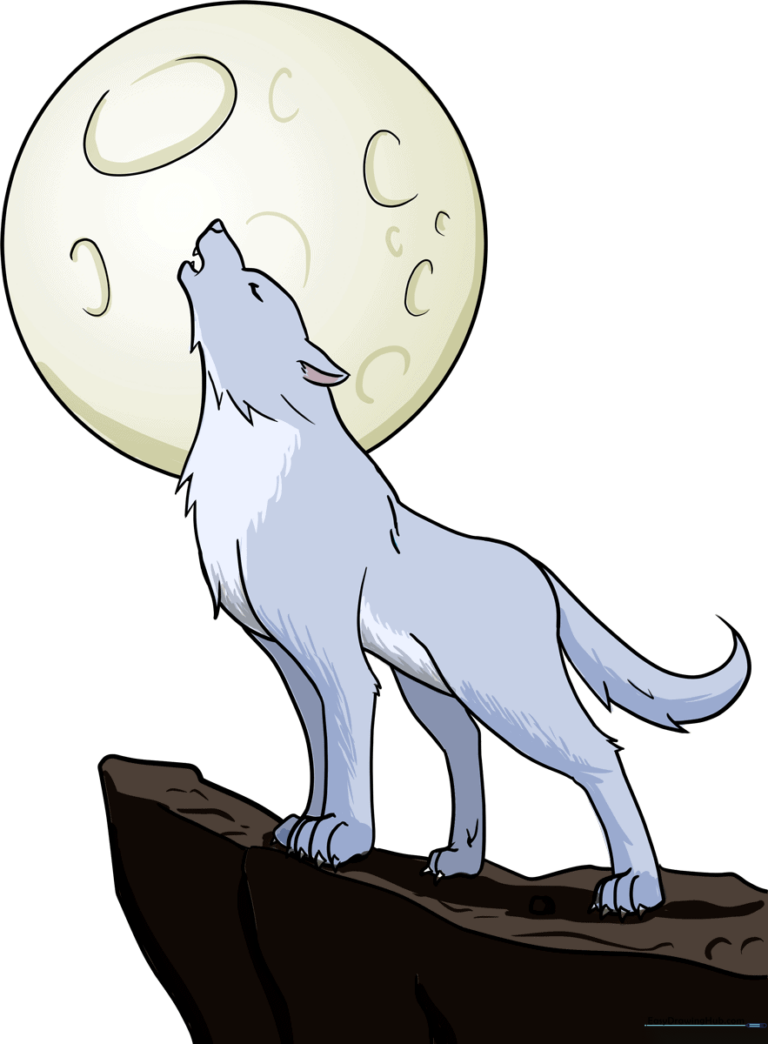
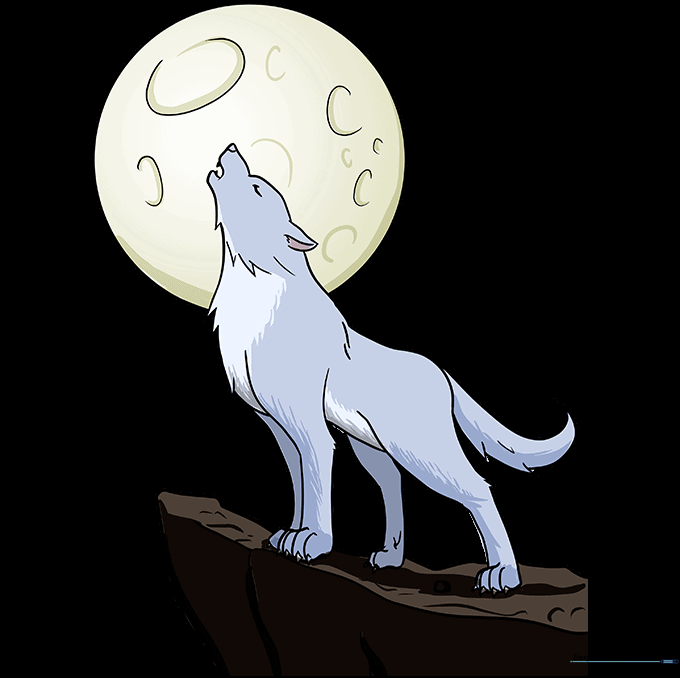
🎯 Final Result
Step-by-Step Instructions
Step 1: Sketching the Base Circles

Lightly draw three circles: a small one for the head, a large one for the chest, and a medium one for the haunches. Teacher's Tip: Keep your pencil pressure very light so these guide lines are easy to erase later!
Step 2: Defining the Head and Neck
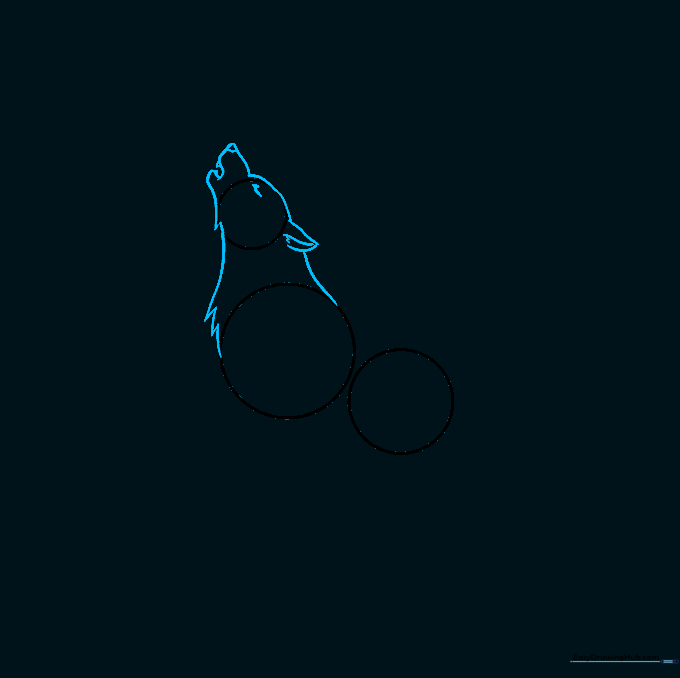
Sketch the forehead, open muzzle, and triangular ear using curved lines. Add jagged, short strokes along the neck to suggest fur texture. Teacher's Tip: Use a 'zigzag' motion with your pencil to make the fur look soft and realistic.
Step 3: Connecting the Body
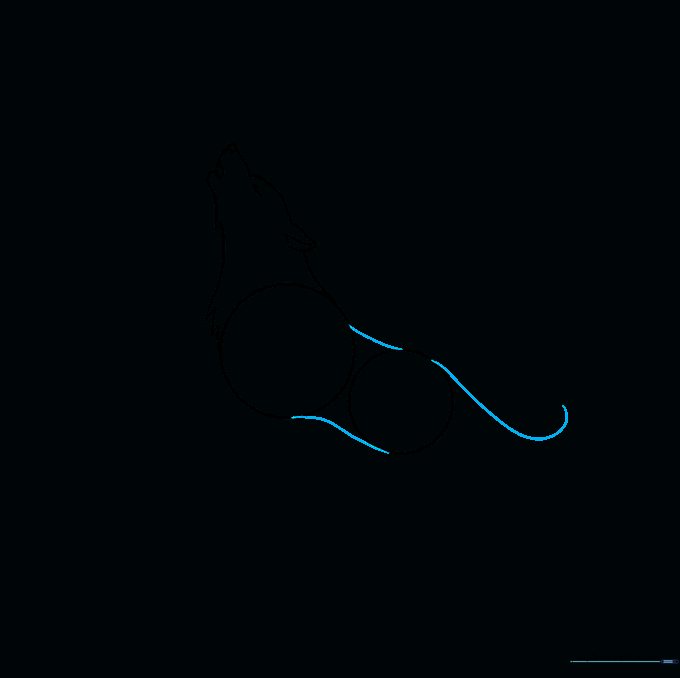
Erase the internal guide lines from the head. Connect the chest and hip circles with smooth, curved lines for the back and belly, then extend a long, sweeping curve for the tail. Teacher's Tip: Think of the back as a gentle 'S' curve.
Step 4: Planning the Legs

Place a smaller circle inside the chest area and three circles below the body to mark the joints. Add small curved lines beneath them for the paws. Teacher's Tip: These are just 'anchors' to keep your proportions balanced.
Step 5: Shaping the Limbs
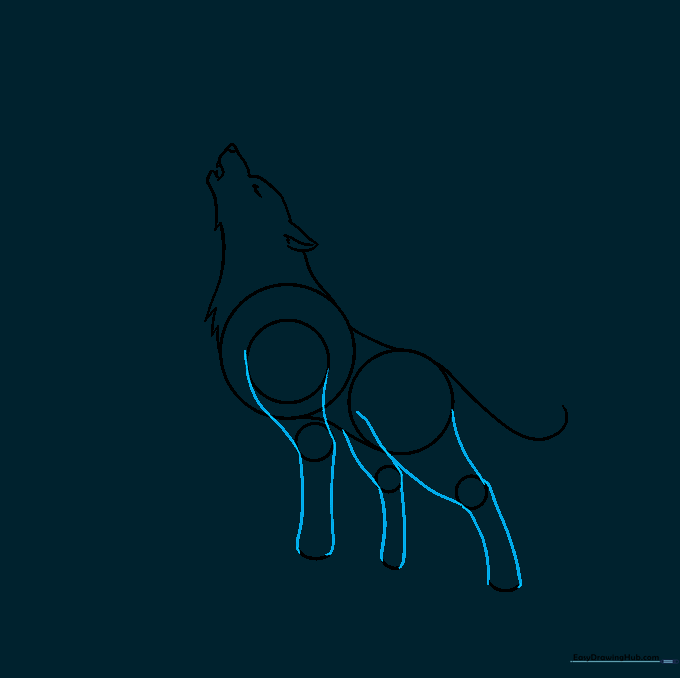
Draw pairs of curved lines connecting your joint circles to form the shoulders, knees, and ankles. Teacher's Tip: Keep the lines slightly tapered to make the legs look strong but agile.
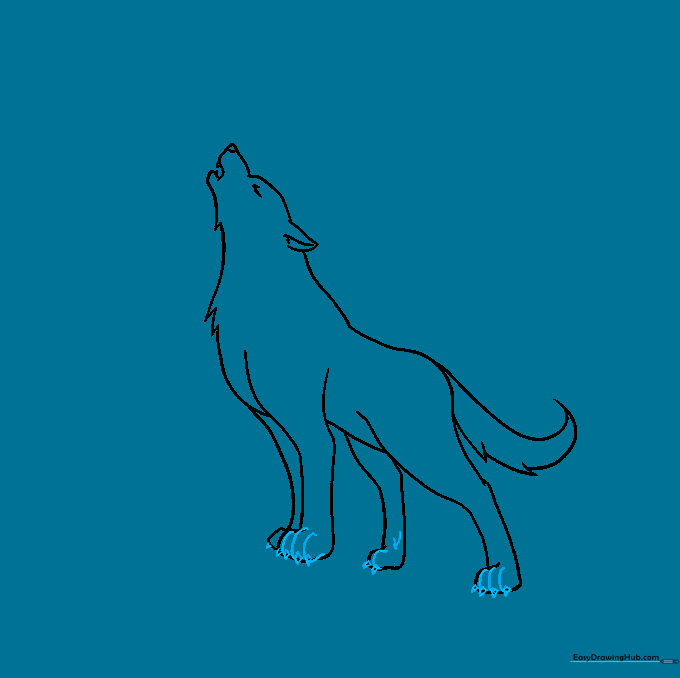
Step 6: Refining the Silhouette
Erase your guide circles. Add jagged, overlapping lines to the tail and paws to create a furry, realistic texture. Teacher's Tip: Don't worry about making every fur stroke perfect; the 'messier' the lines, the more natural the fur looks!
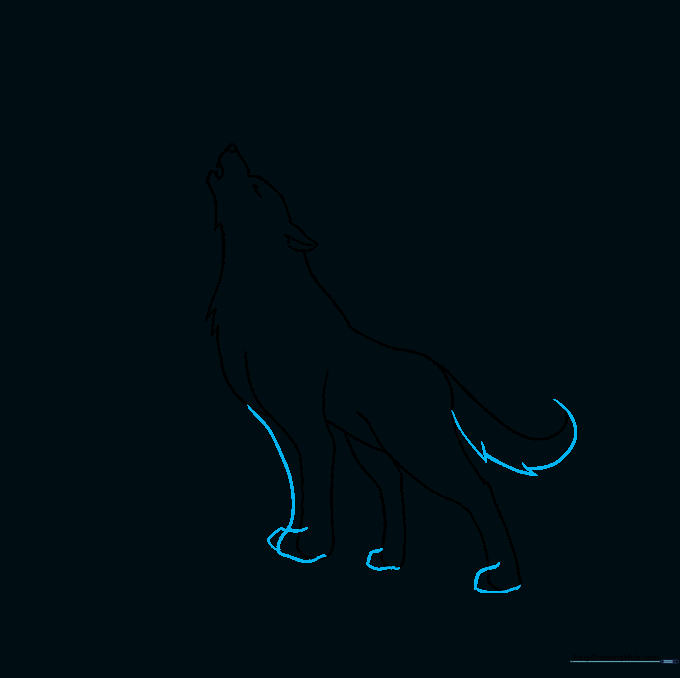
Step 7: Adding Paw Details
Add small curved lines to the toes and a sharp triangular claw at the tip of each. Teacher's Tip: Wolves have strong paws for running; make sure the claws look sturdy.
Step 8: Setting the Scene
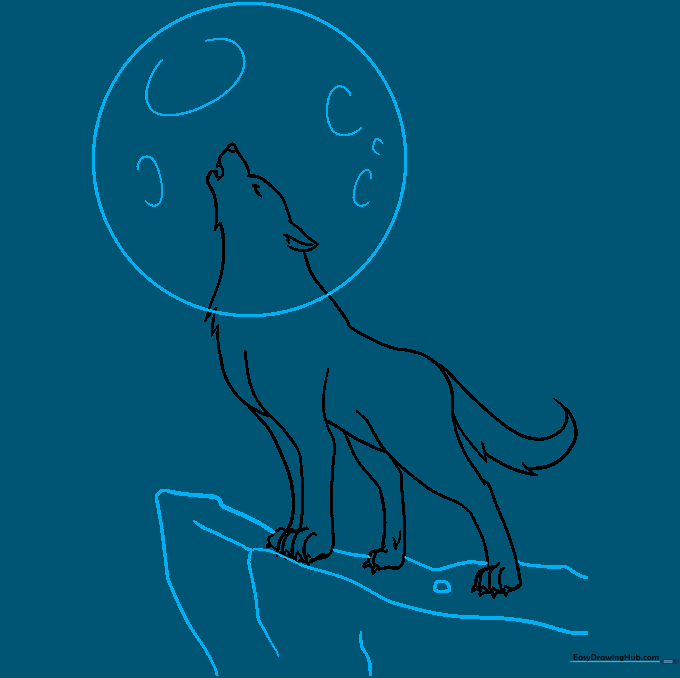
Draw a large circle behind the head for the moon, adding 'C' shaped craters. Sketch a jagged line beneath the wolf to represent a rocky cliff. Teacher's Tip: Vary the size of your 'C' shapes to make the moon look authentic.
Step 9: Final Polish
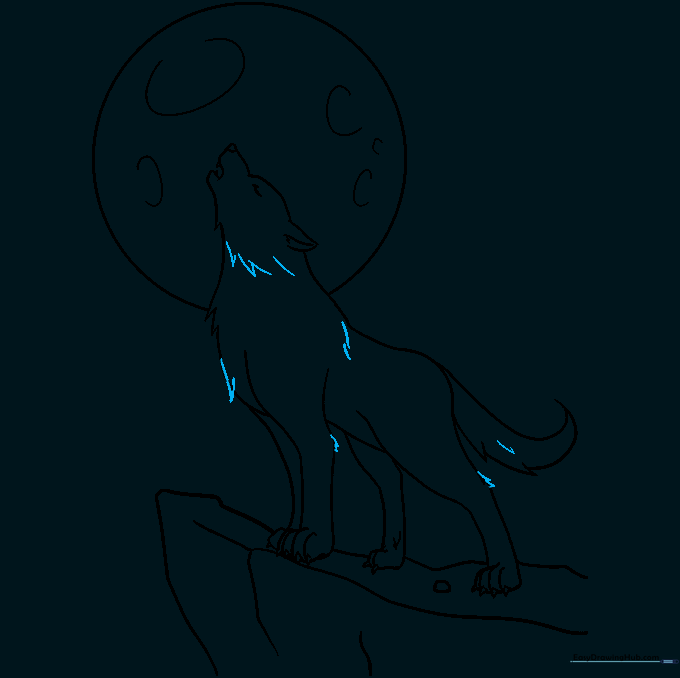
Erase the moon lines that overlap the wolf. Add final fur details at the chest, ankles, and tail to complete the look. Teacher's Tip: Use a darker pencil stroke here to make your wolf stand out against the moon.
Step 10: Bringing Your Wolf to Life
Time to color! Use shades of grey, brown, or black to give your wolf depth. Teacher's Tip: Leave a little white space on the edges to make the fur look like it's catching the moonlight.
More Tutorials


