How to Draw a Wolf Face: Easy 10-Step Guide for Beginners
Ready to bring a wild wolf to life on your page? This tutorial is perfect for young artists ages 6+ looking to master animal features. All you need is a pencil, an eraser, and a piece of paper to start building your wolf's expressive face.
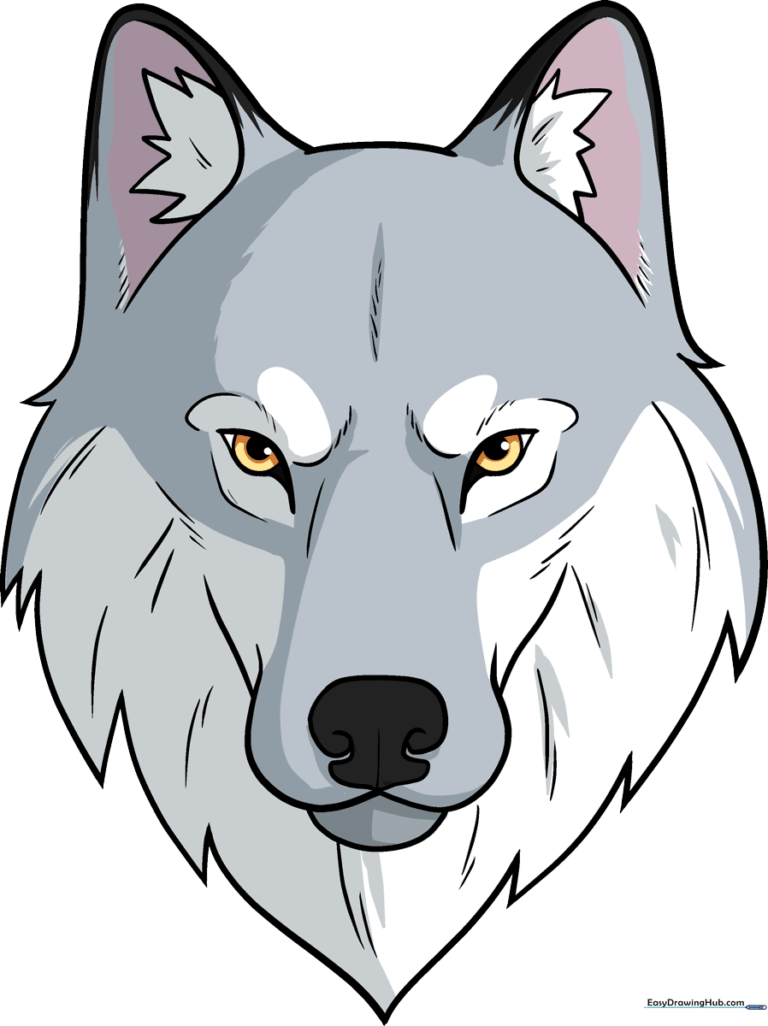
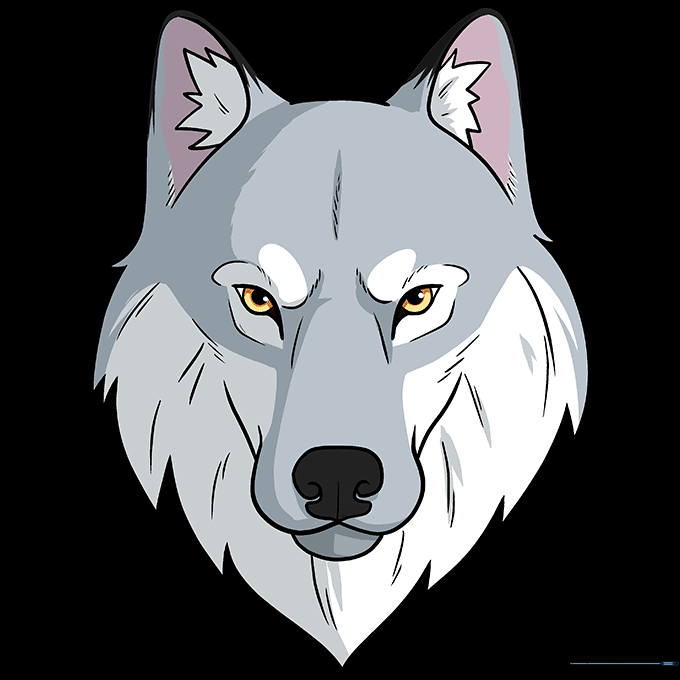
🎯 Final Result
Step-by-Step Instructions
Step 1: Sketching the Expressive Eyes

Draw two downward-curving lines for the upper eyelids. Add a circle beneath each for the iris, and a smaller circle inside for the highlight. Teacher's Tip: Keep the highlight circles uncolored to give your wolf a 'sparkle' of life!
Step 2: Defining the Nose
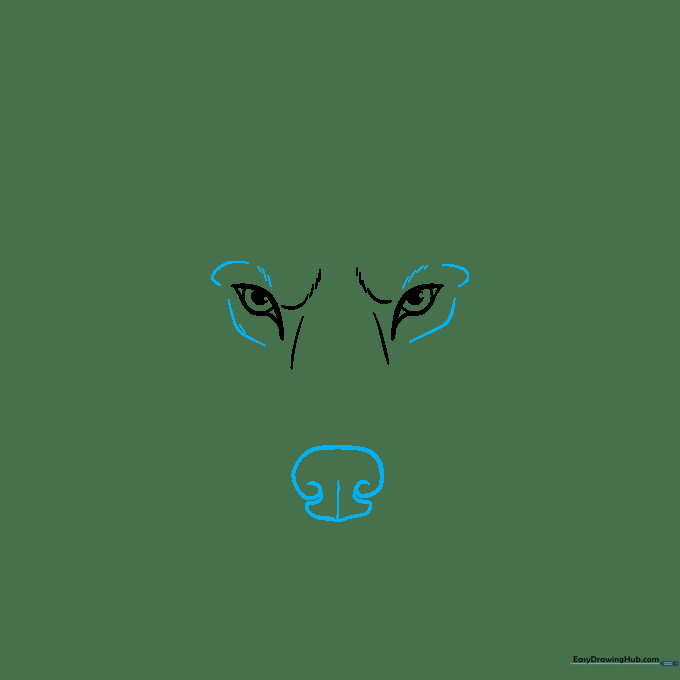
Outline a soft, rounded oval for the nose with a slight curl at each end. Add two small loops underneath for the nostrils. Teacher's Tip: Press lightly with your pencil; you want the nose to look soft, not like a hard geometric shape.
Step 3: Shaping the Snout
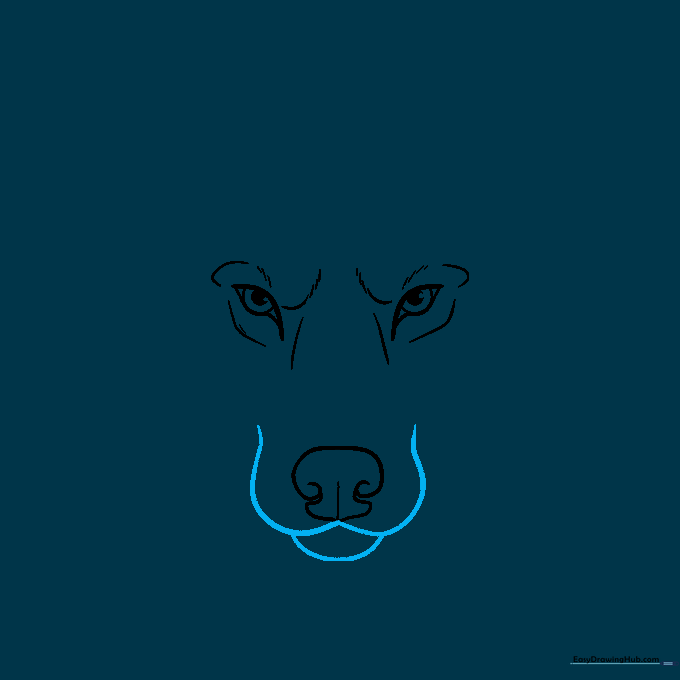
Draw a wide 'W' shape connecting to the nose to form the snout. Add a gentle curve underneath. Teacher's Tip: Think of this as the wolf's 'muzzle'—keep it symmetrical to help the face look balanced.
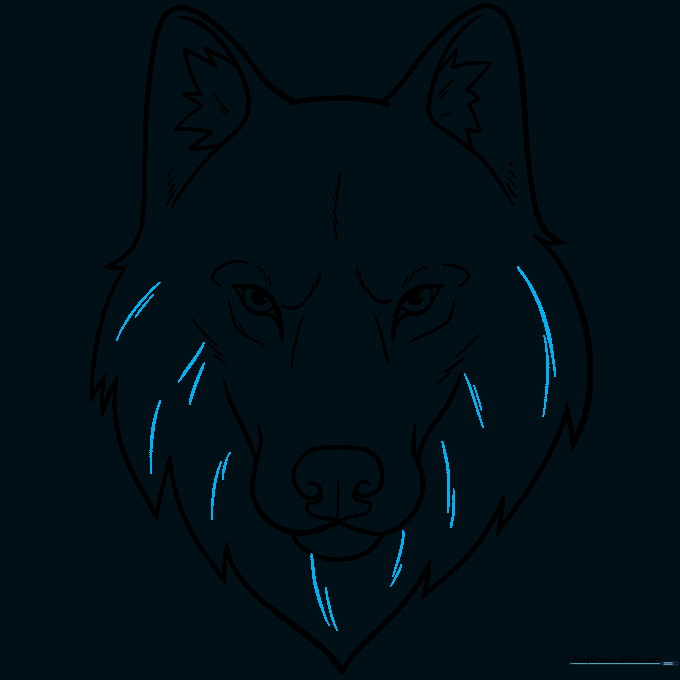
Step 4: Adding Facial Texture
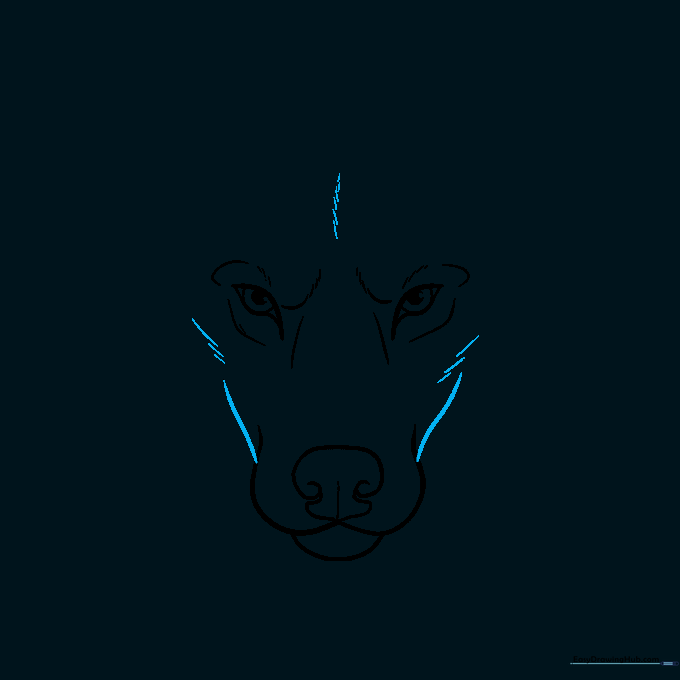
Add short, quick dashes along the sides of the snout and forehead. These represent the wolf's fur. Teacher's Tip: Use short, flicking motions with your pencil to make the fur look realistic rather than like solid lines.
Step 5: Drawing the Ears

Sketch two rounded triangles at the top of the head. Connect them with a soft, arching line. Teacher's Tip: Wolves have alert ears; make sure they point slightly outward to give your wolf a curious expression.
Step 6: Detailing the Inner Ears
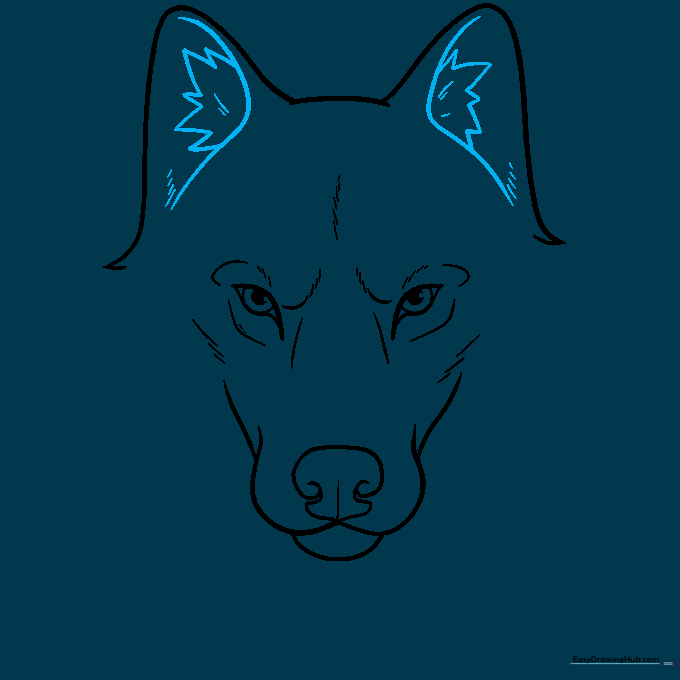
Add an 'L' shape inside each ear, followed by smaller triangles for depth. Add a few more dashes around the base of the ears. Teacher's Tip: The inner ear is where the wolf hears everything—keep these lines clean!
Step 7: Creating the Fur Outline
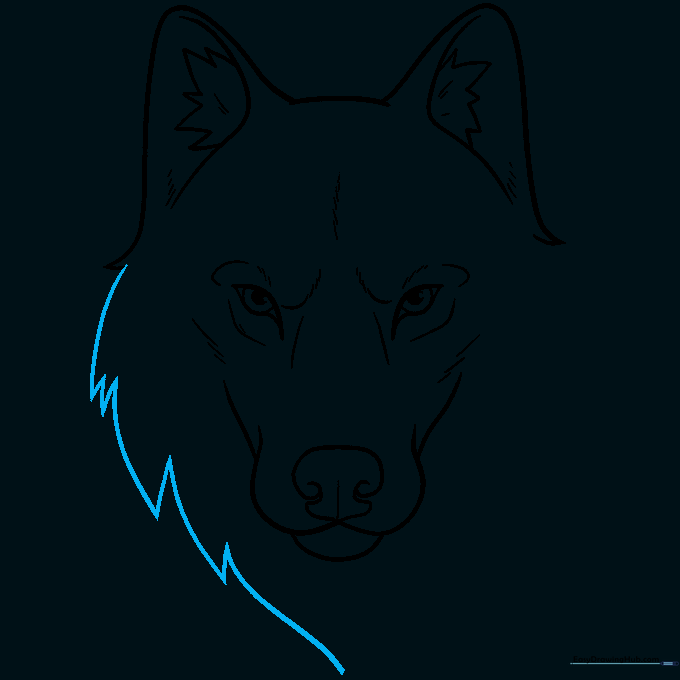
Use long, swooping lines to outline the sides of the face. Make them look like flickering flames. Teacher's Tip: Don't worry about making these lines perfectly smooth; fur is naturally messy and jagged.
Step 8: Completing the Fur Profile
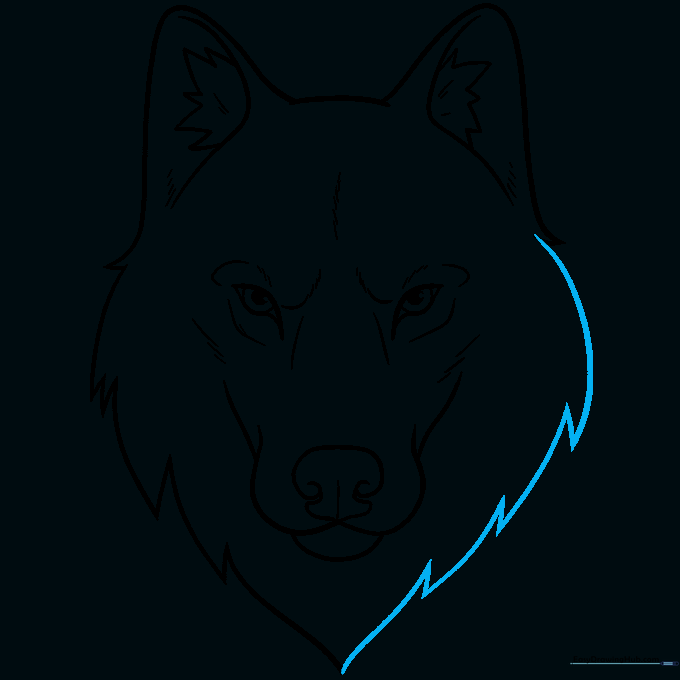
Repeat the flame-like strokes on the other side of the head to complete the silhouette. Teacher's Tip: Check that both sides look roughly the same width to keep the face symmetrical.
Step 9: Final Outlining
Add final texture dashes inside the face. Use a black marker to trace your best lines. Teacher's Tip: Vary your line thickness—press harder for the outer edges and lighter for the inner fur details.
Step 10: Bringing Your Wolf to Life with Color
Color the fur in shades of gray, use yellow for the eyes, and a soft pink for the inner ears. Teacher's Tip: Use a light gray for the muzzle and a darker gray for the ears to create a realistic, multi-tonal look.
More Tutorials


