How to Draw a Witch Hat: Easy 10-Step Guide for Kids
Ready to add some magic to your sketchbook? This tutorial is perfect for young artists ages 5+ to practice drawing curved lines and organic shapes. All you need is a pencil, an eraser, and a piece of paper to bring this iconic Halloween accessory to life.
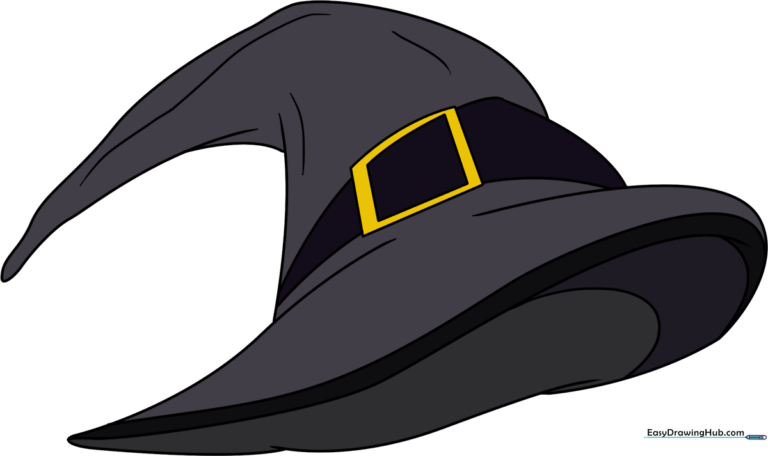
🎯 Final Result
Step-by-Step Instructions
Step 1: Sketching the Brim Base
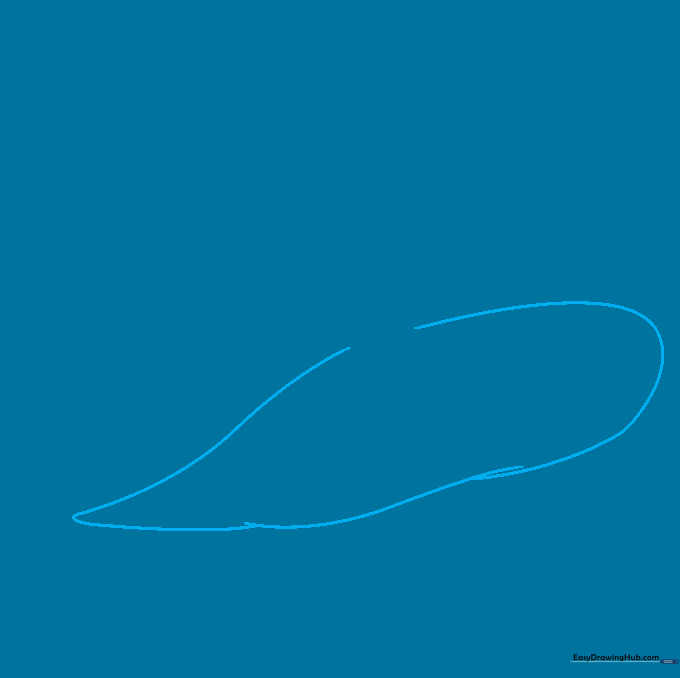
Draw a wide, incomplete teardrop shape to form the base of the hat. Teacher's Tip: Keep your pencil pressure light so you can easily adjust the shape if it looks a bit lopsided.
Step 2: Defining the Front Brim
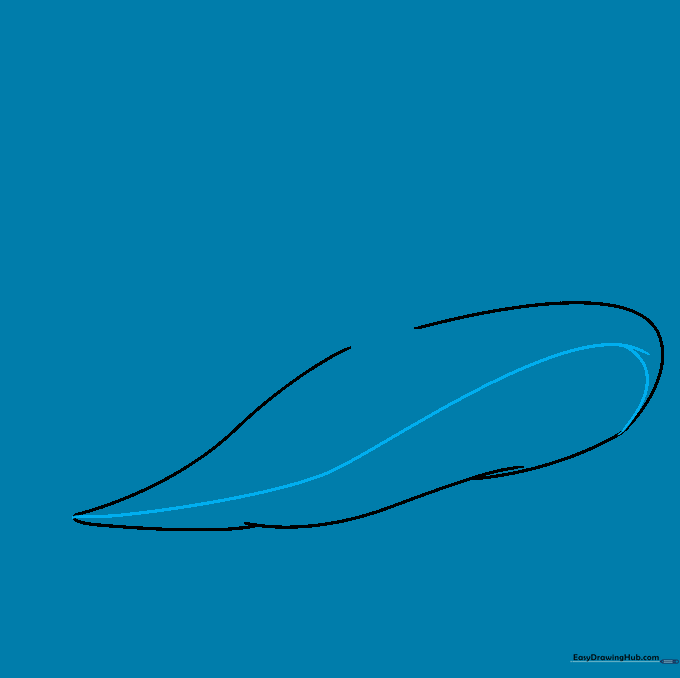
Add a curved line across the shape, following the contour of the bottom edge. Teacher's Tip: Imagine you are drawing a smile that connects the two ends of your teardrop.
Step 3: Adding Depth to the Brim

Draw a second curved line parallel to the first one to create the thickness of the brim. Teacher's Tip: Try to keep the space between the lines consistent for a professional, clean look.
Step 4: Sketching the Crown

Use flowing, curved lines to build the tall, pointed crown of the hat. Teacher's Tip: Don't worry about making it perfectly straight; witch hats are meant to look a bit slouchy and magical!
Step 5: Completing the Crown Shape
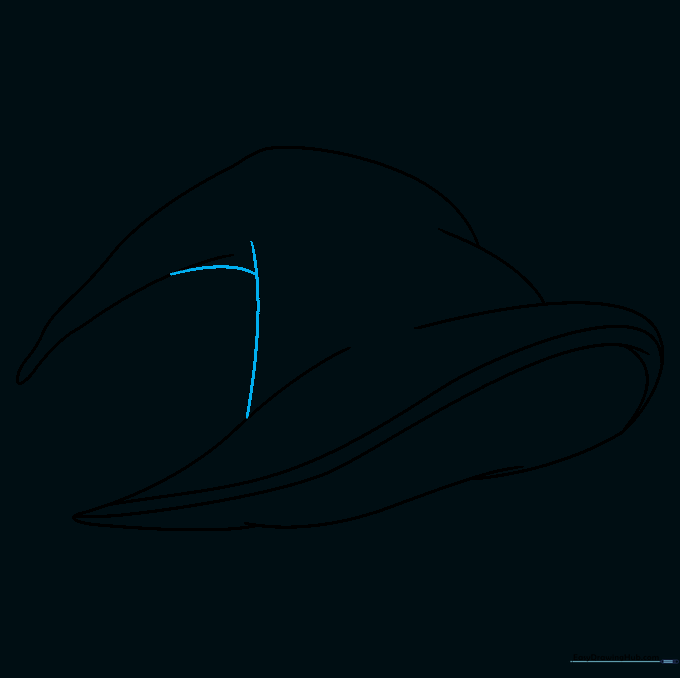
Add the remaining side of the crown with overlapping curved lines. Teacher's Tip: The overlap helps create the illusion that the fabric is folded or bent.
Step 6: Drawing the Hatband
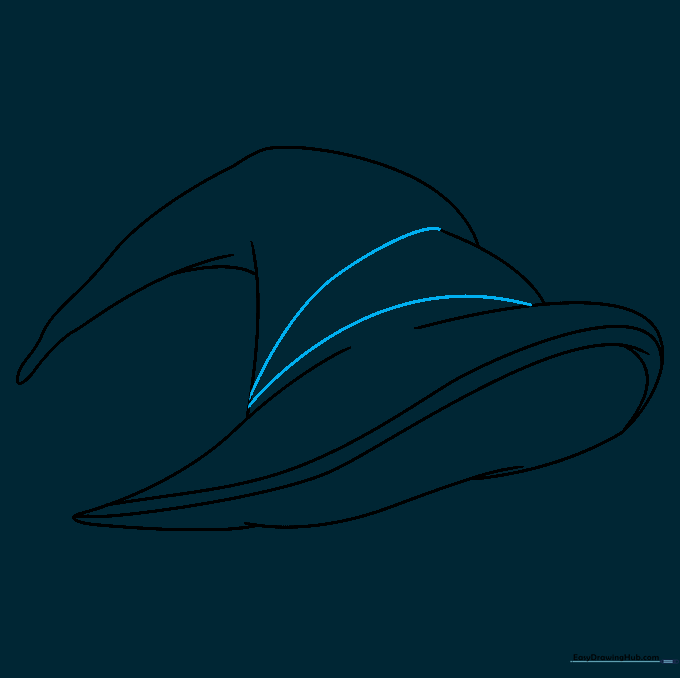
Draw two horizontal curved lines across the base of the crown to create the hatband. Teacher's Tip: Make sure these lines follow the curve of the hat to keep it looking 3D.
Step 7: Adding the Buckle
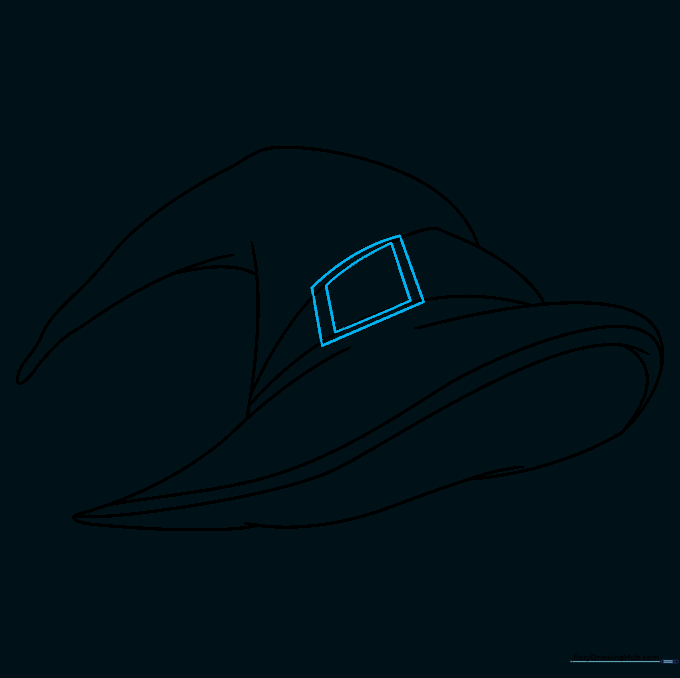
Sketch a small rectangle inside another rectangle on the hatband to form the buckle. Teacher's Tip: A slightly off-center buckle can make the hat look more natural and less stiff.
Step 8: Adding Texture
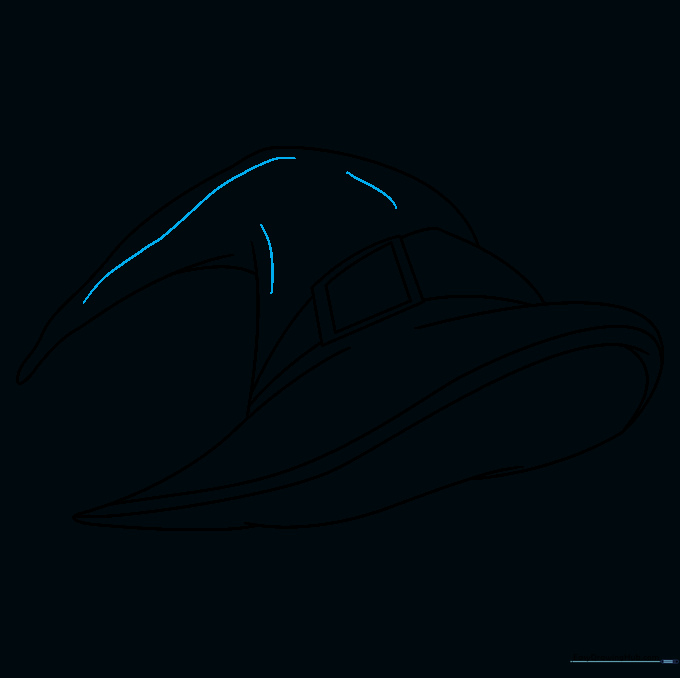
Add a few extra curved lines on the crown to give it a worn, vintage look. Teacher's Tip: Use very light, short strokes to suggest wrinkles in the fabric.
Step 9: Finalizing the Outline

Draw a curved line connecting the brim to the base of the hat to show the underside. Teacher's Tip: This is the final step of the outline—take a moment to erase any stray guide lines.
Step 10: Bringing it to Life with Color

Time to color! Use classic black for the hat and gold for the buckle, or get creative with purple or orange. Teacher's Tip: Use a darker shade of your color near the folds to add shadows and depth.
More Tutorials


