How to Draw a Wine Bottle: Easy 9-Step Drawing Guide
Ready to practice your symmetry and shape-building skills? This tutorial is perfect for artists of all ages looking to draw a classic bottle and glass set. Grab your pencil, eraser, and paper, and let's bring this still-life composition to life together.
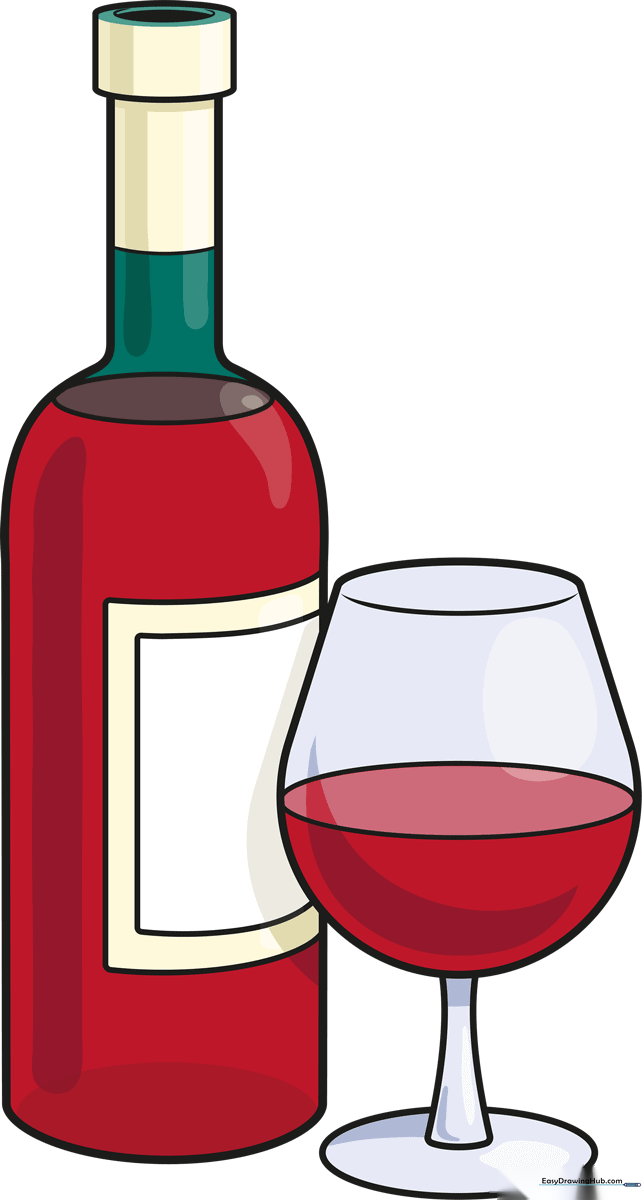
🎯 Final Result
Step-by-Step Instructions
Step 1: Sketching the Bottle Base
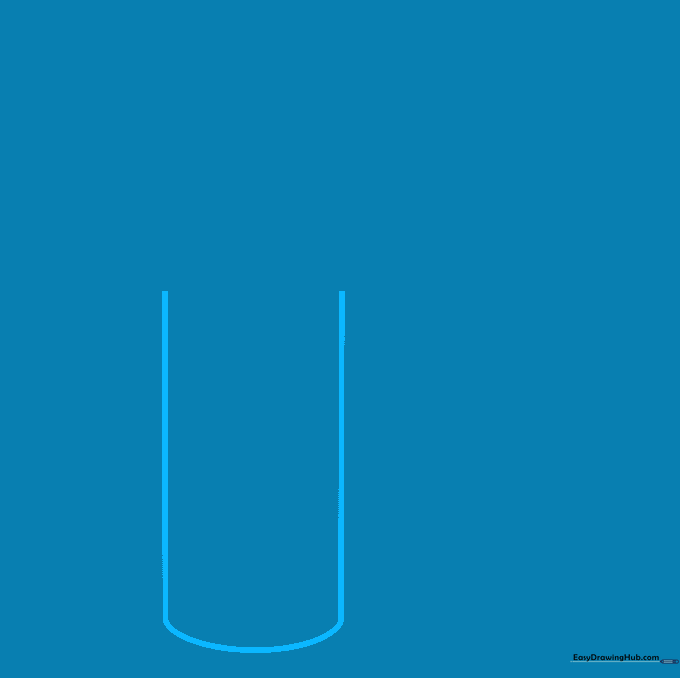
Draw two long, parallel vertical lines to create the body of the bottle. Connect them at the bottom with a gentle curve. Teacher's Tip: Keep your pencil pressure light so you can easily adjust the width if the bottle looks a bit lopsided.
Step 2: Forming the Shoulders and Neck
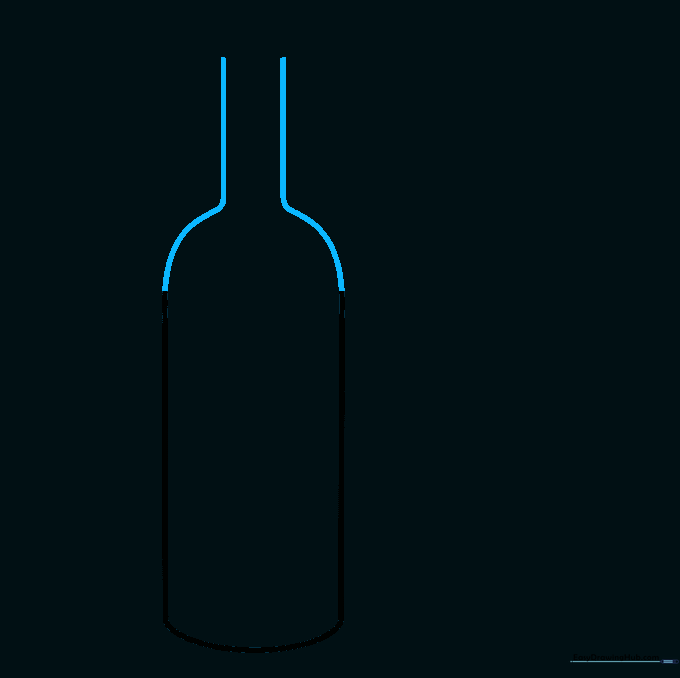
Add curved lines at the top of your vertical lines to create the bottle's shoulders, then draw two straight lines upward for the neck. Teacher's Tip: Try to make the shoulders symmetrical to keep the bottle looking balanced.
Step 3: Defining the Bottle Top
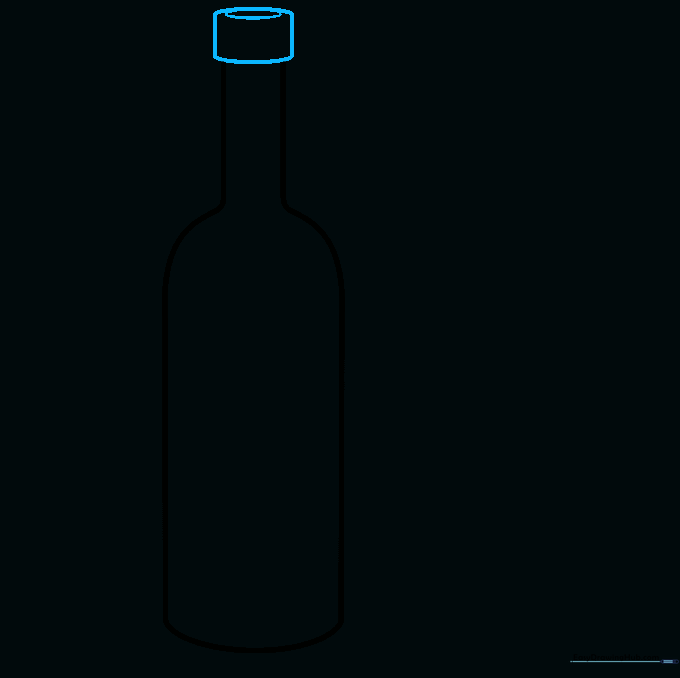
Draw a small, curved rectangular shape at the very top, then add a narrow oval to represent the bottle's opening. Teacher's Tip: Think of this as the 'lip' of the bottle; keep the lines smooth to show the glass texture.
Step 4: Adding Details and Liquid Levels
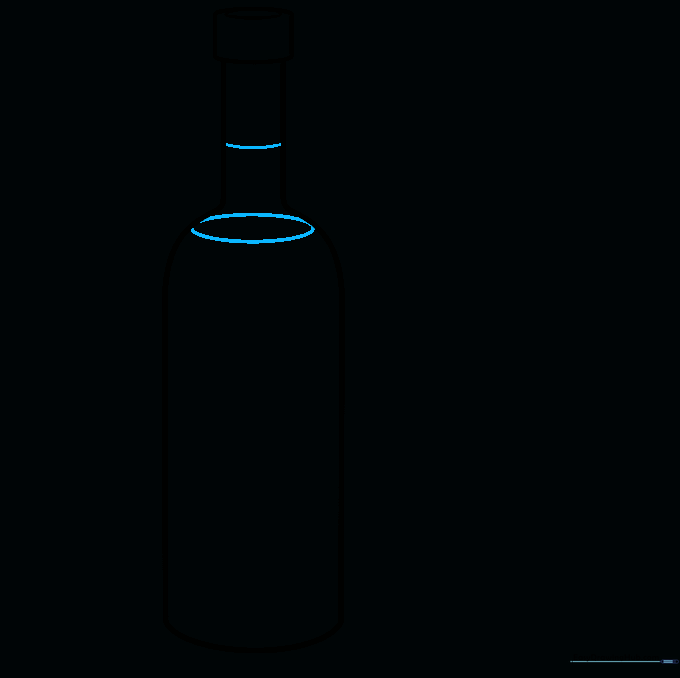
Draw a horizontal line across the neck for the cork and a narrow oval on the shoulder to show the liquid level. Teacher's Tip: The oval for the liquid should be slightly curved to suggest depth inside the bottle.
Step 5: Designing the Label
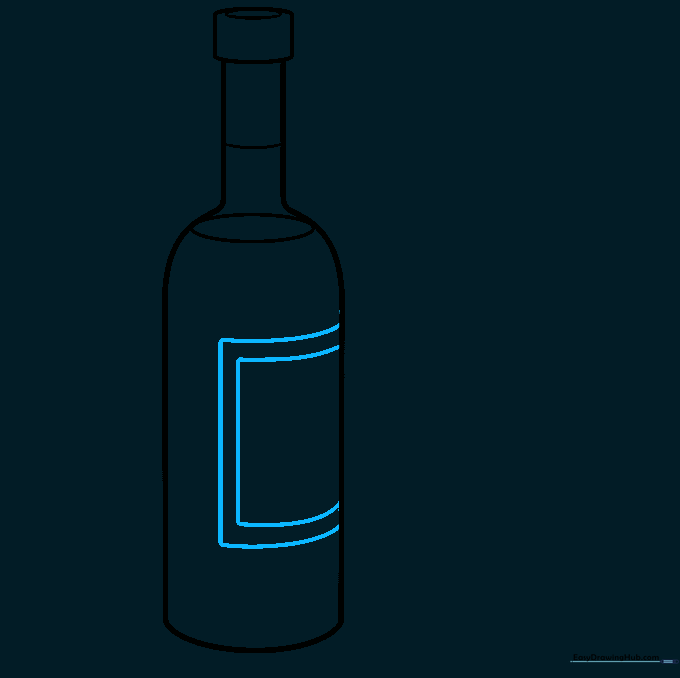
Sketch two nested rectangles on the front of the bottle to create a label. Teacher's Tip: You can get creative here! Once you finish the drawing, write a fun name or draw a small symbol inside the label.
Step 6: Starting the Wine Glass
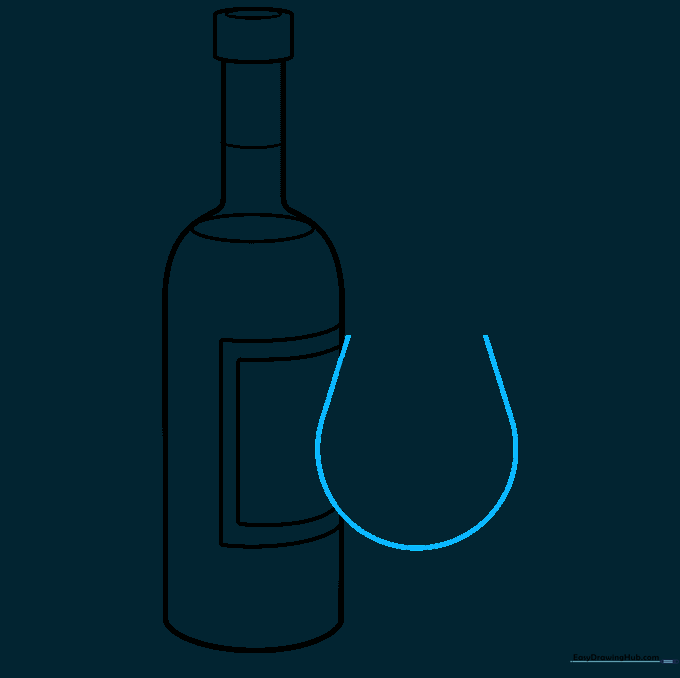
Draw a large 'U' shape next to your bottle for the glass bowl. Erase any overlapping lines to make the glass look like it's sitting in front of the bottle. Teacher's Tip: Use a light touch with your eraser so you don't smudge the bottle lines.
Step 7: Adding Glass Details
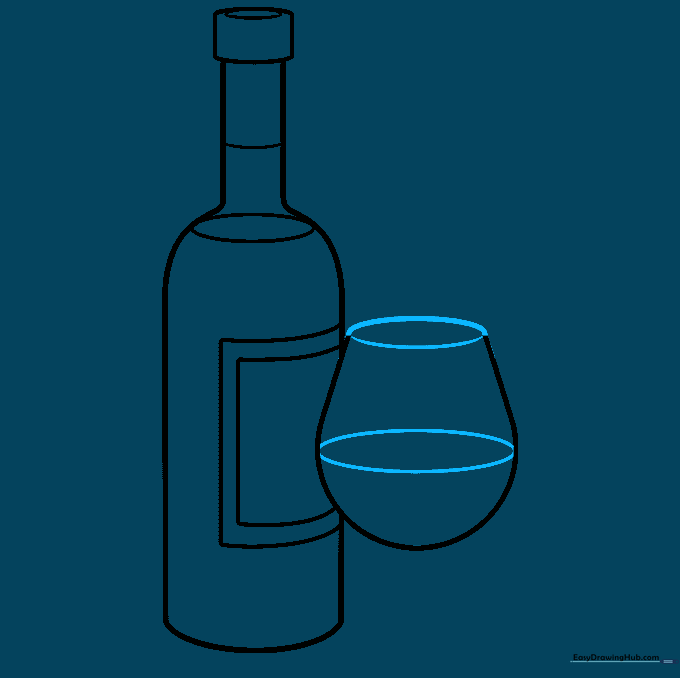
Add an oval at the top for the rim and another inside the bowl to show the wine level. Teacher's Tip: Keep these ovals narrow to maintain the perspective of looking at the glass from the side.
Step 8: Drawing the Stem
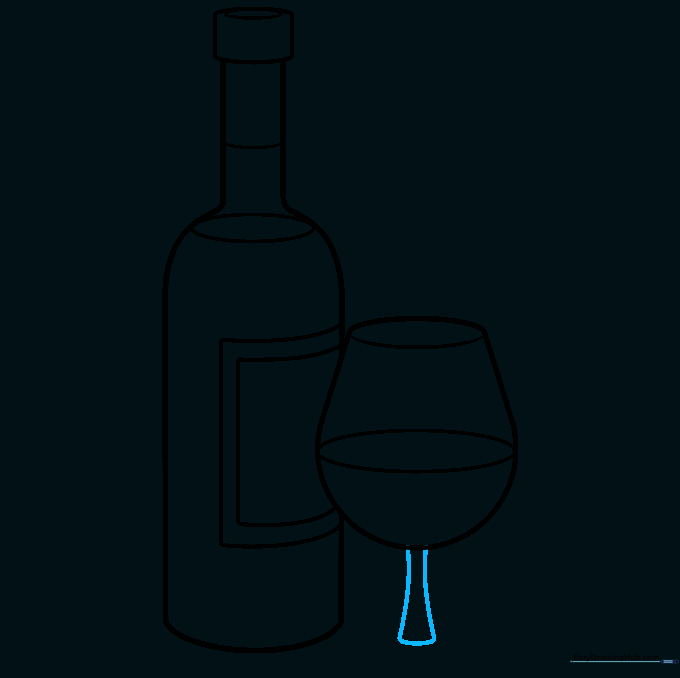
Extend two curved lines downward from the bowl to create the stem. Teacher's Tip: Make sure the stem is centered under the bowl so the glass looks stable.
Step 9: Completing the Base
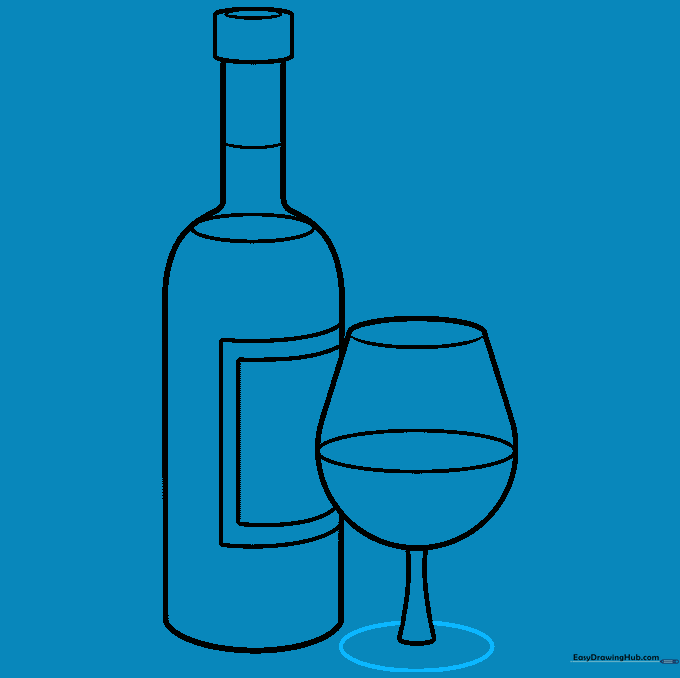
Draw a flat oval at the bottom of the stem to form the base of the glass. Teacher's Tip: A wider base makes the glass look more grounded and realistic.
Step 10: Adding Color
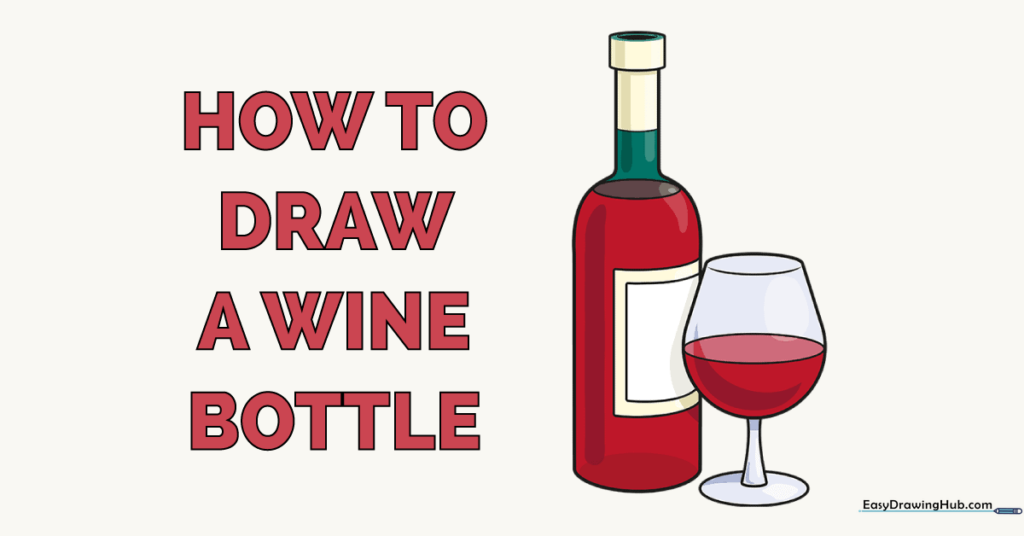
Bring your drawing to life with color! Use deep reds for red wine, soft yellows for white wine, or a pretty pink for rosé. Teacher's Tip: Use light, circular strokes when coloring to keep the texture smooth.
More Tutorials


