How to Draw a Windmill: Easy 10-Step Guide for Kids
Bring a touch of the countryside to your sketchbook with this fun windmill drawing project. Designed for ages 5 and up, this activity helps young artists practice geometric shapes and spatial planning. All you need is a pencil, an eraser, and your favorite coloring supplies to get started.
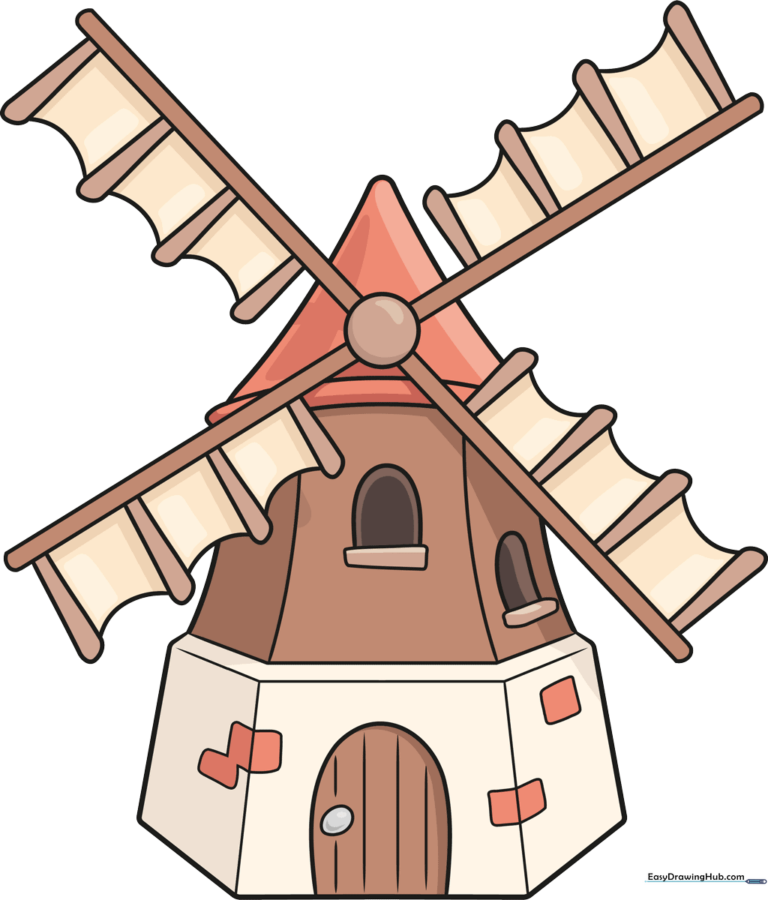
🎯 Final Result
Step-by-Step Instructions
Step 1: Sketching the Sail Hub

Start by drawing a small circle in the center of your page to act as the hub. Extend four pairs of parallel lines outward like an 'X' to form the sail stocks. Teacher's Tip: Use a light touch here; these lines are just the skeleton for your sails.
Step 2: Adding Sail Supports

Extend four straight lines from each sail stock and double them back to reconnect. This creates the inner frame. Teacher's Tip: Try to keep the spacing consistent between these lines to make the sails look uniform.
Step 3: Building the Sail Structure
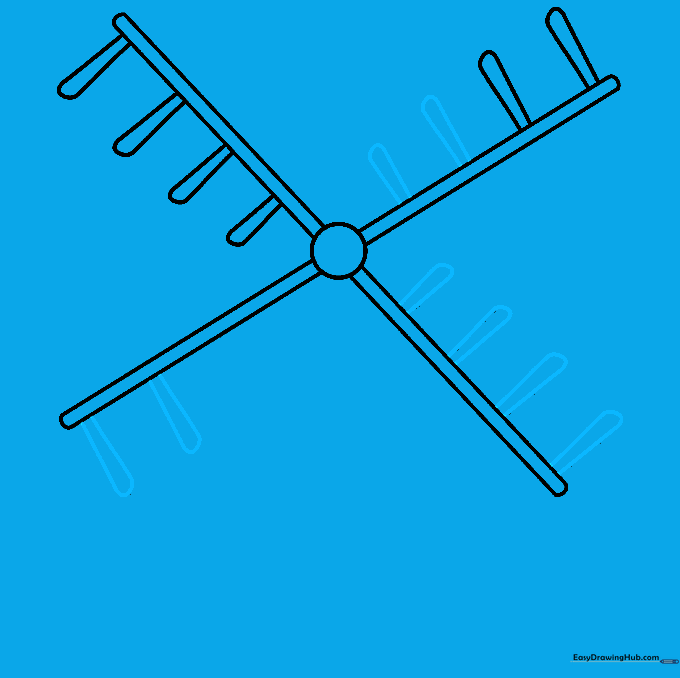
Repeat the process from the previous step to add a second set of sail supports. This adds depth to your drawing. Teacher's Tip: If your lines aren't perfectly straight, don't worry—windmills are rustic structures!
Step 4: Defining the Sail Edges
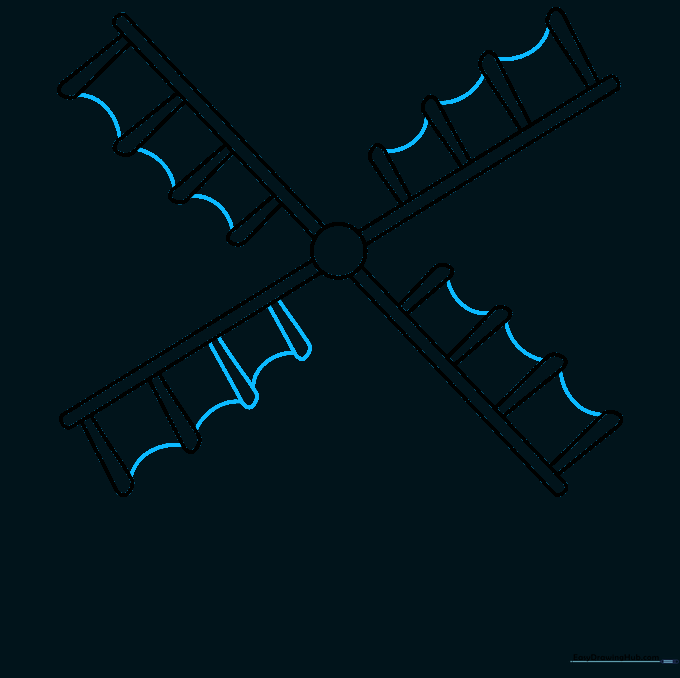
Finish the sail supports and add curved lines connecting them to create the 'whips' or trailing edges. Teacher's Tip: Use a smooth, continuous motion for these curves to give the sails a sense of movement.
Step 5: Sketching the Tower Roof

Draw a curved triangular shape behind the sails to form the roof. Add a parallel line at the bottom and extend two lines downward for the walls. Teacher's Tip: Imagine the roof is a hat sitting on top of the tower.
Step 6: Completing the Tower Base
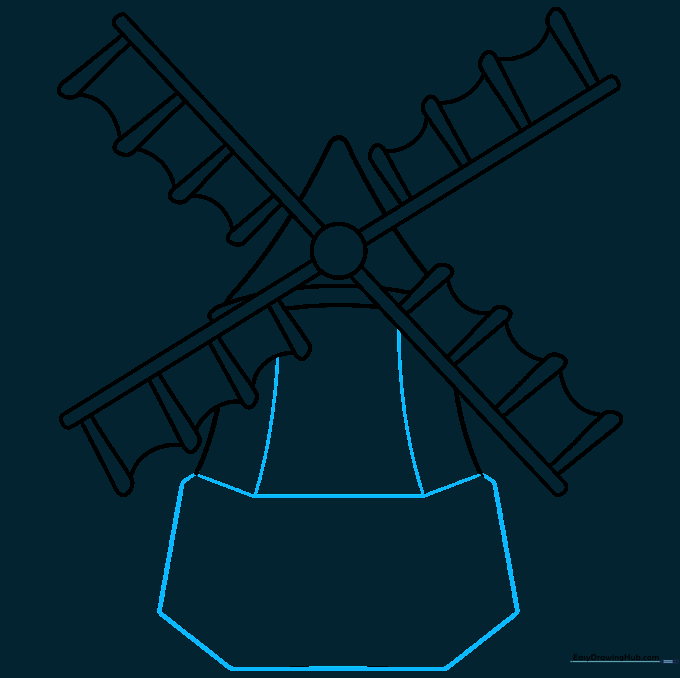
Extend the walls downward and connect them with a foundation shape. Use five straight lines to create a sturdy base. Teacher's Tip: A wider base makes the windmill look more realistic and grounded.
Step 7: Adding the Door
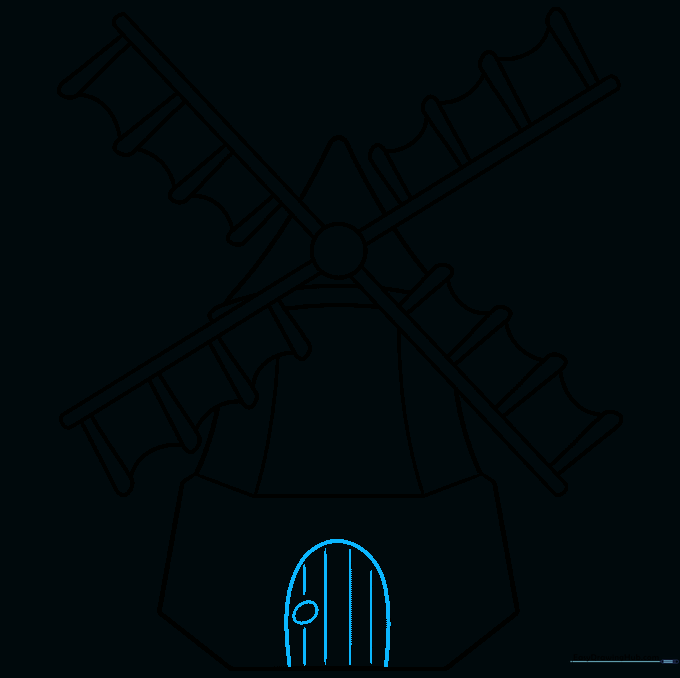
Draw an inverted 'U' shape for the door, add a small oval handle, and vertical lines for the wooden planks. Teacher's Tip: Vary the spacing of your vertical lines to make the wood look authentic.
Step 8: Drawing Windows
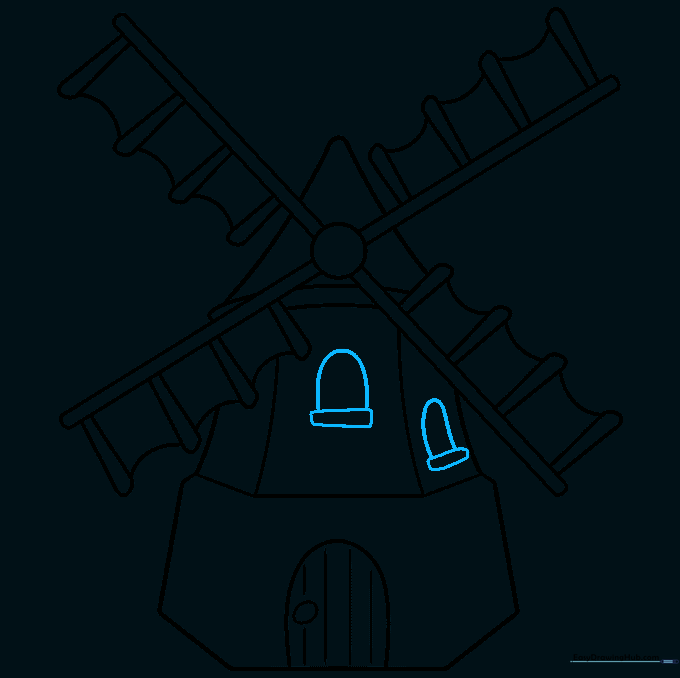
Add rectangular sills and inverted 'U' shaped windows on the tower. Teacher's Tip: Keep the windows aligned vertically to maintain the structure's balance.
Step 9: Adding Texture
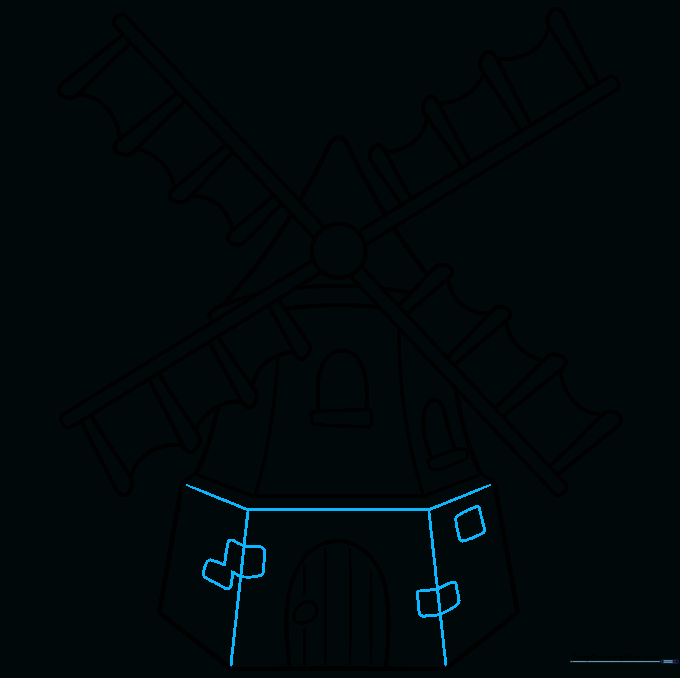
Add parallel lines to the foundation and draw small rectangles to represent brickwork. Teacher's Tip: Don't make every brick perfect; slight variations make the drawing look more natural.
Step 10: Bringing it to Life with Color

Time to color! Use earthy browns and creams for the wood, and grey for the stone foundation. Teacher's Tip: Use a darker shade of brown to add shadows under the sails for a 3D effect.
More Tutorials


