How to Draw a Wind Turbine: Easy 5-Step Guide for Kids
Bring clean energy to your sketchbook! This tutorial is designed for young artists ages 5 and up to practice geometric shapes and perspective. Grab a pencil, eraser, and paper to start building your own sustainable landscape.
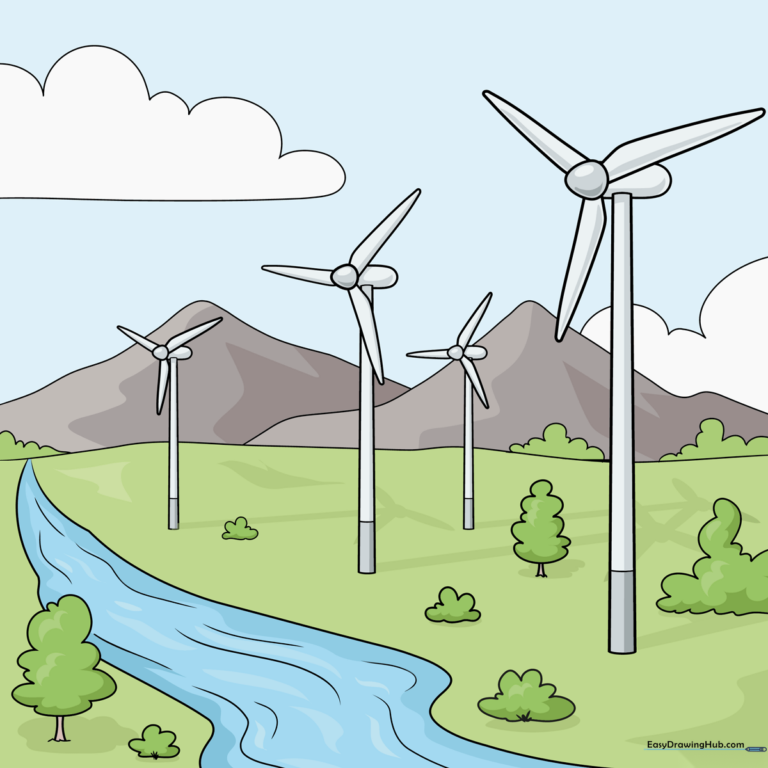
🎯 Final Result
Step-by-Step Instructions
Step 1: Sketching the Turbine Hub

Draw a small circle to serve as the center hub. From this point, extend three curved lines outward. Tip: Keep these lines light; they act as the skeleton for your blades.
Step 2: Defining the Blades and Tower
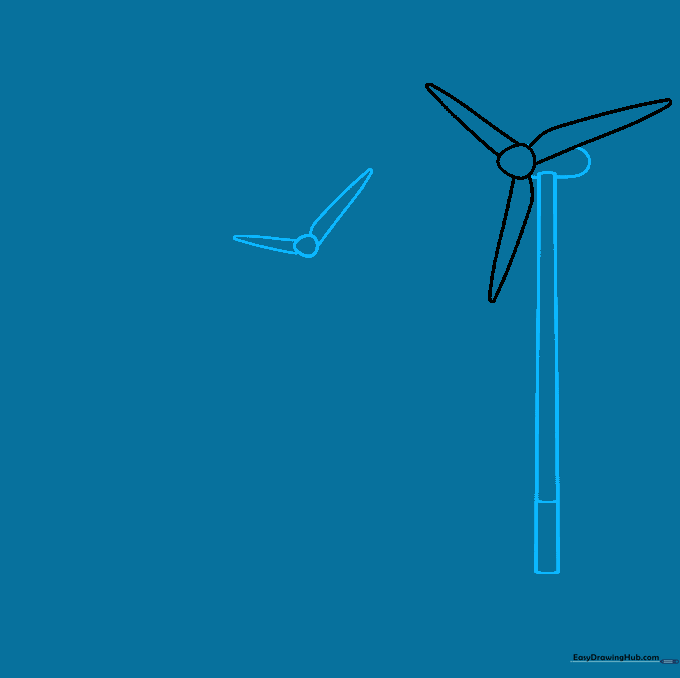
Double back each line to create the thickness of the blades. Below the turbine, draw two parallel vertical lines for the tower. Tip: Use a ruler if you want the tower to look perfectly straight!
Step 3: Adding the Engine Compartment

Draw an oval shape behind the hub to represent the engine housing. Add a horizontal line at the base of the tower to ground it. Tip: This oval adds depth, making your turbine look 3D.
Step 4: Refining the Structure
Clean up your lines by connecting the turbine to the tower with a smooth curve. Ensure the base of the tower is firmly anchored with a small rectangular band. Tip: Erase any overlapping lines inside the tower to make it look solid.
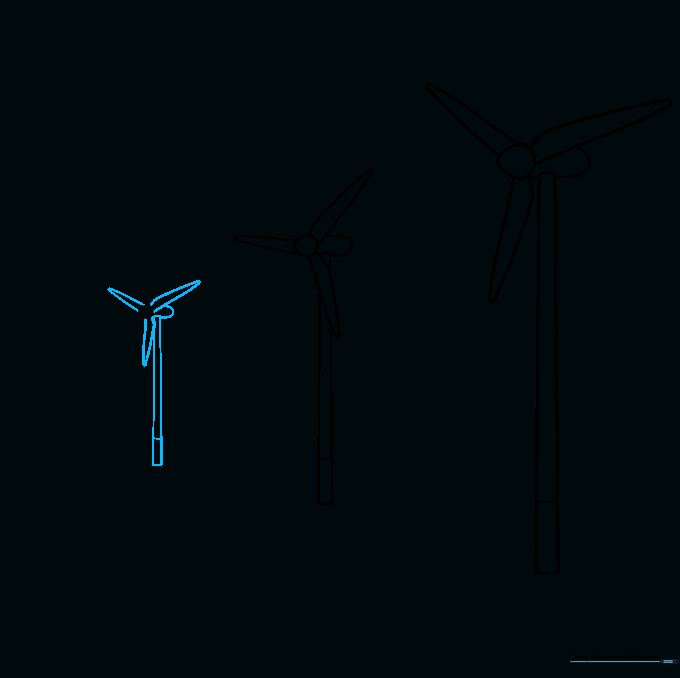
Step 5: Creating Distance
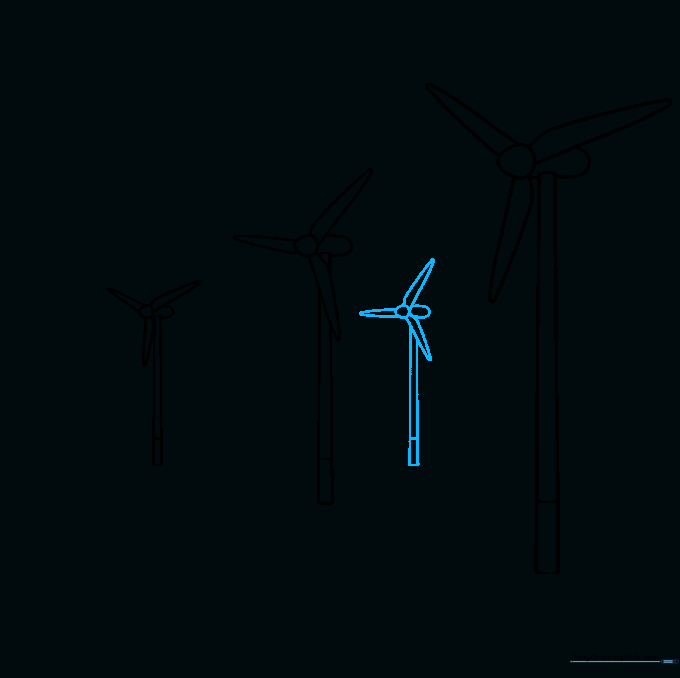
Draw a smaller turbine in the background to show perspective. By drawing it smaller and higher up on the page, it will look like it's further away. Tip: Use less pressure on your pencil for background objects.
Step 6: Adding the Landscape
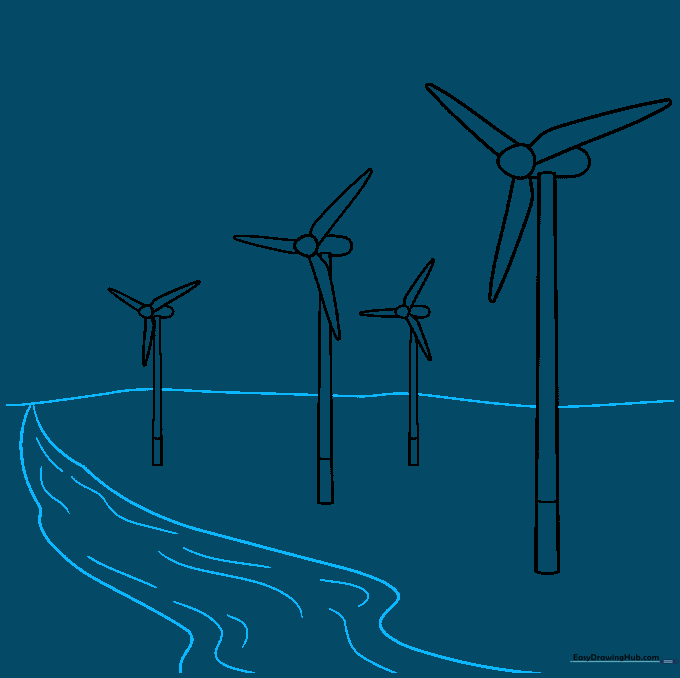
Draw a curved line across the bottom for the ground. Add a winding river in front using wavy lines. Tip: Use short, quick strokes for the water to give it a sense of movement.
Step 7: Adding Trees and Scale
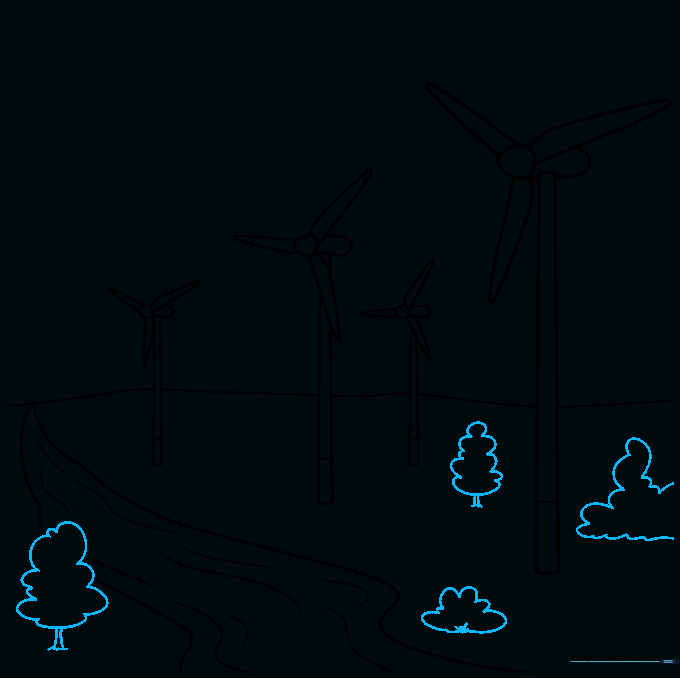
Draw small trees and bushes at the base of the turbines. Remember, real turbines are massive—about 295 feet tall! Tip: Keep the trees small to emphasize the height of the turbines.
Step 8: Filling the Horizon
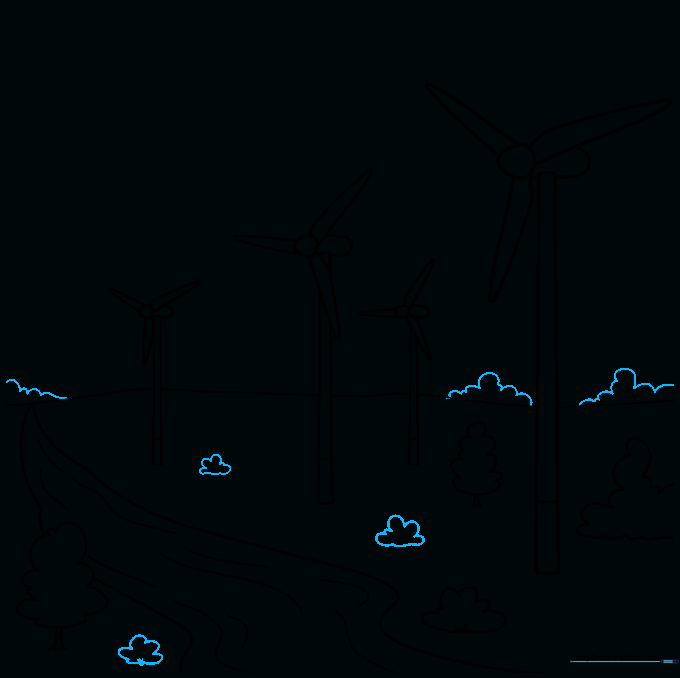
Add more clusters of trees along the horizon line. Tip: Vary the sizes of the trees to make the landscape look natural and organic.
Step 9: Final Landscape Details
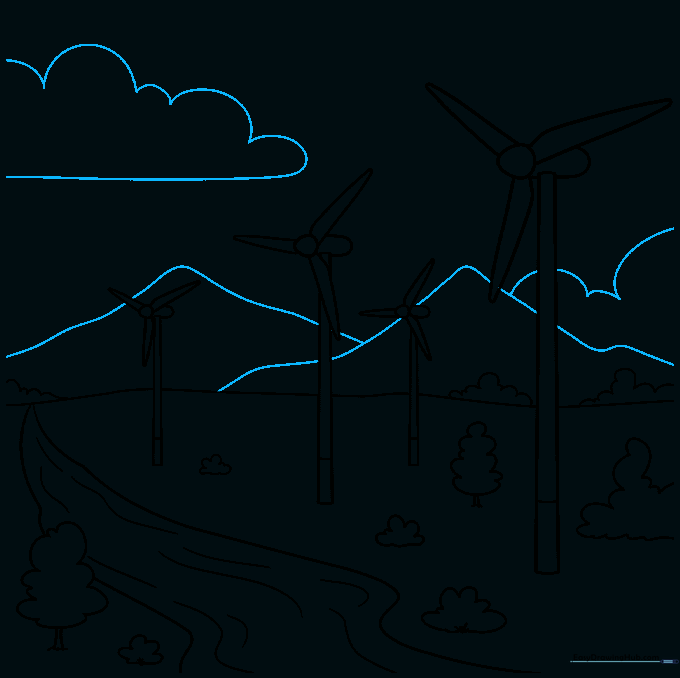
Add mountains in the distance using triangular shapes and fluffy clouds using soft, rounded lines. Tip: Keep the clouds light so they don't distract from the turbines.
Step 10: Adding Color
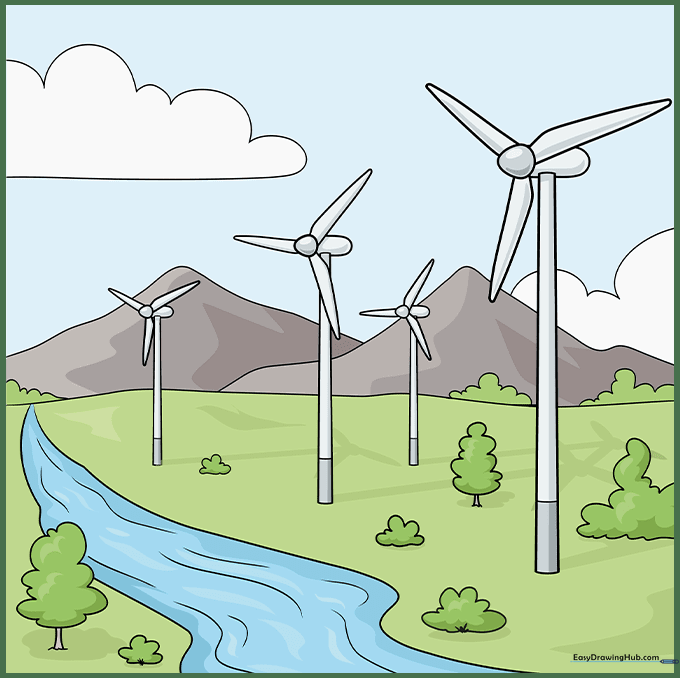
Bring your drawing to life! Use white or light grey for the turbines, and vibrant greens and blues for the landscape. Tip: Use a light blue for the sky to make the white turbines stand out.
More Tutorials


