How to Draw a Watermelon Slice: Easy 10-Step Guide
Looking for a fun, screen-free activity? This watermelon slice tutorial is perfect for young artists ages 5 and up. You only need a pencil, an eraser, and some markers or crayons to bring this summer treat to life while practicing basic geometric shapes.
🎯 Final Result

Step-by-Step Instructions
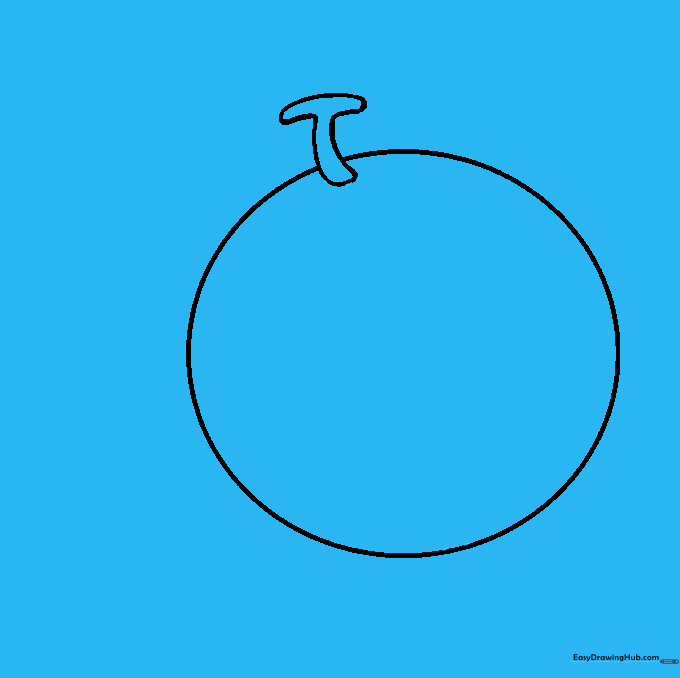
Step 1: Sketching the Base

Draw a light circle to act as your guide for the whole watermelon. Teacher's Tip: Keep your pencil pressure very light here; this is just a 'ghost' shape that we will build upon.
Step 2: Adding the Stem

Draw a small 'T' shape at the top of your circle. This will be the stem. Tip: Don't worry about perfection; nature is rarely perfectly symmetrical!
Step 3: First Stripes
Add two wavy lines extending from the stem. Let them meet in a sharp point near the edge. These are your first watermelon stripes.
Step 4: Adding More Stripes

Draw two more stripes, one starting from the stem and one from the bottom. Tip: Vary the length of your stripes to make the melon look more realistic.
Step 5: Filling the Melon
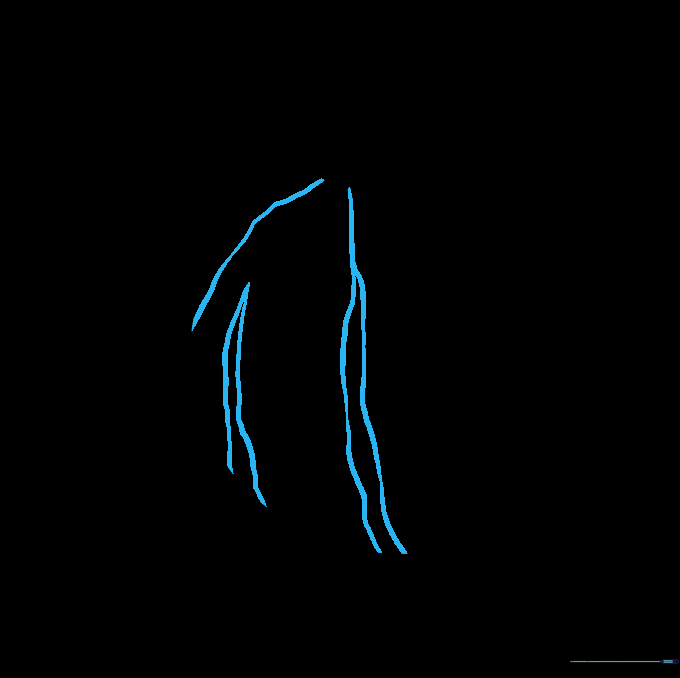
Continue adding stripes until the surface of the melon is covered. Remember, watermelon stripes are irregular, so have fun with the shapes!
Step 6: Drawing the Slice

Draw a wide 'U' shape that overlaps the melon. Connect the ends with a straight line. This creates the 'cut' look of the slice.
Step 7: Adding Depth

Add a curved line from the corner to the bottom of the slice to give it a 3D, chunky appearance.
Step 8: Cleaning Up

Carefully erase the guide lines from behind the slice. Tip: Use a clean eraser and brush away the crumbs so you don't smudge your work.
Step 9: Adding Rind and Seeds
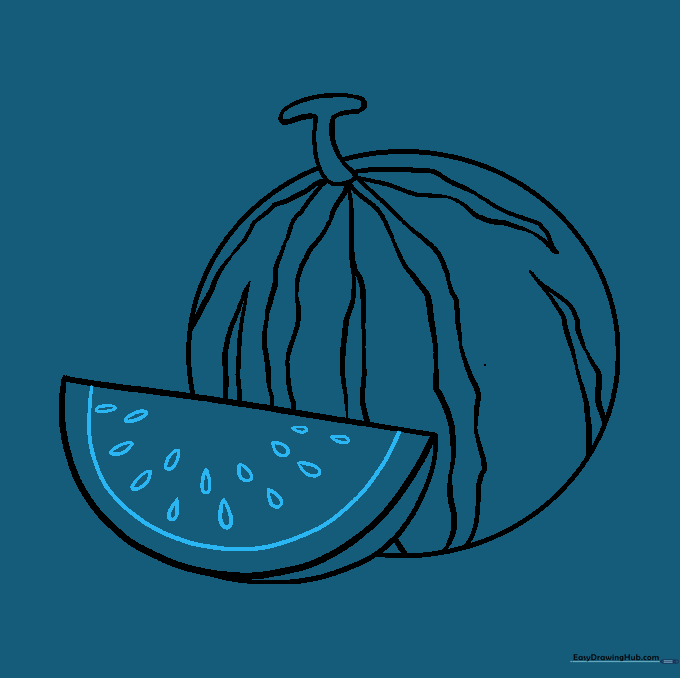
Draw a parallel line inside the slice for the rind. Add teardrop-shaped seeds pointing toward the center. Tip: Don't make the seeds too uniform; they look best when scattered naturally.
Step 10: Bringing it to Life with Color
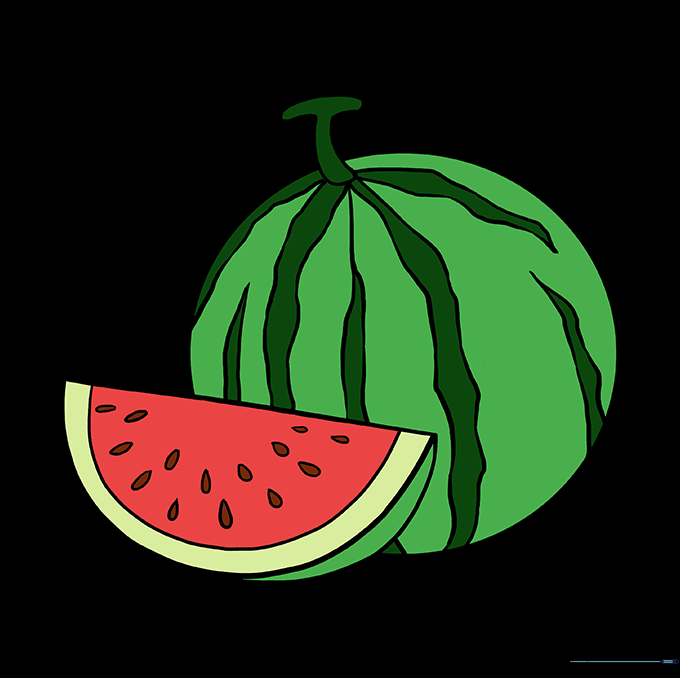
Color the rind green and the fruit a bright, juicy pink or red. Use dark green for the stripes on the outside. Your watermelon is ready!
More Tutorials


