How to Draw a Water Bottle: Easy 10-Step Guide
This step-by-step tutorial is perfect for young artists ages 5+ looking to master simple shapes. All you need is a pencil, an eraser, and your favorite markers or crayons. Follow along to practice your line control and learn how to add depth to everyday objects.
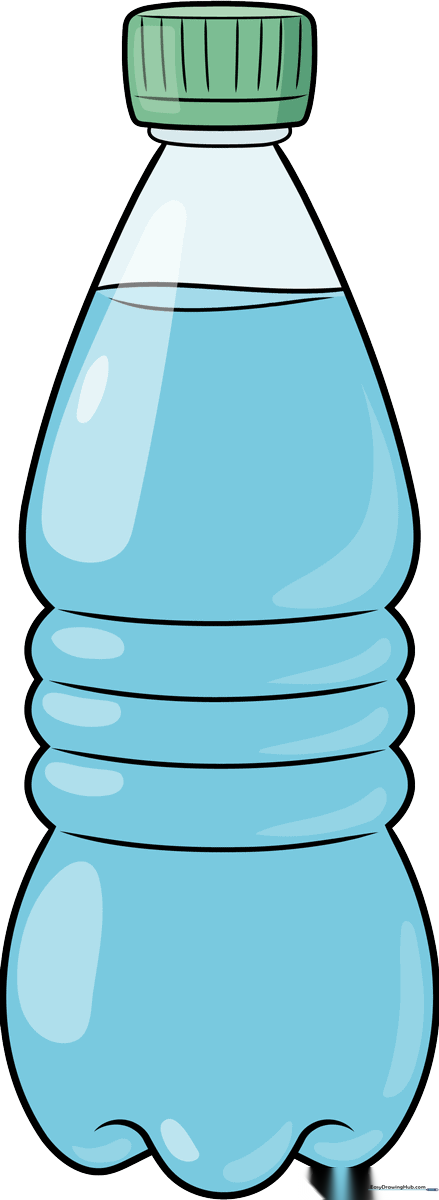
🎯 Final Result
Step-by-Step Instructions
Step 1: Sketching the Bottle Neck
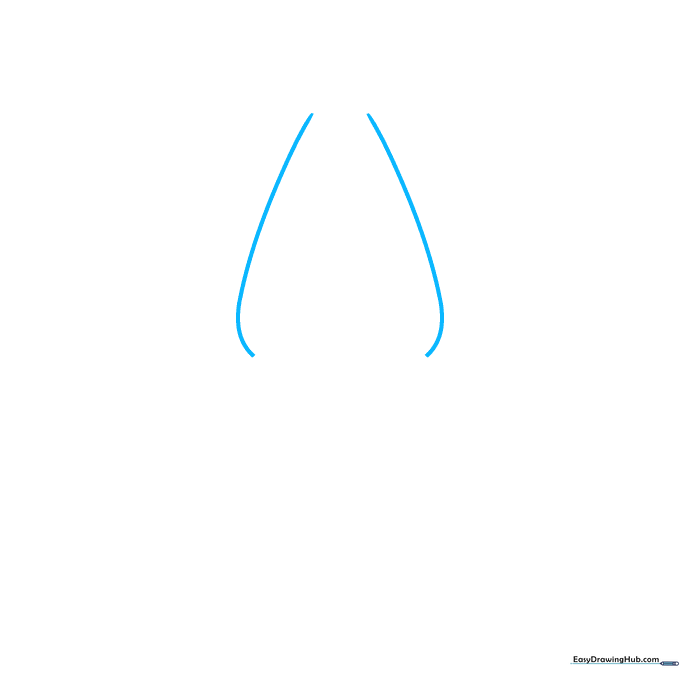
Draw two parallel curved lines to form the neck of the bottle. Tip: Keep these lines close together to ensure the bottle looks proportional.
Step 2: Creating the Upper Body
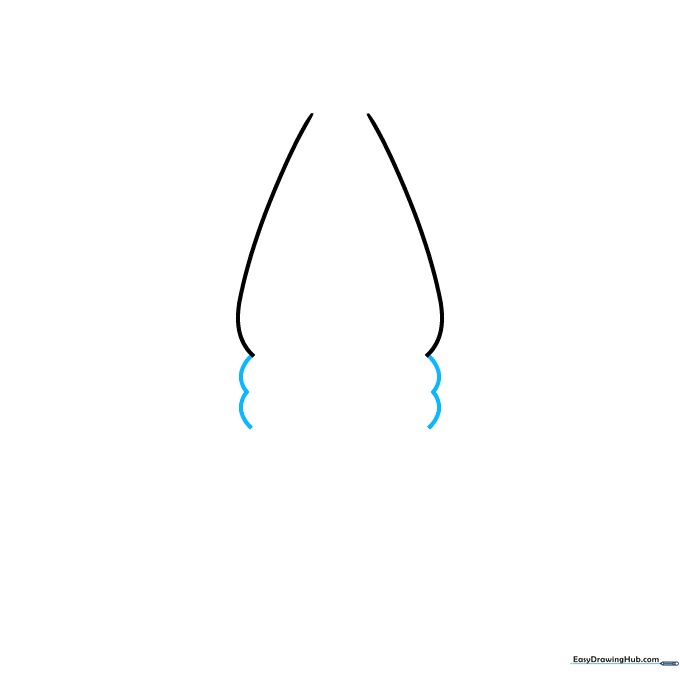
Extend two smaller, wavy curved lines downward from the neck. Tip: These wavy lines represent the plastic texture; don't worry if they aren't perfectly symmetrical.
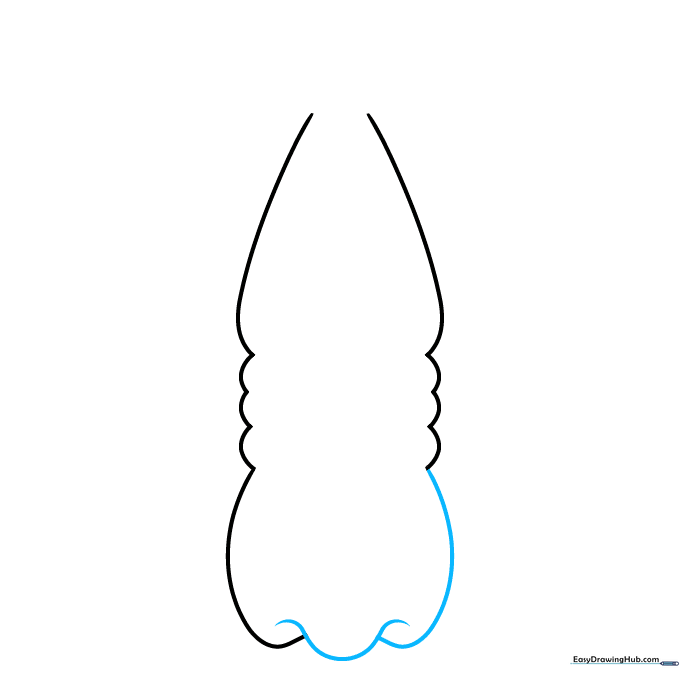
Step 3: Shaping the Base

Draw a short curved line at the bottom of each wavy section, then extend a long curve to start the base. Tip: Imagine you are drawing the bottom of a cylinder.
Step 4: Closing the Bottom
Connect the sides with a wide 'U' shaped line to finish the base. Tip: Make sure the 'U' overlaps the side lines slightly to create a rounded, 3D effect.
Step 5: Adding Water Level

Draw a curved line near the neck to indicate the water level inside. Tip: A slight curve makes the liquid look like it is sitting inside a round container.
Step 6: Refining the Texture
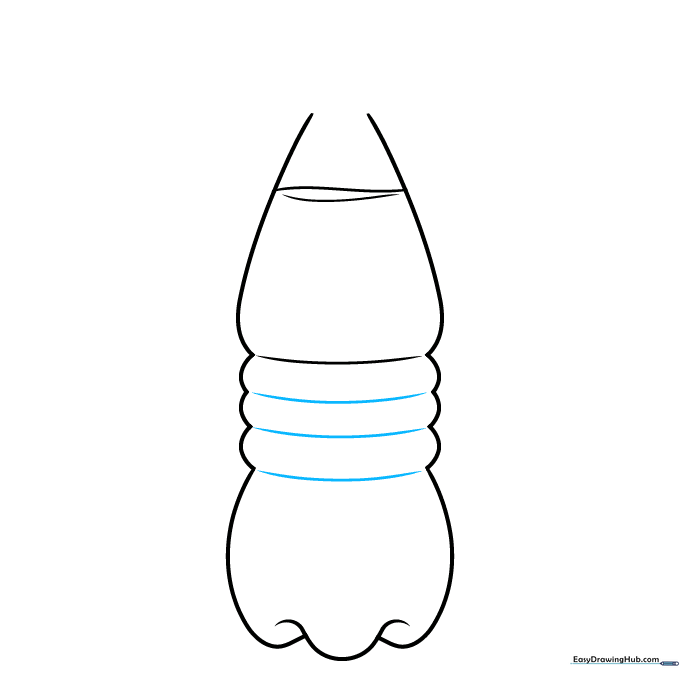
Connect the wavy sections with additional curved lines. Tip: Leave a tiny gap between these lines and the bottle edge to suggest highlights on the plastic.
Step 7: Drawing the Cap
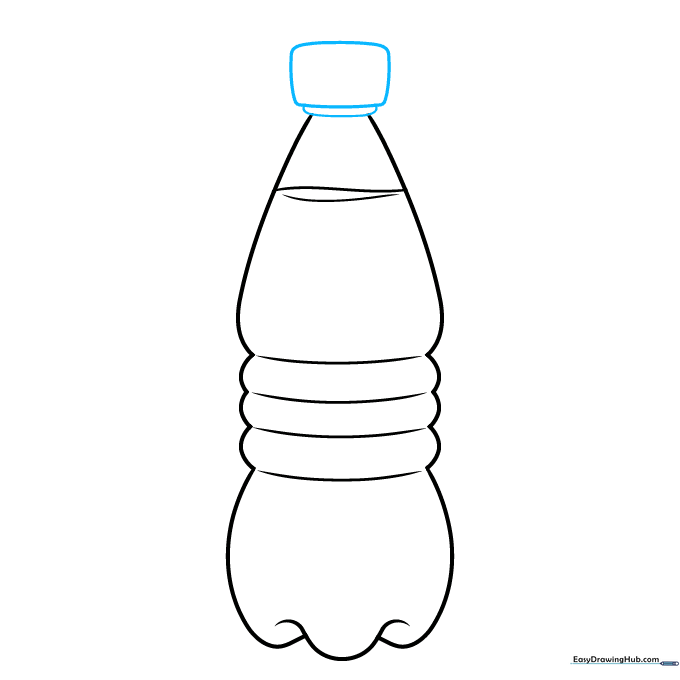
Draw a small rectangle with rounded corners on top of the bottle neck. Tip: Keep the cap centered so the bottle looks balanced.
Step 8: Detailing the Cap
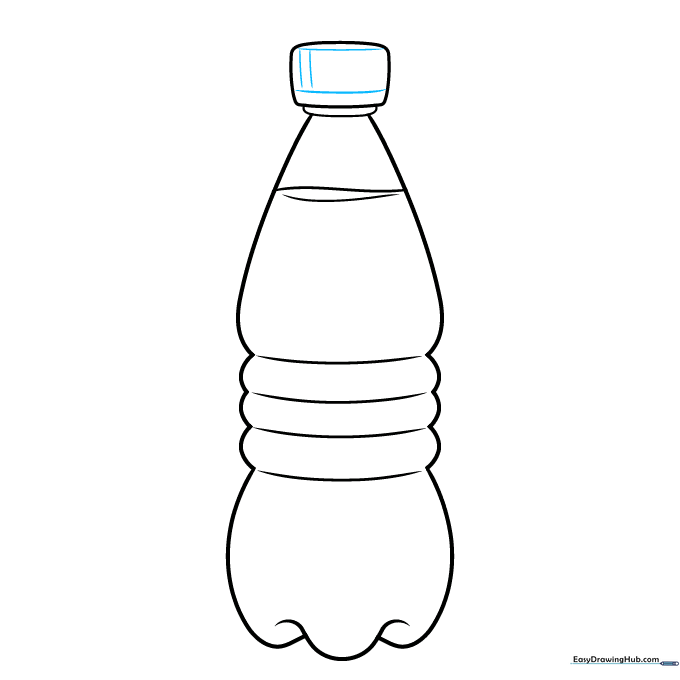
Add horizontal and vertical lines to the cap to create a ridged grip. Tip: Use short, light strokes to keep the lines neat.
Step 9: Finalizing the Cap
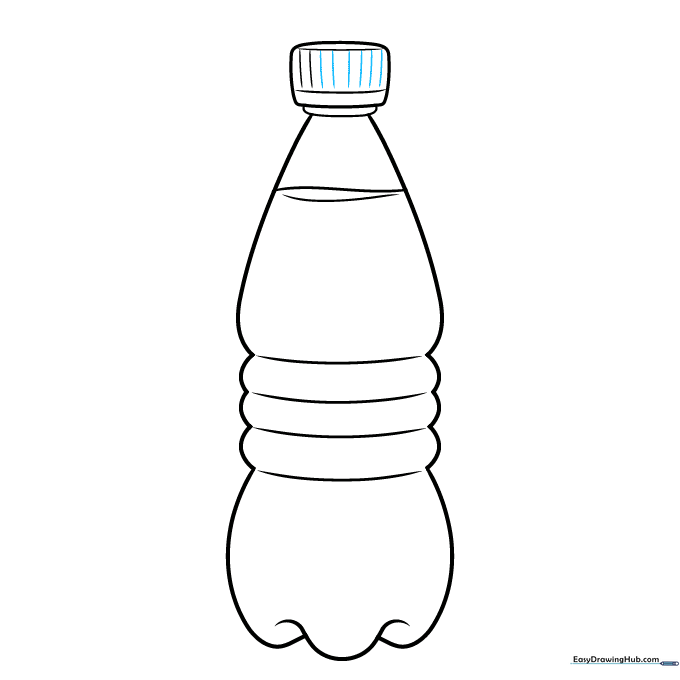
Add more evenly spaced vertical lines to complete the cap's texture. Tip: Take your time—consistency makes the drawing look professional.
Step 10: Coloring Your Creation
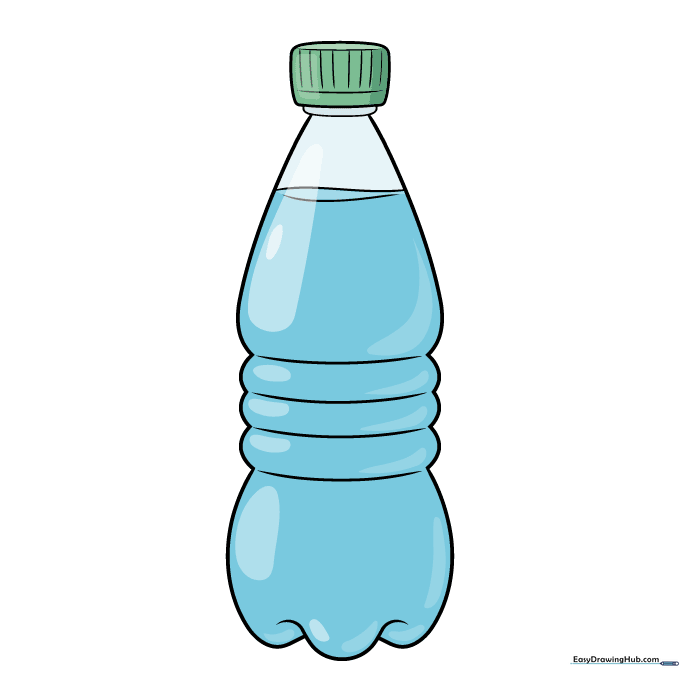
Time to color! Use light blues for the water and a bright color like green or red for the cap. Tip: Leave a small white space on the side of the bottle to represent a light reflection.
More Tutorials


