How to Draw a Warthog: Easy 9-Step Guide for Kids
Ready to bring a safari favorite to life? This tutorial is perfect for young artists ages 5 and up. All you need is a pencil, an eraser, and a piece of paper to start building your own cartoon warthog character.
🎯 Final Result

Step-by-Step Instructions
Step 1: Sketching the Eyes and Ears
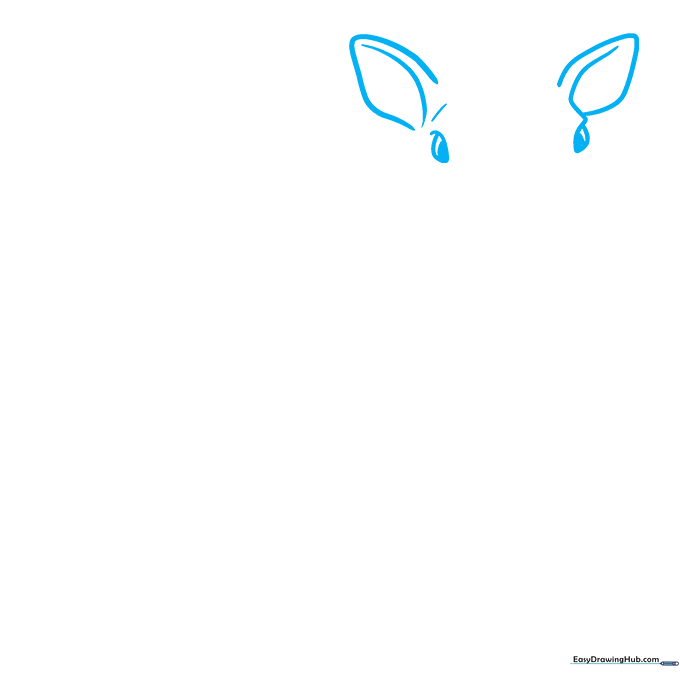
Start by drawing the eyes and ears using simple curved lines. Tip: Keep your pencil strokes light so you can easily adjust the shape of the ears later if needed.
Step 2: Defining the Face and Warts
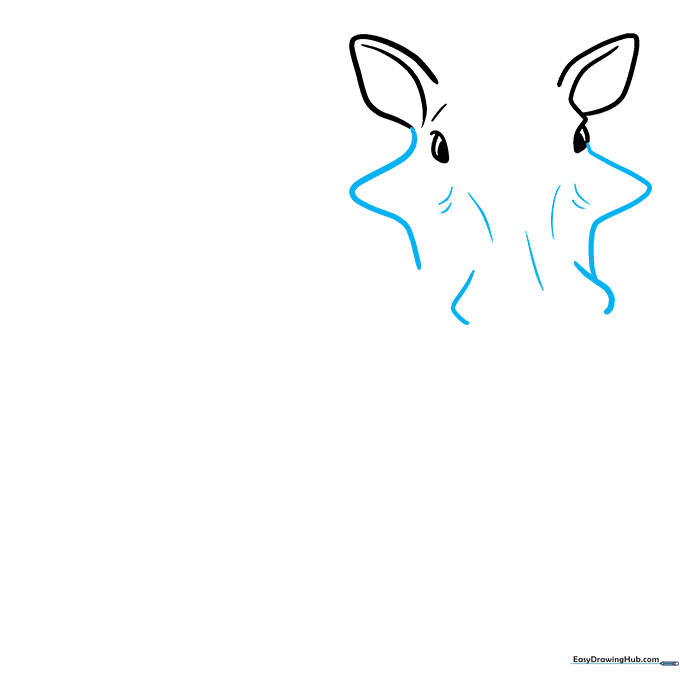
Trace the triangular sides of the face to create those iconic warthog 'warts.' Add curved lines for the top of the snout. Tip: Don't worry about perfect symmetry; warthogs are quirky, and a little variation adds character!
Step 3: Adding the Tusks
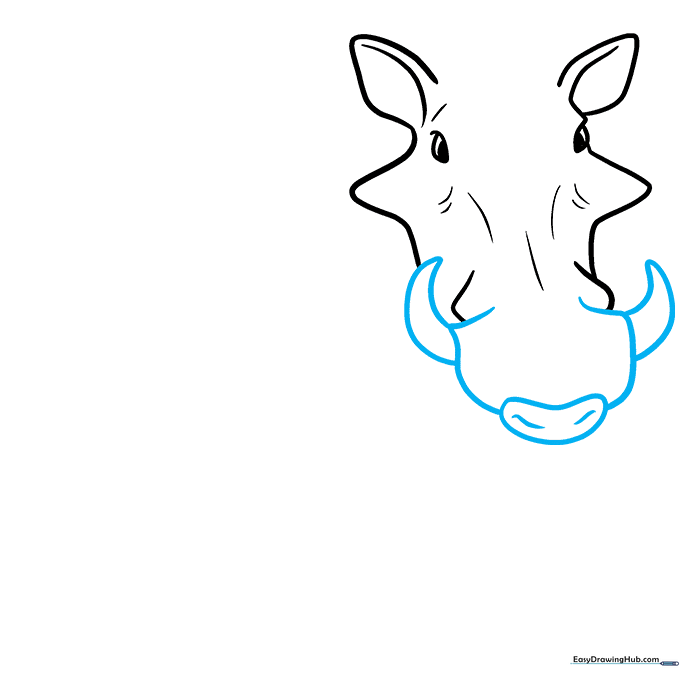
Enclose a curved shape below the face for the jaw, then draw two pointed tusks extending outward. Add small curved lines for nostrils. Tip: Draw the tusks slightly curved to give them a natural, sharp look.
Step 4: Sketching the Mane and Chest
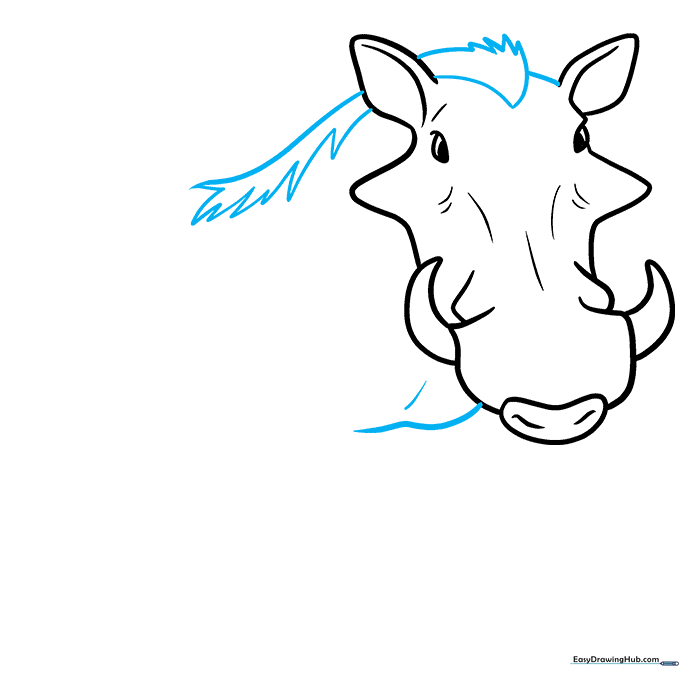
Use jagged, connected lines to create a wild mane along the back of the head. Then, draw the chest area. Tip: Use quick, flicking motions with your pencil to make the mane look like real, bristly hair.
Step 5: Drawing the First Leg
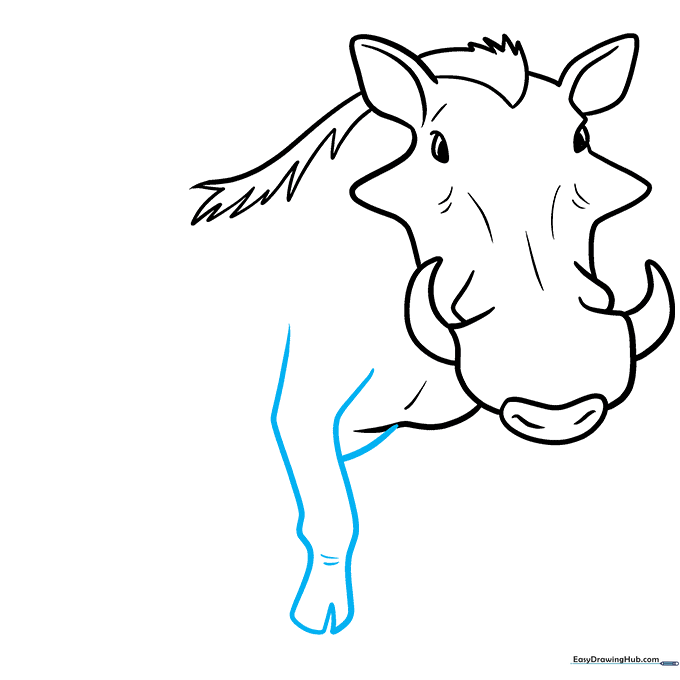
Draw the front leg using long, slightly curved lines. Connect them at the bottom with a 'V' shape for the hoof. Tip: Keep the legs sturdy and thick to match the warthog's strong build.
Step 6: Adding the Second Foreleg
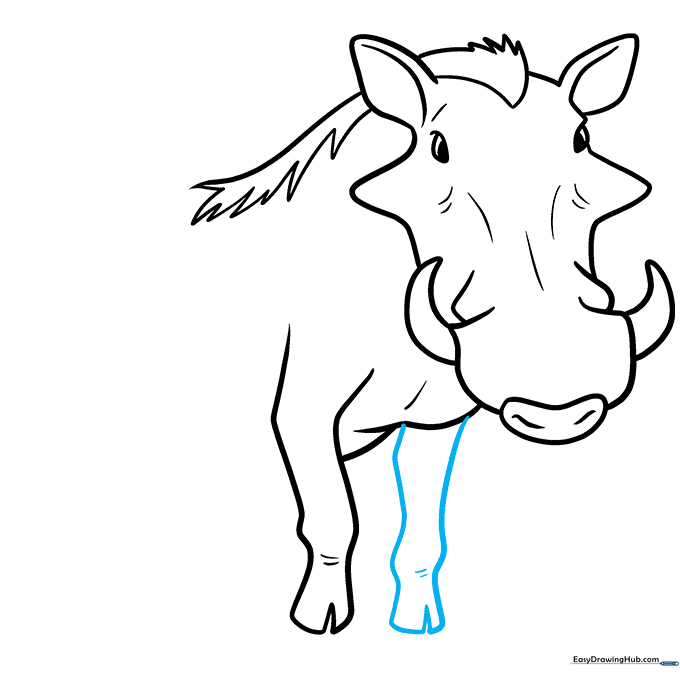
Repeat the process to draw the second front leg, placing it slightly behind the first. Tip: Drawing the second leg slightly higher up makes the warthog look like it is standing in a natural position.
Step 7: Shaping the Stomach
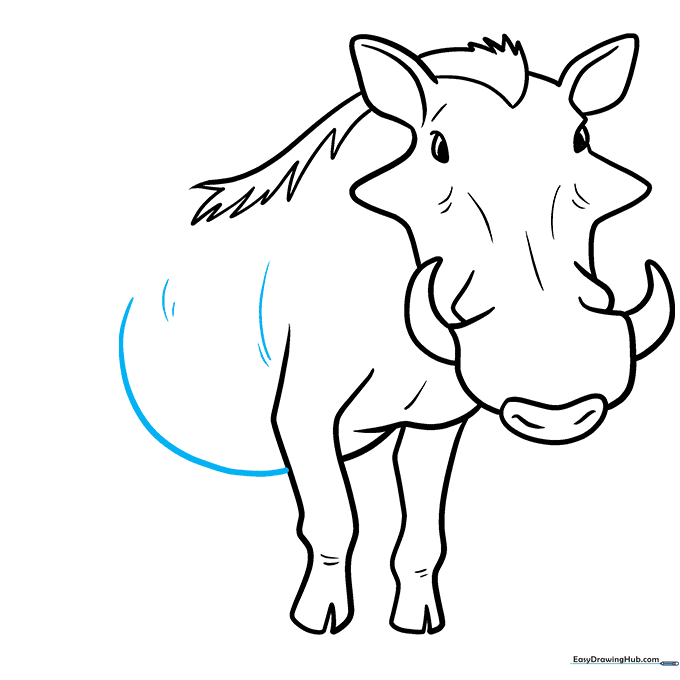
Connect the chest to the back using a long, curved line for the stomach. Tip: A slightly rounded belly makes the character look friendly and cartoonish.
Step 8: Drawing the Rear Leg
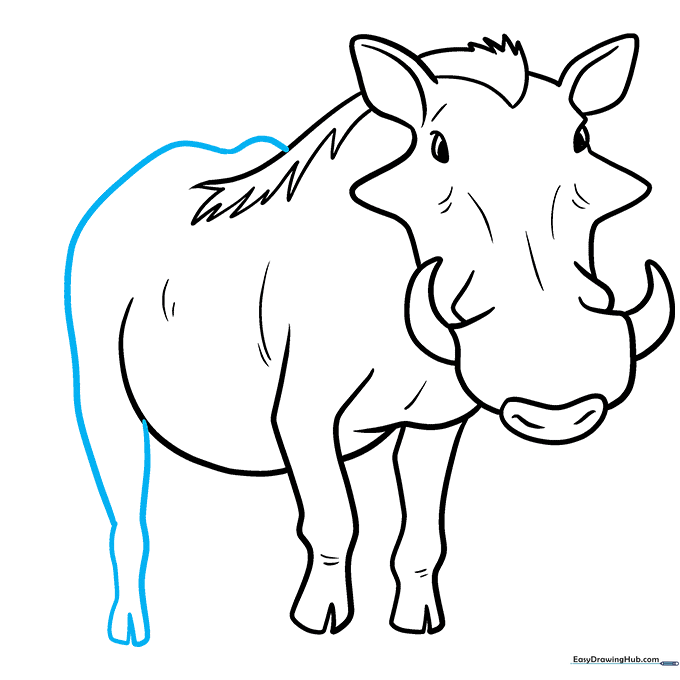
Sketch the rump and the back leg using curved lines. Finish the hoof with a 'V' shape. Tip: Ensure the back leg looks a bit thicker at the top to show the warthog's muscle.
Step 9: Final Touches and Tail
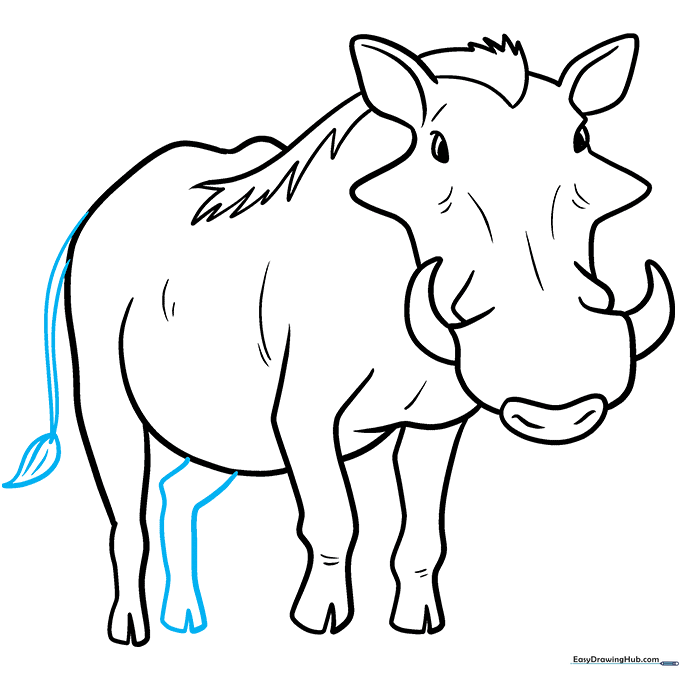
Draw the final leg and add a tail with a tuft of hair at the end. Tip: Use small, quick strokes for the tail tuft to give it a textured, hairy appearance.
Step 10: Coloring Your Warthog

Now for the fun part! Use dark grays for the body, or go for a classic 'Pumbaa' look with reddish-brown fur, a pink nose, and a black mane. Tip: Use colored pencils to layer your colors for a more realistic, textured look.
More Tutorials


