How to Draw a Wanted Poster: Easy 10-Step Guide
Ready to create your own Wild West adventure? This tutorial is perfect for artists ages 6+ who want to practice character design and lettering. Grab your pencil, eraser, and paper, and let’s bring this classic outlaw poster to life!
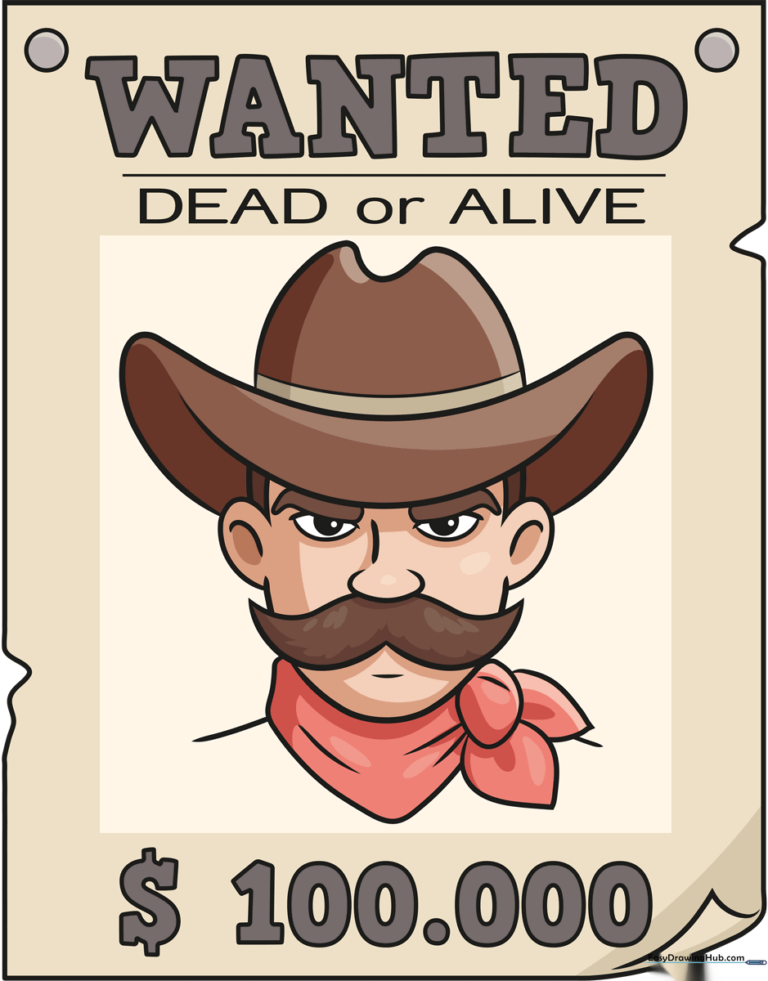
🎯 Final Result
Step-by-Step Instructions
Step 1: Sketching the Poster Frame

Draw a large rectangle for the paper. Add wavy, jagged lines on the sides to make it look weathered. Tip: Add a small 'V' shape at the bottom corner to make it look like the paper is curled—it adds a great 3D effect!
Step 2: Starting the 'WANTED' Header
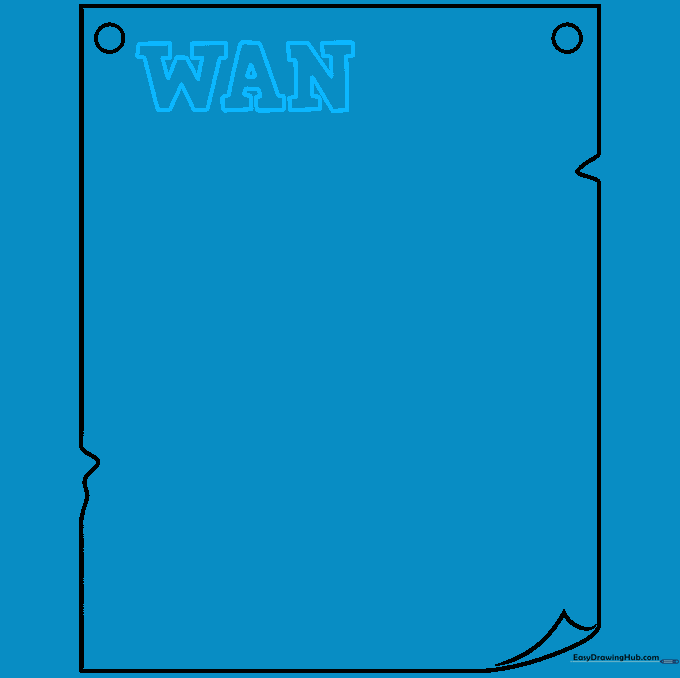
Begin sketching the letters 'W,' 'A,' and 'N.' Use blocky, straight lines. Tip: Give these letters a 'serif' style by adding tiny rectangles to the ends of each stroke—it makes the text look like an old-fashioned printing press.
Step 3: Finishing the Header
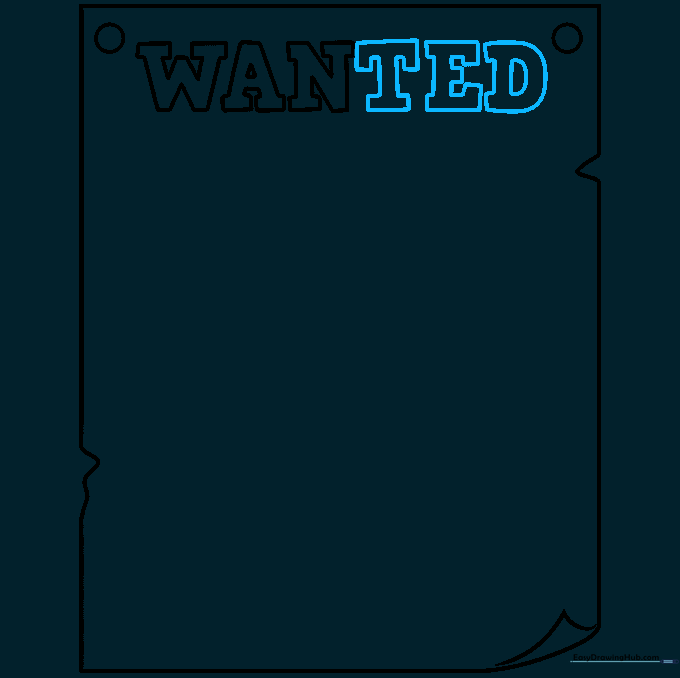
Complete the word 'WANTED' by adding the 'T,' 'E,' and 'D.' Tip: Keep your spacing consistent so the word looks centered and professional.
Step 4: Adding the Subtitle
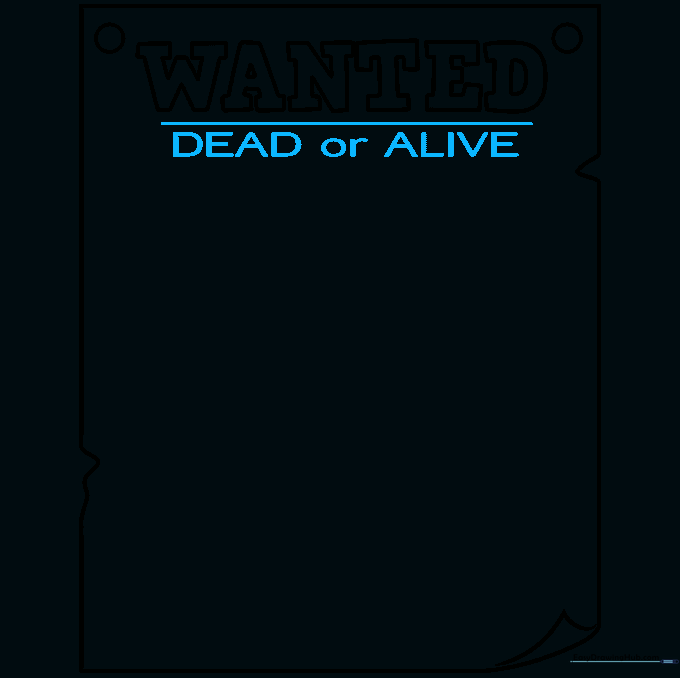
Draw a straight horizontal line under 'WANTED.' Beneath it, write 'DEAD or ALIVE.' Tip: Use your ruler if you struggle with straight lines, but a slightly shaky hand actually fits the 'old west' theme perfectly!
Step 5: Sketching the Cowboy Hat
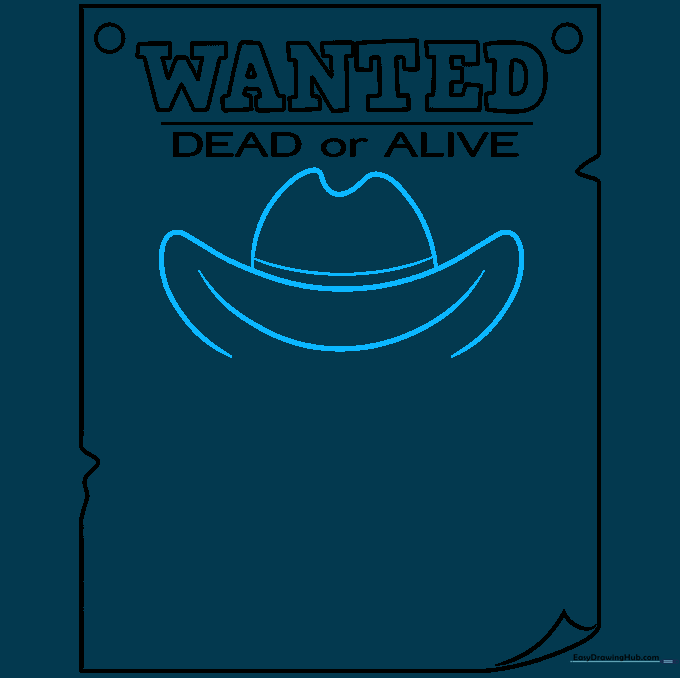
Draw the crown of the hat with an 'M' shape and the brim as a wide, curved banana shape. Tip: The hat should be slightly tilted to give your character some personality.
Step 6: Drawing the Eyes and Nose
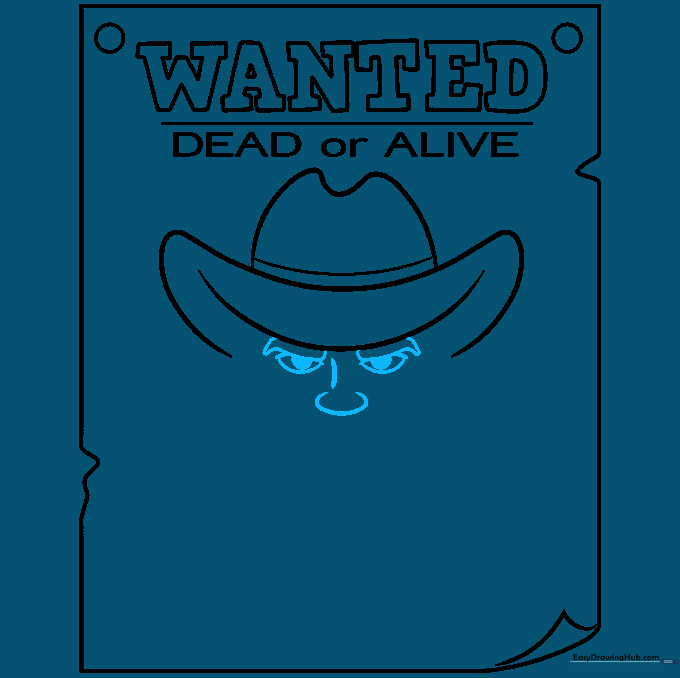
Add pointed eyebrows and almond-shaped eyes with dark, round pupils. Draw a curved line for the bridge of the nose. Tip: Make the pupils large to give the character a focused, intense look.
Step 7: Adding the Mustache and Ears
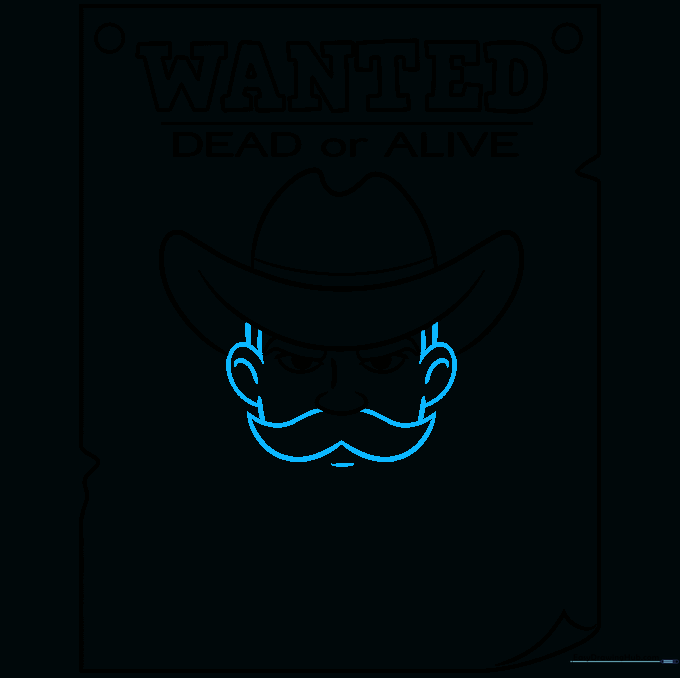
Draw a wide 'W' shape for the mustache and add ears on the sides of the face. Tip: Don't forget to add a few small lines inside the ears to give them realistic depth.
Step 8: Adding the Bandana
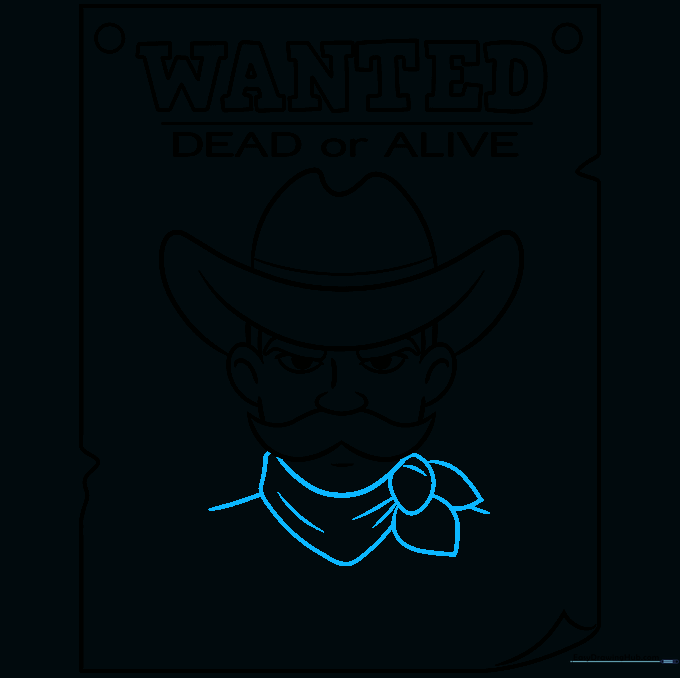
Draw a bandana tied at the side of the neck using irregular, flowing shapes. Tip: Use curved lines to show the fabric folding—this makes the bandana look soft and tied tight.
Step 9: Adding the Reward Amount
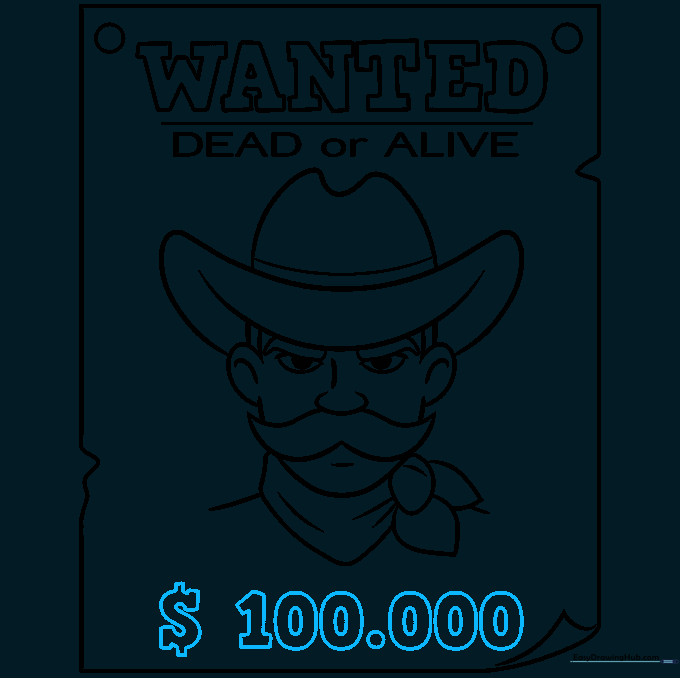
At the bottom of the poster, draw a large dollar sign ($) and the number '100.000.' Tip: Make these numbers big and bold so everyone knows the reward amount!
Step 10: Adding Color
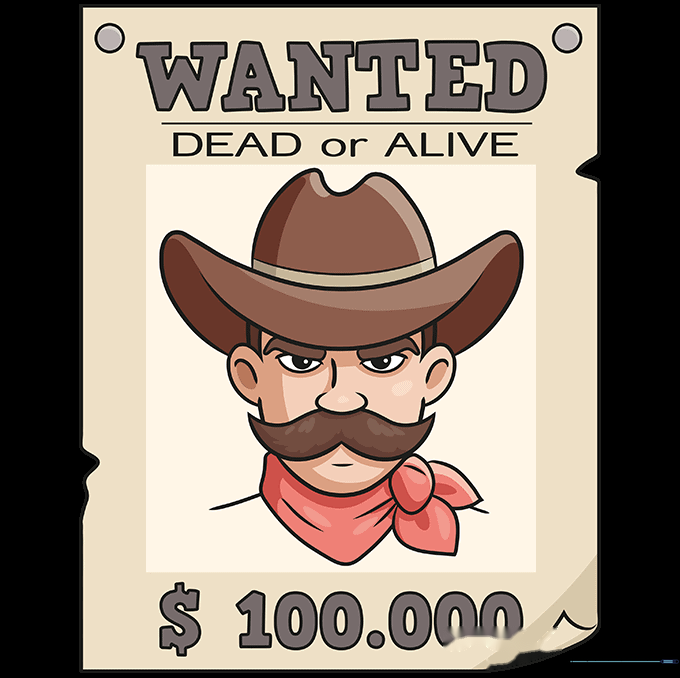
Bring your poster to life! Use tan, cream, or light yellow for the paper to give it an 'aged' look. Tip: Use a light brown colored pencil to add 'stains' or 'tears' to the paper edges for extra realism.
More Tutorials


