How to Draw a Walking Cat: Easy 10-Step Guide
This walking cat tutorial is perfect for young artists ages 5 and up. You only need a pencil, an eraser, and a piece of paper to get started. Follow along to build confidence in your sketching skills and create a clean, professional-looking cat silhouette.
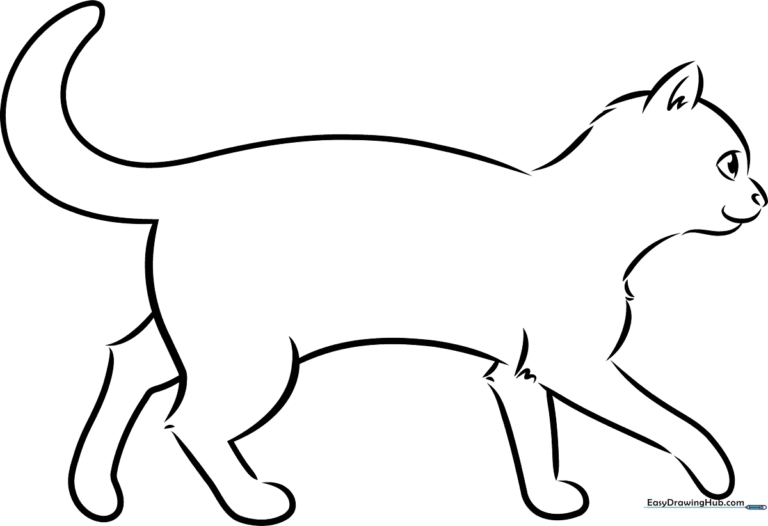
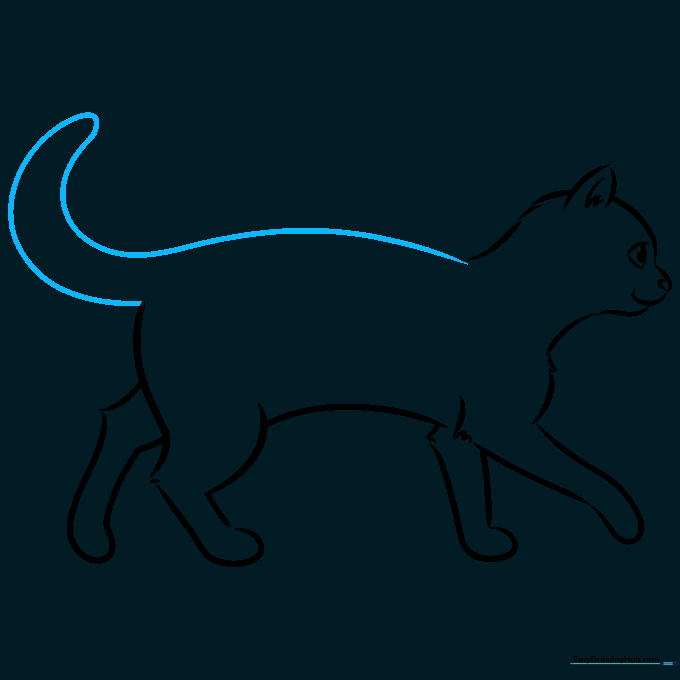
🎯 Final Result
Step-by-Step Instructions
Step 1: Sketching the Head

Draw a small, rounded triangle pointing left for the snout, with a tiny oval inside for the eye. Teacher's Tip: Keep your pencil pressure light so you can easily erase any stray marks later.
Step 2: Adding Ears and Facial Features

Add two curved lines for the ears and a small swirl for the mouth. Use a dash for the nose. Teacher's Tip: Cats have pointy ears, so make your curves meet at a soft, rounded peak.
Step 3: Defining the Neck

Draw downward strokes to form the neck and chest, adding jagged lines inside the ears for texture. Teacher's Tip: Use short, quick strokes to mimic the look of soft fur.
Step 4: Starting the Body

Draw three flowing lines for the cat's back and a loop for the first leg. Teacher's Tip: Think of the back as a gentle, rolling hill.
Step 5: Shaping the Front Leg

Draw a curve in the center and complete the leg with a soft line. Teacher's Tip: Keep the leg slightly bent to show the cat is in motion.
Step 6: Drawing the Back
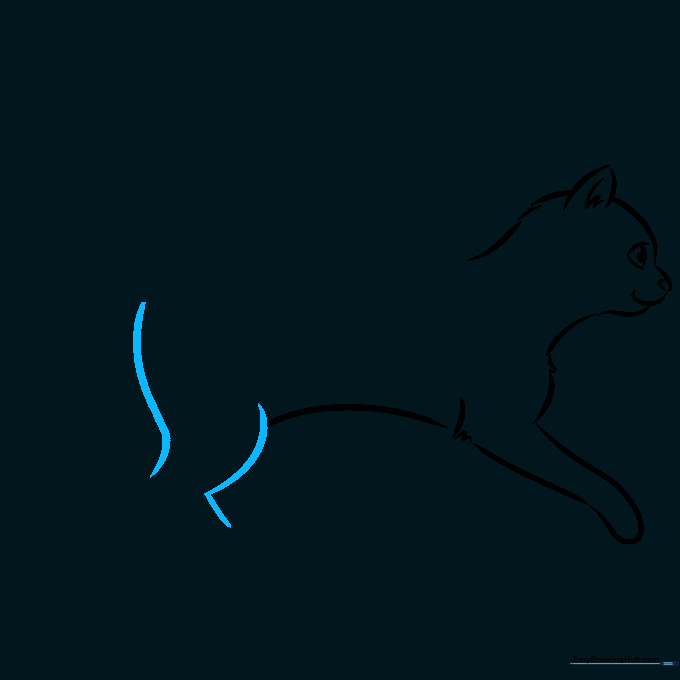
Add a long, S-shaped curve for the back and a small arrow-like shape for the tail. Teacher's Tip: The tail adds balance to your drawing—make it look fluid and relaxed.
Step 7: Sketching the Back Legs
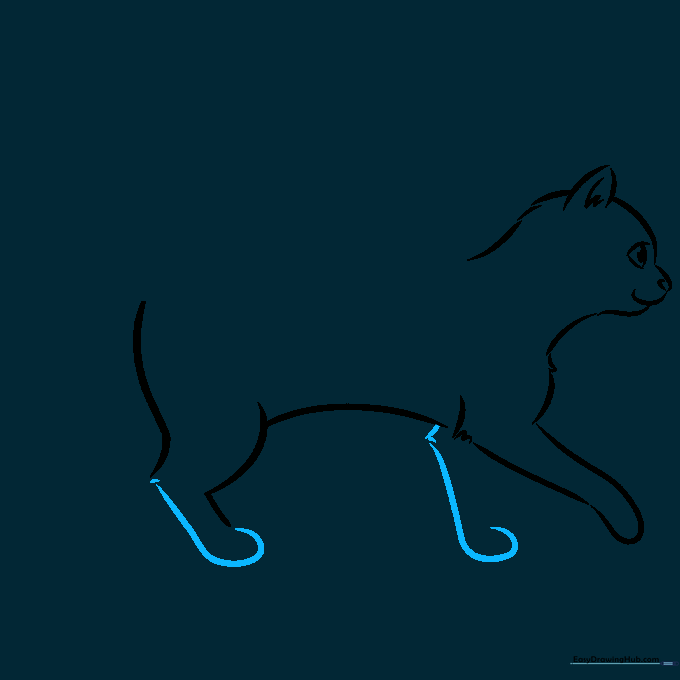
Draw the back legs using long, fish-hook shaped loops. Teacher's Tip: Ensure the legs look sturdy to support the cat's weight as it walks.
Step 8: Finalizing the Legs
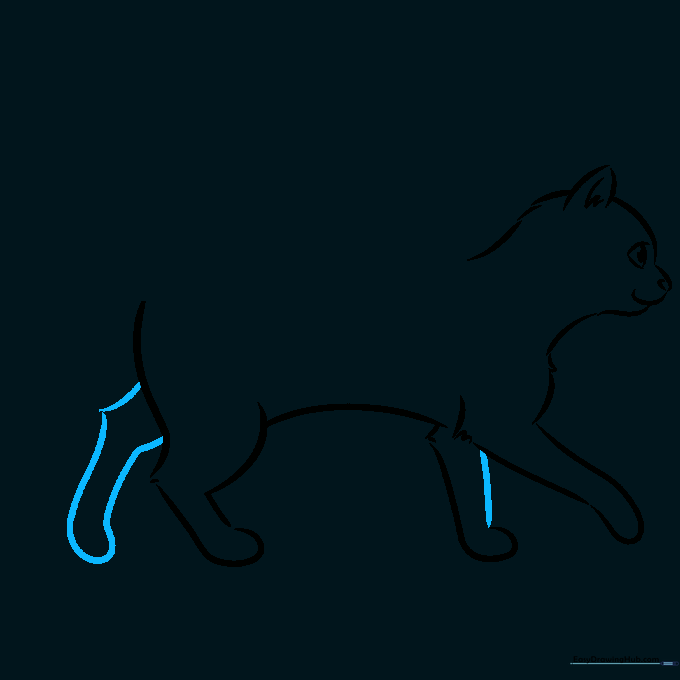
Add the final leg loop and connect it to the body with short brushstrokes. Teacher's Tip: Use these small strokes to represent the joint where the leg meets the torso.
Step 9: Smoothing the Outline
Use sweeping curves to connect all your shapes into one long, noodle-like silhouette. Teacher's Tip: Don't worry if it's not perfect; the goal is a smooth, continuous flow.
Step 10: Final Touches

Trace your final lines with a black pen or marker. You can leave it as a clean outline or fill it in with black to create a dramatic shadow effect. Great job!
More Tutorials


