How to Draw a Volleyball: Easy 10-Step Guide for Kids
Ready to hit the court? This tutorial is perfect for young athletes and artists ages 5 and up. All you need is a pencil, an eraser, and a piece of paper to bring this sports ball to life. Follow along to master the curved lines that give a volleyball its signature 3D look.
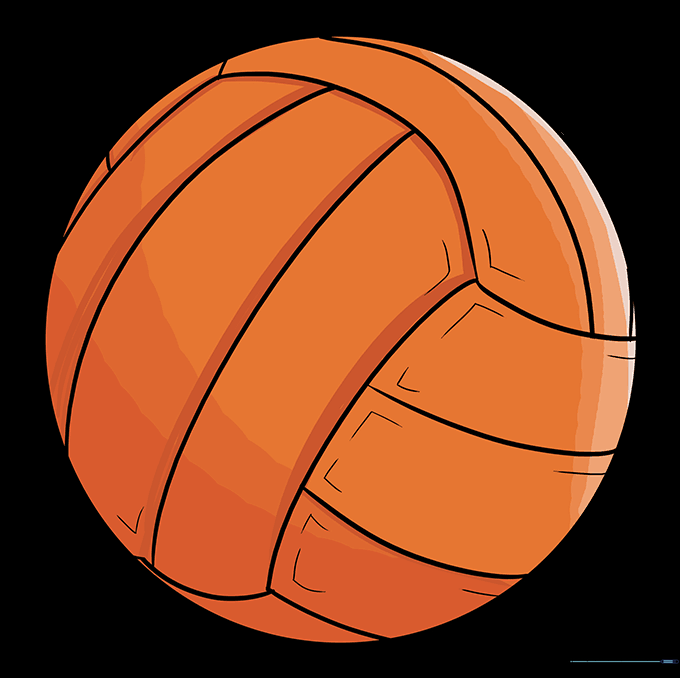
🎯 Final Result

Step-by-Step Instructions
Step 1: Sketching the Base Circle
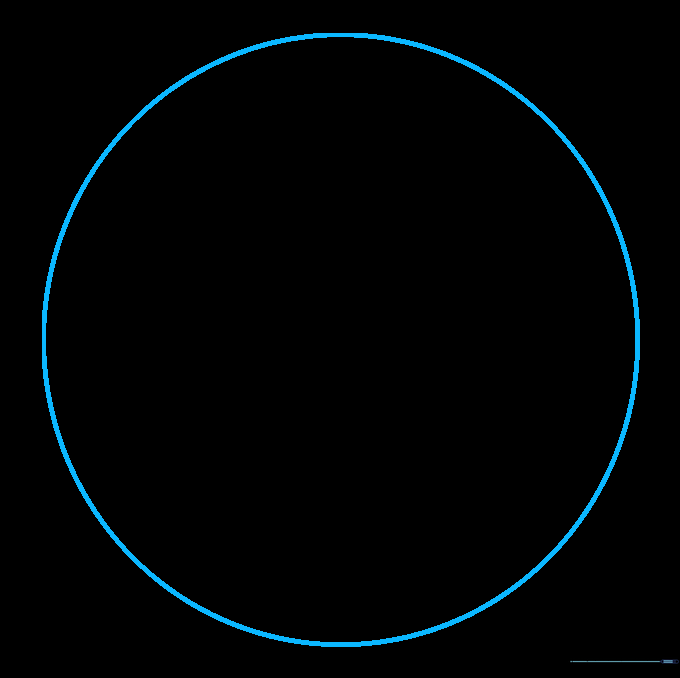
Start by drawing a light circle in the center of your page. Teacher's Tip: Don't worry about making it perfect; use a light touch so you can easily adjust the shape later.
Step 2: Defining the Top Panel
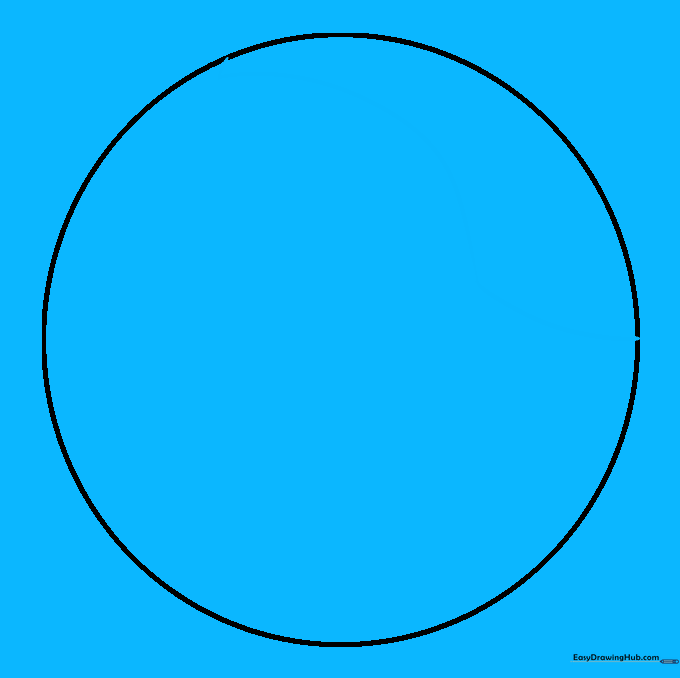
Draw a gentle, curved line across the top of your circle. This marks the first panel of the ball. Tip: Imagine the ball is a globe and you are drawing a line of latitude.
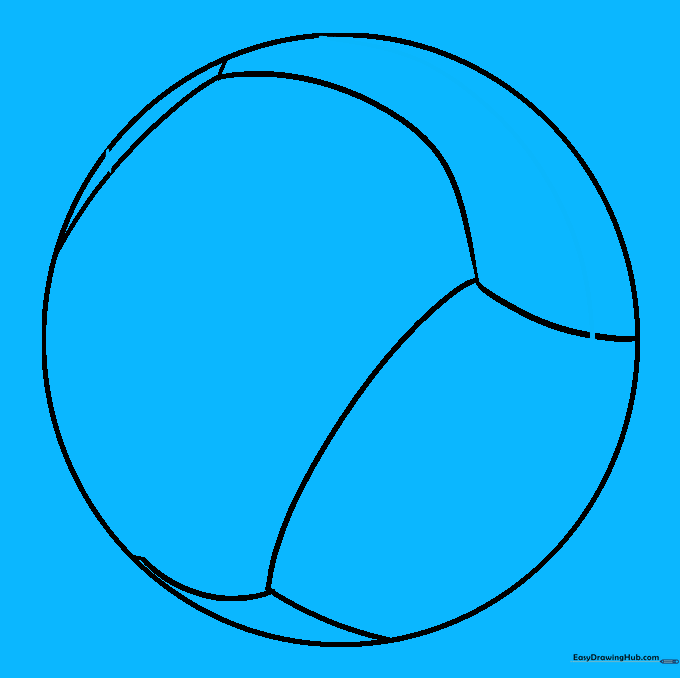
Step 3: Adding the 'L' Shaped Panel

Add two curved lines that meet to form an 'L' shape near the top. This creates the second panel. Tip: Keep your curves smooth to make the ball look round and bouncy.
Step 4: Connecting to the Edges

Draw curved lines extending from the corners of your existing panels to the outer edge of the circle. This helps define the ball's structure.
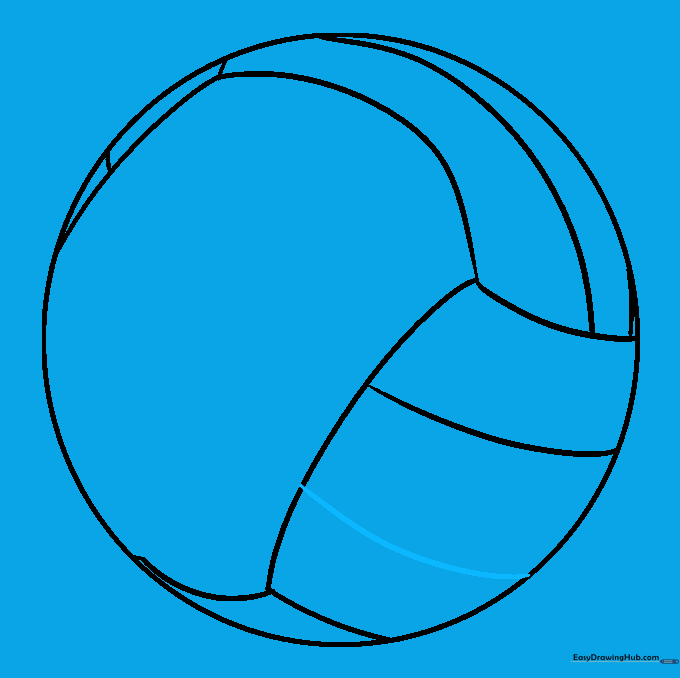
Step 5: Dividing the First Section
Draw a curved line down the middle of the first section you created. Tip: Think of this like slicing a piece of fruit—keep the curve consistent with the shape of the ball.
Step 6: Adding Edge Details

Add a line through the first section near the edge and another across the top of the second section. This adds complexity to the panel design.
Step 7: Refining the Second Section
Draw another curved line across the second section. Tip: Ensure your lines don't cross over each other; keep them distinct to maintain a clean look.
Step 8: Detailing the Center

Draw a curved line through the central section of the volleyball. This helps define the middle panels where the ball is hit most often.
Step 9: Finalizing the 3D Shape
Add a second line through the center and small 'L' shapes at the corners where panels meet. This creates a 3D effect. Tip: Press a little harder with your pencil now to finalize the outlines.
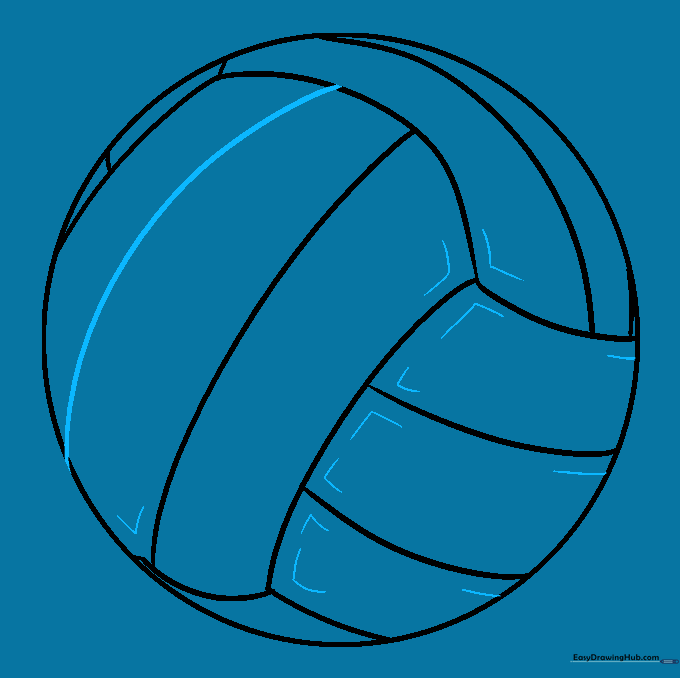
Step 10: Adding Color
Time to color! While traditional volleyballs are white, you can use any colors you like. Tip: Use a light grey or blue to shade the edges of the panels to make them look more rounded.
More Tutorials


