How to Draw a Violin: Easy 10-Step Guide for Kids
Bring the beauty of music to your sketchbook with this step-by-step violin tutorial, designed specifically for young artists ages 6 and up. You will only need a pencil, an eraser, and your favorite coloring tools to complete this classic instrument. Follow along to practice symmetry and clean line work while creating your own musical masterpiece.
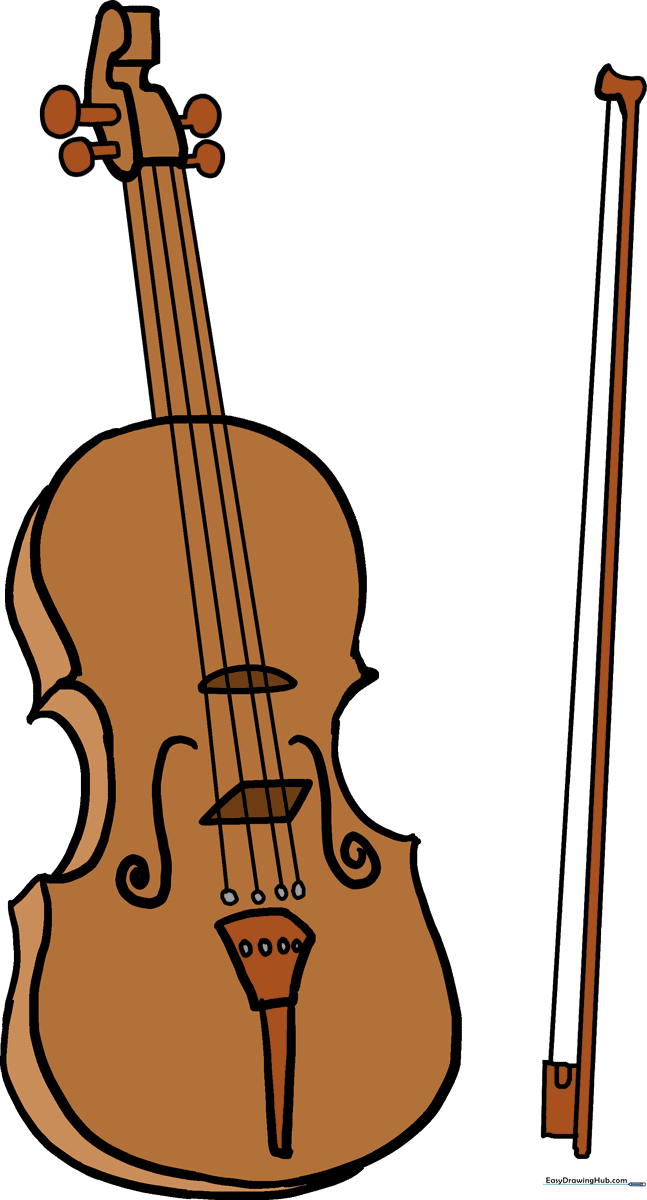
🎯 Final Result
Step-by-Step Instructions
Step 1: Sketching the Upper Bout

Start by drawing a downward-facing 'U' shape. At the tips of the 'U', curve your lines outward and add a small point to create the violin's upper shoulders. Teacher's Tip: Keep your pencil pressure light so you can easily adjust the curves if they aren't perfectly symmetrical.
Step 2: Shaping the Waist

Extend a curved line downward from one shoulder, then connect a longer, sweeping curve to form the 'waist' and the start of the lower body. Teacher's Tip: Think of this shape like a gentle hourglass; focus on smooth, continuous motions rather than short, choppy lines.
Step 3: Completing the Body

Repeat the process on the opposite side to create a mirror image, closing the bottom with a rounded curve. Teacher's Tip: If you struggle with symmetry, try drawing a very faint vertical center line to use as a guide for both sides.
Step 4: Adding Depth

Add a series of curved lines along the inner edge of the body to give it a three-dimensional, rounded look. Teacher's Tip: These lines represent the 'ribs' of the violin; keep them close to the edge to maintain the instrument's flat-top appearance.
Step 5: Drawing the Tailpiece
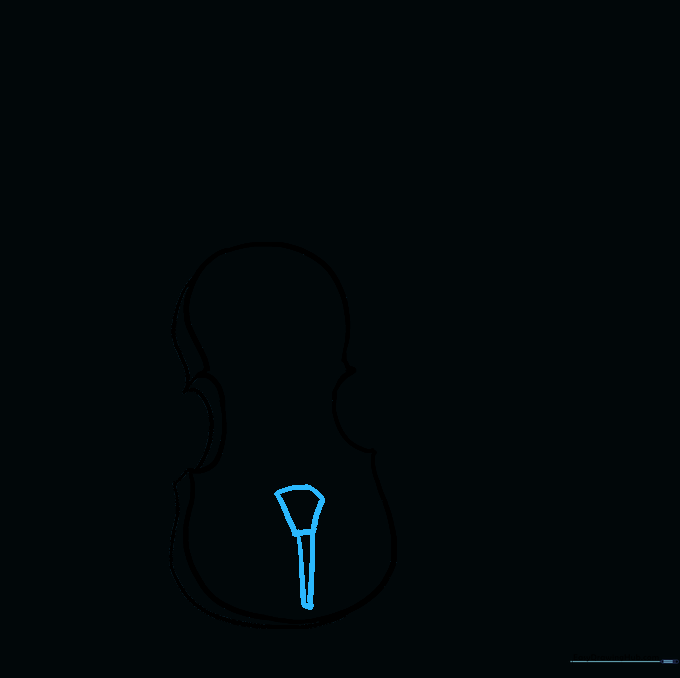
Draw an elongated pentagon in the center of the lower body, then extend two straight lines downward to create the tailpiece. Teacher's Tip: Use a ruler if you want the tailpiece to look extra sharp and professional!
Step 6: The Bridge and F-Holes
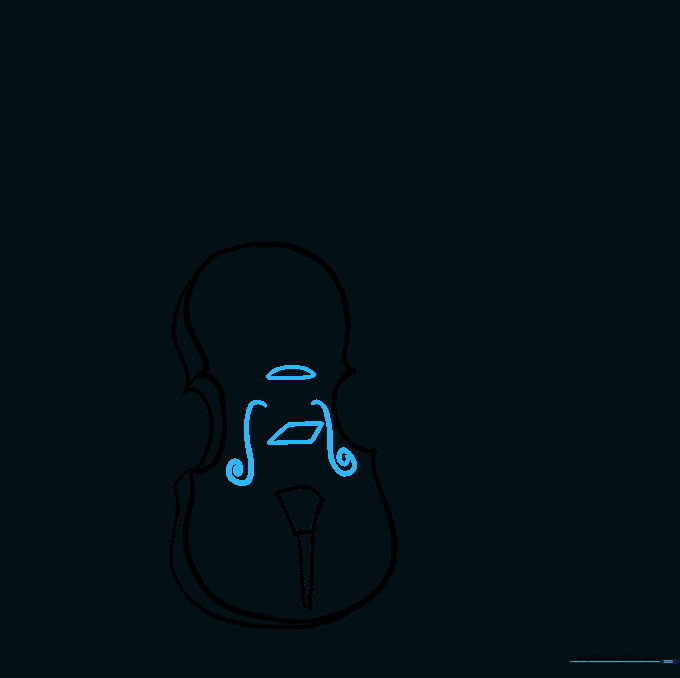
Draw the bridge as a small parallelogram in the center, and add the characteristic f-holes on either side using curved, spiral-like shapes. Teacher's Tip: These shapes are tricky! Take your time and look closely at the reference image to get the curves just right.
Step 7: The Scroll and Pegbox
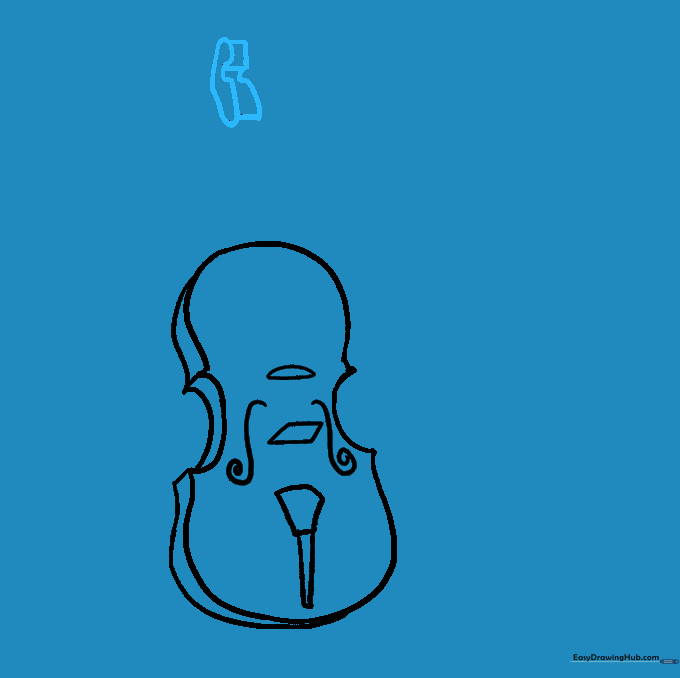
Draw a tall, irregular shape above the body to form the scroll and pegbox. Teacher's Tip: The scroll is the 'fancy' top part of the violin—don't worry if it looks a bit swirly; that's exactly how it should look!
Step 8: Adding Strings
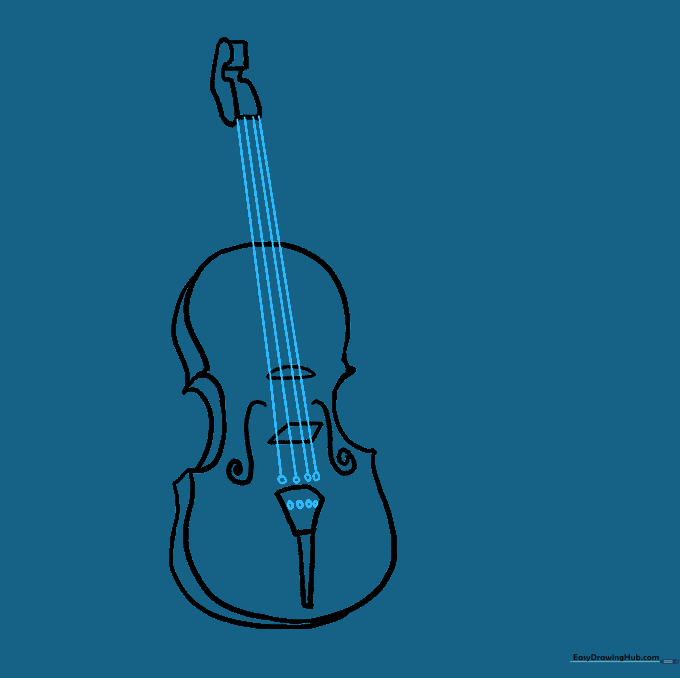
Draw four long, parallel lines running from the pegbox down to the tailpiece. Add small circles at the ends to represent the fine tuners. Teacher's Tip: Use a steady hand here—if the lines aren't perfectly straight, it's okay, just keep them parallel.
Step 9: Tuning Pegs and Bow
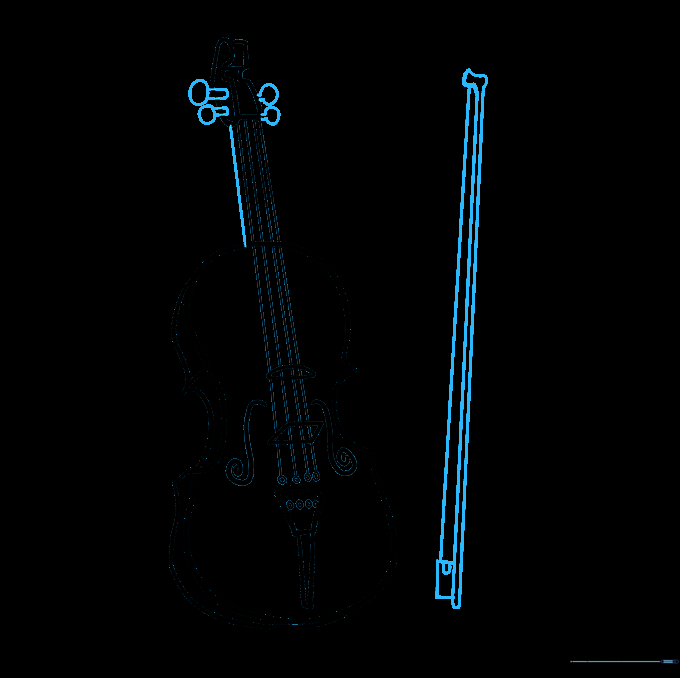
Add the tuning pegs on the side of the pegbox and sketch the bow next to the violin using parallel lines and a small rectangle at the base. Teacher's Tip: The bow adds a great sense of action to your drawing—make sure it looks like it's ready to play!
Step 10: Adding Color
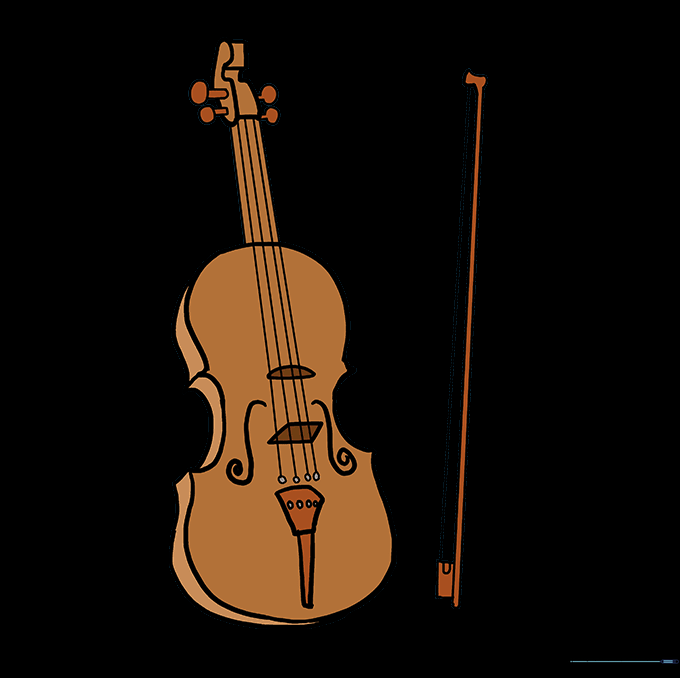
Bring your violin to life with color! Use warm shades of brown, mahogany, or even a deep orange to mimic the look of polished wood. Teacher's Tip: Try using a lighter brown for the center and a darker brown for the edges to create a realistic, shiny wood effect.
More Tutorials


