How to Draw a Viking Ship: Easy 9-Step Guide for Kids
Set sail on a creative adventure! This Viking ship tutorial is perfect for young artists ages 6 and up. You will only need a pencil, an eraser, and a piece of paper to bring this legendary longship to life while practicing your line control and symmetry.
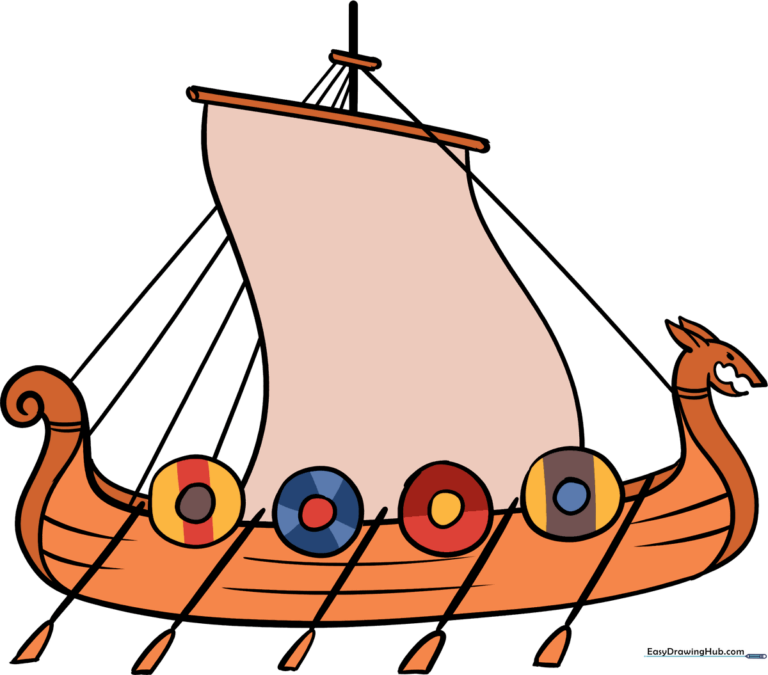
🎯 Final Result
Step-by-Step Instructions
Step 1: Sketching the Hull

Outline the main hull of the ship. Draw a long, sweeping curve with a 'U' shape at one end and a spiral at the other. Teacher's Tip: Keep your pencil pressure light so you can easily adjust the shape of the sternpost and stempost later.
Step 2: Adding the Dragon Head
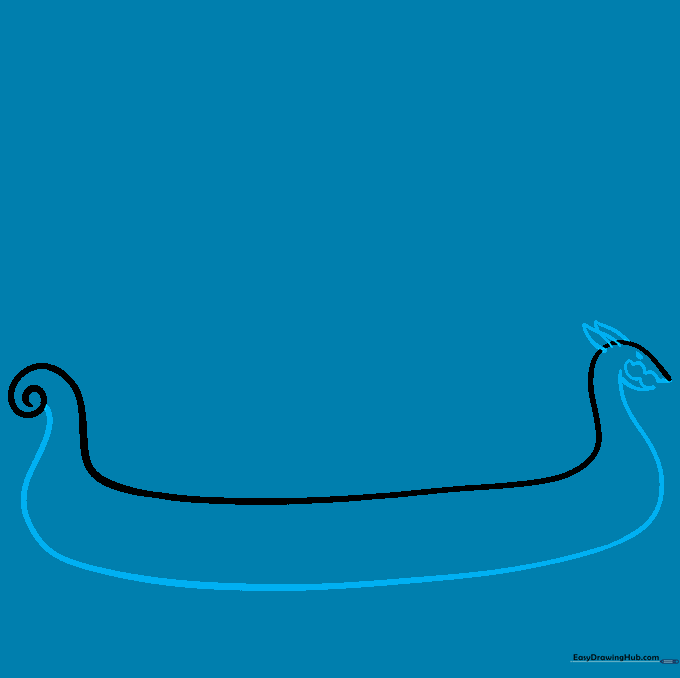
Draw the base of the hull and add the fierce dragon head atop the stempost. Use small, sharp curved lines for the teeth and ears. Teacher's Tip: Think of the dragon head as a puppet—keep the lines expressive to give your ship character!
Step 3: Defining the Keel and Mast
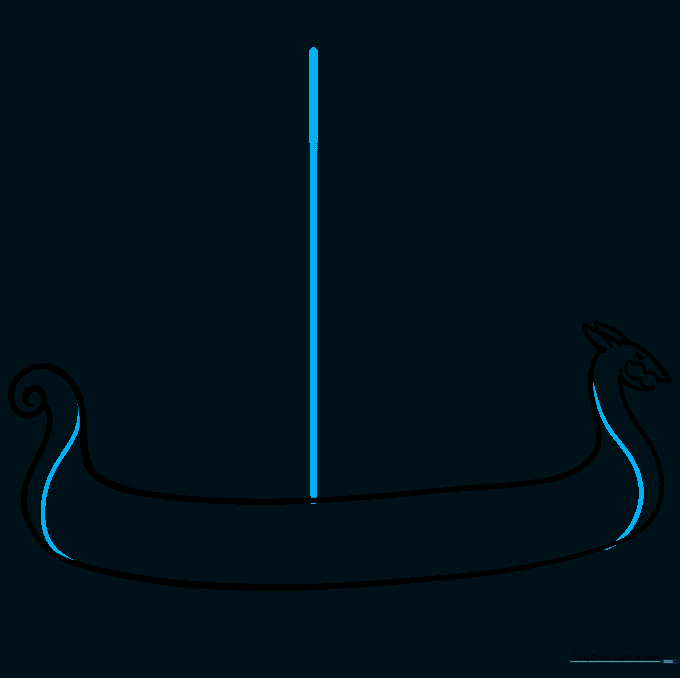
Connect the posts to the bottom of the hull to form the keel, then draw a tall, vertical line in the center for the mast. Teacher's Tip: Use a ruler if you struggle with straight lines, but try freehand first to build your steady-hand muscles.
Step 4: Creating Depth and the Yard
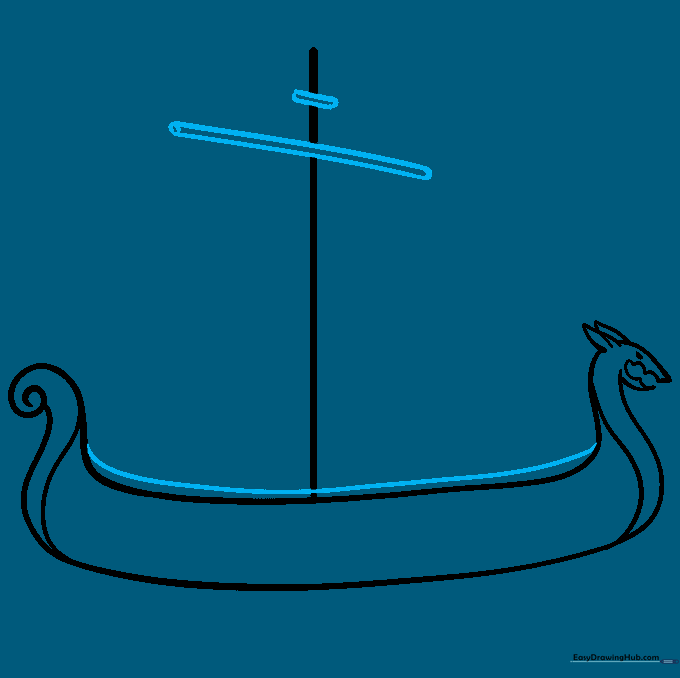
Add a curved line above the hull to show the far side of the ship, creating a 3D effect. Then, draw two horizontal bars across the mast to create the yard. Teacher's Tip: Make sure the yard is centered so your ship looks balanced.
Step 5: Adding the Sail and Planks
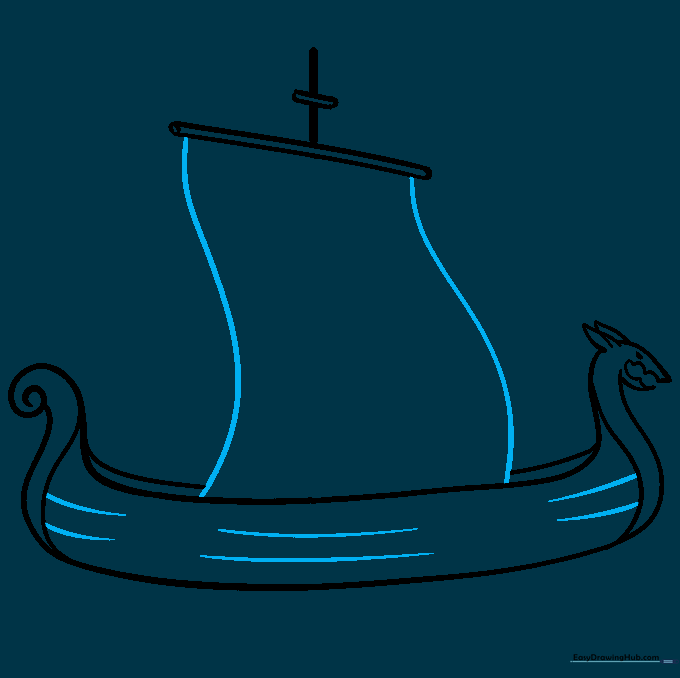
Draw wavy lines from the yard to the hull to represent the sail. Add horizontal curved lines along the side of the hull to show the wooden planks. Teacher's Tip: Vary the spacing of your lines to make the wood look realistic.
Step 6: Rigging the Ropes
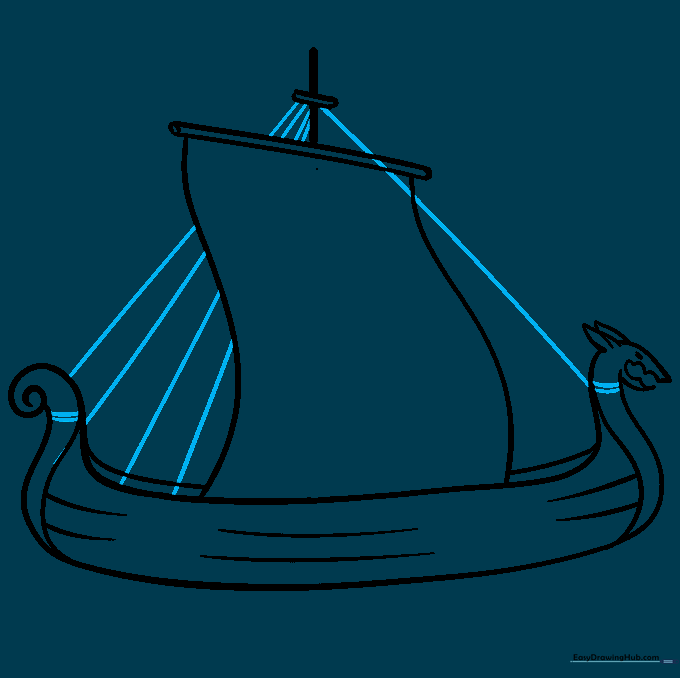
Draw lines connecting the mast to the deck and add small loops near the stem and stern for the ropes. Teacher's Tip: Don't worry about perfection; these lines represent complex rigging, so a few loose strokes add to the 'nautical' feel.
Step 7: Drawing the Shields
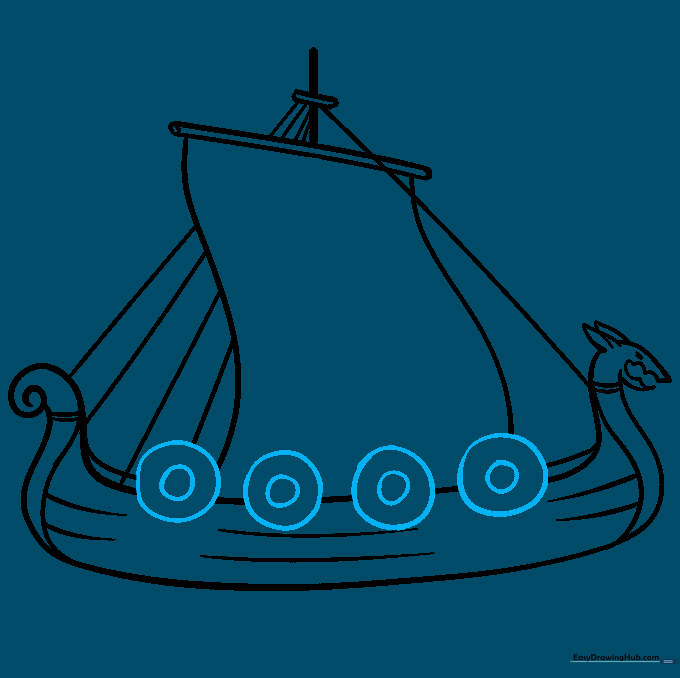
Draw a series of circles along the side of the hull. Add a smaller circle inside each one to create the shield boss. Teacher's Tip: Use a circular object like a coin if you need a guide for perfectly round shields.
Step 8: Adding the Oars
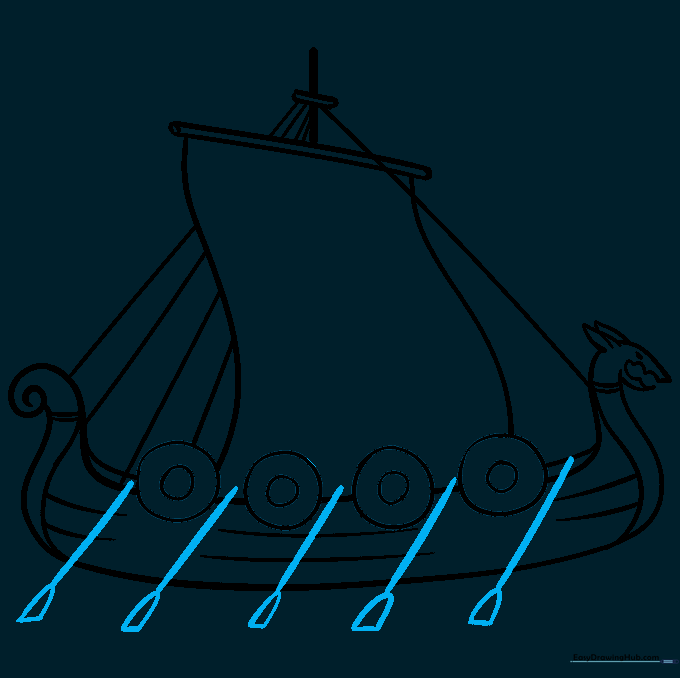
Draw vertical lines extending from the shields down to the water, finishing with a 'U' shape for the oar blades. Teacher's Tip: Keep the oars parallel to each other to make the ship look like it's moving through the water.
Step 9: Final Touches

Clean up your drawing by erasing any overlapping lines and darkening your final outlines. Teacher's Tip: Use a fine-liner pen to trace your pencil lines for a professional, bold look before you start coloring.
Step 10: Coloring Your Masterpiece
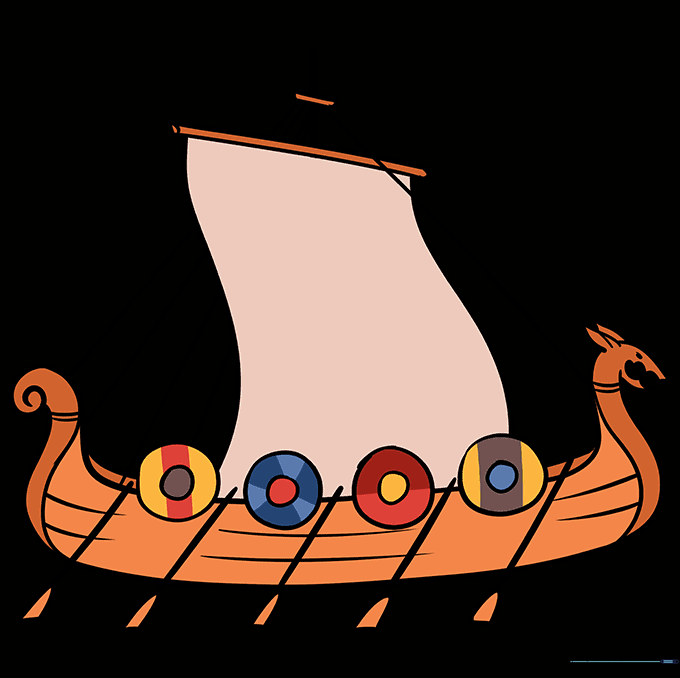
Bring your ship to life with color! Use earthy tones for the wood and bright, bold colors for the shields. Teacher's Tip: Historically, Vikings used different colors on shields to identify their clan—what colors will your crew use?
More Tutorials


