How to Draw a Venus Flytrap: Easy 10-Step Guide
Bring the wonders of the botanical world to your sketchbook with this fun, cartoon-style Venus flytrap tutorial. Designed for young artists and beginners, this project requires only a pencil, paper, and an eraser. Follow these steps to master organic shapes and build confidence in your drawing skills.
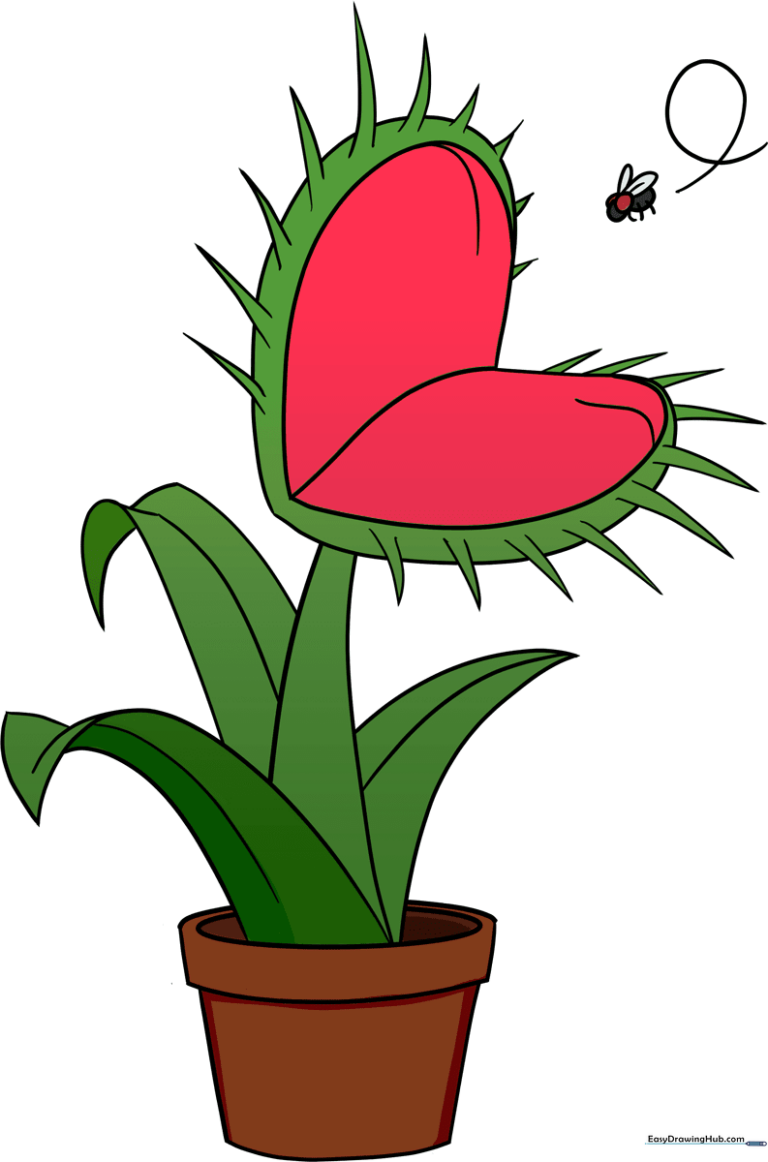
🎯 Final Result
Step-by-Step Instructions
Step 1: Sketching the Pot Base

Start by drawing a narrow horizontal oval for the pot's rim. Add curved lines above and below it, connecting them with short vertical lines. Extend two lines downward and close them with a curve for the base. Tip: Keep your lines light so you can easily adjust the shape later.
Step 2: Drawing the Stem
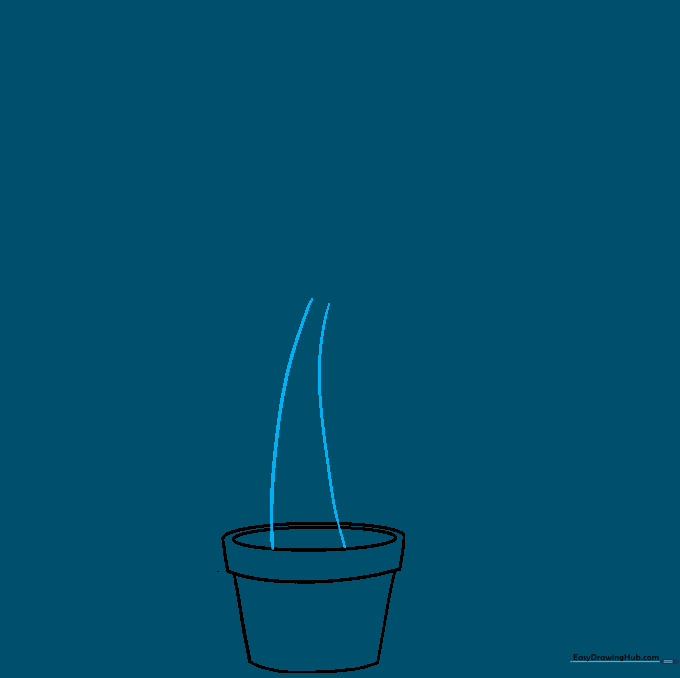
Extend two curved lines upward from the pot's opening, letting them meet at the top to form a sturdy stem. Tip: Imagine the stem is reaching toward the sun; a slight curve makes the plant look more natural.
Step 3: Forming the Trap
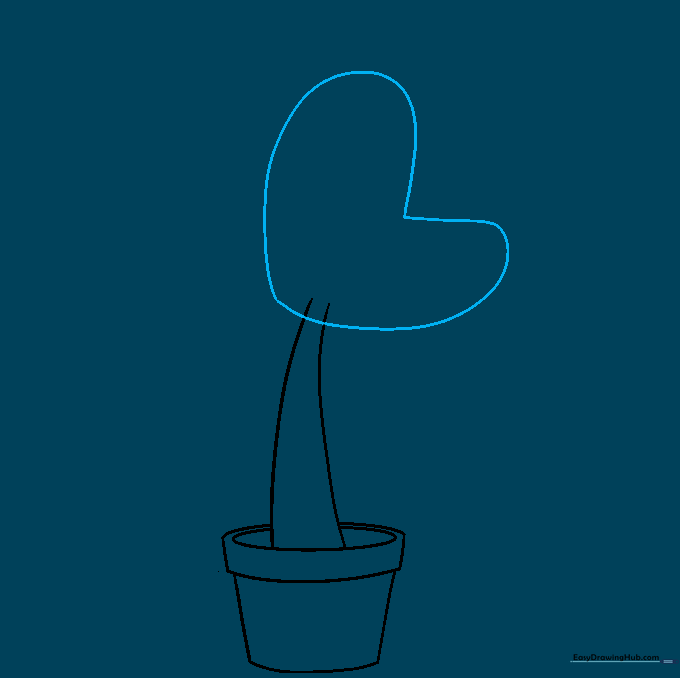
Erase any overlapping lines where the stem meets the trap. Draw a sideways heart shape at the top of the stem to create the iconic hinged lobes. Tip: Think of the heart shape as two open jaws waiting for a snack!
Step 4: Adding the Midrib
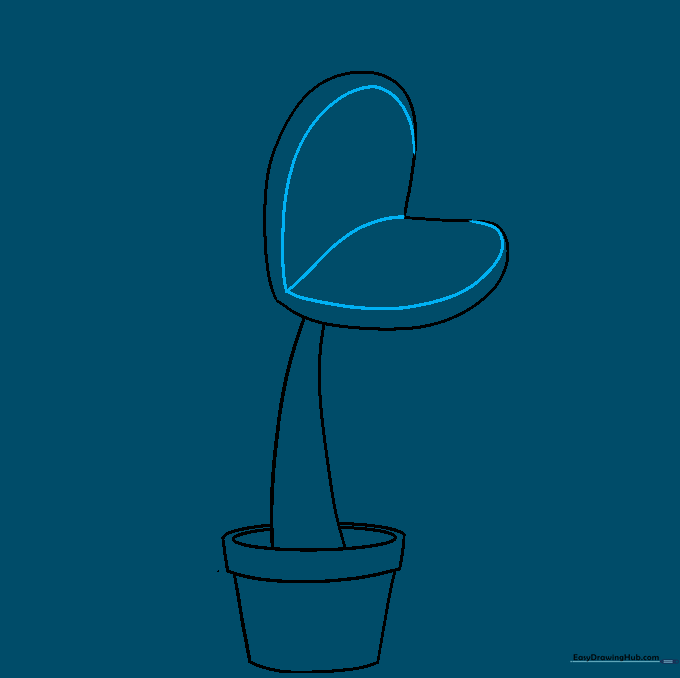
Draw a curved line across each lobe, meeting at a point near the heart's tip. Add a curved line between the lobes to represent the hinge. Tip: This line acts as the 'spine' of the trap, giving it a 3D look.
Step 5: Sketching the Teeth
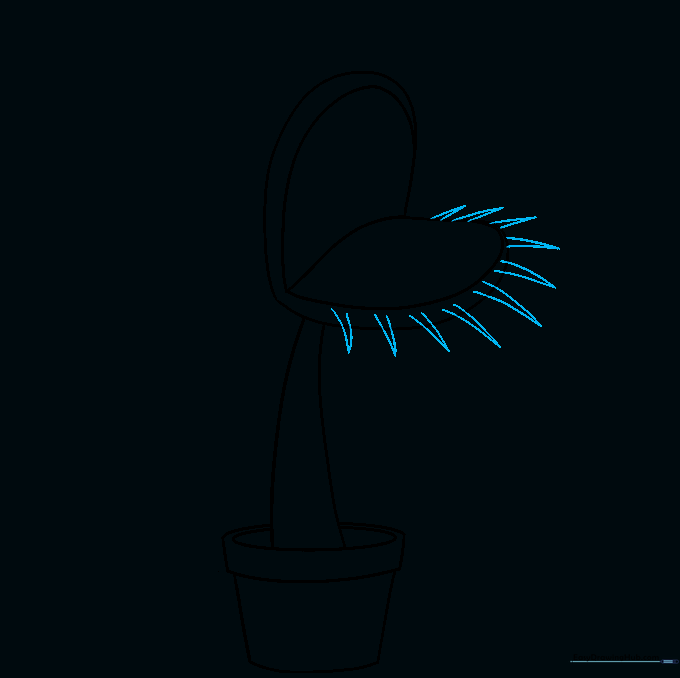
Draw small, narrow triangles along the edge of one lobe. These are the plant's 'teeth.' Tip: Keep them sharp and slightly curved to make the plant look authentic and a little bit silly.
Step 6: Completing the Teeth
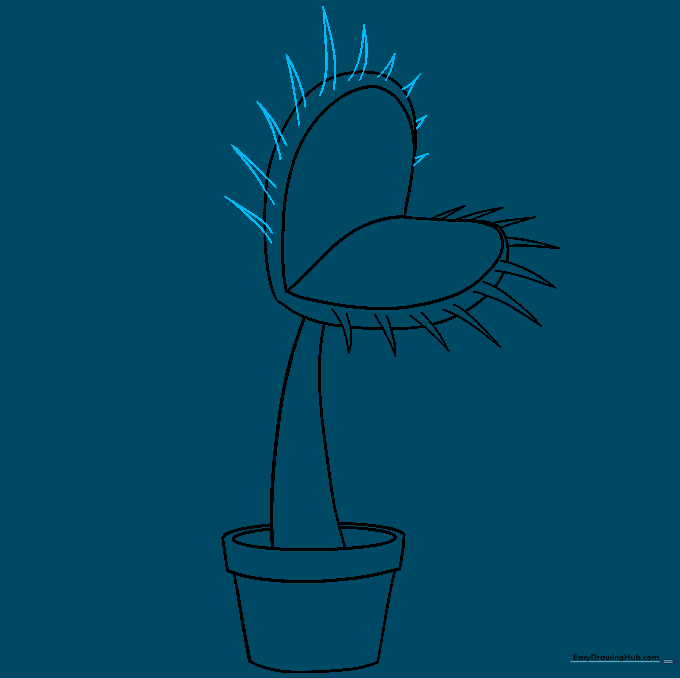
Repeat the process on the opposite lobe, drawing matching triangular teeth. Tip: Ensure the teeth on both sides are spaced evenly for a balanced look.
Step 7: Adding Leaves
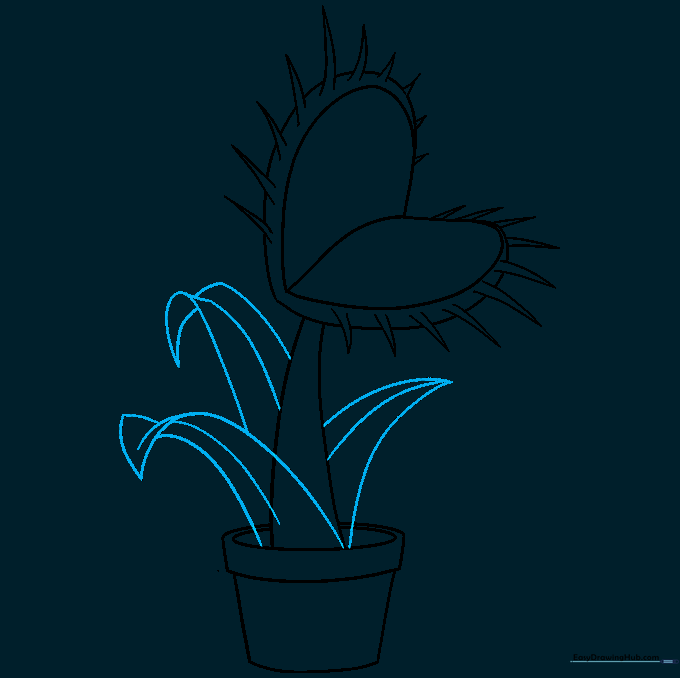
Draw long, curved leaves extending from the base and stem. Add a line down the center of each leaf for the vein. Tip: Make some leaves droop by adding a small triangle at the tip to show movement.
Step 8: Adding a Snack

Draw a small fly near the trap. Use ovals for the head and body, and add delicate lines for the wings and legs. Tip: Keep the fly small so it looks like it's about to land on the plant.
Step 9: Final Details
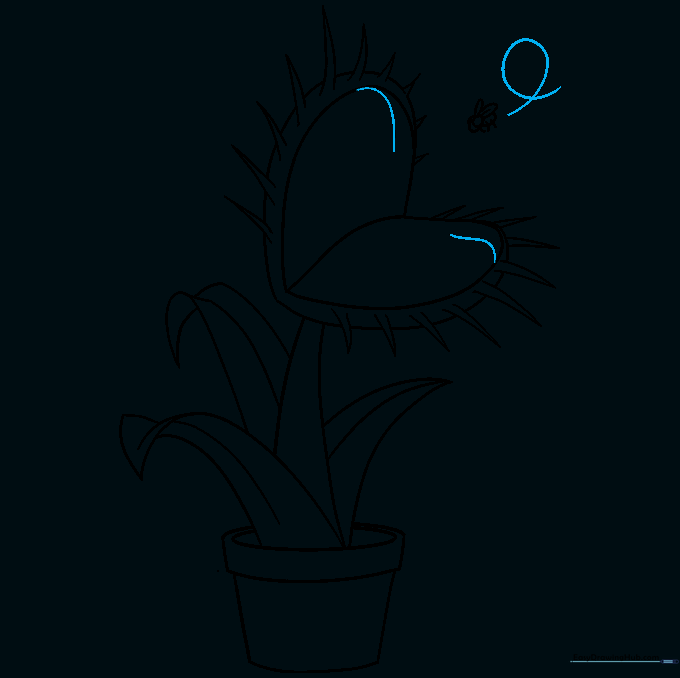
Add curved lines inside the mouth for texture and a small spiral behind the fly to show it's buzzing around. Tip: A simple spiral is a great way to show motion in a static drawing.
Step 10: Bring It to Life with Color
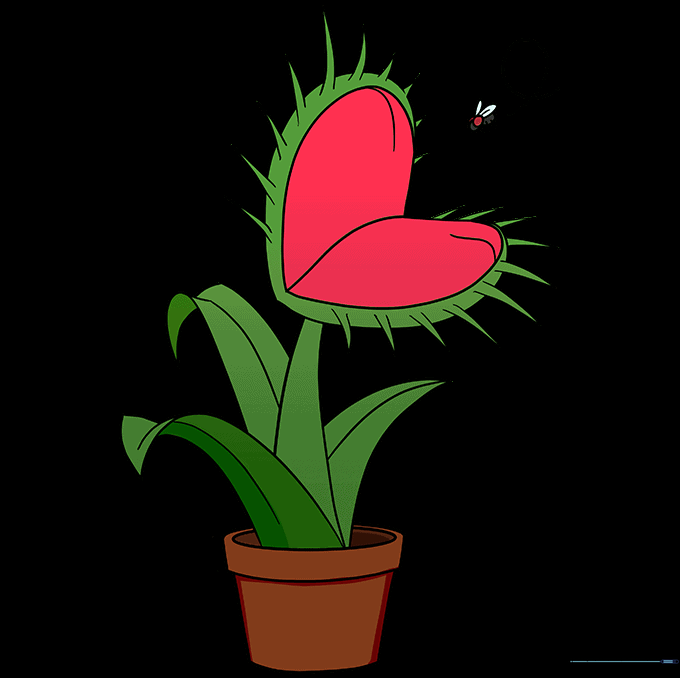
Time to color! Use bright greens for the leaves and stem, and a vibrant red or pink for the inside of the lobes. Tip: Use a darker green for the shadows to give your plant depth.
More Tutorials


