How to Draw a Cute Teddy Bear with a Heart: Easy Guide
Perfect for artists ages 5 and up, this project helps children practice basic shapes while creating a heartfelt gift. You only need a pencil, an eraser, and a piece of paper to get started. Follow along to build confidence and create a cuddly character that expresses love.
🎯 Final Result

Step-by-Step Instructions
Step 1: Sketching the Head

Draw a light, circular shape for the head. Teacher's Tip: Keep your pencil strokes soft and loose so it's easy to erase your guide lines later!
Step 2: Adding Furry Ears
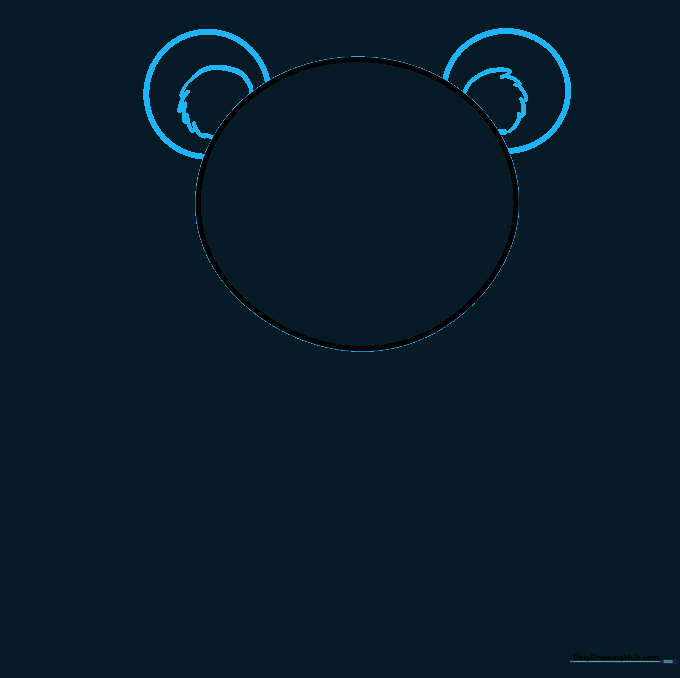
Add two small, rounded ears to the top of the head. Use short, overlapping curved lines to give them a soft, fuzzy texture.
Step 3: Placing the Heart

Draw a heart shape that overlaps the bottom of the bear's head. This creates the illusion that the bear is holding the heart close to its chest.
Step 4: Cleaning the Lines

Carefully erase the portion of the head line that sits inside the heart. This makes the heart look like it is physically in front of the bear.
Step 5: Sketching the First Paw
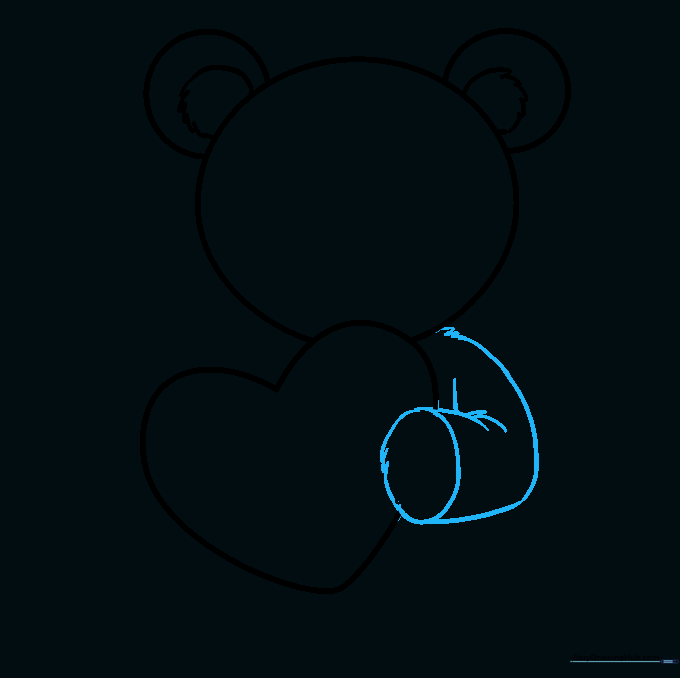
Draw an oval overlapping the side of the heart to form the first paw. Use short, jagged lines to suggest soft fur.
Step 6: Adding the Second Paw
Repeat the process on the other side to add the second paw. Connect it to the body with a smooth line for the shoulder.
Step 7: Drawing the Feet

Draw two rounded feet at the bottom. Connect them with a curved line to create the base of the bear's body.
Step 8: Facial Features

Draw a snout, a triangular nose with a highlight, and a happy smile. Add two circular eyes with shaded pupils to bring your bear to life!
Step 9: Adding Details

Draw small dashes around the heart to look like stitching. You can also write a sweet message like 'I Love You' inside the heart.
Step 10: Bringing it to Life with Color

Time to color! Use warm browns for the fur and bright reds or pinks for the heart. Tip: Try using different shades to create depth and shadows.
More Tutorials


